


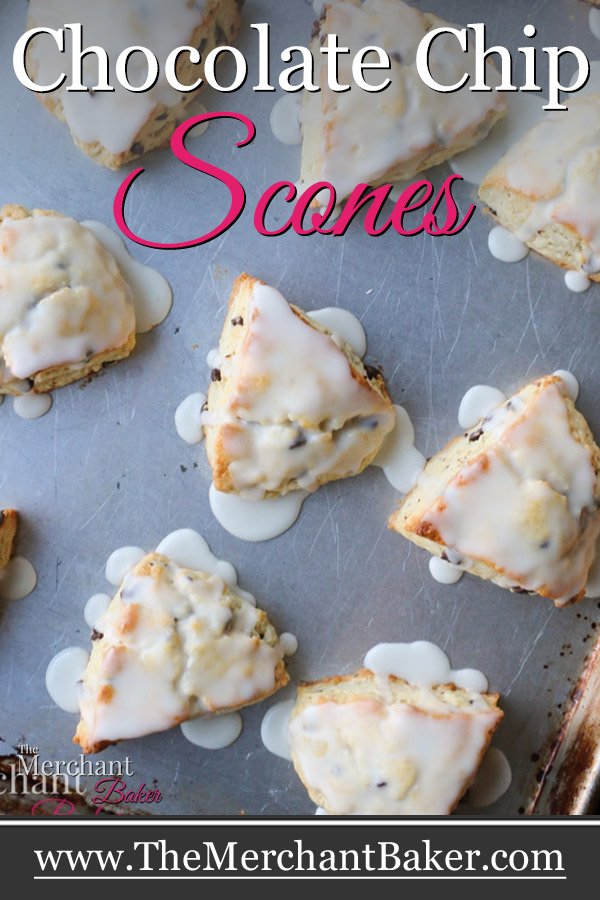

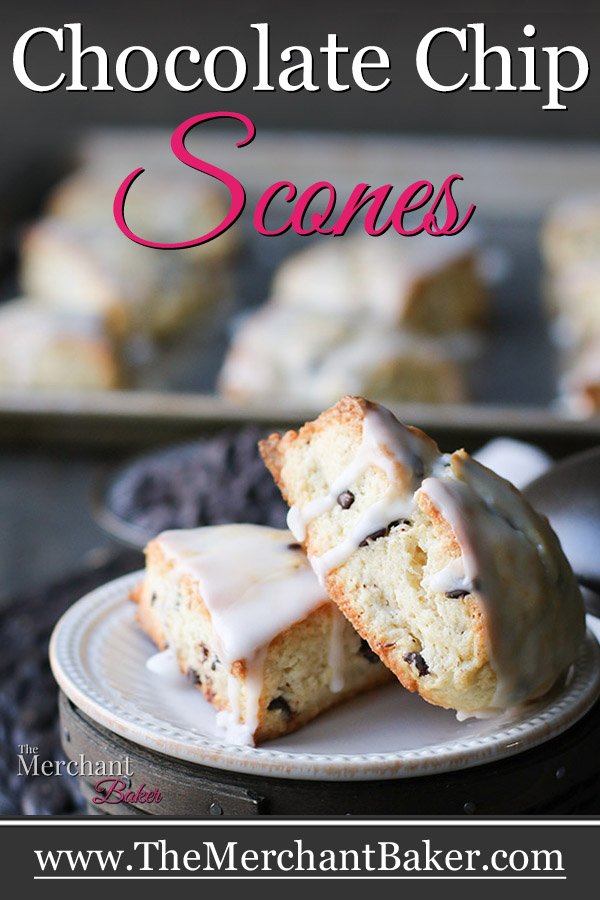


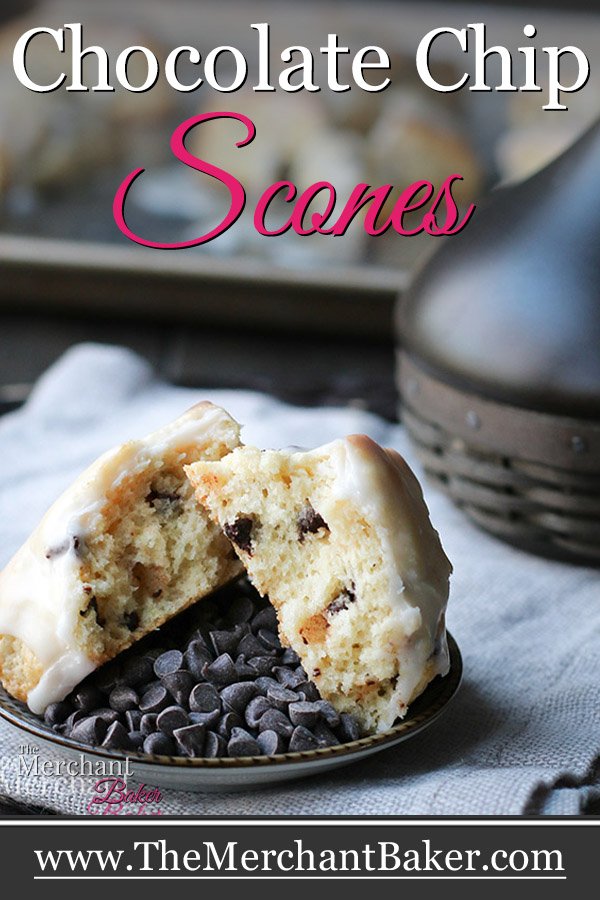

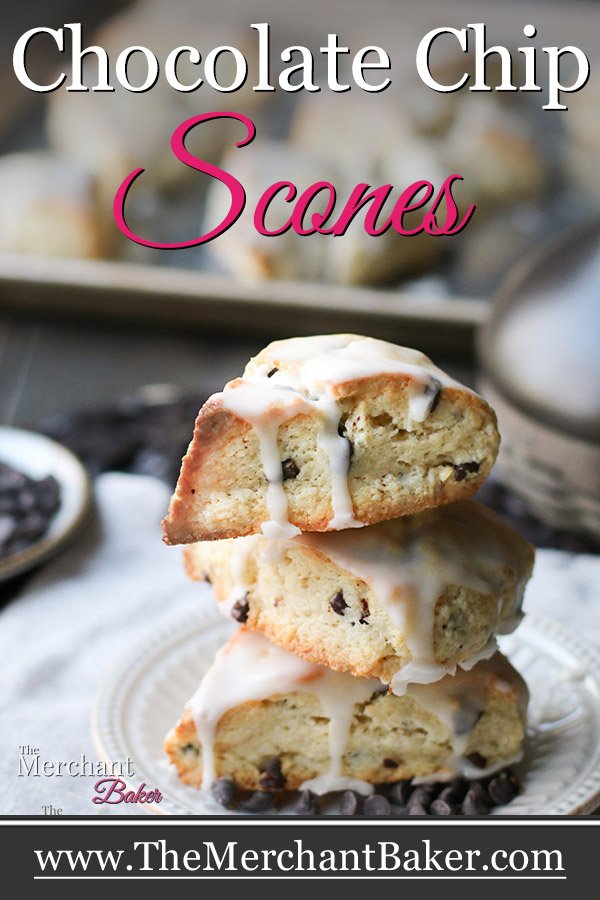

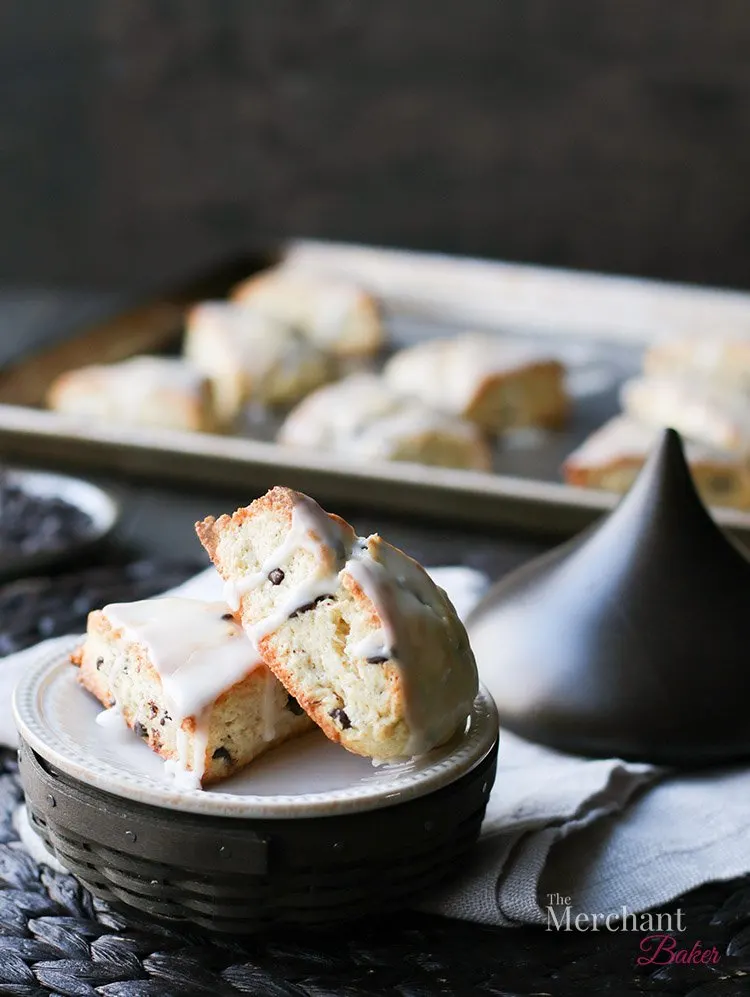
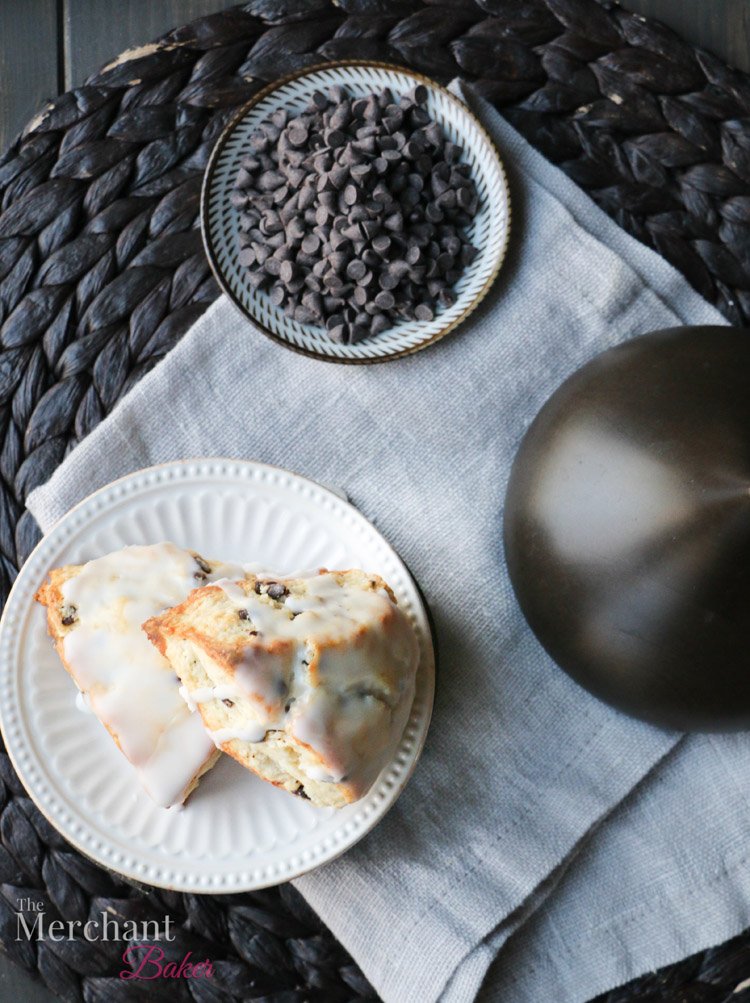
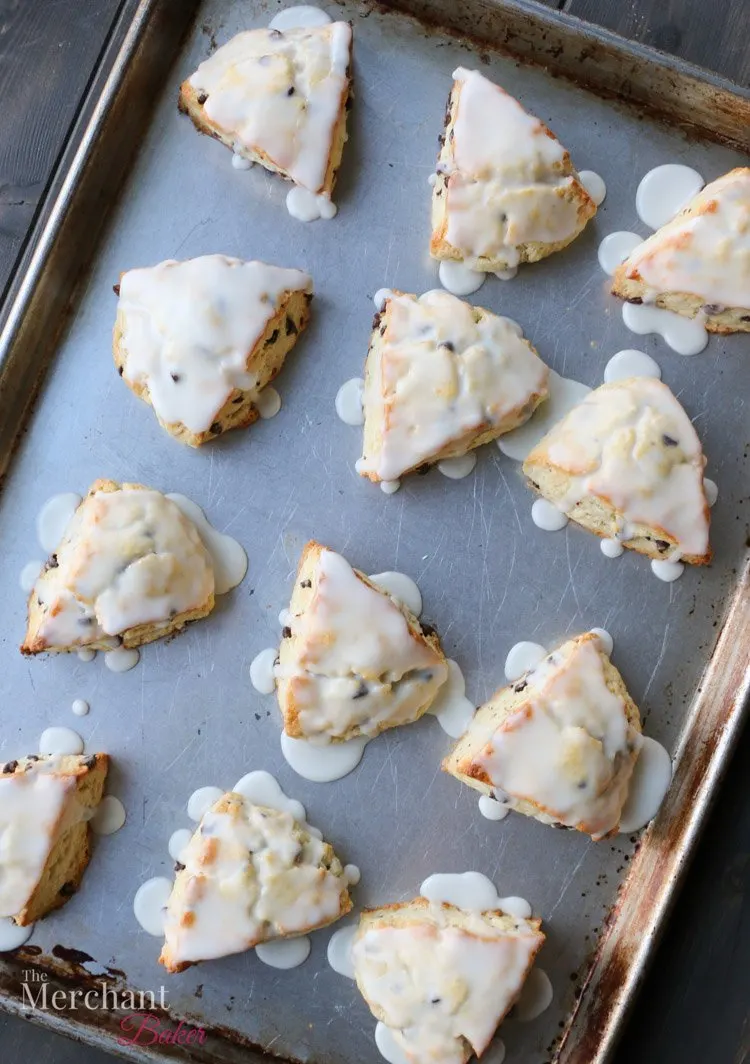
These Chocolate Chip Scones are rich with butter and cream and filled with mini chocolate chips. A simple vanilla icing adds a hit of sweetness. They are perfect for breakfast, afternoon tea, dessert or a snack. They’re like the scone version of chocolate chip cookies!
So, you know how much I love scones. Well, I’ve been holding out on you. These Chocolate Chip Scones have become the scones I’ve made most often in my house for the past two years.
And yet, I haven’t shared the recipe with you. How did this happen?
It started with the Chocolate Chip Ricotta Cannoli Scones, I posted almost two years ago. Those scones were rich with ricotta cheese, filled with chocolate chips, topped with cherries and pistachios….We really fell in love with them!

They were the first scone I had made that had chocolate chips in them. In them, not on them. I did sprinkle some on top of my Dark Chocolate Fudge Scones, but that whole scone was more about the chocolate and the fudgy ganache topping.
And, while not chocolate, I did use cinnamon chips in my very first scone recipe, My Favorite Cinnamon Scones. That is the mother of my scone recipes and has inspired many different variations and flavors like…
Fresh Strawberry Cream Scones totally swoon worthy; my family adores them.
Brown Sugar Butter Pecan Scones? Probably the most popular one on the site to date.
I even took one of my favorite grilled cheese sandwiches and made it into a scone, Blackberry Fontina Basil Scones. They are to die for! And that one really eats like a meal. Throw a salad on the side and you’ve got lunch, a seriously delicious lunch!

I have loved every single scone recipe I have posted for you. That goes without saying, doesn’t it?
But something happened when I made those cannoli scones with the chocolate chips in them. I suddenly felt like I was eating a chocolate chip cookie!
I know that sounds mad, clearly it’s got chocolate chips, so of course it’s going to live in that whole chocolate chip universe.
But it was more buttery than a chocolate chip cookie. It was more like chocolate chip shortbread but thicker and softer, you know…scone-ier.
(Of course, I also love, love, loved the cherry icing and pistachios. So good!)
Anyway, one day, I decided to make a straight forward chocolate chip scone. I didn’t have any ricotta on hand, but I always have butter and chocolate chips. And, I almost always have cream on hand, specifically if the scone mood strikes :)

So, I created a recipe that didn’t have ricotta in it and had different ratios of butter to flour. I went through a few iterations and made little recipe notes here and there on scraps of paper until I had the recipe nailed.
To this day, that darn recipe is literally written on a ripped piece of paper the size of an index card. I’m not even going to tell you how many times I thought I lost that piece of paper.
Each time I decided to whip up a batch, mild waves of panic would ensue as I searched through all of my recipe notes to find this scrappy little piece of paper. Sure, I could have figured it out through some trial and error, but who wanted to do that when the work had already been done?

I kept telling myself to write it down and file it properly in my recipe notebook. But no…since I wasn’t making it to post it, I was usually busy and on my way to the next recipe.
Then, the scones became a family joke. Whenever I would decide to make scones for someone or some event, I’d always ask my family’s advice, “Which scone recipe of mine do you think everyone will like?”
Somehow, these Chocolate Chip Scones became the “go to” scone to make for any occasion.
My family joked that they were “elegant” but still “fun” and “accessible”, sure to be liked by both adults and kids. (They say this with emphasis, as they stifle their grins.)
I can’t even ask for a scone flavor suggestion these days without that joke coming up as the response. Seriously.
So, I don’t always have the ingredients on hand to make all of my scones recipes, but I almost always have the ingredients to make this scone recipe. And, that’s why it is made so often.
Well, that and the fact that they are so darn good! There’s something about these that’s almost addicting. I always try to eat just half of one, but the other half will scream at me all day long until it gets attention.

I swear I might like them better than a chocolate chip cookie. They’re certainly more satisfying.
But hey, no one said I have to choose my favorite chocolate chip recipe, because then, I’d also have to think about my Chocolate Chip Crumb Cake and probably a bunch of other recipes. I’m not picking a fave; I’ve got enough love for all of them.
So, the reason why I didn’t post them for so long is that I feared they were too similar to the cannoli scones. But they are different, in flavor, texture and ingredients. And I’ve been hounded by my family to post them, so I’m finally giving in and sharing the recipe.
How to Make Chocolate Chip Scones
These come together much like all of my scones…whisk the dry ingredients together, cut in the butter, add the wet ingredients, form, chill, cut and bake. But let’s take it step by step, shall we?
How to Cut Butter into Flour
I make so many scones and biscuits and pie crusts that require cutting butter into flour that I feel like an expert. When cutting butter into flour, you want to keep the butter cold and only work the butter in until you have various sizes of butter bits, most of which are no larger than a pea.
The following paragraphs contains affiliate links. We are a participant in the Amazon Services LLC Associates Program, an affiliate advertising program designed to provide a means for us to earn fees by linking to Amazon.com and affiliated sites.
Here are all the ways I’ve cut butter into flour and my experience with each:
- Pastry cutter-This is the tool I use most often to cut butter into flour. My favorite kind is the one whose wires go all the way up to the handle like this one {aff.link} or this one. {aff. link} I own the wooden one and I own like the second link that’s not wooden, but it’s from OXO. I think they stopped making it, so I included a link for a similar one. I like the thumb rest on the wooden one, but putting wood in a dishwasher isn’t always a great idea. Mine lasted a long time, but the wood eventually cracked and I had to replace it. I’ve tried this one. {aff. link} as well, but for me, it’s just easier to work with the longer, thinner wires. It’s really a personal decision as to what works best for you.
- Two knives-If you don’t have a pastry cutter, you can use two knives to cut the butter repeatedly into the flour. This is certainly not as efficient as the cutter with multiple wires, but it can be done. I used this method before I had a pastry cutter. In other words, there’s no reason to not make this recipe if you don’t have a pastry cutter.
- Using your hands-I have worked butter into flour with my hands. Basically, you’re pinching and squishing the pieces of flour until they are properly coated. I usually pinch and squeeze a few times and then fluff the flour to work on other pieces. Repeat and repeat. You need to work quickly because hot hands melt butter. It’s messier, but can be fun getting your hands right into it. I used to use this method when I started making biscuits, but I rarely use it anymore. I prefer the bits and pieces I get with a cutter to the flattened bits I get with my hands.
- Food processor- This is a terrific way to cut butter into flour. Throw all of your dry ingredients into the bowl of the processor, pulse a few times to mix. Then add cold pieces of butter and pulse until you get the proper sized bits of butter. My warning is this…while I love using the processor to cut the butter into the flour, I do NOT use it to mix up the dough. I believe it over mixes and changes the texture of the dough. So, I’ll use it to cut the butter into the flour, then I’ll dump the contents into a bowl to finish the recipe by hand. If you do the math, you’ll now have a food processor to clean in addition to a mixing bowl. So, I generally only use this option if I’m making multiple batches of biscuits or scones or pie dough. Then, I start my production line of cutting butter, dumping into a bowl and setting up to cut more butter. Easy peasy. The food processor makes quick work of it.
How to Make a Rich, Moist, Buttery Scone
The richness, moisture and density comes from the fat. The fat, in this recipe, comes from the butter, the cream and the egg yolk.
A higher ratio of fat to flour gives you what is called a short scone. I love a short scone. As you know, I like my scones rich and buttery and my biscuits fluffy. So, on this blog, you’ll know what you’re getting should you choose a biscuit recipe instead of a scone recipe.

How to Get a Consistent Measure for the Egg and Cream
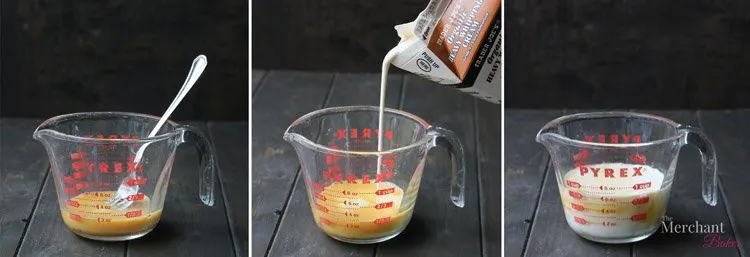
This recipe calls for 3/4 of a cup total of egg and cream. I like to measure it in a liquid measuring cup. I’ll crack the egg into the cup. Whisk it with a fork, Then, I’ll pour cream into the cup until I reach 3/4 cup. That’s it. I always have 3/4 of a cup of liquid for this recipe. If I’m using vanilla or other extract, I add it in after I reach my measurement.
Yes, you could just use one large egg (normally equals about 1/4 cup) and then use 1/2 cup of cream. But, sometimes I might have a different sized egg or maybe I’m experimenting with other liquid ingredients. This measuring process insures that I don’t add too much liquid to the dough.
Is this a wet dough?
No. The consistency of the dough is somewhat like a cross between pie dough and cookie dough.
On my earlier posts, I had readers that said that there simply wasn’t enough liquid to mix the dough. Of course, there can always be environmental issues (very dry conditions for example) that might affect how much liquid you need.
All things being equal, as long as you measure your flour correctly, there should be enough liquid and fat in the dough to bring it together.
For measuring flour…I use the spoon and sweep method, which requires stirring the flour to lighten it up, spooning it lightly into the measuring cup and then using a flat edge to sweep the excess off the top. For those who use a scale, a cup of flour, for me, weighs 4.25 ounces. That means, for this recipe, you’ll need 9.56 ounces of flour total.

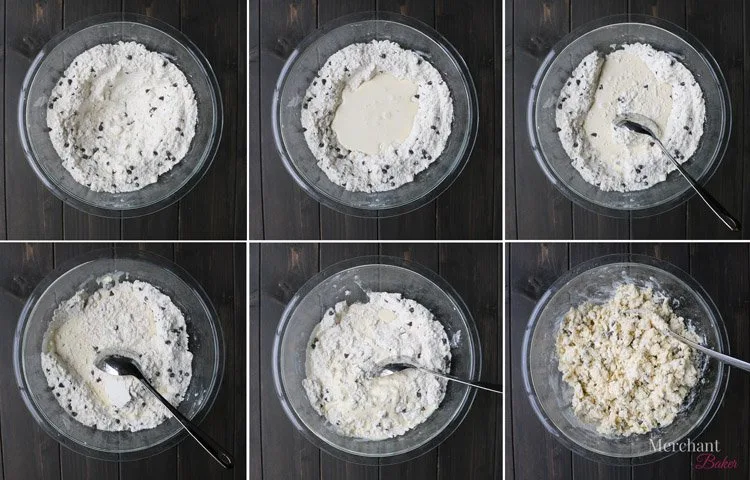
The Best Way to Mix the Liquid into the Dry Ingredients
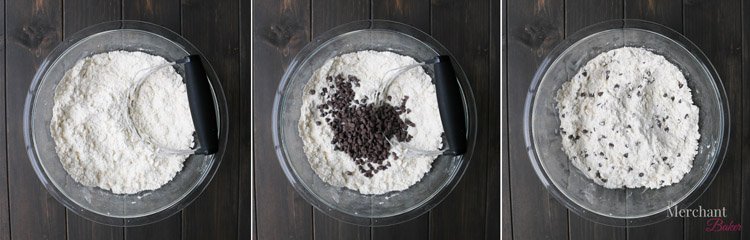
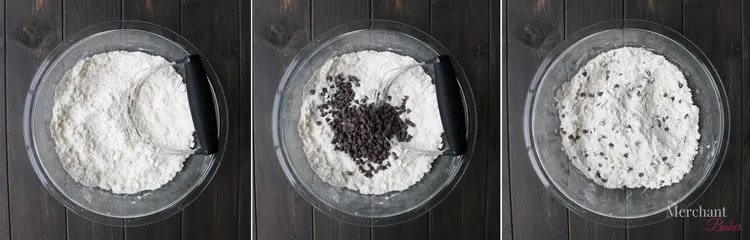
I always start by making a well in the dry ingredients. (And yes, I add the chips in with the dry ingredients, once the butter has been cut into the flour.)
Then, pour the egg and cream (and vanilla) mixture right into the center of the well. I like to use a sturdy mixing spoon to scrape in from the side to the center flipping the dry ingredients from the bottom and over the top of the wet ingredients.
Turn the bowl, scrape inward and flip bottom over top and repeat and repeat until you evenly distributed the moisture.
That last crumbly looking photo above is the point when you might think it needs more liquid. Trust me, it doesn’t.
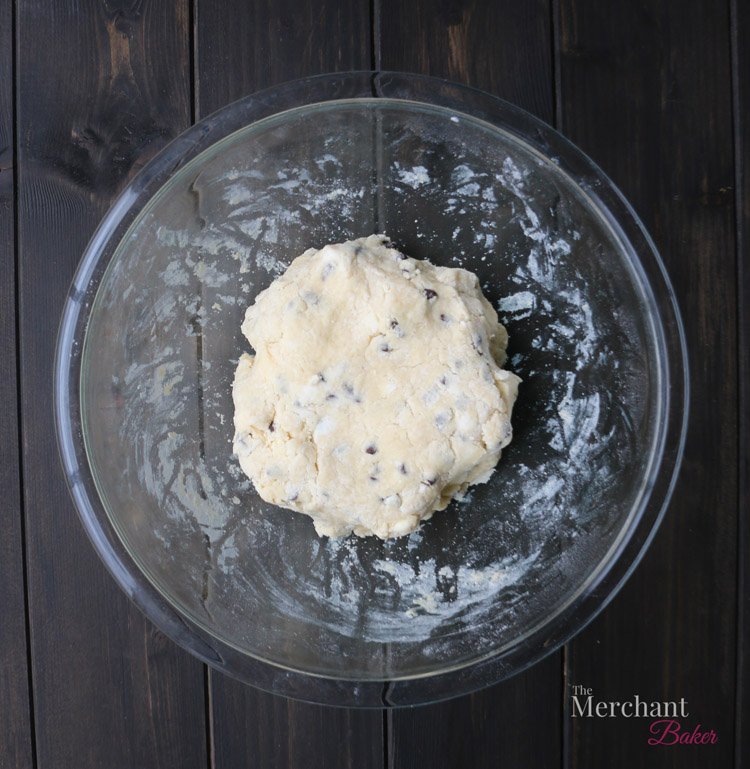
At this time, I will use my hands to finish mixing the dough. And, if I’m being honest, I use disposable gloves at this step. You don’t have to. It’s just my preference.
Remember, your hands are hot. So again, we don’t want to hang out forever with this dough. I generally squeeze the mixture, then bring the dry ingredients from the bottom of the bowl over the top and squeeze again. It’s basically the same motion as we used with the spoon, but now we’re using our hands.
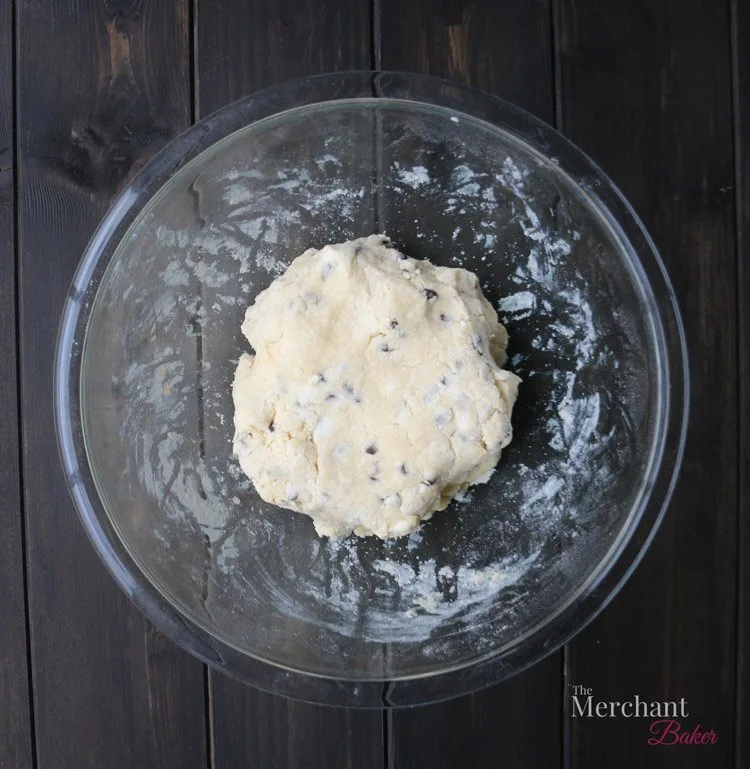
After a few squeezes and flips, the dough will begin to form a solid mass. Continue “mixing” in this manner until any last bits of dry mixture have been incorporated into the dough.
If you’ve done the job well, you will not have overmixed. You will still see bits of butter all throughout the dough.
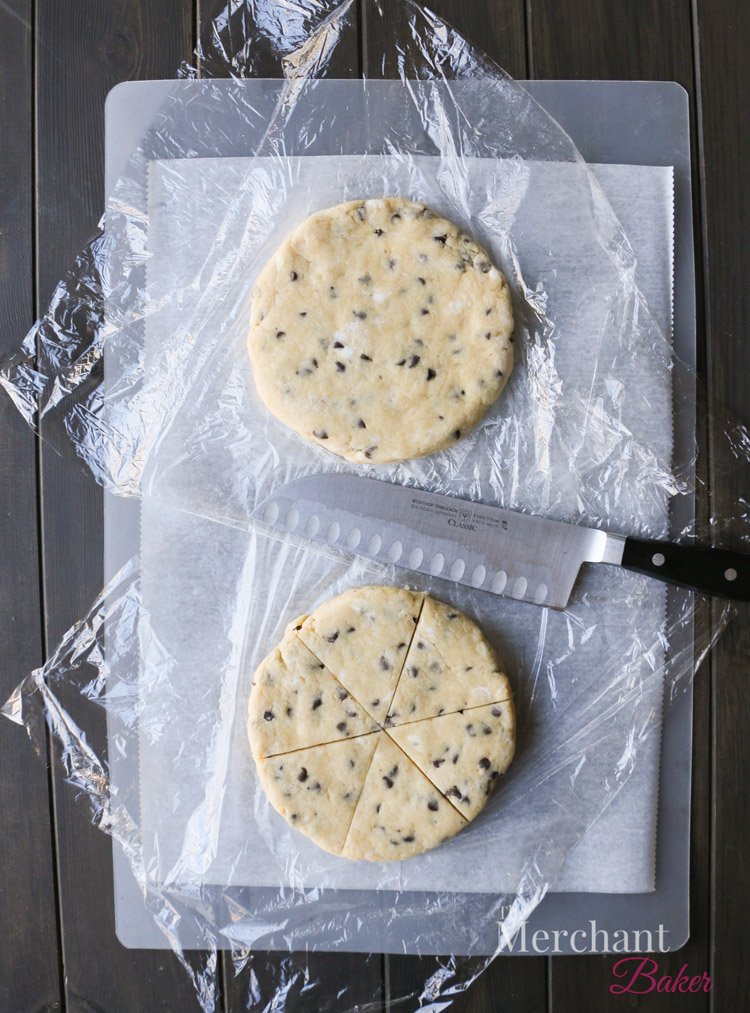
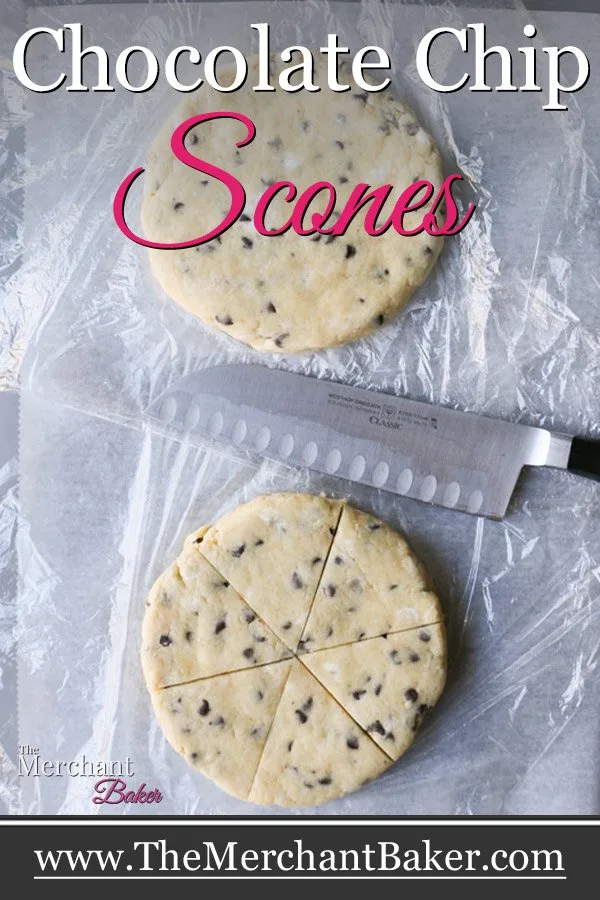
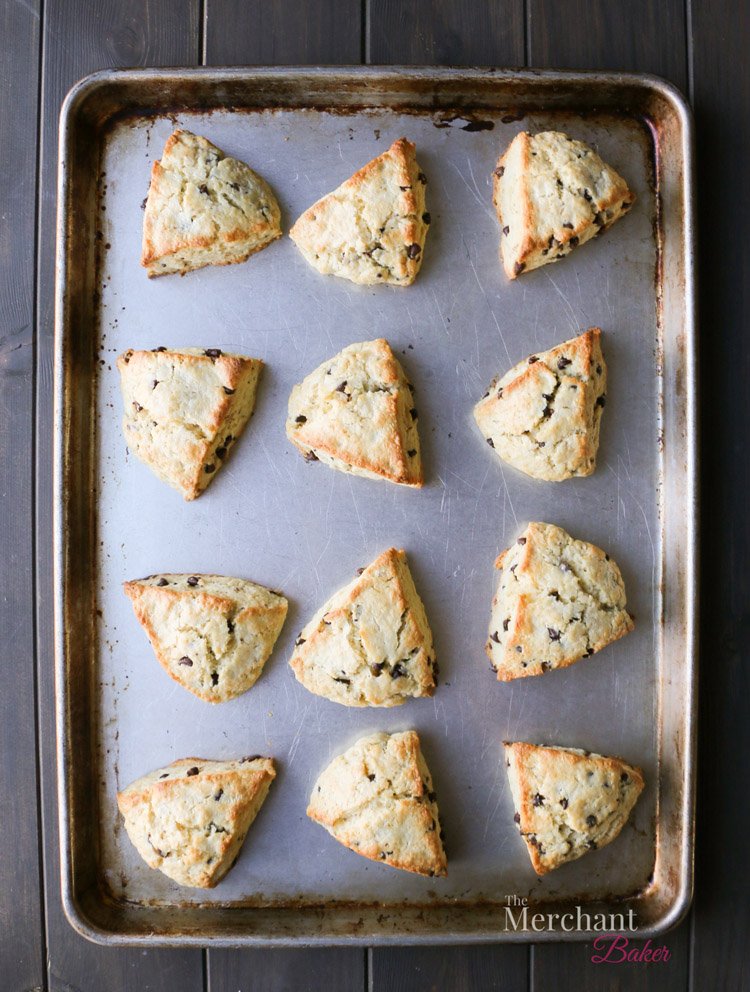
How to Form and Cut Scones
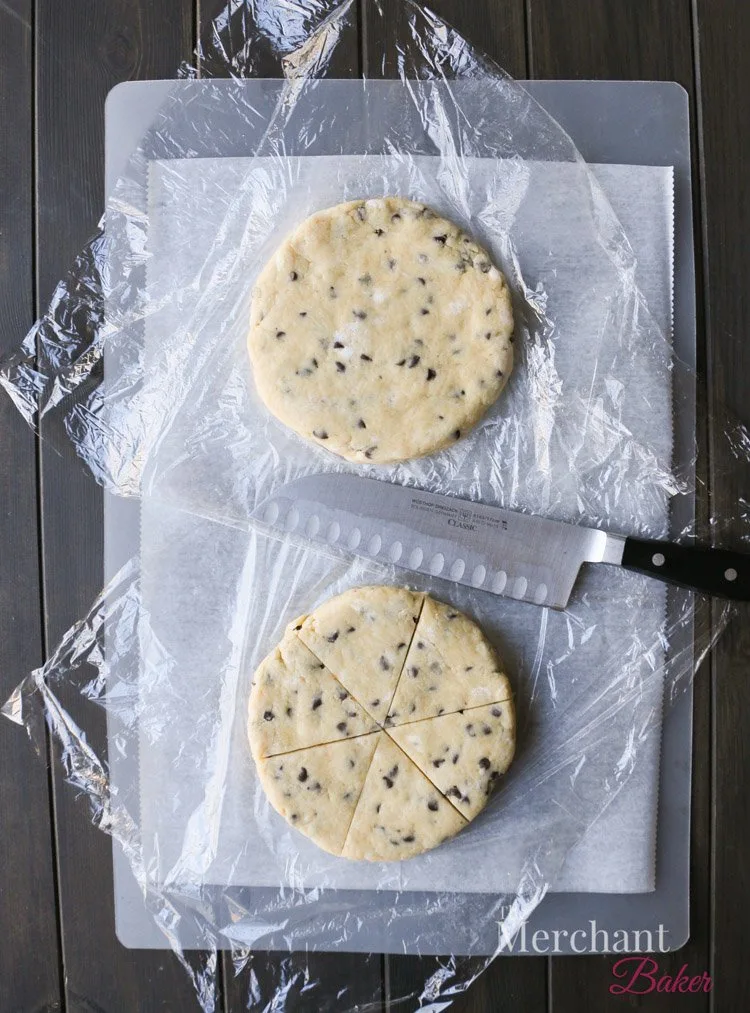
Lay out two large pieces of plastic wrap. Divide the dough in half and place each half on a piece of plastic wrap.
Then, form each piece of dough into a round disk that’s about 3/4″ thick. Wrap them up with the plastic wrap and chill them in the freezer for about 30-45 minutes or just until they are very firm, but not frozen.
Why freeze the scones before baking?
There are two reasons I like to freeze scones before baking.
- Cold butter makes for loftier, tender scones. Scones love cold butter, just like biscuits and pie dough. The butter will soften during the whole mixing and forming process. Chilling them will allow the butter to firm up again.
- I like to get nice clean cuts on my scones. If I freeze them before cutting, I get perfect cuts.
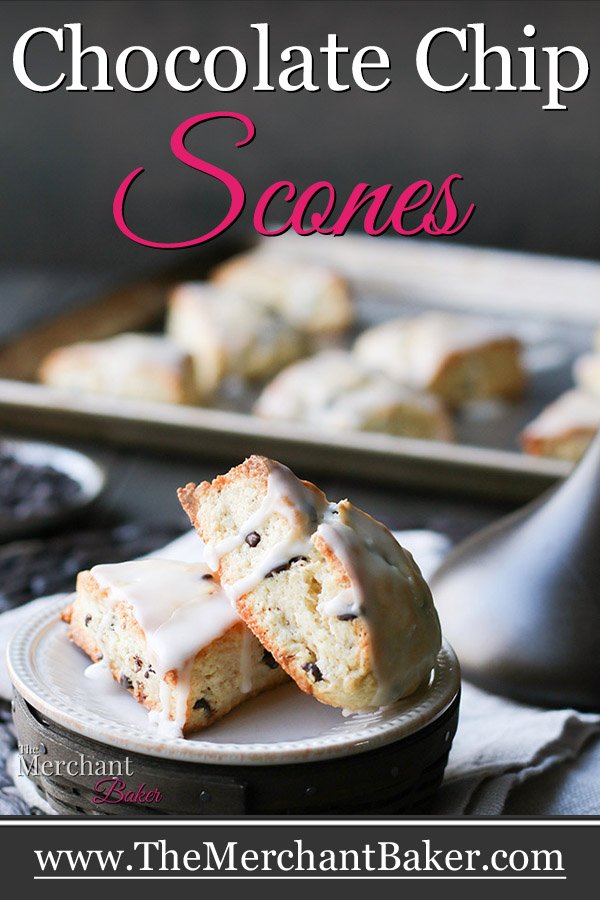
You can also freeze the scones solid to bake later. The scones you see here were actually frozen for two days. If freezing for storage, I place the tightly wrapped scone disks into a freezer bag.
If frozen solid, I allow them to thaw a bit in the refrigerator. I like to get them to that firm, but cuttable stage before baking.
I’ve also allowed them to thaw for 20-30 minutes on the counter before cutting and baking. However, the last time I did that, I got sidetracked writing another blog post and the 30 minutes turned into way too long, and they got too soft. Ugh! I had to chill them again.
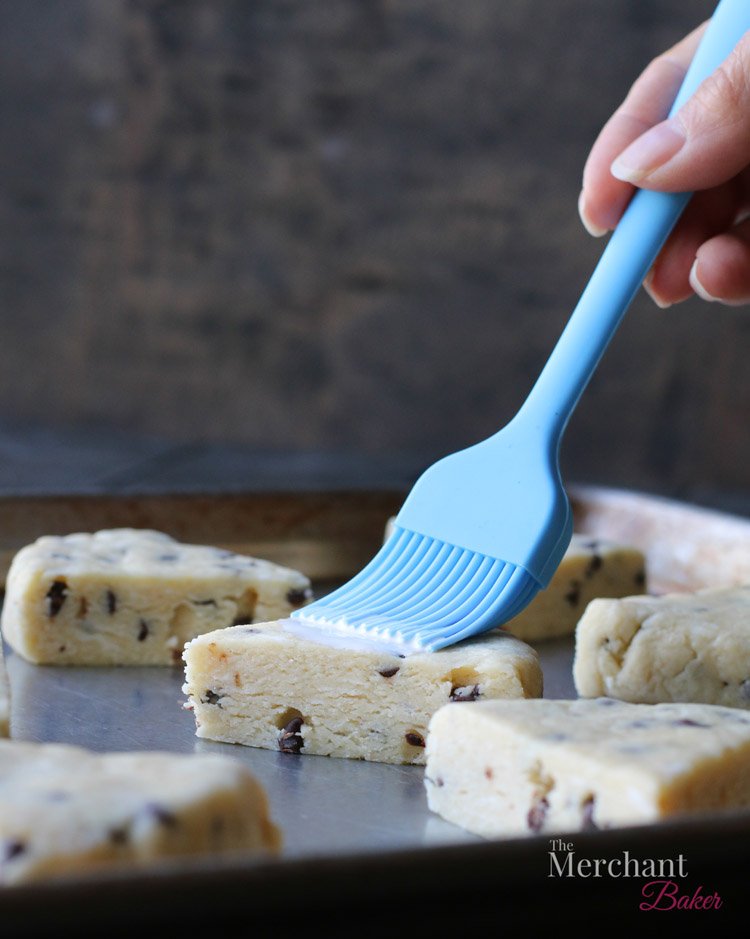
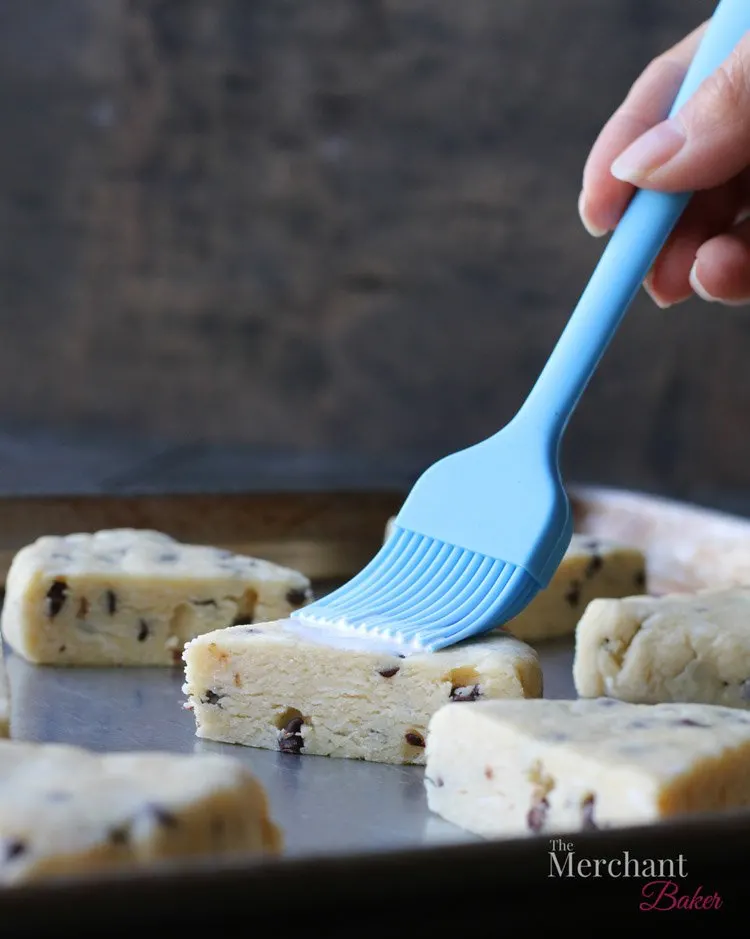

Do I need to brush the scones with cream before baking?
You don’t have to, but it will give them a nice, slightly glossy finish after baking. It’s not an extra ingredient, so I go ahead and use it. Also, if I’m sprinkling any other topping on a scone before baking, like raw sugar, the cream will give the topping something to adhere to.

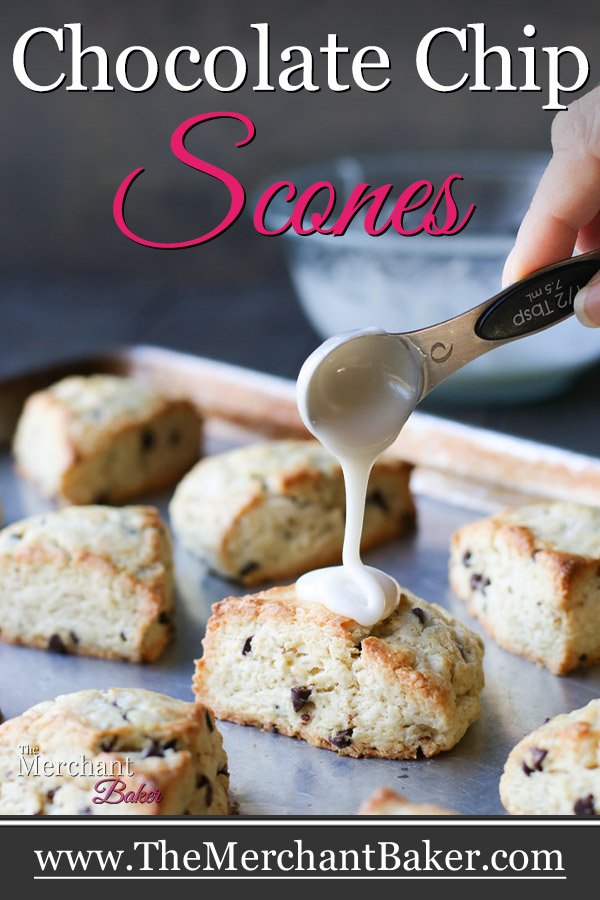
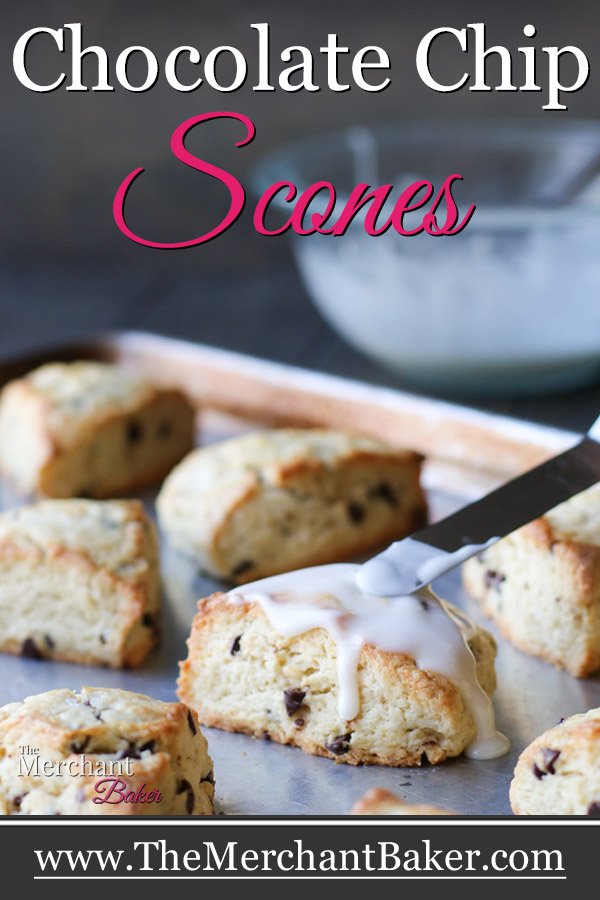
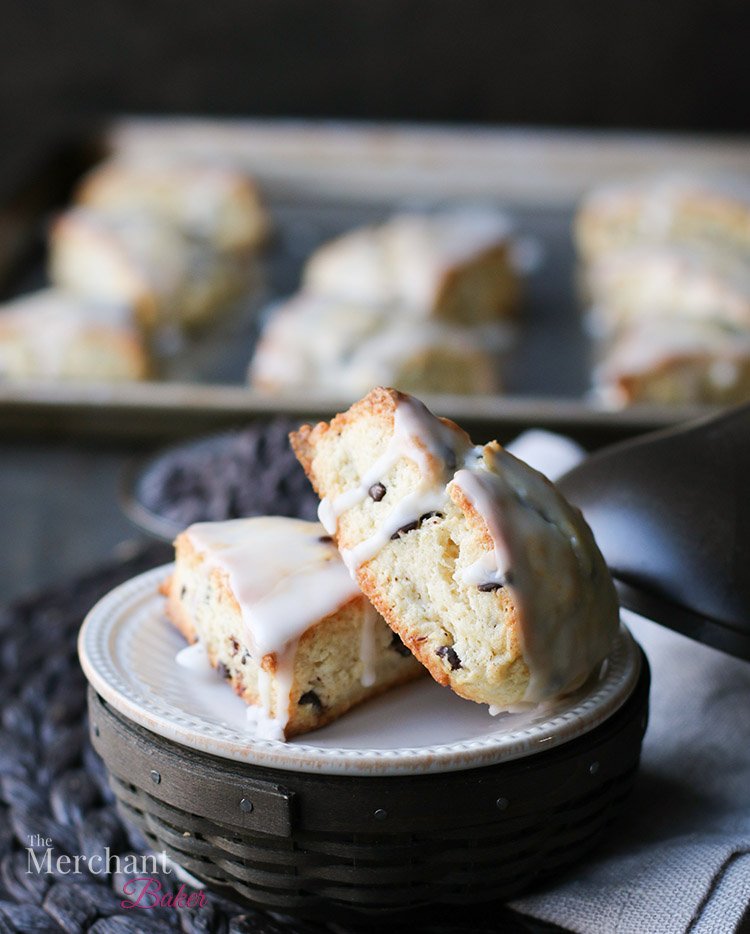
To ice or not to ice?
I have made these scones with icing and without. They get eaten either way, but most people like them best with some additional sweetness.
I don’t make super sweet scones, so the icing adds a nice hit of sugar.
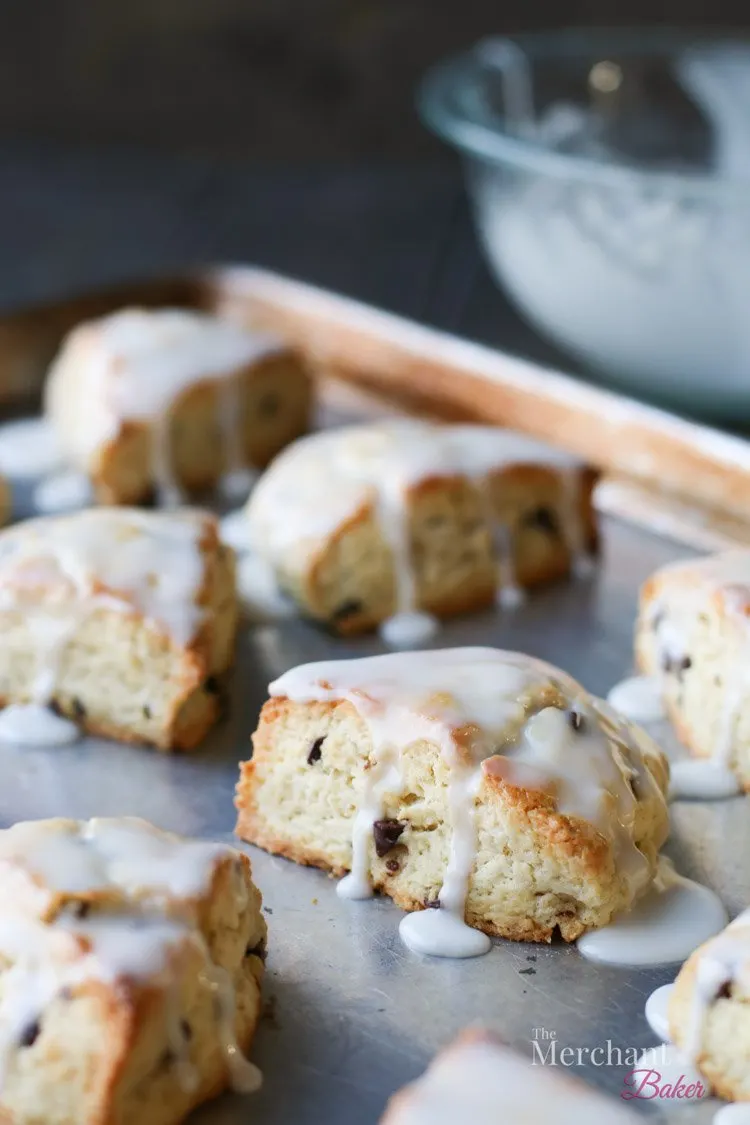
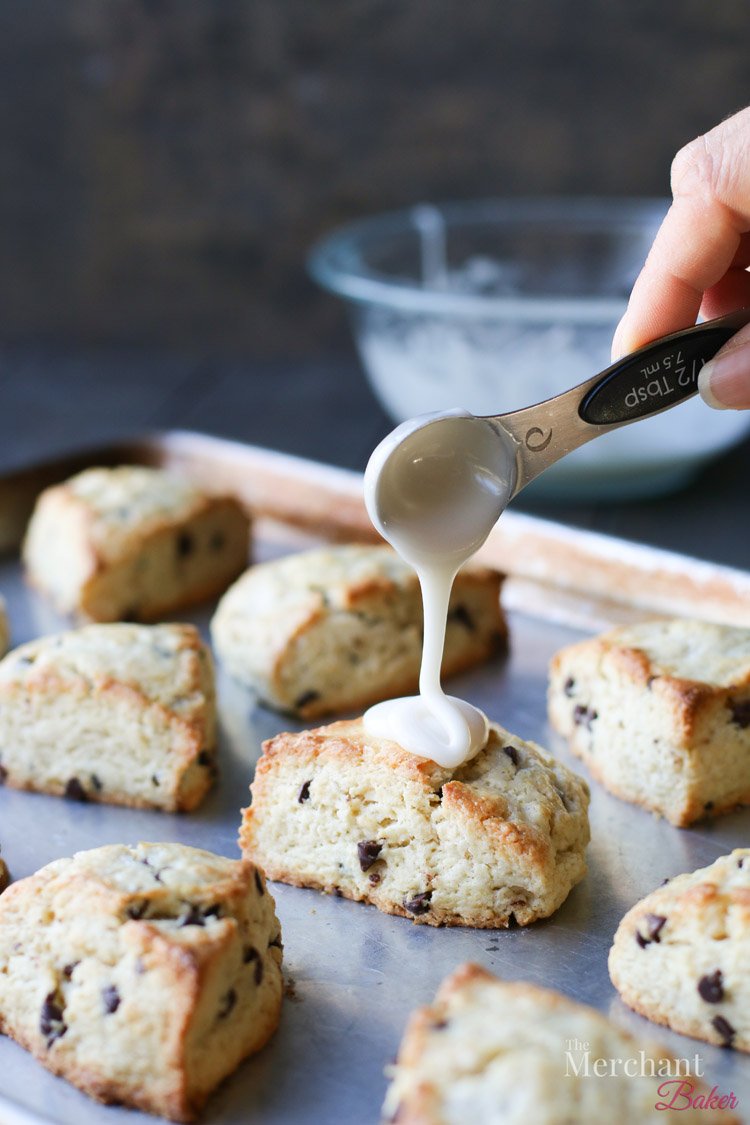
How you ice the scones is completely up to you. Sometimes I’ll add less liquid to the icing and make a thick glaze to drizzle randomly across each scone.
Sometimes I’ll add more liquid to make it thin. Then, I’ll dip, or even double dip the whole scone.
Today, I went somewhere in the middle. I added just enough liquid to give the scone a nice coating with some side drips.

If you think you’re going to serve them with some type of sweet spread, you might want to skip the icing. Or, maybe not. Maybe more is better. It’s up to you.
If I’m not planning to glaze them after baking, I’ll top them with raw sugar before baking. Topping with raw sugar gives them a lovely crispy, crunchy topping.
Sometimes I’ll sugar half of the batch and ice the other half. Again, I’ve made these so many times, I can’t even count. I’ve had lots of opportunities to switch up the toppings.
How Scone Texture Changes When Stored
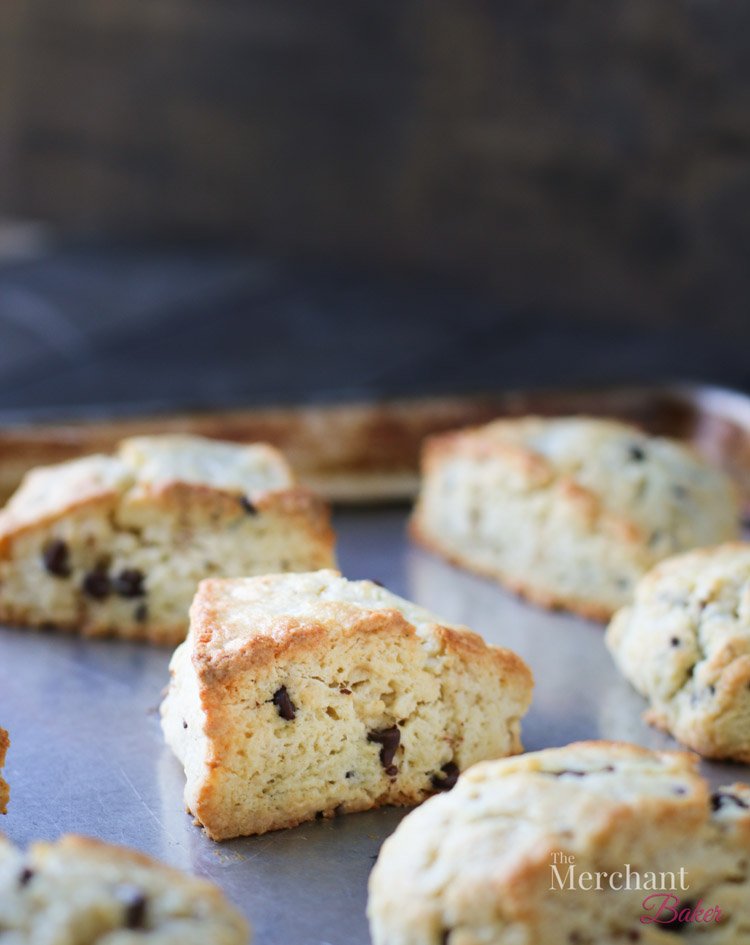
A freshly baked scone will be have a crisp edge and lofty, tender interior. I love this texture.
Once stored overnight (I either wrap them in foil or place them in a container at room temperature), they lose their crispness and the interior seems to become richer and more moist. They’re more dense, but in the most positive way. I love this texture as well. My husband thinks day two is the best day for a scone.
I think any day is the best day for a scone ;)

How to Reheat a Scone
You can bring back the freshly baked scone texture of day one, just like you do with bread, in the oven. Just reheat at a high temp (375-400) for just a few minutes and that crisp outside, tender inside will return.
If you have iced the scone, you’ll have a slightly different outcome. The icing will melt and start to get crispy on top of the scone. I loved how this worked out with The Best Pumpkin Scones, but that icing was more of a caramel type topping.
If you think that’s not going to work for you, only ice the scones you’re going to eat on day one. The icing mixes up in a flash, so it’s really not hard to ice whatever you’re going to eat for the day.
Any questions? :)


I know this is a lot of information. Don’t let the long post overwhelm you. As I said in the beginning, you’re just going to whisk the dry ingredients, cut in the butter, stir in the chips, add the wet ingredients, form disks, chill, cut and bake.
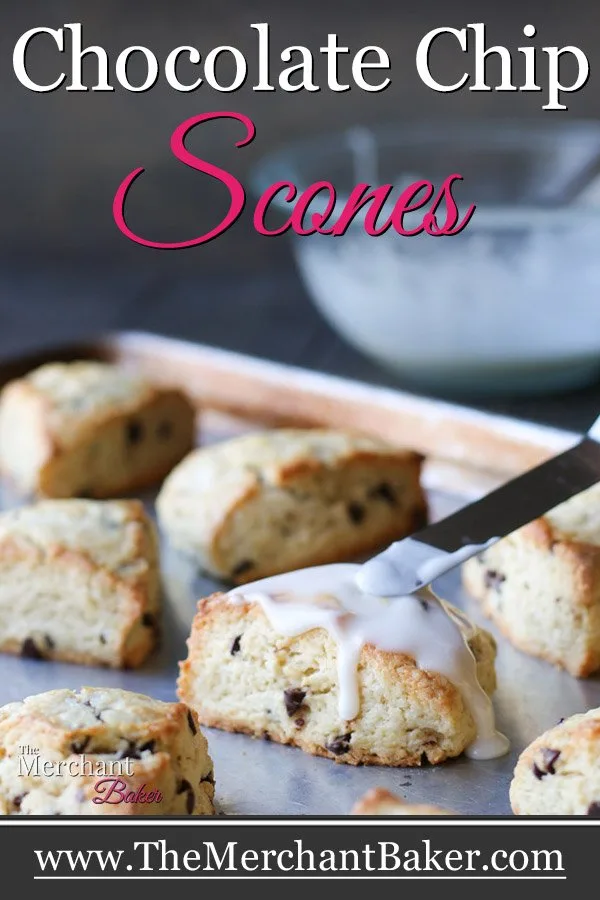
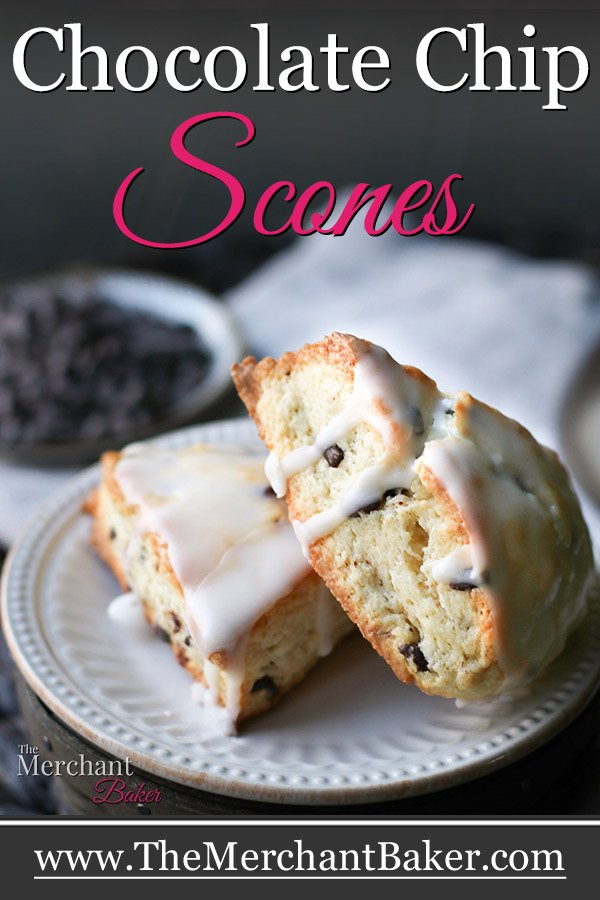
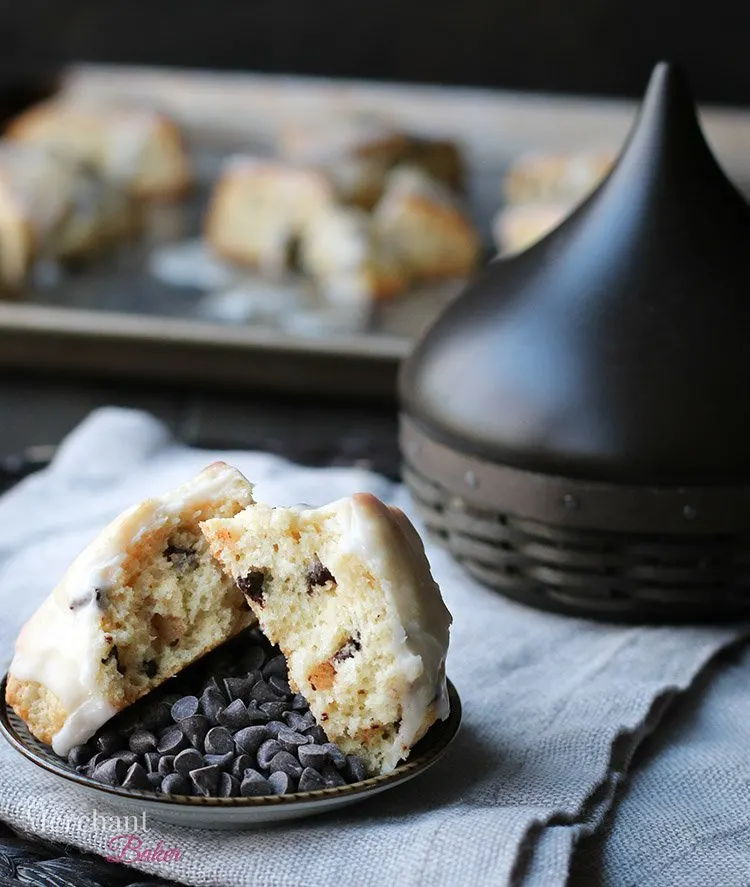
Your kitchen will smell like cookies are baking. The Chocolate Chip Scones will be buttery, rich, not too sweet and anything but dry. There are just enough chocolate chips to get a few in every bite, but feel free to add more or even sprinkle some extras on top of the icing.
You’ll be thinking chocolate chip cookie, but you’ll be eating a scone.

So, it won’t matter if they’re both “elegant” yet “fun” and the flavor “oh so accessible” ;)
You’re going to make them because they’re delicious :)

Chocolate Chip Scones
These Chocolate Chip Scones are rich with butter and cream and filled with mini chocolate chips. A simple vanilla icing adds a hit of sweetness. They are perfect for breakfast, afternoon tea, dessert or a snack. They're like the scone version of chocolate chip cookies!
Ingredients
For the scones:
- 2 1/4 cups all purpose flour
- 1/3 cup granulated sugar
- 1 Tablespoon baking powder
- 1/4 teaspoon salt
- 6 Tablespoons unsalted butter, cold and cut into small cubes
- 1/3 cup mini chocolate chips, heaping
- 1 large egg
- 1/2 cup heavy cream or more, see recipe
- 1/2 teaspoon vanilla
For the icing:
- 1 1/2 cups confectioner's sugar
- 1/2 teaspoon vanilla
- 2-3 Tablespoons water or milk
Instructions
Make the scones:
- In a medium mixing bowl, whisk flour, sugar, baking powder and salt until thoroughly combined.
- Using a pastry cutter, two knives or a food processor, cut the cold butter into the flour mixture until you have various sized bits of butter, but none larger than a pea.
- Add the chocolate chips to the flour mixture and stir to distribute them.
- Crack the egg into a one cup liquid measure and whisk with a fork.
- Add heavy cream to the measuring cup that the egg is in until the total volume is 3/4 cup. Whisk egg and cream together until combined. Stir in vanilla.
- Make a well in the middle of the dry ingredients and pour the egg/cream/vanilla mixture into the well.
- Using a sturdy spoon, begin to scrape in from the side to the center flipping the dry ingredients from the bottom and over the top of the wet ingredients. Turn the bowl, scrape inward and flip bottom over top again and repeat and repeat until you have evenly distributed the moisture. (See photos in blog post)
- At this point, use your hands to finish mixing. Do this by squeezing the mixture and flipping it so that the dry bits in the bottom of the bowl can be incorporated. Squeeze again and flip. Repeat until the mixture comes together, there are no piles of dry ingredients at the bottom of the bowl, and you can form a ball.
- Place two large pieces of plastic separately on your counter.
- Divide dough in half and place each half on a piece of plastic wrap.
- Form each piece of dough into a round disk about 3/4" thick. Use the plastic wrap each piece is sitting on to wrap up the individual disks. Place on a flat surface (or small cookie sheet) in the freezer for 30-45 minutes or until firm.
- Preheat oven to 400 degrees F about 15 minutes before you take the scones from the freezer.
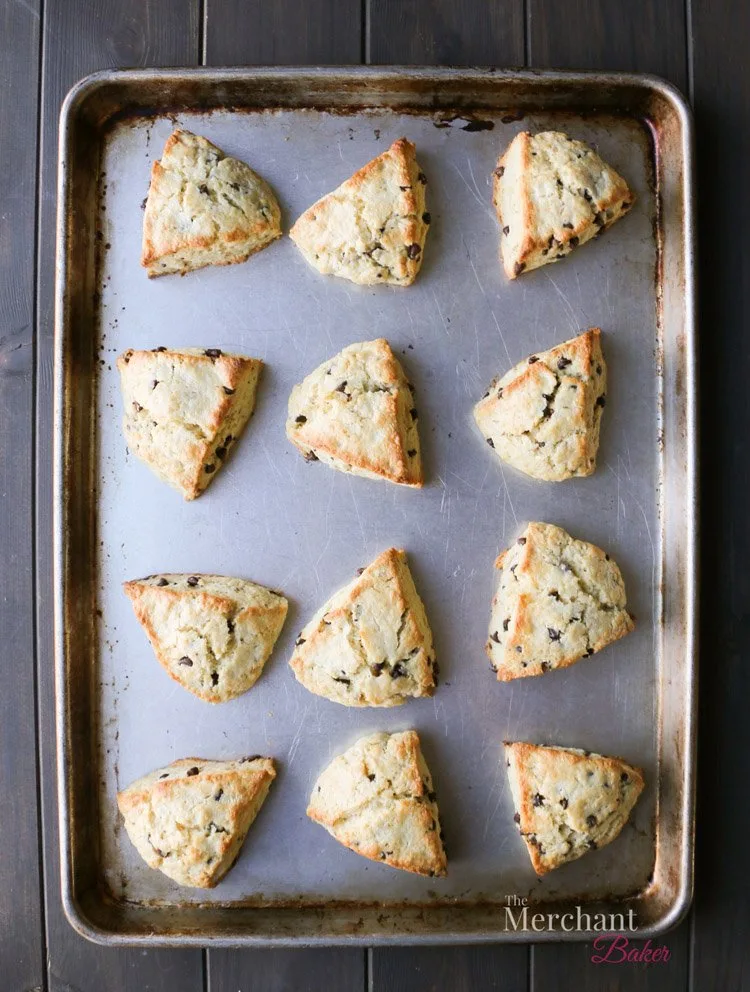
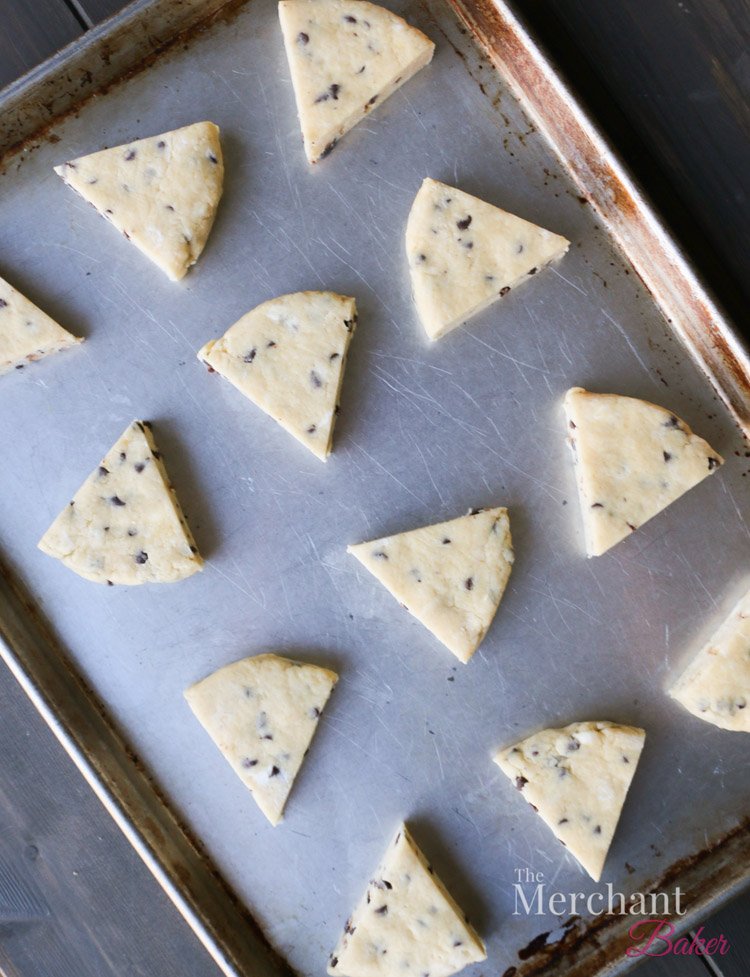
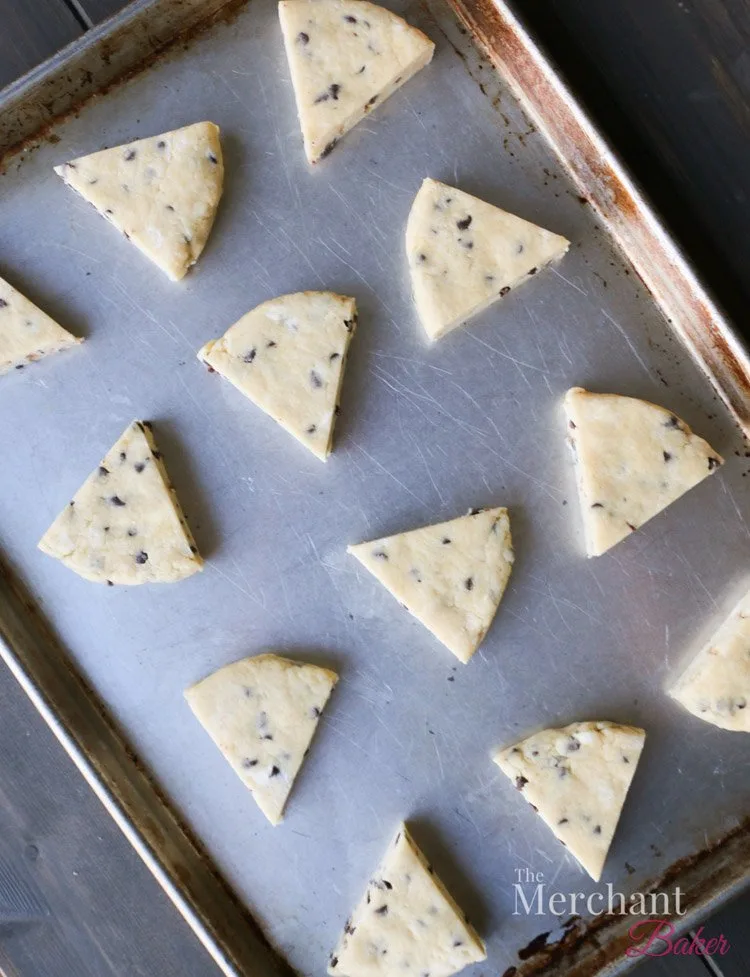
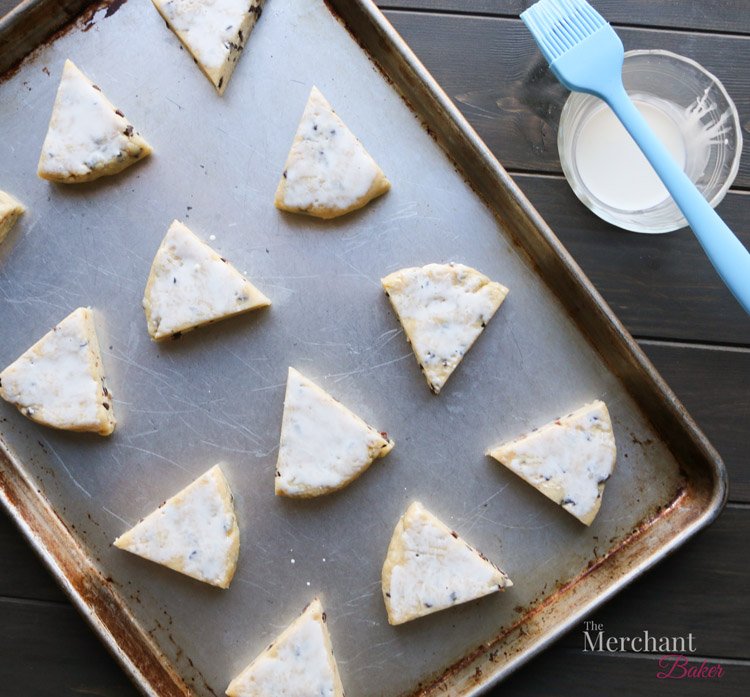
- Remove scone disks from freezer, unwrap and cut each into 6 wedges. Place the wedges a couple of inches apart on a large, ungreased sheet pan.
- Brush the tops with additional cream, if desired.
- Bake for 12-15 minutes or until scones have risen and the edges are beginning to get golden brown.
- Remove from oven and set aside to cool.
Make the icing:
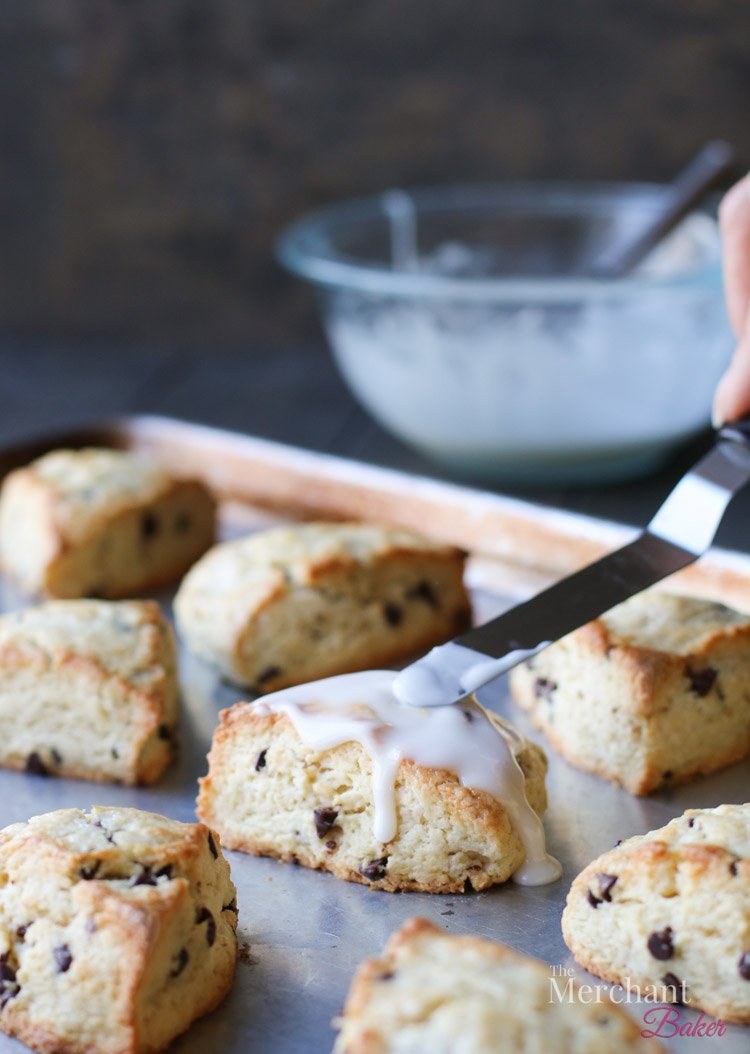
- Once scones have cooled, stir the confectioner's sugar, vanilla and 2 Tablespoons of water or milk in a small bowl. Add additional water or milk until you get desired consistency. I used 3-4 Tablespoons for a thick, but still drippy glaze.
- Ice the scones. Allow the icing to set. Serve.
- Store extras wrapped in foil or in a covered container at room temperature.
Notes
*The scones are lightly sweetened. You can increase sugar from 1/3 cup to a 1/2 cup for more sweetness or make a thicker and more generous glaze for the icing.
*If you use salted butter, you can omit the salt.
*Brushing the scones with cream is optional, but they bake up with a glossier finish if you do.
*If you use a food processor to mix the dry ingredients and cut in the butter, make sure you remove the mixture from the processor after the butter step and continue the recipe by hand in a mixing bowl.
*There's enough icing to glaze the scones as pictured with a few spoonfuls left over. If you want just a simple drizzle and aren't trying to cover the whole scone, start with 1 cup of confectioner's sugar and add liquid to desired consistency.
*You don't have to wait for the scones to fully cool. We love a warm scone as well with all those melty chocolate chips. Just know that if you ice them, the glaze will "melt" into a hot scone as opposed to it setting on top of a cooled scone. Both are delicious. Your choice to eat warm or room temperature, iced or plain.
*See the blog post for many more helpful tips and information about this recipe.
Penny Thomas
Friday 24th of January 2020
These look absolutely delicious and extraordinary! Can't wait to make some!
Ramona
Friday 24th of January 2020
I think you'll love them, Penny! Make them soon! 😋