Is it too early in the month of resolutions to suggest a little breakfast splurge?

Allow me to propose Dark Chocolate Fudge Scones for said splurge. I have wanted to share a chocolate scone recipe with you since the inception of this blog and the plan was always to post them near February, the ultimate time for all things chocolate. This year, we can consider that mission completed.
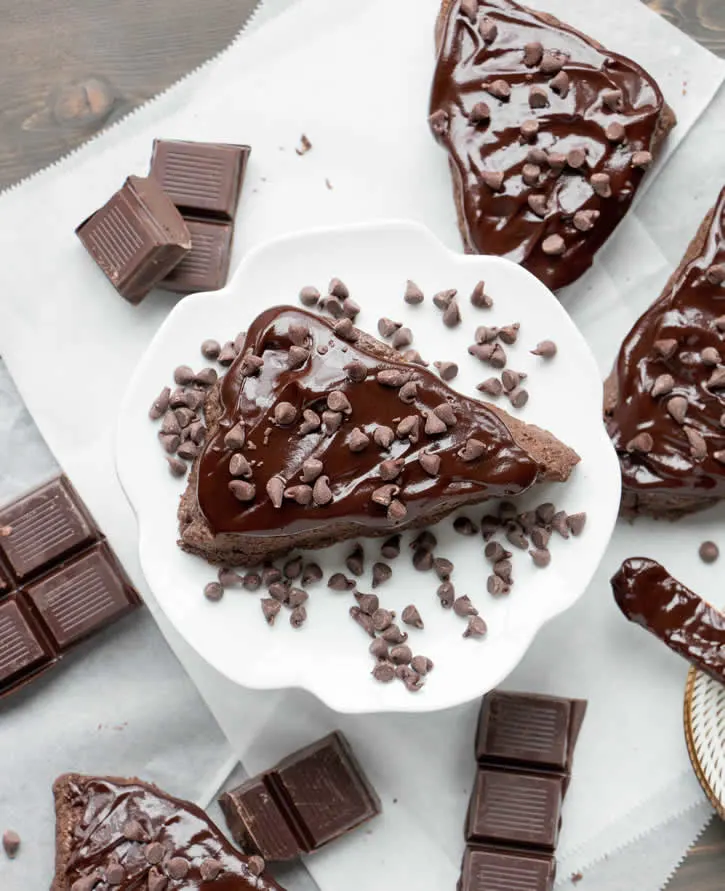
I made my first batch of chocolate scones about three or four years ago when I volunteered to bake something for a teacher appreciation breakfast. I knew scones would be my go to breakfast treat for the teachers. I decided to make three different kinds of scones. I wanted one of the flavors to be chocolate, and back then, recipes for chocolate scones were difficult to find. I had tested my way into My Favorite Cinnamon Scones but hadn’t worked on a chocolate scone. With no time to develop my own, I found a recipe from a bed and breakfast that looked good and went with it. I figured, I was making two other flavors anyway, so I had back up, but really, how bad could a chocolate scone be?
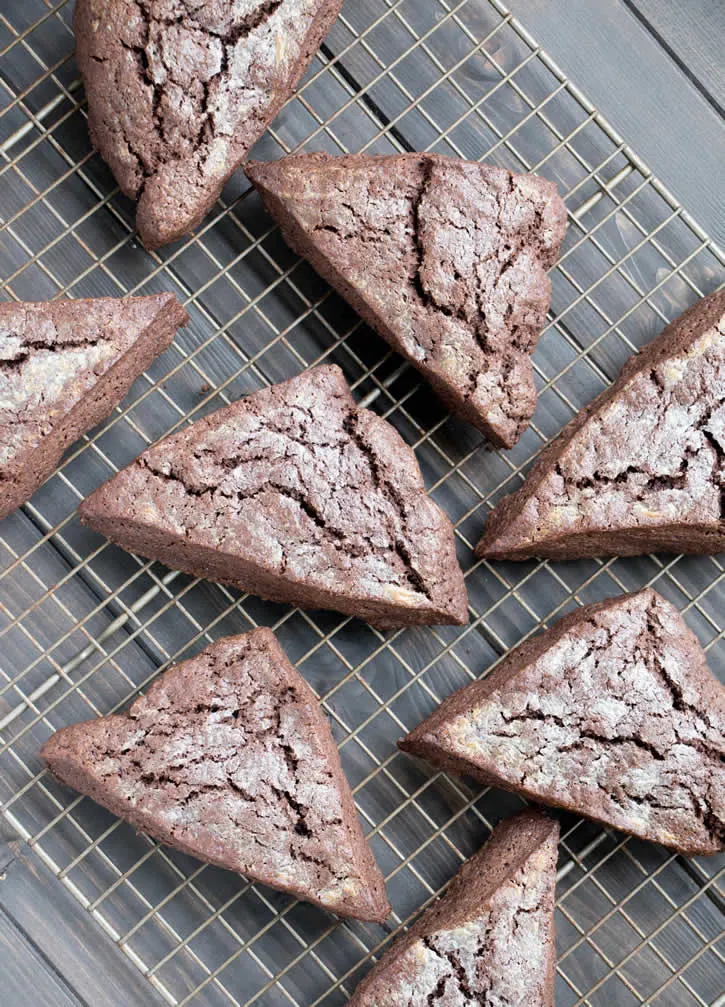
The scones above were brushed with cream before baking. That’s why they’re a little shiny with some lightness to the tops. It’s not a necessary step since we’re going to drench them with ganache later.
So, I made the recipe. Everyone loved it, but it wasn’t exactly the kind of scone I was searching for as my “go to” chocolate scone. I put developing my own recipe on the back burner, knowing that I wanted a scone that had the richness, texture and flavor I look for in most of my scones recipes.
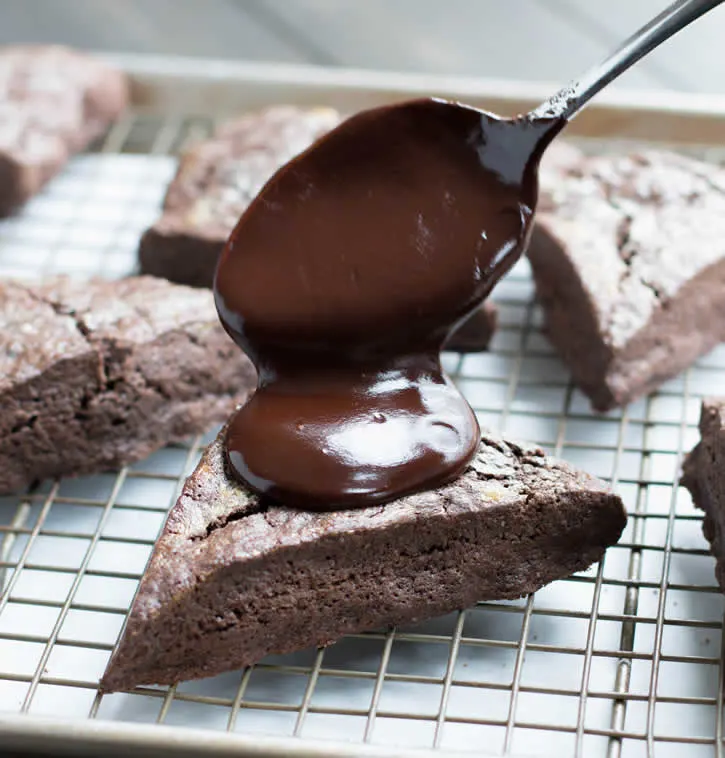
As I’ve mentioned before, I like my scones rich and my biscuits light and fluffy. My scones are generally made with a “short” dough, or a dough that has a high ratio of fat to flour. To date, I haven’t tried to make a fluffy scone. In fact, the years I spent developing My Favorite Cinnamon Scones were spent doing anything but trying to make a fluffy scone. I won’t say it will never happen, but if I’m thinking fluffy, then I’m usually developing a biscuit recipe.
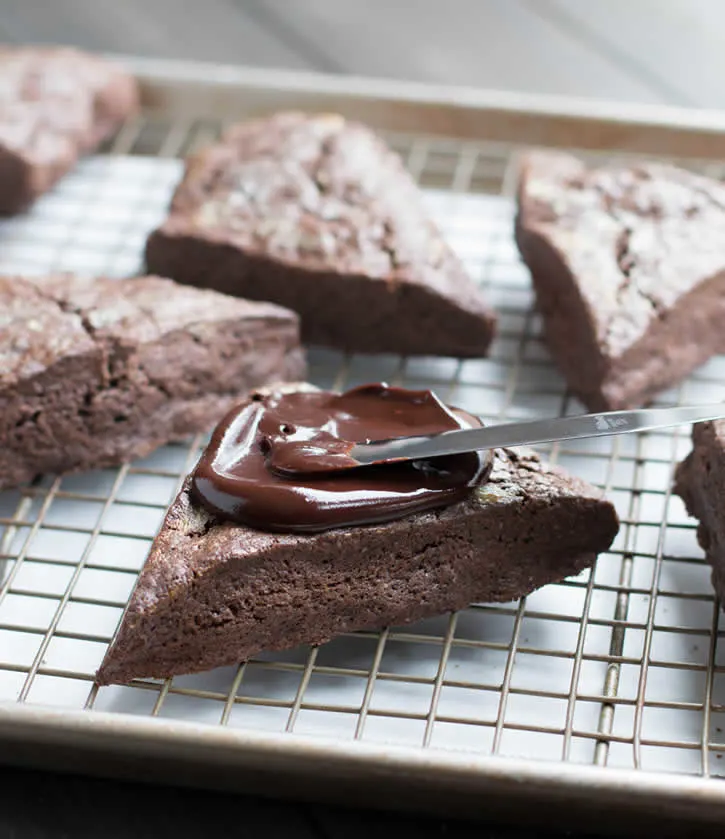
This recipe took a couple of trials to get it just where I wanted it, but that said, all trials were enjoyed by my taste testers. In fact…drumroll…this is my husband’s new favorite scone! (“Shocking,” she thought, sarcastically :) I remember giving him the first sample and saying, alright, try to get past the fact that it’s chocolate and covered with a creamy fudge topping and give me some honest and constructive feedback. Instead, I got, “That’s one jolly good scone!” (Alright, that’s not a direct quote. He actually used more “colorful” language in his proclamation, but you get the idea.)
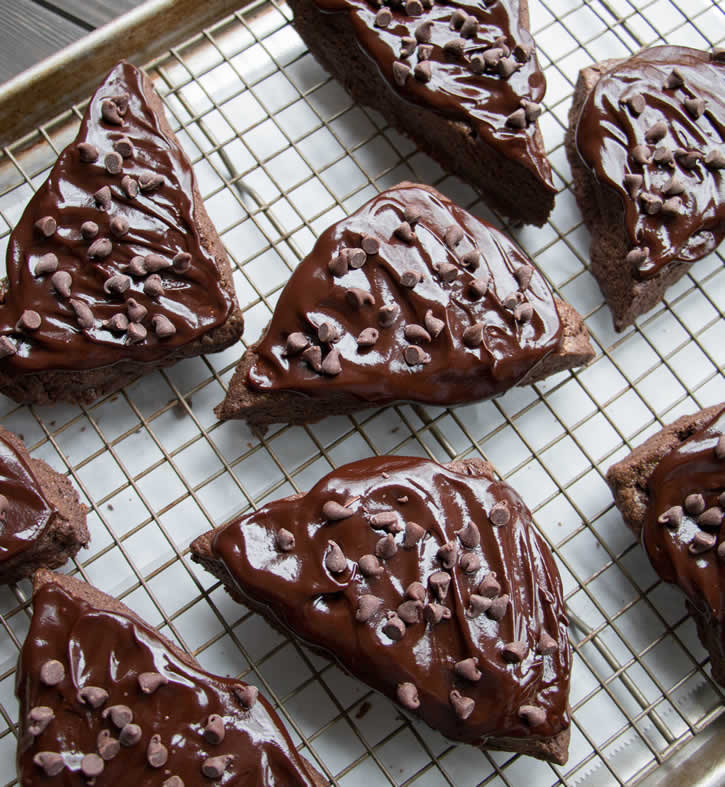
It’s not often that I have to rephrase a taste tester’s comment, let alone my husband’s. He’s not prone to expletives as a general rule. In fact, I never trust such passionate praise when I receive it. It sets expectations rather high and I feel like we never get to the heart of solid constructive feedback. Of course, when I tasted it, I didn’t succumb to the wiles of the chocolate :) I tested with a number of questions in my mind. Did I like the texture? Was there enough chocolate flavor? Was it sweet enough? Did I like the topping or would I prefer it without? Were chips a good choice to top the fudge or would I have preferred nuts, or toffee chips, or white chocolate?
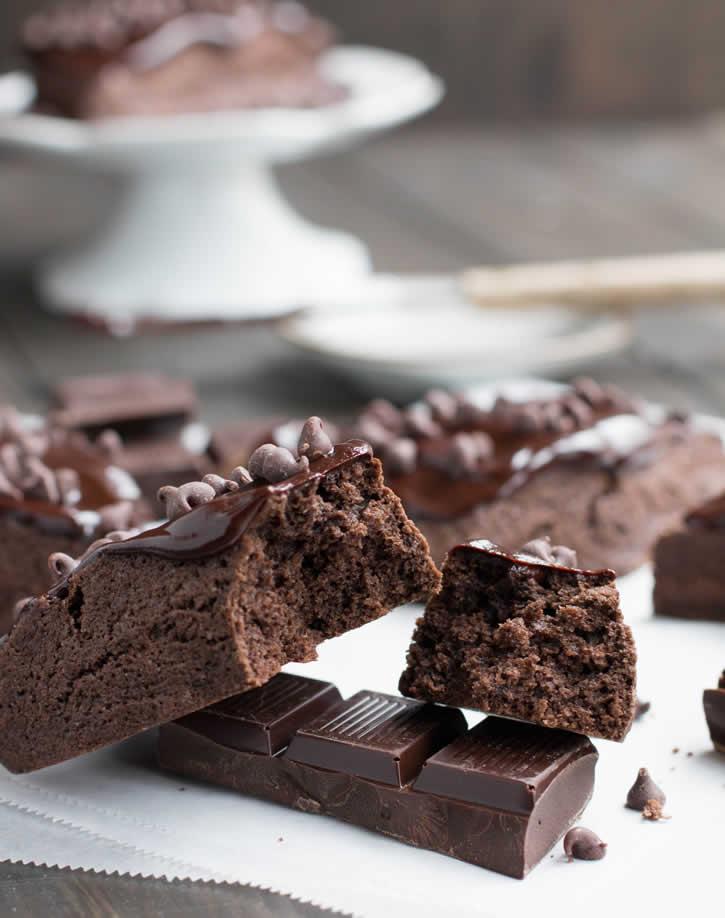
I had one issue…the texture wasn’t quite right for me. I wasn’t sure if I over baked them or they just needed more moisture. After all, it’s a little hard to judge when a chocolate scone is done because it’s difficult to see the light golden brown color that I look for in my other scone recipes. I might have baked them 2 minutes too long and I also decided that the scone needed a little more moisture. On to round 2.
I added another 2 Tablespoons of cream and pulled them out of the oven 2 minutes sooner than the first batch. How did I test for doneness? I knew they would be done sometime between the 10 and 15 minute mark. When I saw them puff up and the tops were crackled with no wet spots, I decided they were done. That was about 12 minutes, maybe almost 13. This time, I thought they were wonderful. My daughter agreed. We liked batch 2 better than batch 1. It was a little more tender, had more moisture and therefore, was less crumbly. That second batch also got just a bit more lift.

The first bowl shows what the mixture will look like after you’ve added the egg/cream mixture. You’re going to think it’s too dry. The second bowl shows what that same mixture looks like after I’ve used my hands to squeeze the mixture together just a few times. After flipping and squeezing the dough together for another minute, the dough will come together in a ball. Just don’t over mix it. You just want it to come together so that there’s no dry bits left in the bowl.
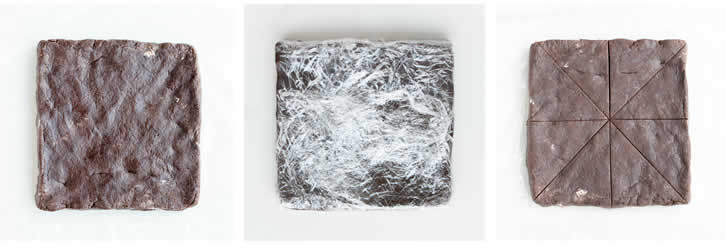
Here you’ll see the dough square right after I’ve shaped it. It’s not over mixed. You can still see pieces of butter throughout the dough. Then it’s wrapped in plastic wrap and refrigerated. This gives the butter time to firm up and also helps achieve nice, clean cuts.
My husband maintains that the first batch was better; He liked the texture a little more crumbly. My son simply asked to have one of each so that he could have two scones instead of one :) (He wasn’t thrilled when I cut them in half so that his scone consumption actually remained the same.)
As far as the sweetness? I wanted them lightly sweetened. I was shocked, but both my husband and my good friend, both of whom have a giant sweet tooth, agreed they were sweet enough. I didn’t want them to be like a chocolate frosted doughnut. I wasn’t going for a brownie, or a cookie or a cake that was masquerading as a scone. I simply wanted a chocolate scone…something that wouldn’t send you reeling into a sugar coma first thing in the morning. I only increased the sugar from 1/3 cup to 1/2 cup from my general scone recipes. (A typical brownie recipe can have three or four times that amount of sugar.)
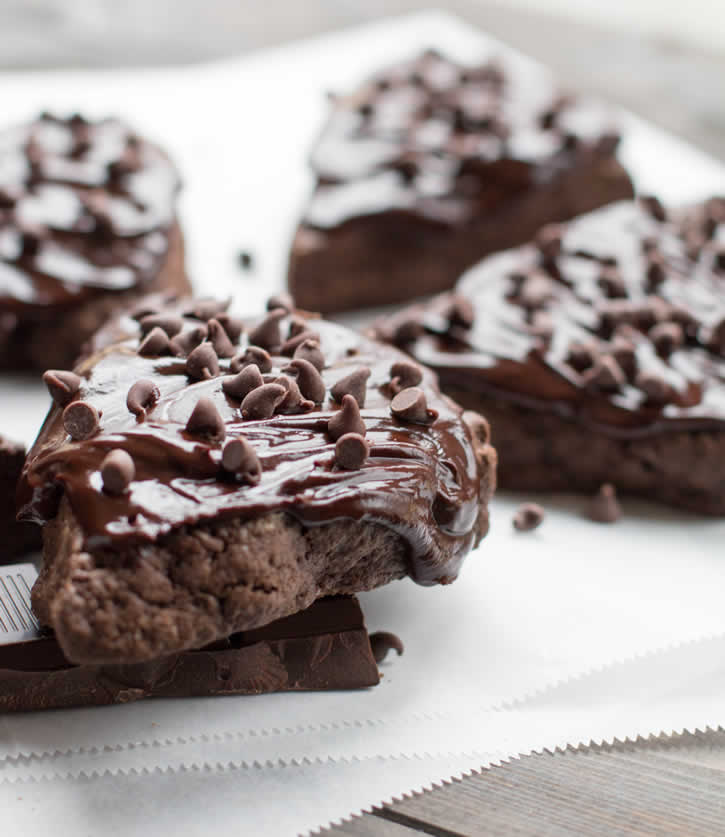
Let’s be honest though, it IS covered in fudgy chocolate ganache. But it’s a dark chocolate fudge, which also keeps it on the less sweet side. It’s still a splurge that’s filled with butter and cream and cocoa. It’s rich and delicious and yet I didn’t feel like it was too much. We loved having them as a treat for breakfast and as a fun snack for afternoon tea. They can also work nicely as a less sweet dessert. And for those who crave a sweeter choice, I’ve given some tips in the notes section to help you achieve that.
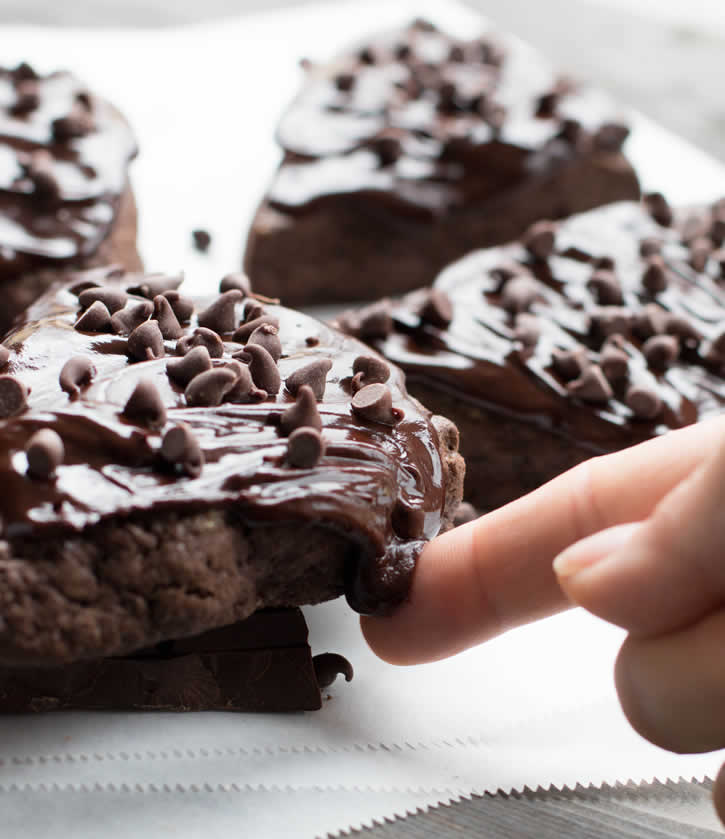
Is it too early to splurge on some Dark Chocolate Fudge Scones? I don’t know…I mean really…isn’t every day…a good day…
for some chocolate?
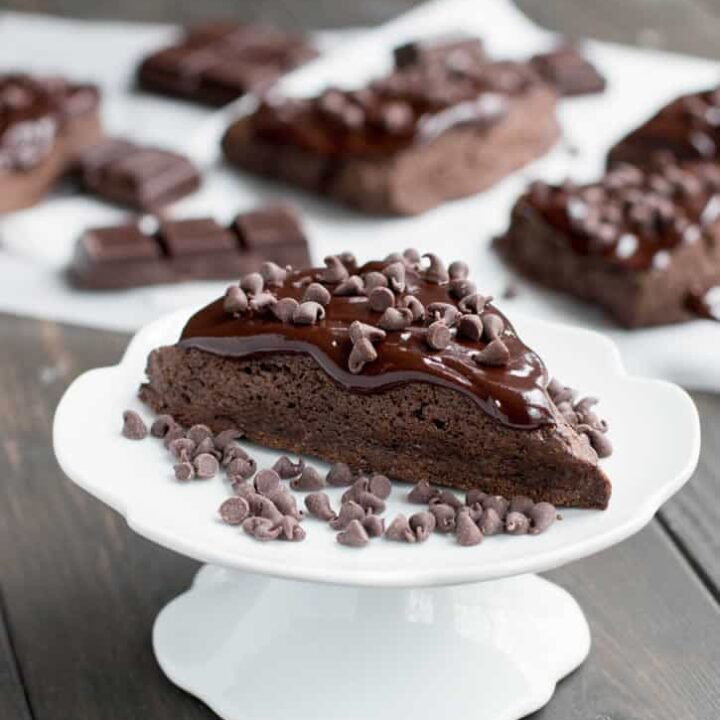
Dark Chocolate Fudge Scones
Ingredients
For the scones:
- 2 cups all purpose flour
- 1/3 cup unsweetened dark cocoa (I used [Double Dutch Dark Cocoa|http://www.kingarthurflour.com/shop/items/double-dutch-dark-cocoa-16-oz])
- 1/2 cup sugar
- 1 Tablespoon baking powder
- 1/4 teaspoon salt
- 8 Tablespoons (1/2 cup or 1 stick) cold, unsalted butter
- 1 large egg
- about 6 Tablespoons heavy cream
- 1 teaspoon vanilla extract
For the fudgy ganache topping:
- 1 1/2 Tablespoons light corn syrup
- 3 ounces heavy cream
- 6 ounces chopped dark chocolate
- 1/2 teaspoon vanilla extract
Instructions
- Preheat oven to 400 degrees F.
- In a medium bowl, whisk flour, cocoa, sugar, baking powder and salt.
- Cut in butter with a pastry cutter, two knives or you can rub the butter in with your fingertips, until the mixture is crumbly and you have varied size butter chunks no larger than peas.
- Crack an egg in a glass measuring cup and whisk it with a fork. Then add cream until you reach 1/2 cup, then add 2 more tablespoons of cream to the mixture. Add vanilla. Mix with a fork until well blended.
- Make a well in the center of flour mixture and pour in the egg/cream mixture. Toss gently with a fork until you've distributed the liquid well and mixture begins to hold together a bit. Your mixture is going to seem to be too dry, but try to resist adding more liquid.
- Use your hands to gently mix/lightly knead the mixture in the bowl until it comes together. I squeeze the mixture, flip it over to pick up dry bits and squeeze again. Don't over work or over mix. Just squeeze and flip until there are no dry bits left in the bowl. You want bits of butter to still be visible when your form the scones.
- Once the dough comes together, lay two overlapping sheets of plastic wrap on your work surface to create an area large enough to wrap up your dough once you shape it.
- Shape dough into a square about 3/4" thick. My square was about 6 1/2"-7" across.
- Wrap the dough square in the plastic wrap and place it on a tray.
- Refrigerate the dough for about 30 minutes or until it has become firm.
- Unwrap the dough and cut into 8 triangles. Place scones a few inches apart on an ungreased baking sheet. (You can brush the tops with additional cream, if desired. See notes.)
- Bake for 12-15 minutes or until you see them puff up and tops have cracked. Mine took 12 minutes. Take care not to over bake or the scones will become dry.
- Allow to cool and set up for a few minutes on the baking sheet, then remove to a rack to finish cooling.
- Make the ganache. In a small saucepan, combine the corn syrup and heavy cream.
- Bring to a simmer and add the chocolate. Stir until smooth. Remove from heat and add the vanilla.
- Top each cooled scone generously with the ganache and sprinkle with mini chocolate chips.
Notes
*I store these in an air tight container in the refrigerator because of the ganache. Some feel you can leave ganache out for a couple of days, but I err on the conservative side when storing food. Ten seconds in the microwave works to heat one up, though my husband and son preferred them cold. If you don't top them, you can wrap them in foil and be left out on the counter for 2 days or so.
*You can brush the tops with cream before baking, if you wish. I did that on my first batch, out of habit, but it's completely unnecessary as you will be completely covering the tops with ganache. If you aren't topping them, I would brush them with cream and then generously top each with some coarse raw sugar.
*You can use regular unsweetened or Dutch process cocoa in this recipe. I recommend using a dark cocoa.
*This is not a super sweet scone. I didn't mean for it to be as sweet as a brownie, cookie or cake. If you like a sweeter scone, you can try adding another tablespoon or two of sugar to the dough, though I've never used more than 1/2 cup and I'm not sure how it would change the texture. Instead, I would recommend making the topping sweeter. You can use 1/2 milk chocolate/1/2 dark chocolate or even all milk chocolate for a much sweeter fudge topping.
*If you don't feel like making the ganache, they are really, really good slathered with some Nutella :)
Ganache recipe adapted from [Alton Brown|http://www.foodnetwork.com/recipes/alton-brown/ganache-recipe.html]
The Merchant Baker Copyright © 2017

Elaine Cobb
Friday 27th of January 2017
I can now stop looking for my favorite recipe in the world. Oh these are decadent! You have outdone yourself girl. ?
Ramona
Friday 27th of January 2017
Aww, Elaine...that's one sweet compliment! You've made my day!
Sandra Watts
Wednesday 25th of January 2017
They look so scrumptious!
Ramona
Wednesday 25th of January 2017
Thanks, Sandra! I only made them a few days ago and I'm already wishing I had a fresh batch ready and waiting to dig into!