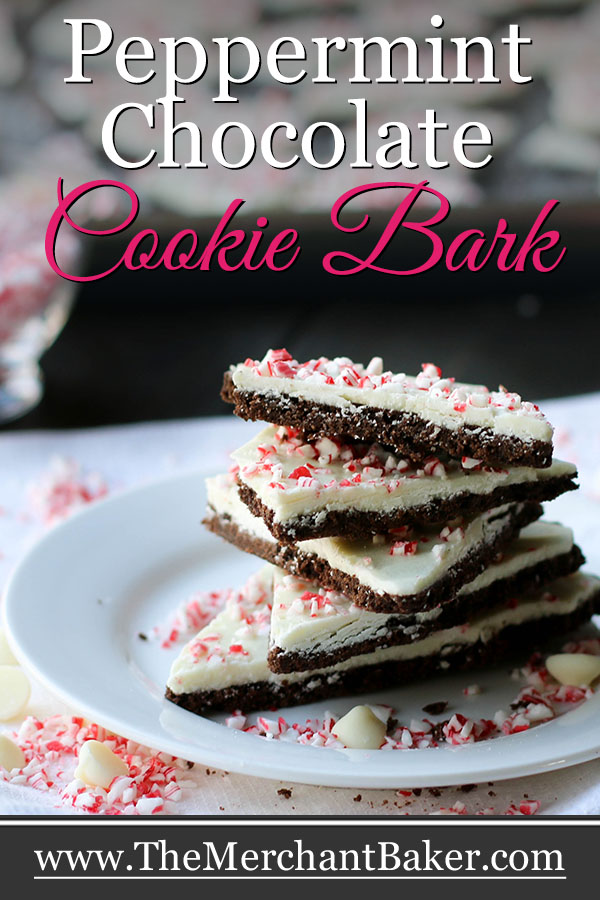

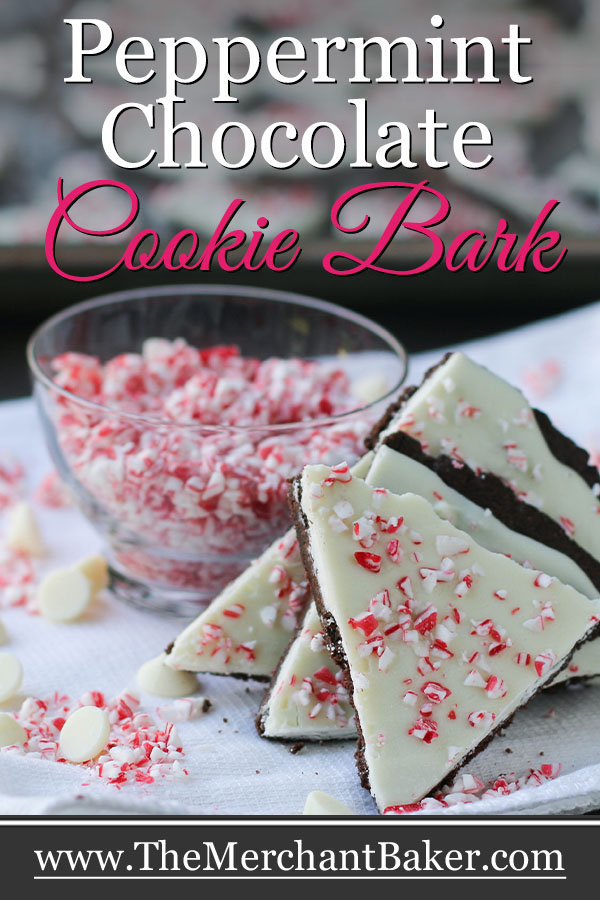

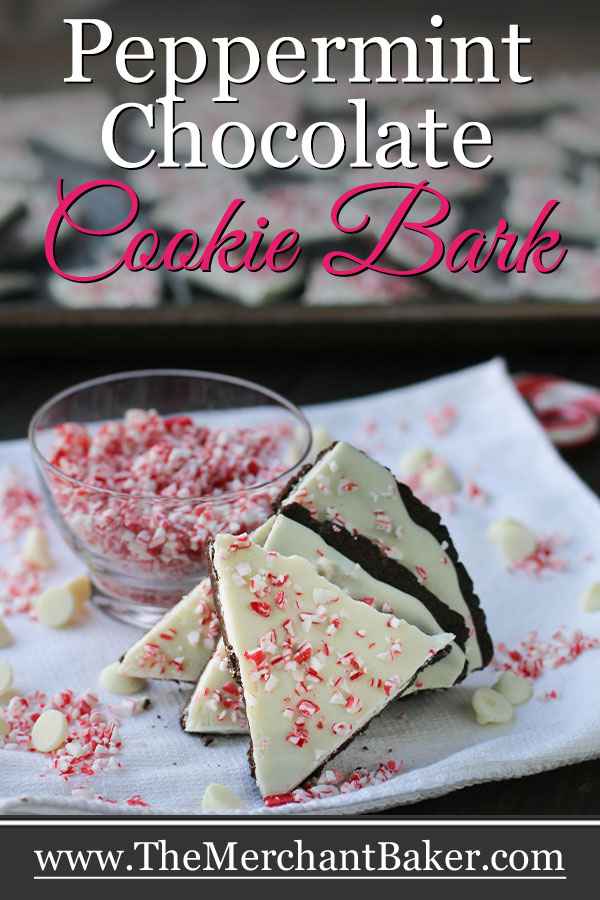


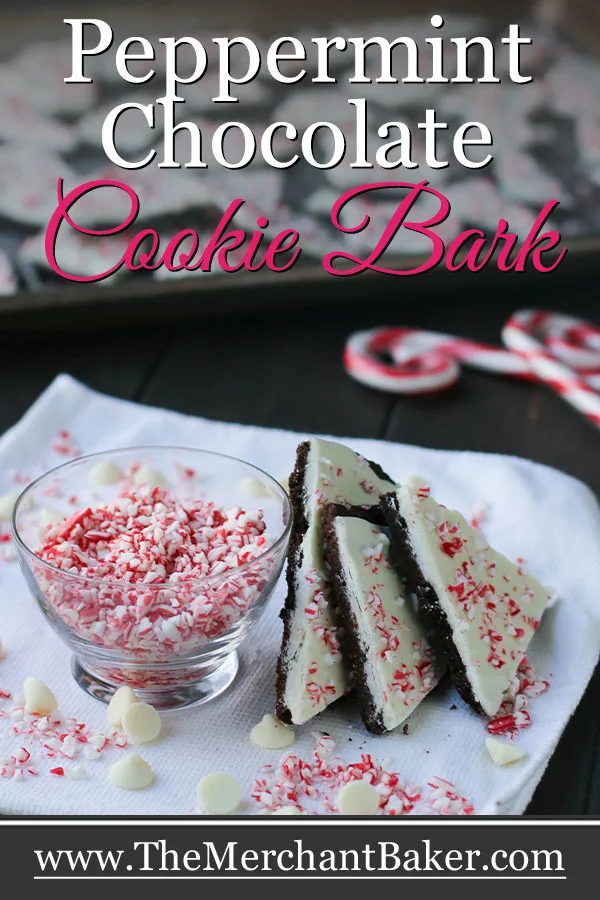
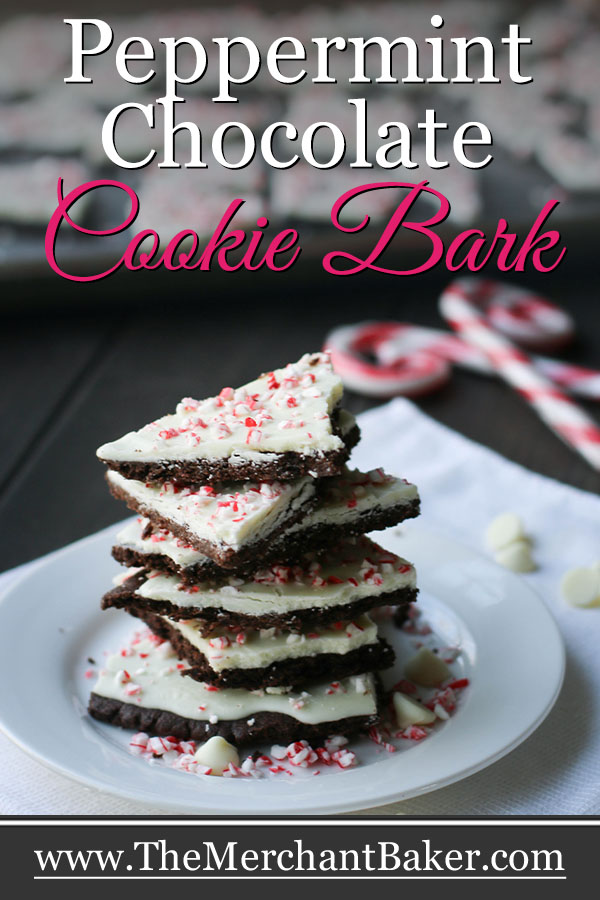

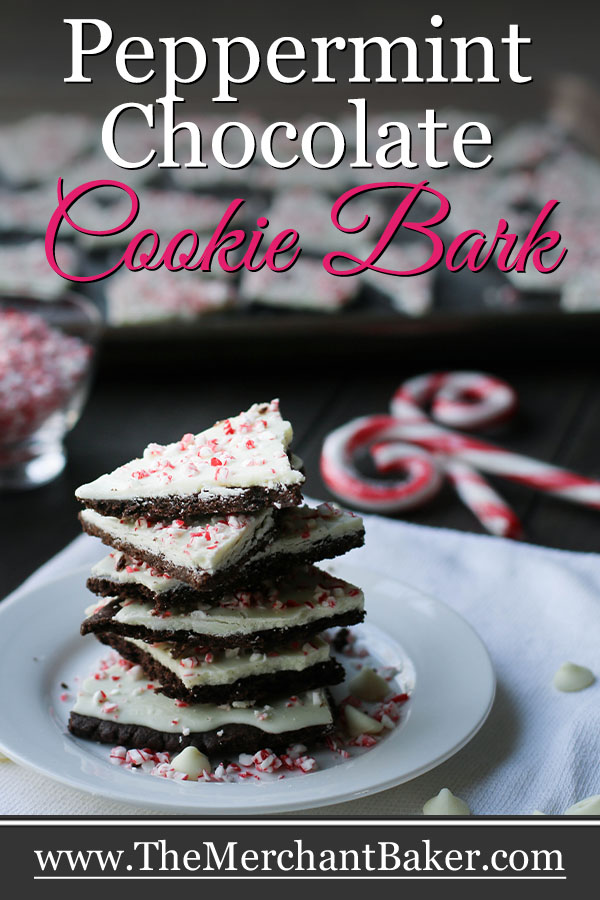


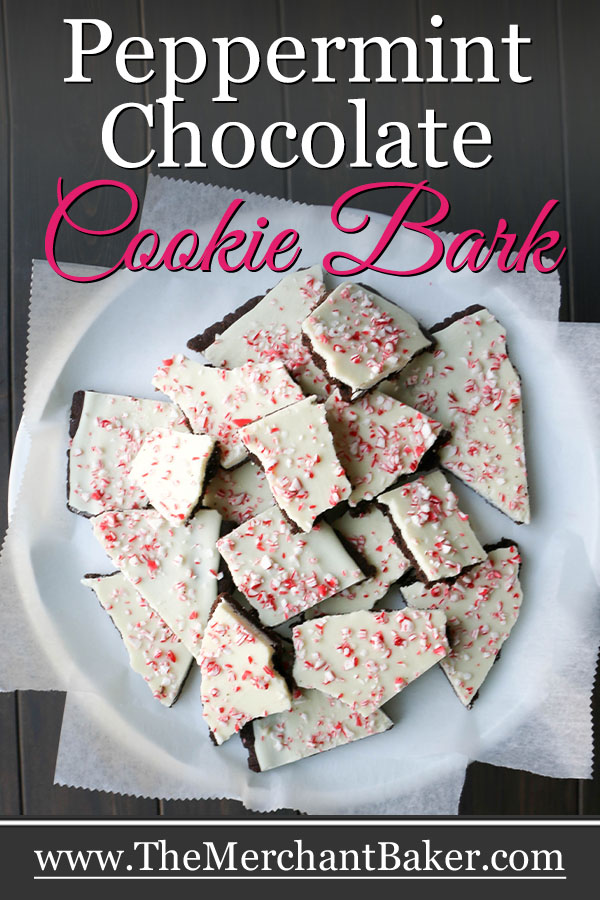


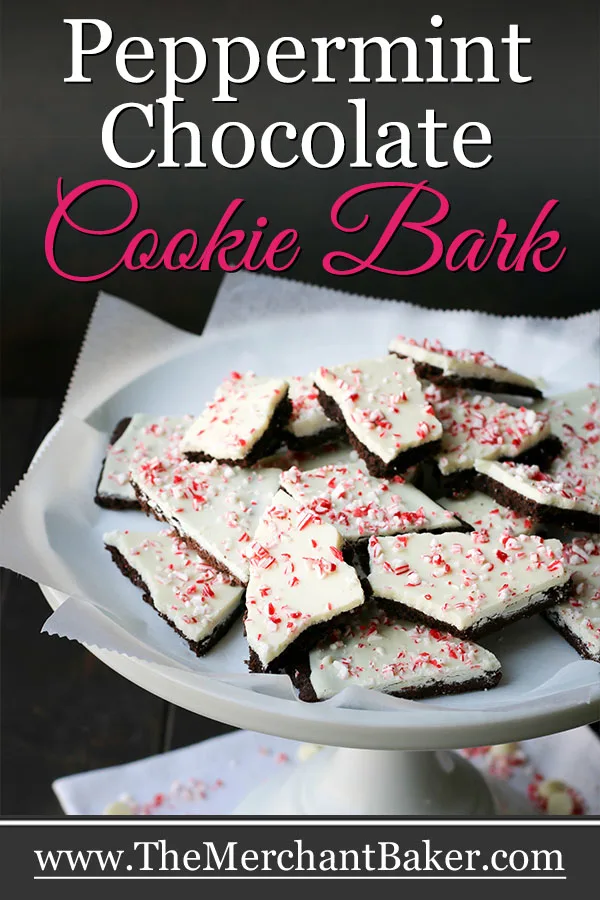

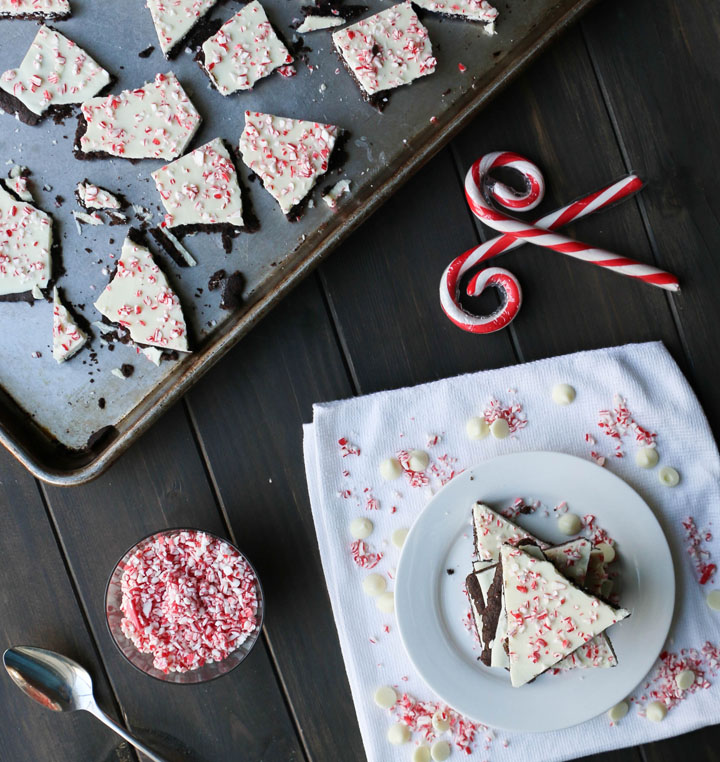
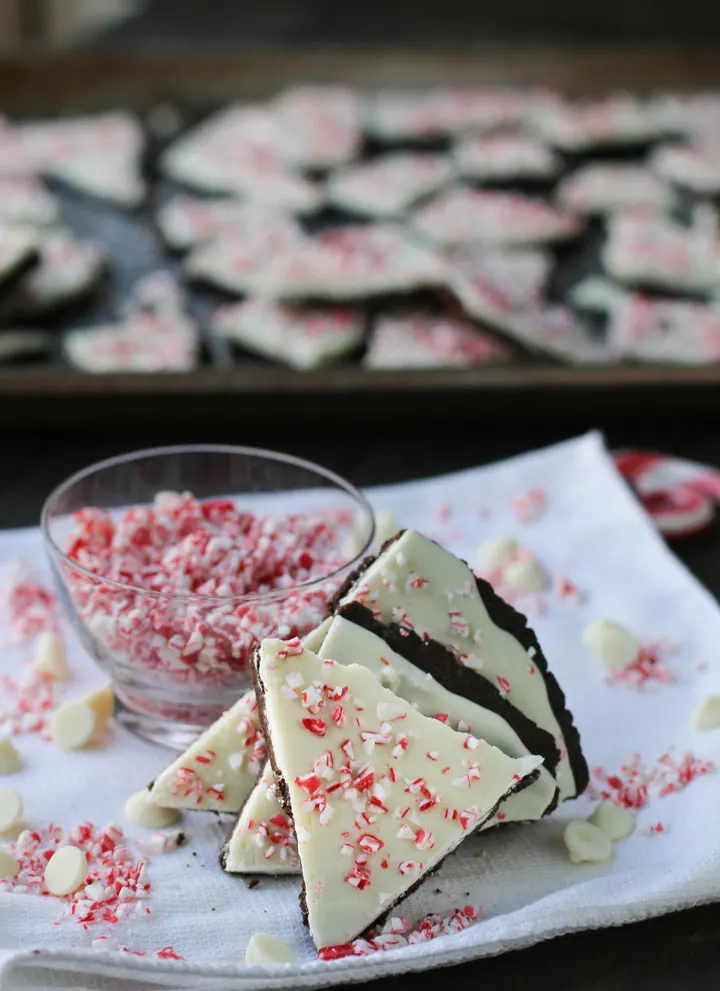
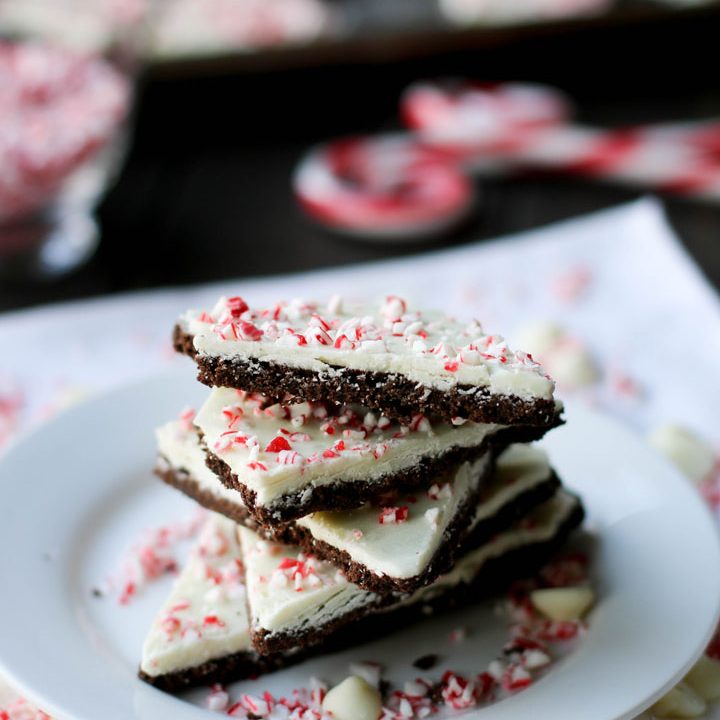
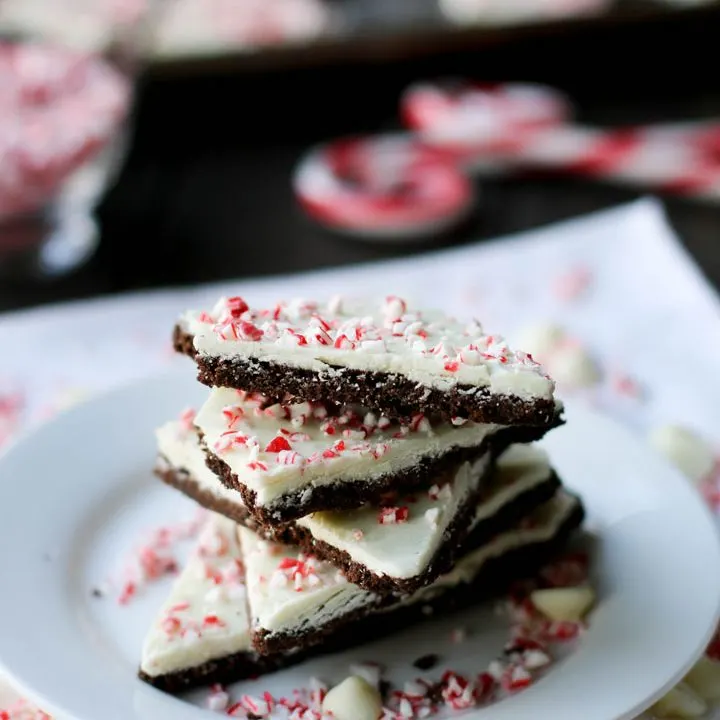
Peppermint Chocolate Cookie Bark is an easy way to get your peppermint bark fix in the form of a cookie! Just bake a thin chocolate mint cookie for the base, let some white chocolate chips melt on top. Spread the melted chocolate and top with crushed peppermint candies! Break it up into pieces and you’ll have a treat that looks and tastes like peppermint bark, but eats like a cookie :)
Well kids, we’re in the home stretch of the Christmas baking season. Some of you have been baking for weeks and others are still making cookie baking plans. Some are just hoping to be the sweet recipient of the love and time you’ve spent in the kitchen.
If you’re still wondering what to bake, check out my round up for 25 Cookies to Bake for the Holidays. It has so many of my tried and true cookie recipes. I’m sure you’ll find at least one that you love.

I’ve only made a handful of cookies this year, myself. Normally, we clear space in the freezer and then load it up with all the cookies we plan to share. The freezer does an amazing job of keeping them all fresh and ready to go. (I hate to deliver a stale cookie.)
You should see the assembly line when we’re packaging cookies. My husband and I have it down to a science! With packaging and tags and lists all ready to go as we rotate all of the containers in and out of the freezer.
For this particular Christmas, our freezer is stocked with “real food.” Not a ton of room for hundreds and hundreds of cookies. We still wanted to keep our cookie baking tradition, we just needed to pare it down….a lot..
So we started this year’s planning with the “must haves.”

For us, that’s usually my Classic Butter Spritz Cookies, Raspberry White Chocolate Blondies, Italian Biscotti, some type of chip cookie like Malted Milk Chocolate Chip Cookies or Chewy Chocolate Chip Cookies and something with peanut butter, usually Soft Chewy Peanut Butter Chip Cookies or peanut butter blossoms.
Oh, and then we like something minty. My fave are Andes Mint Chocolate Chip Cookies, while my husband loves Minty Cocoa Fudge Sandwich Cookies.
I mean, can you see where this is going? This is why I end up with 12-16 different cookies some years. It’s always, “but we have to have this!” or “we have to have that!” Or, I’m baking something new for the blog or I just have to try a new recipe I found.
It simply doesn’t end. Cookies and more cookies.

Back to the mint. I wanted to make something easy this year. To say the past months have been trying is an understatement. So, I try to push the easy button as often as possible. And today, my friends, is one of those days.
This recipe requires no scooping of dough, no cookie cutters, no decorating individual cookies.
As a matter of fact…once you make the dough, you’re almost done.
So let’s start with the cookie base.
The following paragraphs contains affiliate links. We are a participant in the Amazon Services LLC Associates Program, an affiliate advertising program designed to provide a means for us to earn fees by linking to Amazon.com and affiliated sites.

Choosing a cocoa
I used King Arthur’s Double Dutch Dark Chocolate Cocoa. You know it’s one of my go to cocoas; it’s critical to my brownie recipes and any time I want a deep dark chocolate flavor (pretty much all of the time :)
I also think the dark cocoa works best for this recipe because it balances nicely with the sweet white chocolate topping. You have to special order the Double Dutch from King Arthur, but you can buy Hershey’s Special Dark {aff. link} in your local grocery store.
Of course, you can also use your favorite unsweetened cocoa. It just won’t have that deep dark flavor and color.

Adding espresso powder
Along with my dark cocoa, I added a bit of espresso powder. It’s optional, but it brings out more of that rich chocolate flavor. You’ll see that I use it quite often in chocolate based recipes.
Again, I go to King Arthur for my espresso powder, but if you don’t have it on hand, then instant coffee powder or granules will work just fine.
It must be a form of coffee that dissolves completely in water. In other words, skip your morning coffee grounds.
What’s the difference between mint extract and peppermint extract?
Mint extract is a combination of peppermint and spearmint, while peppermint is all peppermint.
So, you want to insure that you’re using PEPPERMINT extract, not mint extract.
Also, peppermint extract is strong. It’s not like vanilla, where adding extra is often welcome.
In this recipe, I used 1/2 teaspoon for the cookie dough. If you just want a hint of mint flavor, go with 1/4 teaspoon. If you’re a person where too much peppermint is never enough, go ahead and risk 3/4 teaspoon. It does mellow with time, so it’s not the hugest risk you’ll take.
Make the Thin Mint Chocolate Cookie Dough
This cookie dough comes together like many others. Cream the butter and sugar. Add egg and extract. Add in dry ingredients. Done.
Also note, this cookie calls for just an egg yolk. Save the white to scramble in with your next batch of eggs.
Tip: Use plastic wrap to roll out the dough
I use this tip for pretty much everything now from my Easy All Butter Pie Crust to my Chocolate Chip Scones. I use it whenever I need to roll out anything on my counter.
This works best if you have a counter that plastic wrap sticks to. So, if you have marble, granite or quartz counter tops, you should be good to go. If you don’t, you can wet the surface of your counter just enough so that the plastic adheres.
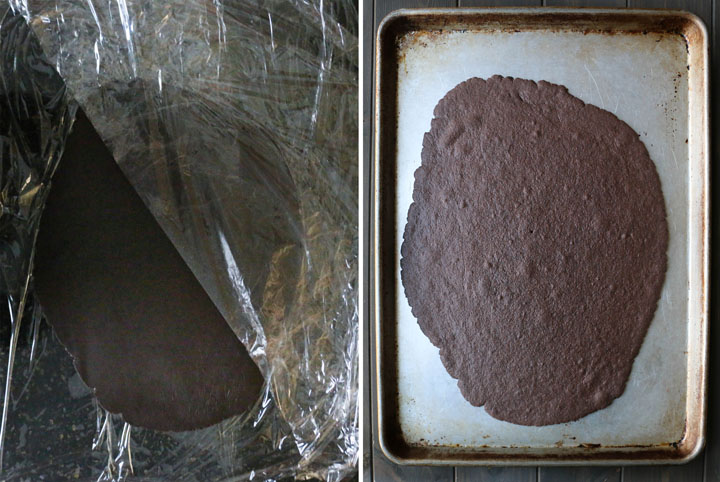
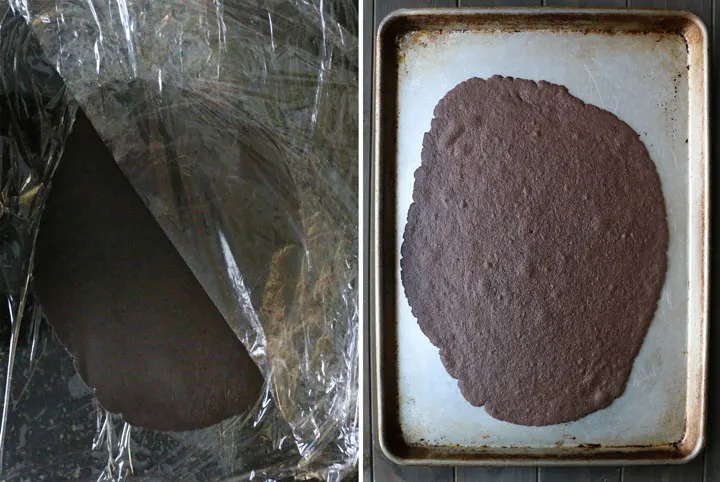
Spread out a couple of sheets to give yourself a nice work area. Next, form the dough into a flat rectangular brick. This will give you a head start since you’re going to be rolling it into an oblong shape.
Cover it with more plastic wrap and then, with even pressure, roll from the center outwards, changing the direction from side to side and up and down. You don’t need a perfect shape, but it’s good if you have an even 1/8″ ish thickness. Mine was just a bit thicker than an 1/8″ but definitely thinner than 1/4″.
I rolled my dough to about a 10″ x12″ oblong shape. It doesn’t have to be perfect. It’s just going to be broken up into pieces later, so don’t sweat it. Just roll it out.
Do I have to roll the dough?
No. The dough is actually quite soft at this stage, so if you don’t have a rolling pin, you can just press it into that same thin layer using the plastic wrap.
I used a rolling pin because it’s simply faster and easier. But, pressing it into a thin layer isn’t difficult, either.
The dough is going to be baked and then coated with chocolate, so as long as you pressed into an even layer, I don’t think it will matter much.
If you don’t use the plastic wrap tip, which also makes it easier to move from counter to pan, then press the dough directly onto the baking sheet.
Choosing white chocolate
I used Ghiradelli White Chocolate Chips. You can also use Ghiradelli White Chocolate Baking Bars. You definitely want a good tasting white chocolate since it’s a star ingredient in this recipe.
I don’t use almond bark because it has trans fats and we avoid those. That being said, everyone has different preferences and rules they live by, so as long as you choose an ingredient you love and you know melts well, then you should be good.
(If you do travel down the almond bark road, then you might have to chop those big blocks down to help them melt faster.)


Melting the white chocolate
I love it when you can melt the chocolate right on top of the cookie. I did this for my Triple Peanut Butter Blondies and again with my Easy Lace Cookie Bark. <<(Another cookie reinvented as an easy bark :)
I did wrestle with whether or not I wanted the white chocolate to be peppermint flavored. That would have required an additional step to melt the chocolate in a separate bowl and add the peppermint flavoring.
(If you do decide to go this route, you need to add a bit of oil to the melted chocolate to help the chocolate accept the peppermint extract without seizing. You also should consider if you need to back down the peppermint in the cookie to balance with the additional peppermint in the white chocolate.)
I decided that there was enough peppermint flavor in the cookie and in the candy topping to carry the flavor, making that extra step unnecessary.
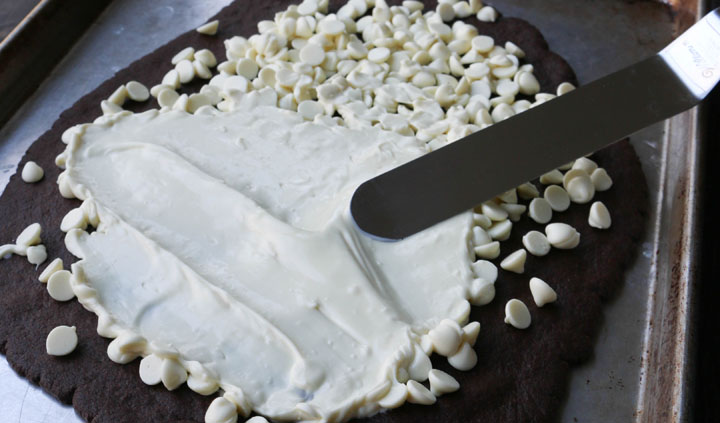
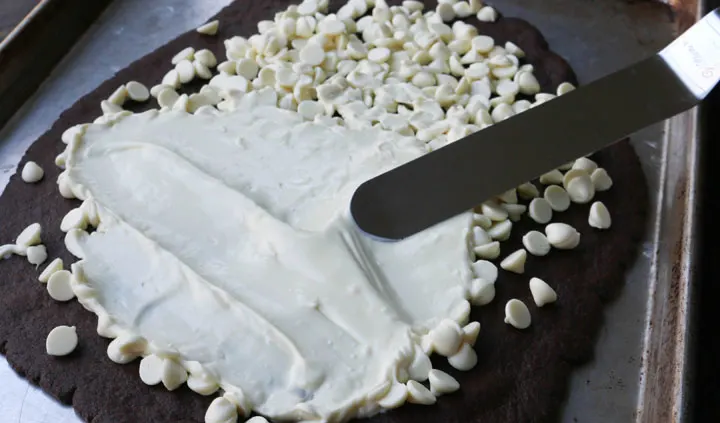
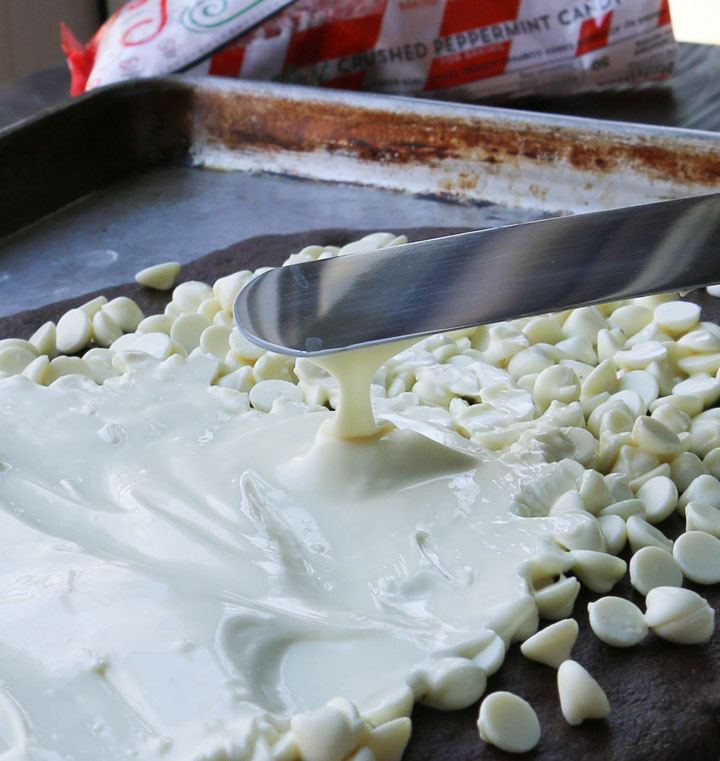
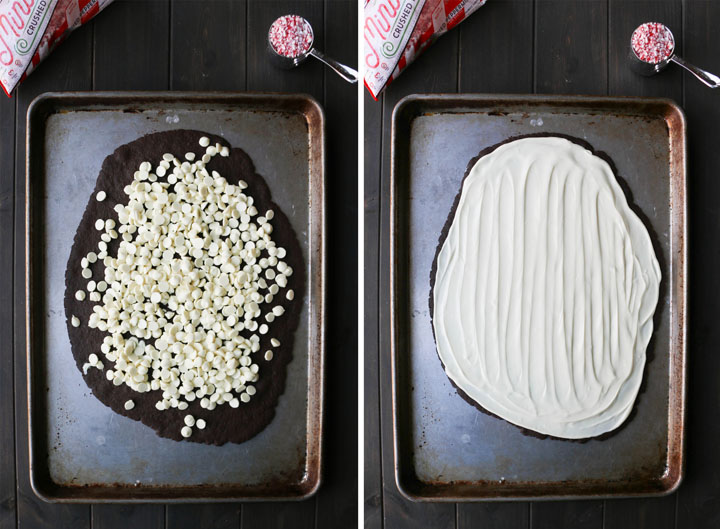
For this step, just empty the whole bag of white chocolate chips onto the hot cookie base. Spread them out evenly, just so that they all get a fair chance at melting.
Then, to give it a little help, I stuck the whole pan back into the oven for about a minute.
That’s it!
I used an offset spatula {aff. link} to spread all of that chocolate evenly over the top of the cookie. Don’t ask me why, but it’s fun to turn all of those little chips into melted white chocolate with the wave of my spatula. I think it’s as close to a magic wand moment as I’m going to get :)
Tip: Tap the pan to smooth the chocolate
Once you’ve spread the white chocolate over the cookie, bang the pan on the counter a few times to smooth out the lines.
You’ll see all of those grooves created by the spatula settle down and become less noticeable.
This step isn’t mandatory, but I like the appearance of a smoother surface for this bark.

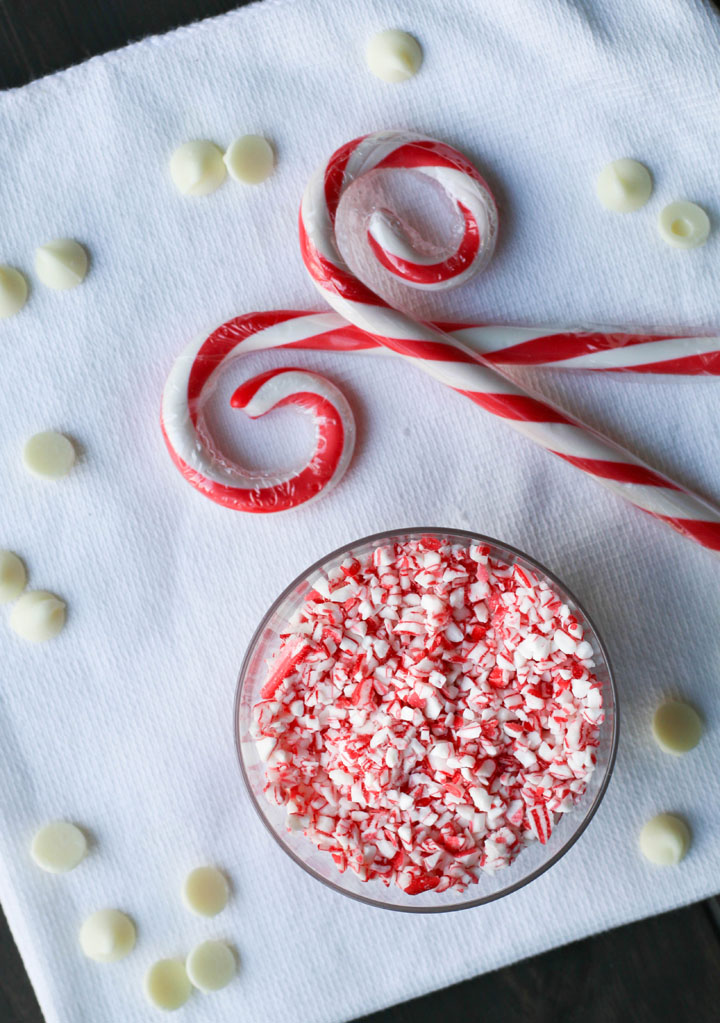
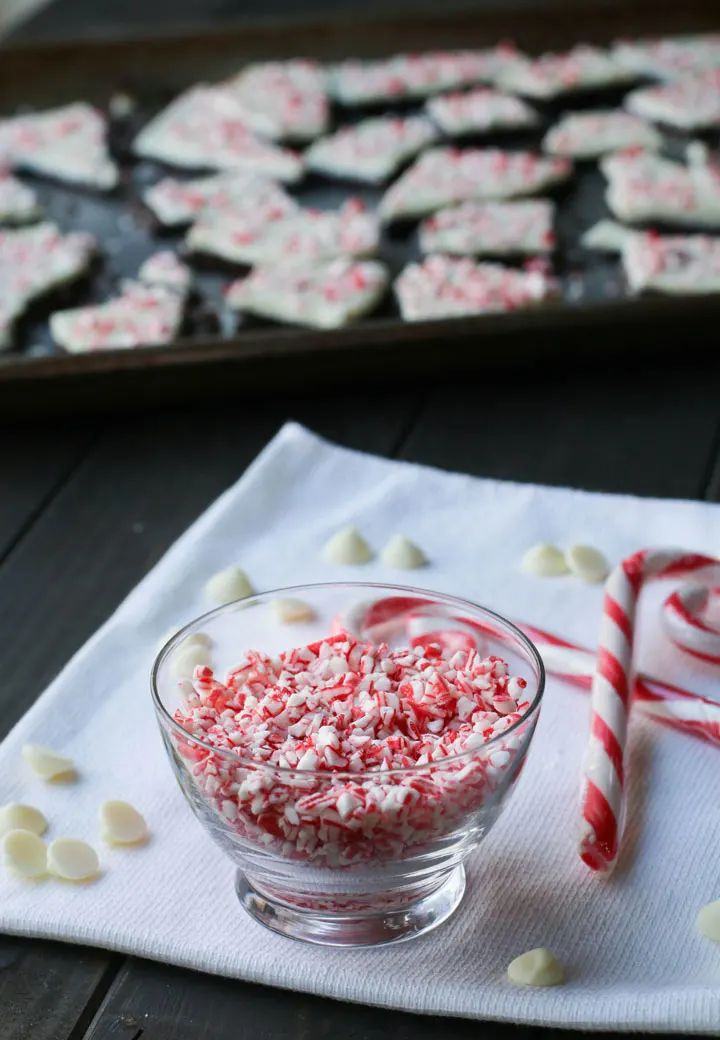
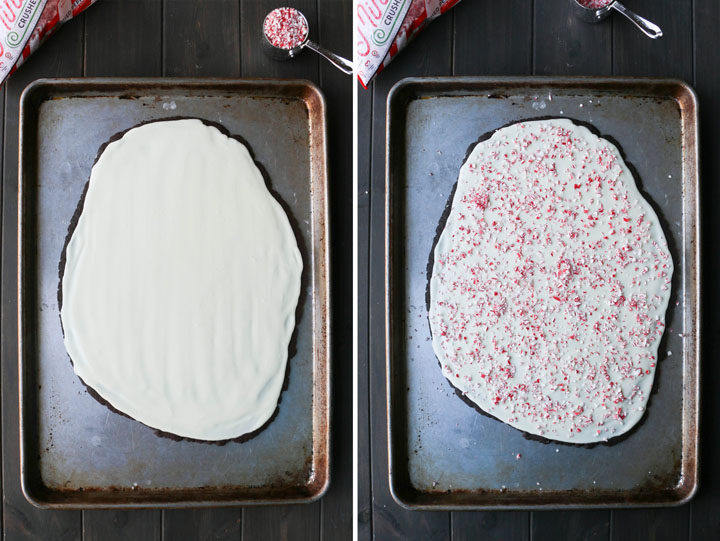
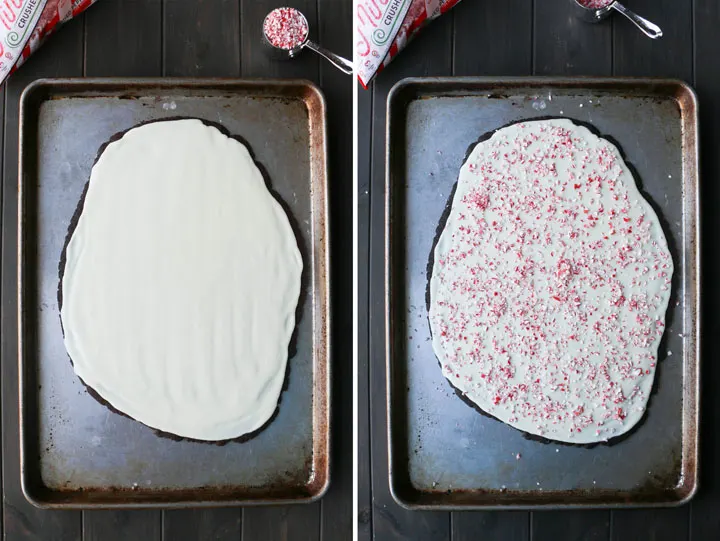
Topping the cookie bark
I bought pre-crushed peppermint candy. This made the whole recipe even easier. I happened to have these Mint Twists {aff. link} in my pantry. I think I bought them at Target, but you can get them on Amazon, along with a bunch of other crushed peppermint choices.
You don’t need a lot, however. I used just under 1/4 cup. So, if you have some peppermint candy hanging around, feel free to crush them yourself.
I would put them in a plastic freezer bag and then use my meat mallet to break them up into bits. Be sure to do this on a cutting board to protect your counter. I’d also maybe cover them with a dish towel to cushion the blow.
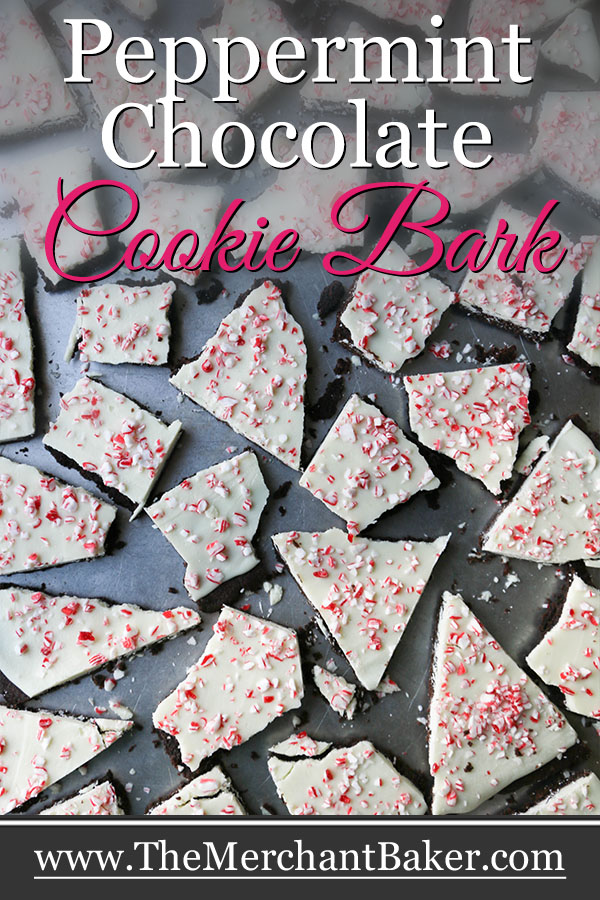
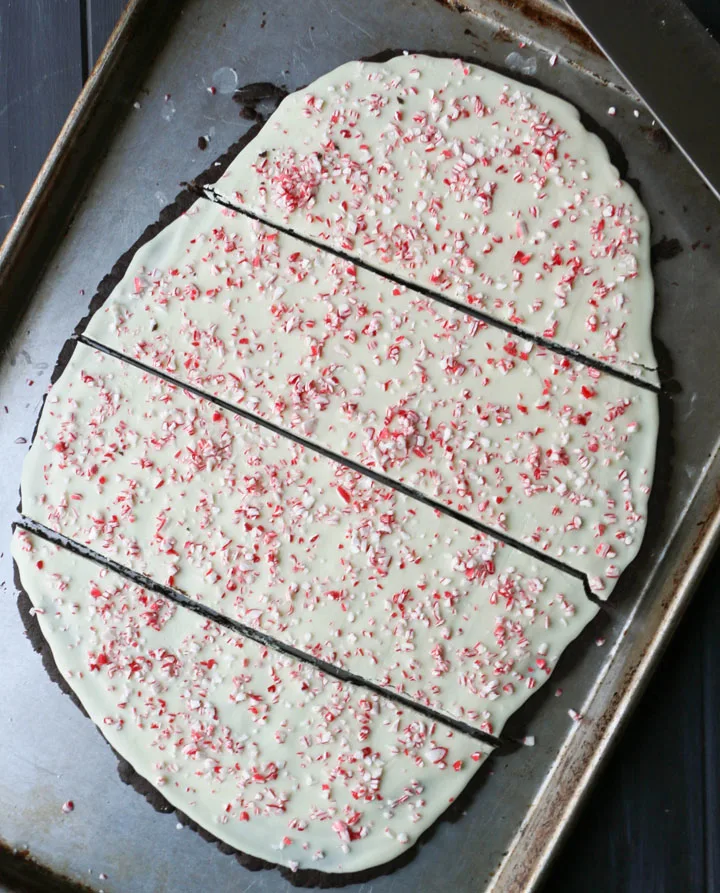
Once you have your peppermint bits, just scatter them all over the surface while the white chocolate is still wet.
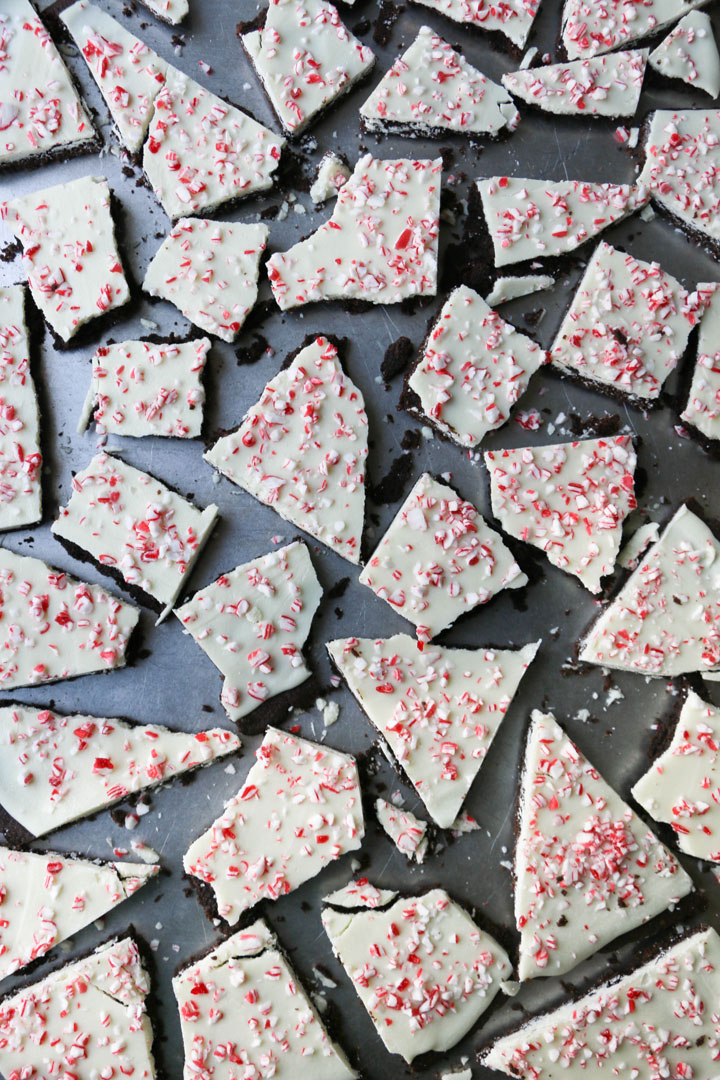
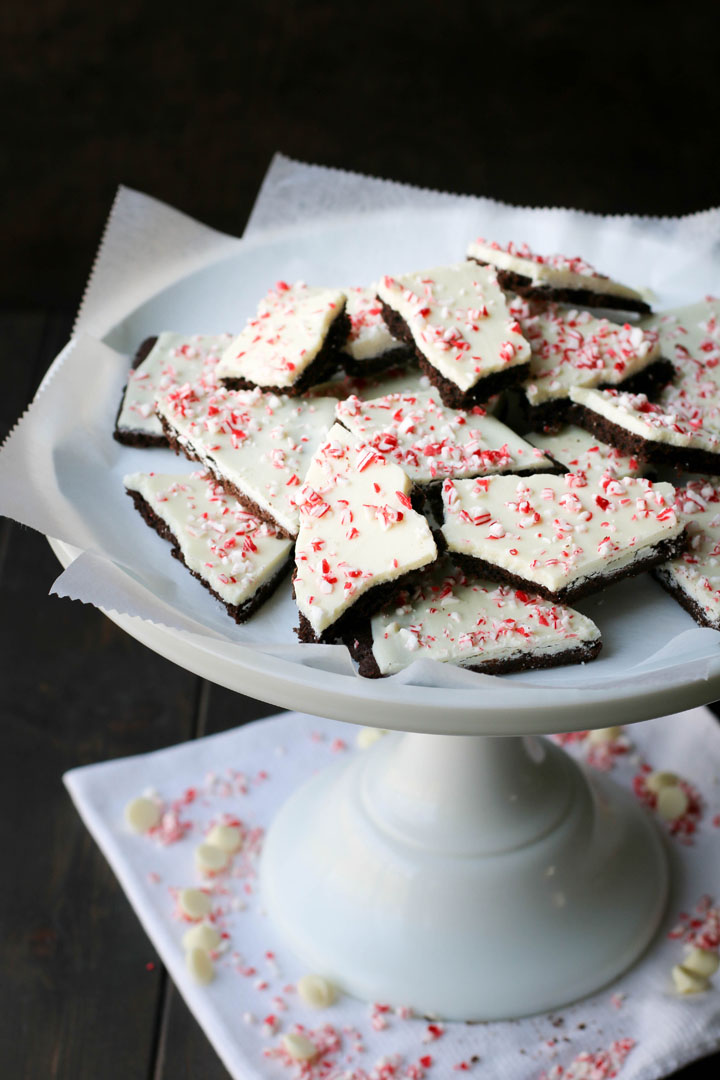
Breaking the bark
I let the chocolate set at room temperature. I wasn’t in any rush, but it set pretty quickly. If you want to speed that process up, chill the tray in the fridge just until set.
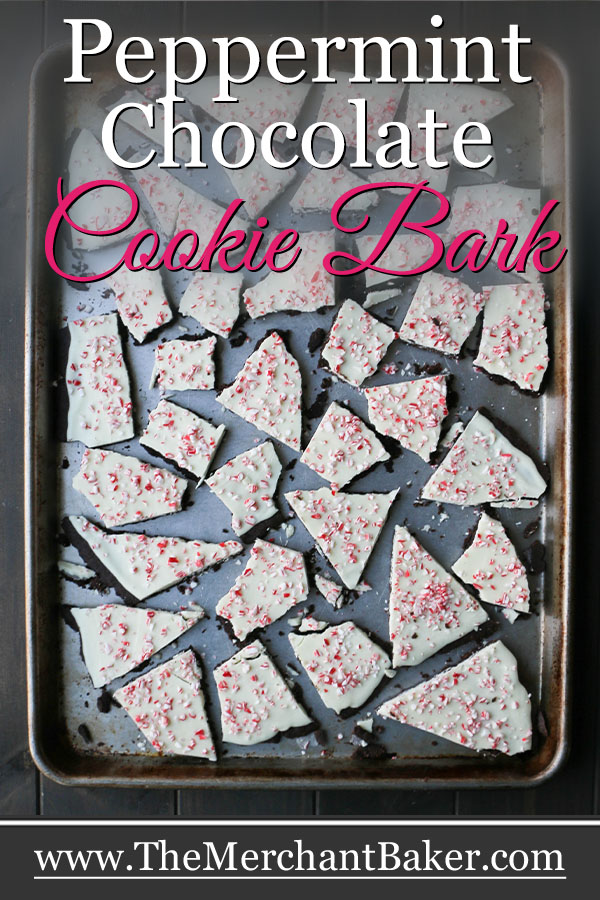
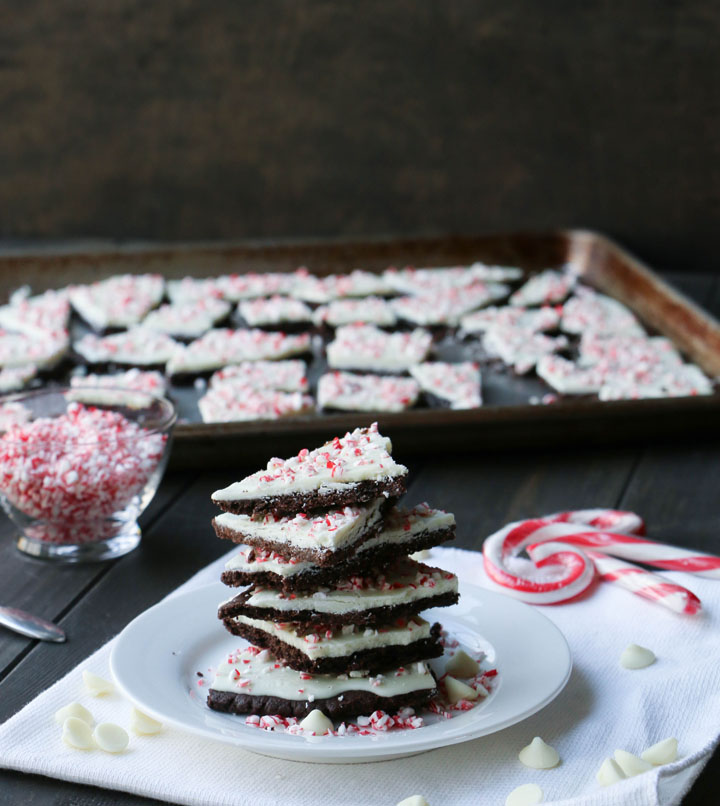
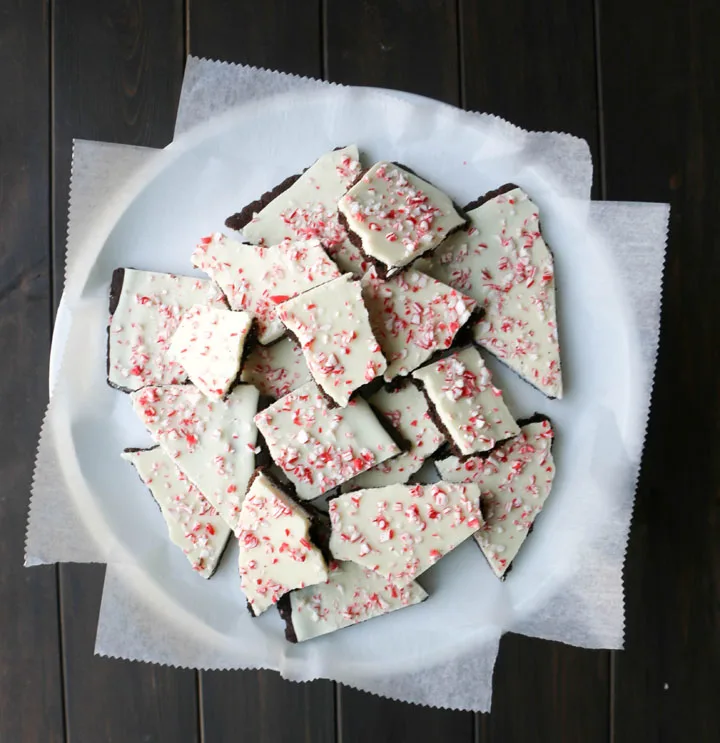
Once the chocolate is set, it’s time to break it up into pieces. I started by making a few cuts just to divide the large cookie into sections.
The cookie will stick to the sheet just a bit, so it’s easier to create smaller sections to work with. I couldn’t fit a metal spatula all the way underneath to loosen it while it was one whole mass of cookie.
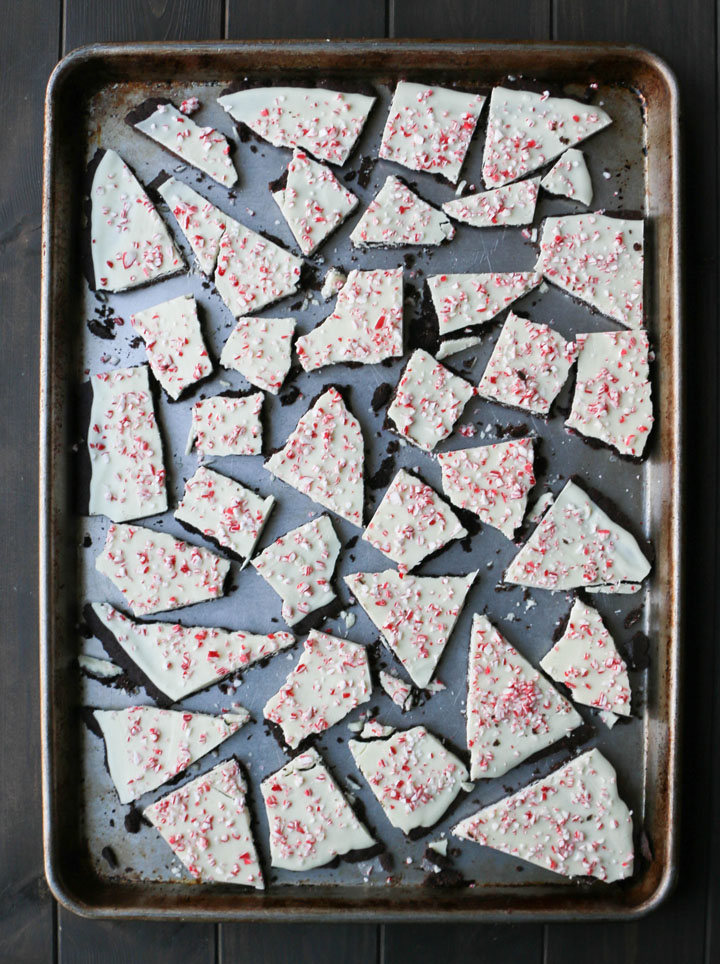
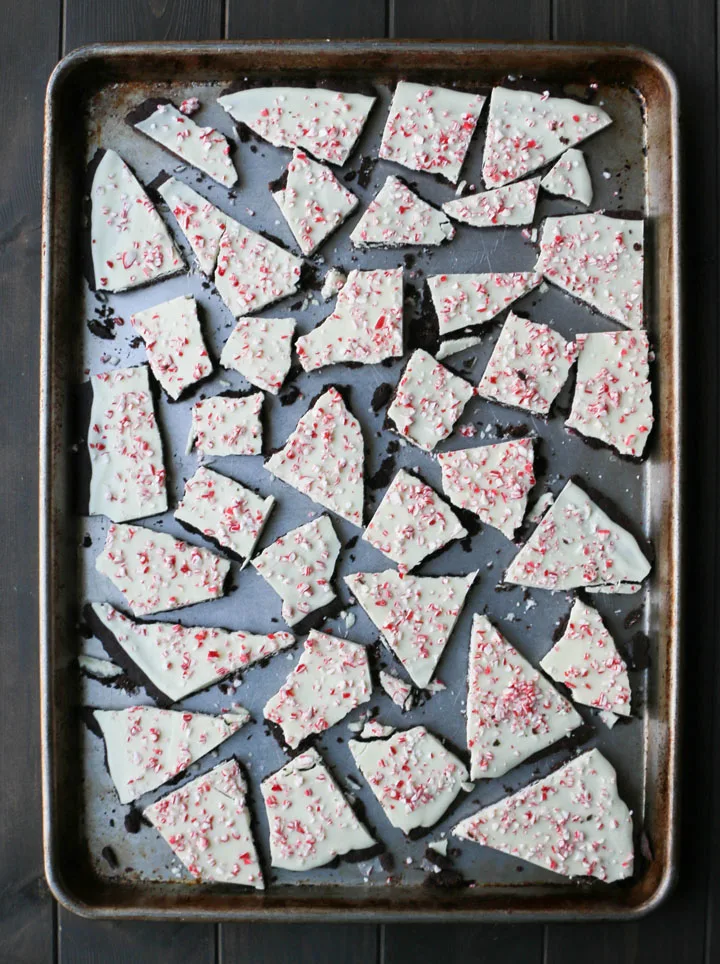
With smaller sections, it was easy to use a metal spatula to free it from the pan. Once you can lift it up, you can begin to break it into various sized pieces.
I found that breaking the bark upwards gave me cleaner breaks than downwards did. You’ll know after breaking a few pieces what works best for you.
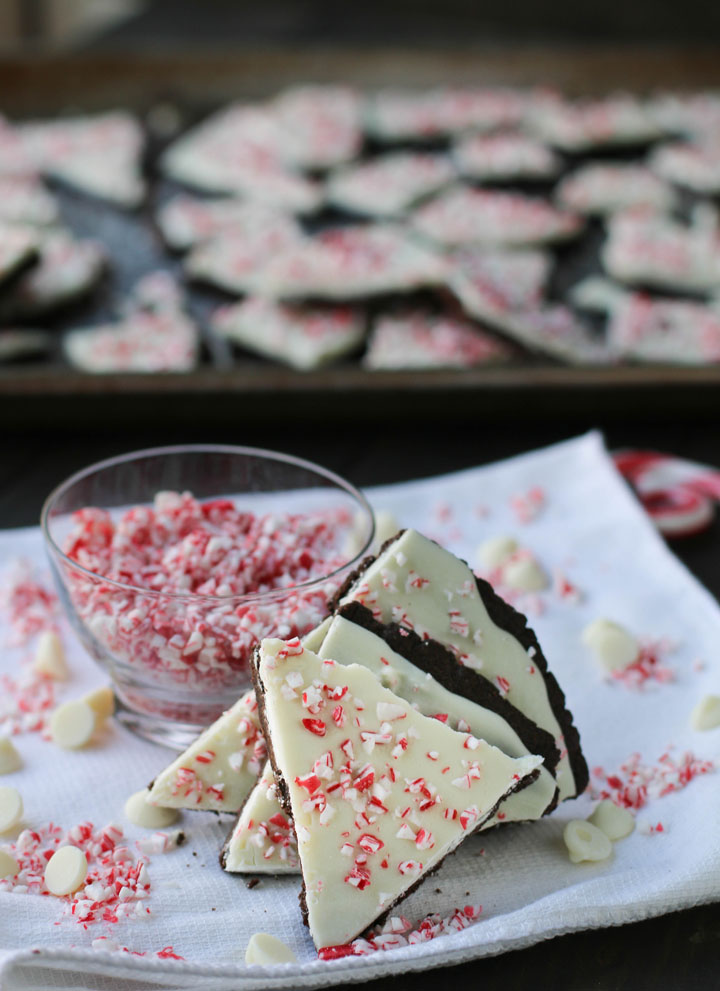
Taste and texture
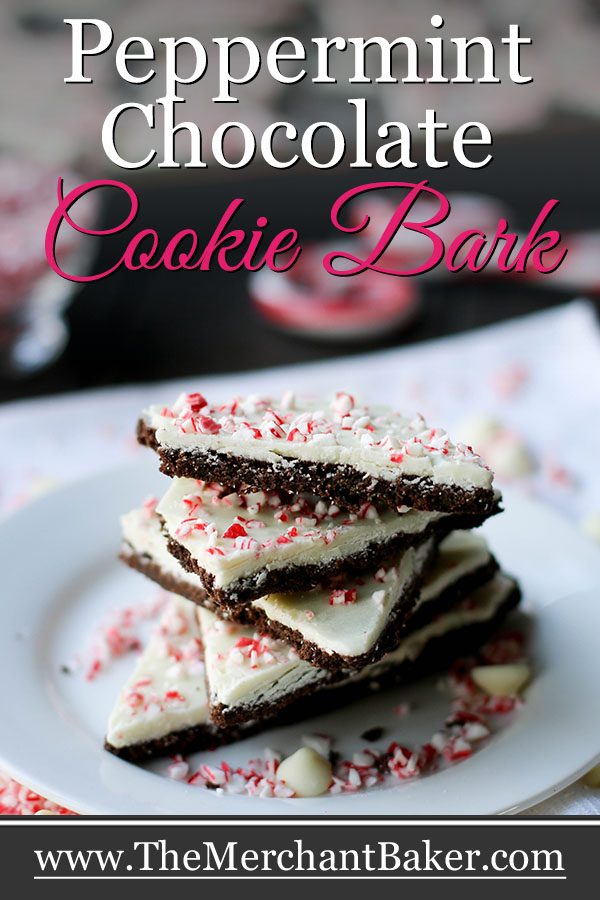
What does it taste like? Well, the cookie base itself is peppermint-y and deep, dark and chocolatey. My cookie was still soft and tender. The creamy white chocolate balanced out the minty cookie and the crushed peppermint add a welcome addition of crunchy texture.
So, if a minty cookie is on your must make list, but you want to try something new, or something a bit easier and yet still ever so festive…I think this Peppermint Chocolate Cookie Bark could be just the ticket.
I also want to mention that these are fun to eat straight from the freezer. Then you get that snap when you bite into it just like if you were eating candy bark. But, then the texture and flavor goes right back to cookie. Yum!
Oh, and if you like this whole peppermint bark idea, you must try Peppermint Brownie Bark. It’s a whole different kind of bark, chocolatey and chewy and wonderful. Options, my friend. That’s what I’m here for ;)

Peppermint Chocolate Cookie Bark
Ingredients
For the chocolate cookie base:
- 1 cup flour
- 1/4 cup unsweetened cocoa powder, (I used dark, dutch processed)
- 1/8 teaspoon espresso powder (optional)
- 1/2 cup unsalted butter, softened
- 1/2 cup sugar
- 1/4 teaspoon salt
- 1 egg yolk
- 1/2 teaspoon peppermint extract, see notes
For the topping:
- 1 (11 ounce) bag white chocolate chips, I used Ghiradelli
- finely crushed peppermint candies
Instructions
- Preheat oven to 350 degrees F.
Make the chocolate cookie base:
- In a medium bowl, whisk flour, cocoa powder and espresso powder until combined. Set aside.
- In a mixing bowl, beat butter, sugar and salt until combined and fluffy, about 2-3 minutes. Add egg yolk and peppermint extract and continue beating until well combined.
- Add flour mixture and mix on low until dough comes together in a ball with no streaks of flour.
- Place a large piece of plastic wrap on work surface. Form ball of dough into a square block and cover with a second piece of plastic wrap. Roll dough in an oblong shape about 10"x 12" and a little more than an 1/8" thick. Take care not to make the edges thinner than the center of the dough as they will be the first to cook.
- Remove top piece of plastic wrap and flip rolled out dough onto a large ungreased baking sheet.
- Bake for 10-15 minutes until center looks dry and firm. Watch the edges as you don't want them to burn. I baked mine about 13 minutes.
- Remove from the oven. Sprinkle white chocolate chips evenly over the surface. Return pan to oven for 1 minute to help chocolate melt.
- Remove from oven and spread chocolate evenly over cookie. Once you get it spread out, tap the pan on the counter a few times and the chocolate will settle into a smooth layer.
- Sprinkle surface with finely chopped peppermint candies. Allow cookie bark to cool on baking sheet until chocolate hardens.
- Once the chocolate is firm, break the bark into pieces. I cut a few sections and then started breaking the rest. The cookie will stick a bit to the pan, just slide a thin spatula around the edges. Break those pieces and move them aside so that you'll have room to loosen the next section with the spatula.
Notes
*If you use salted butter, you can omit the salt from the recipe.
*Be sure you use peppermint extract, not mint extract.
*If you don't have a rolling pin, or simply want to skip having to roll out the dough, just press the dough into the oblong shape directly on the cookie sheet, trying to get as even a thickness as possible.
*Peppermint extract can be strong. If you want just a hint of mint, reduce to 1/4 teaspoon. On the other hand, if you prefer a much stronger mint flavor, you could increase to 3/4 teaspoon. Note that the peppermint flavor might seem stronger on the first day. I find it mellows on subsequent days. (Update: 12/17/20-after sampling a piece that's been stored in the freezer for a week and noting how much the peppermint flavor has mellowed, I will probably try increasing the extract to the 3/4 teaspoon to see if I like the additional punch of flavor.)
*Store cookies in an airtight container at room temperature for 3 days or freeze for longer storage. Separate pieces of bark with waxed paper if you plan to stack or you'll get chocolate crumbs on the tops of your pretty white chocolate bark tops.