


Did you know that my Easy All Butter Pie Crust is one of the most popular recipes on my site? It’s true!
And there’s a good reason why…making homemade pie crust can be so intimidating. I used to rarely made my own, but over time, figured out a way to make it easily and with little mess.
One of the questions I get most often is what to do once the crust is made. What are the directions for baking it?
And the answer always is, “It depends.” Once you have pie crust rolled out, you can make a single crust whole pie, or cut it into smaller pieces and make hand pies, double the recipe for a double crust pie or use it in any number of recipes that call for pie crust.

But baking it? That will depend upon your recipe and the kind of pie you’re making. Always check your pie recipe. Different recipes require different steps.
Today we’re going to talk about blind baking a pie crust. You’ll need to blind bake your pie crust when your recipe calls for a crust that is either fully or partially baked.
Let’s start with the basics…
What does “blind baking” a pie crust mean?
Blind baking is simply pre-baking a pie crust before you fill it.
- This could mean FULLY baking the crust and filling it with a filling that needs no baking.
- Or, it could mean PARTIALLY baking the crust, then filling it with a filling that still needs to be baked.
When should you blind bake a pie crust?
- Blind bake a pie crust if your recipe calls for a FULLY pre-baked crust. This is typical of cream pies like chocolate cream pie or any pie that is not going to be baked. So, a prebaked crust is perfect for all of those no bake pie recipes.
- PARTIALLY blind bake a pie crust if your pie filling requires a short baking time. Pie crust generally needs 45-60 minutes or more to fully bake. For instance, if your pie recipe calls for 20 minutes of baking time, then you’ll need to start with a crust that is either fully or partially baked. If you don’t partially bake the crust first, there won’t be enough time during the filling stage to prevent an undercooked pie crust.
- Some prefer to start with a partially baked pie crust if the filling is very wet, as with pumpkin pie. Pre-baking the pie crust will help reduce any sogginess in the bottom crust. This isn’t an issue for me. I don’t mind a softer bottom crust for my pumpkin pie.
Why are weights necessary when blind baking a pie crust?
If you don’t weight the pie crust when baking it, the crust can bubble up or the slides could slump down because there’s no filling to hold them in place. Weights simply act as a replacement for the filling. They weigh the crust down.


The following paragraphs contains affiliate links. We are a participant in the Amazon Services LLC Associates Program, an affiliate advertising program designed to provide a means for us to earn fees by linking to Amazon.com and affiliated sites.
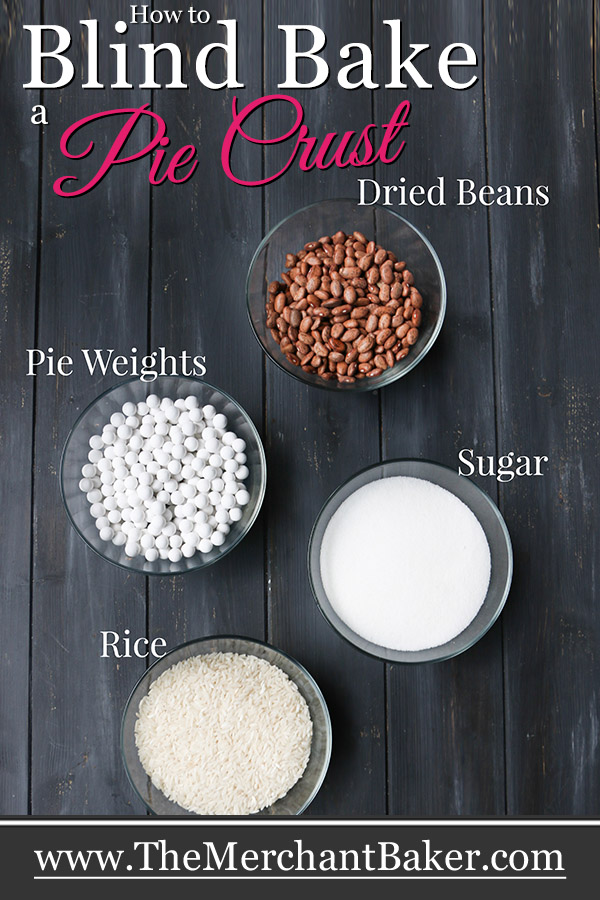
What kind of weights can you use when blind baking a pie crust?
- You can use pie weights designed specifically for this purpose like these ceramic weights {aff. link} or this pie weight chain. {aff. link}
- You can use dried beans.
- You can use uncooked rice.
- But, did you know that you can use granulated white sugar??? My blind baking world was rocked when I learned about this technique from Stella Parks.

Why is sugar a good option for blind baking?
Sugar is such a wonderful option to use as a weight, first because it’s an option that all bakers have on hand right in their pantry. There are no special purchases to make.
Because sugar granules are so small, they are a more dense and heavy weight source. You’ll get more evenly distributed weight which is more effective in holding your pie crust down.
Some pie weights only weight the bottom of the pie crust. When you use sugar, you’ll have plenty of it to fill the crust all the way to the top which will help weight the sides as well as the bottom of the crust. I think it mimics a fully filled pie crust much better than the other weight options.
There’s no “docking” required. Docking is when you use poke holes (usually with a fork) throughout the crust bottom to help prevent it from bubbling up during blind baking.
Docking is generally utilized instead of using weights, and sometimes midway through the process even if using weights. I find today’s process easier and more effective.
Another benefit? You’ll have toasted sugar to use later!
Maybe best of all? When you’re done blind baking your pie crust, you’re left with a pie pan full of toasted sugar. Toasting brings out caramelization of the sugar which adds to the flavor. Save the sugar for baking or to sweeten beverages. You can use the toasted sugar the same way you would use sugar normally.
Or, you can save it to use again as a pie weight, creating an even deeper caramelized flavor. I’ve never baked mine twice, but I think you could bake that sugar two or three times before sending it to the pantry as a beautifully caramelized sugar to use in all kinds of recipes.
Different pie crust recipes may blind bake differently
It makes sense, doesn’t it? Some have more fat, some have less. Some have different kinds of fat added like sour cream or oils or lard.
I’m using my Easy All Butter Pie Crust recipe. So this post shares the results I get using that recipe. Your results may vary slightly based on the variables within your individual recipe.

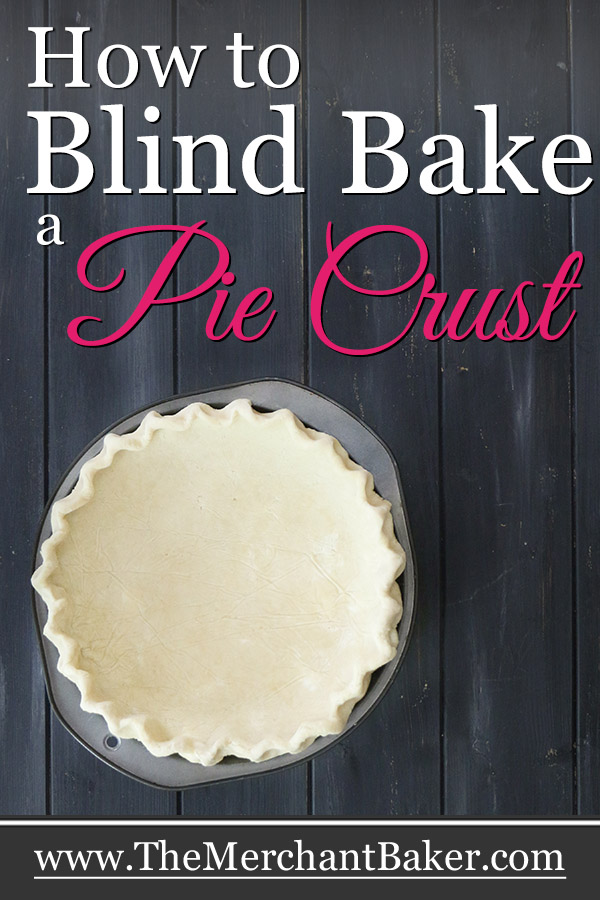
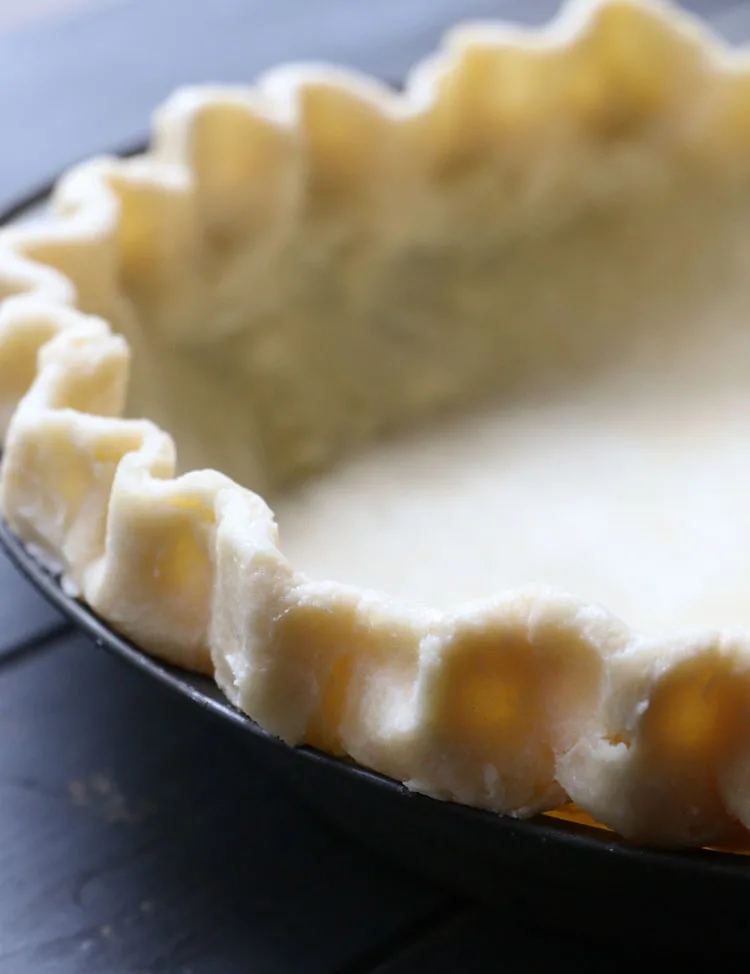
Tip: Always start with a fully chilled and firm pie crust!
This is so important for a successful pie crust whether you’re blind baking or not. The butter or fat must be very cold and solid.
When blind baking, a well chilled pie crust will help it keeps its shape.
But even more important, for all butter pie crusts, those chilled pieces of butter will steam and puff during baking and help create a flaky crust.
If your crust is warm, then the butter gets too soft and blends too much with the flour and you’ll end up with a tough crust instead of a flaky crust. That’s something to think about when making your pie crust.
What are the best pans to use for pie crust?
I only use two kinds of pie pans for baking pies, glass and metal. These are also the best pans to use for blind baking. They promote even distribution of heat during baking, so that your crust bakes evenly.
I have two of these Pyrex glass pie pans. {aff. link} This one {aff. link} is similar, but has an easy grab edge. Finally, this pan, {aff. link} without the fluted edge is also a great choice.
(You’ll see my glass pie pans in use with my Chocolate Chip Cannoli Pie and my Cookies and Irish Cream Cheesecake Pie.)
I’ll be honest, I use my metal pan quite a bit, but I’m due for an upgrade. This Goldtouch non stick pie pan, from William Sonoma, is the one I’ve got my eye on…
With my metal plate, my crust is getting heat from the metal pan below and the aluminum foil on top. It’s like a panini press for pie :)
Tip: How to prevent pie crust from shrinking
Many of these are included in the process, but I wanted to bring them all together in one place for you.
- Don’t stretch the raw dough when placing it into the pie pan.
- Start with a well chilled pie crust.
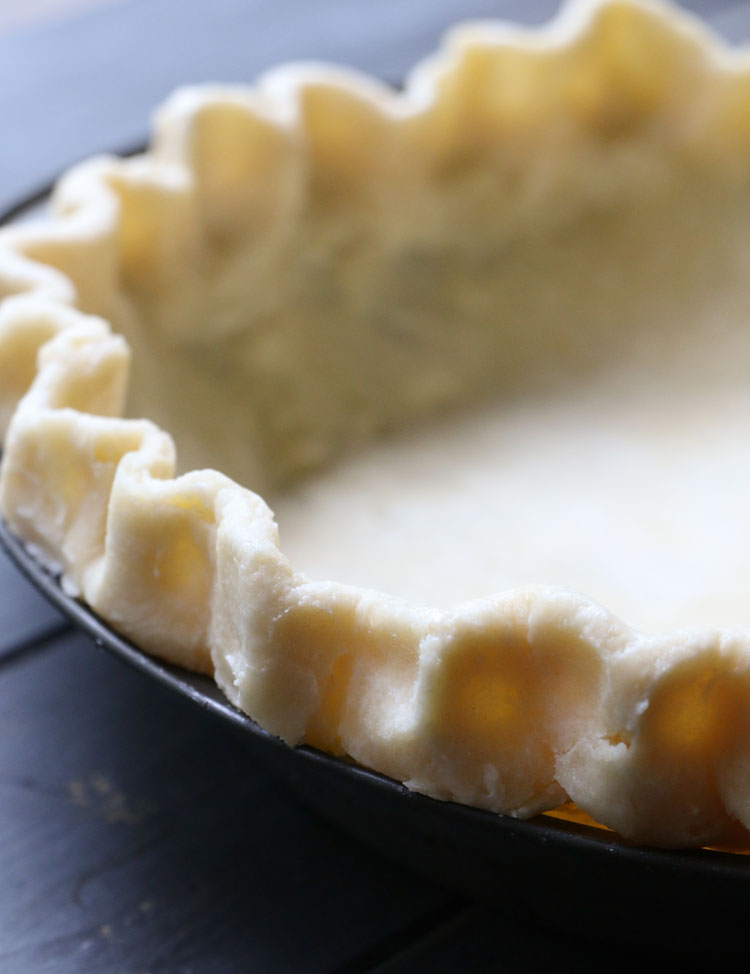
- Build a tall edge when crimping your edges.
- Use heavy duty foil and use it to form a mold around the edges.
- Fill the pie crust to the very top with the sugar.

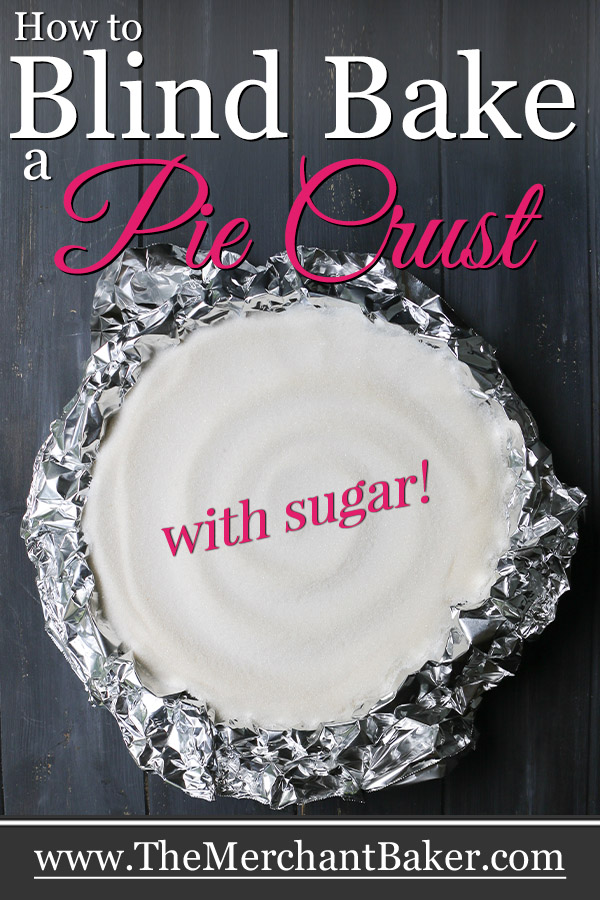
How to Blind Bake a Pie Crust with Sugar
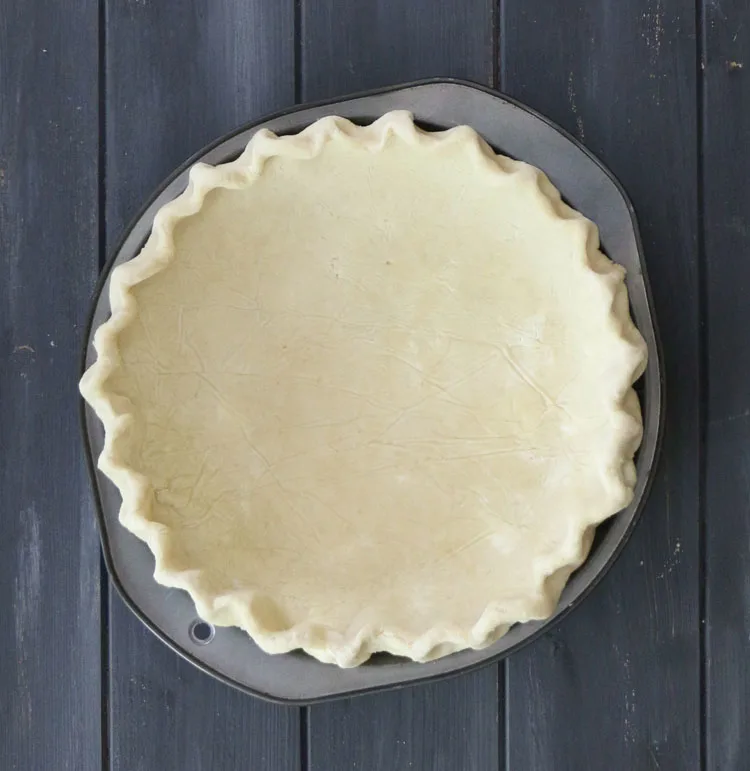
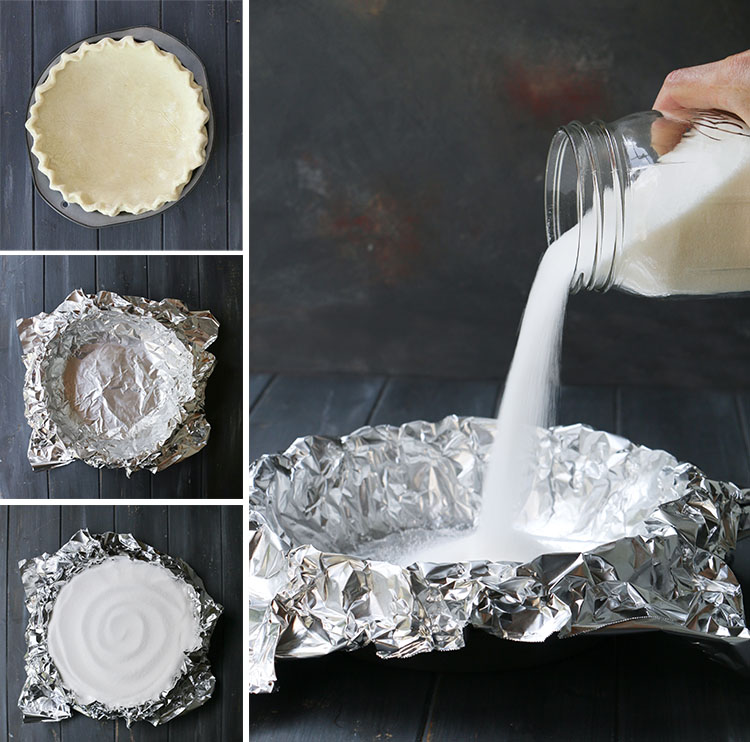
This method couldn’t be easier. Start with a well chilled pie crust. It needs to be firm! This will help keep your foil from sticking. And, as mentioned above, is key to a nice, flaky pie crust.
Use heavy duty foil to create a liner for the sugar. Insure you press it into the bottom and corners. I like to mold it around my crimped edge. It keeps those edges from shrinking down too much.
This is yet another reason why you want a well chilled crust. You don’t want your crust to get reshaped by the foil. It should be firm enough to stand up to being covered by foil.
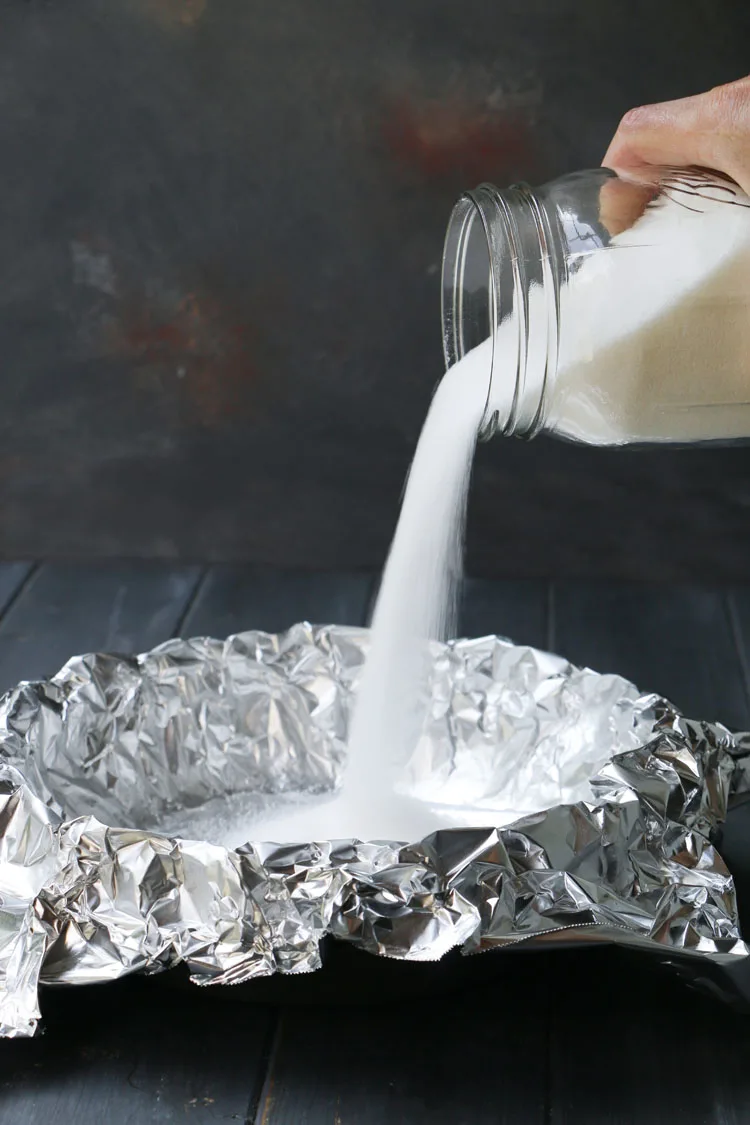
Then, fill the foil lined pan with sugar all the way to the top. (I used about 5 1/2 cups of sugar to fill mine.) Stir it around to make sure the sugar is well distributed and packed into the pan. (Making a pretty swirl design in the top is optional ;)
That’s it! Just bake it low and slow at 350 degrees.
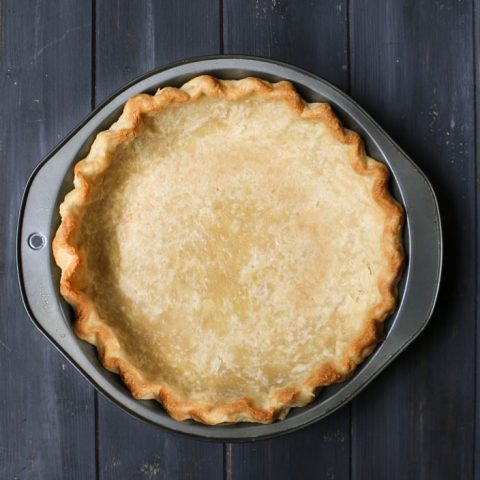
If you’re going to bake it again with filling in it, I would bake it for 45 minutes. To prevent the crust from over browning on the second bake, shield the pie crust edges. I usually use a ring of foil, but you can use a pie crust shield like this one if you prefer.
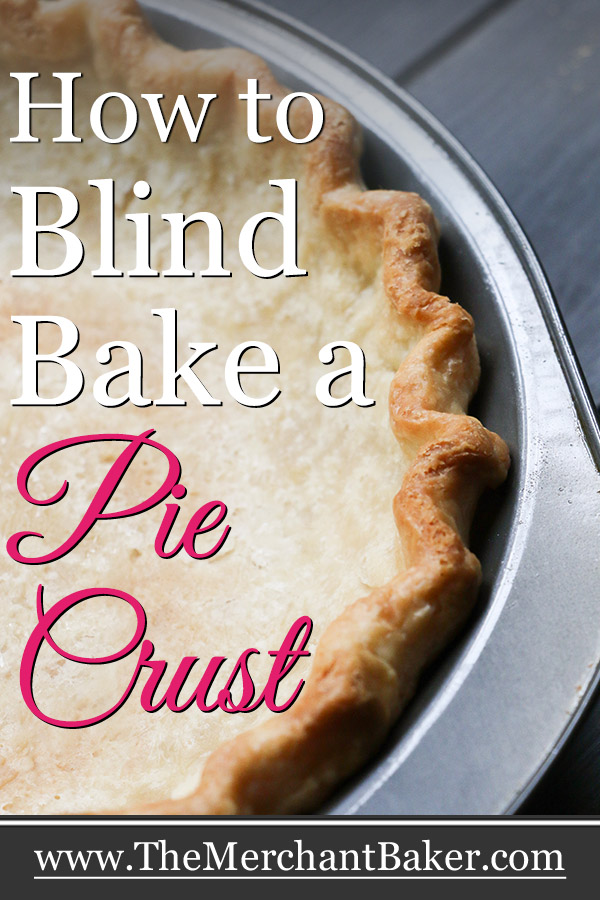
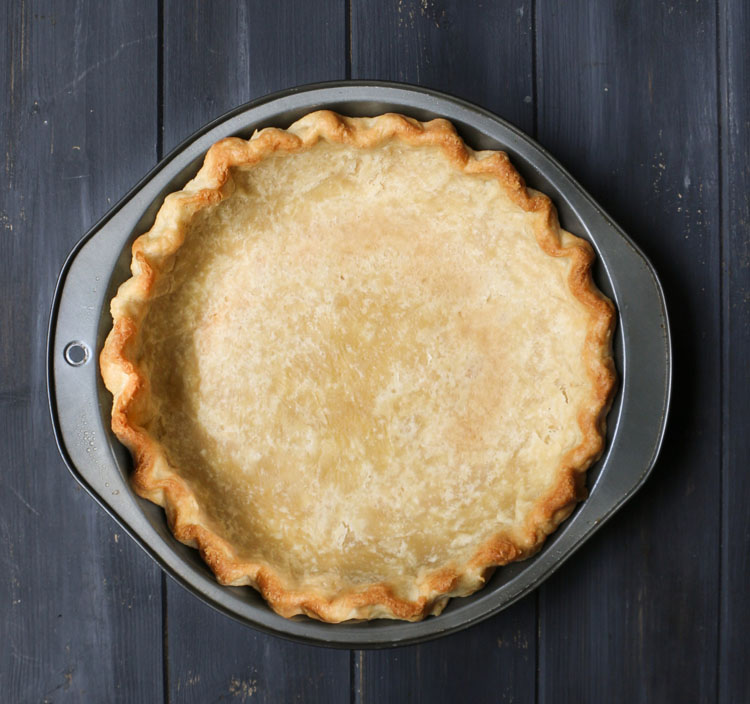
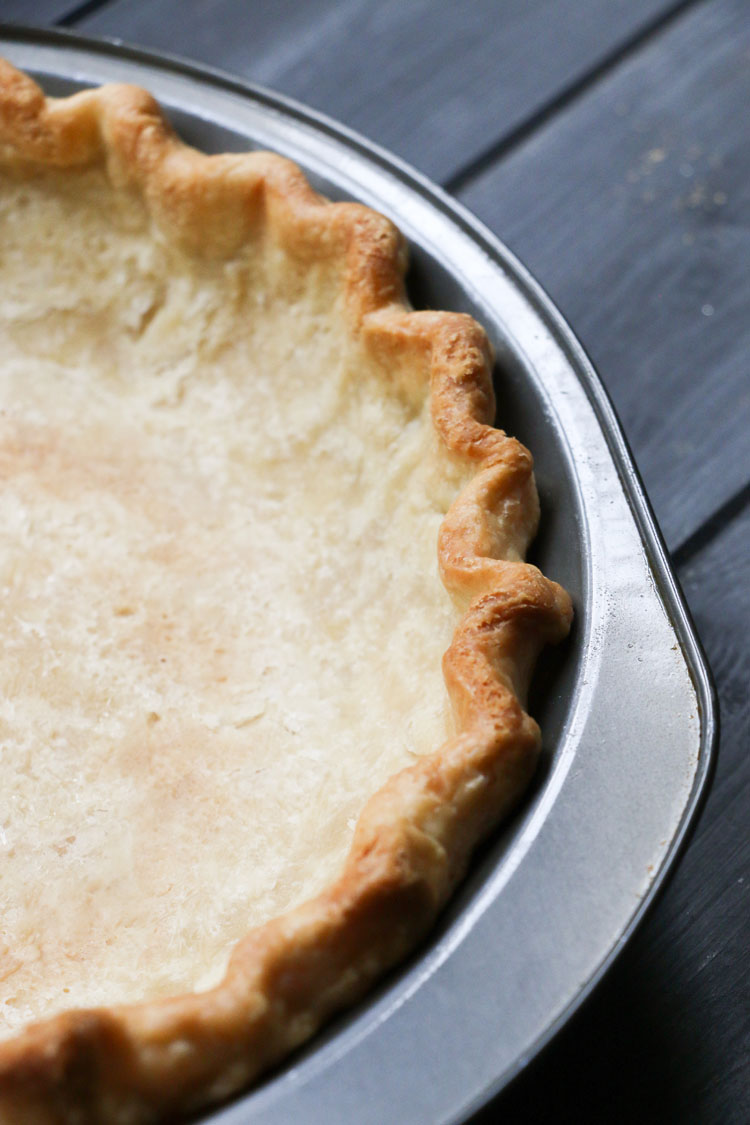
If you’re going to fully bake it, I like to bake it for 60 minutes.
If you’re a fan of a more well done pie crust, feel free to bake it up to 75 minutes.
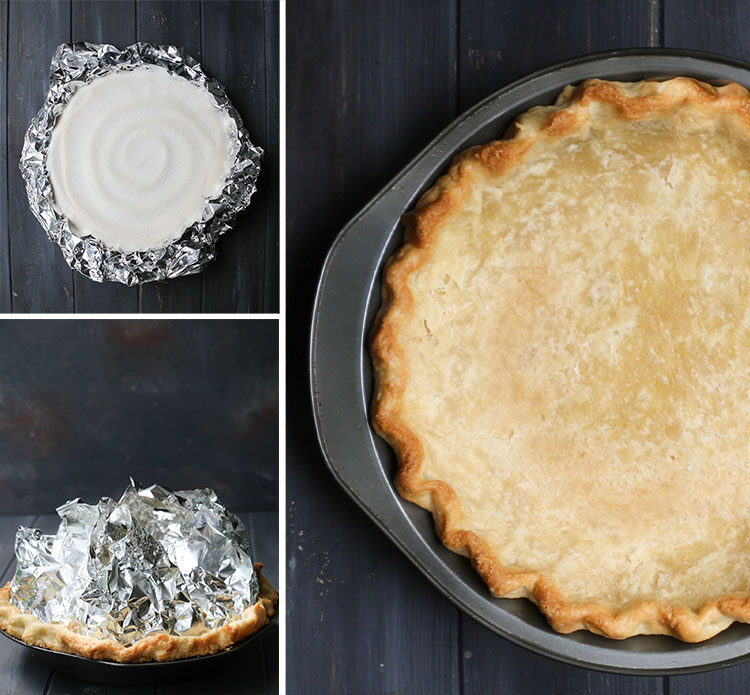
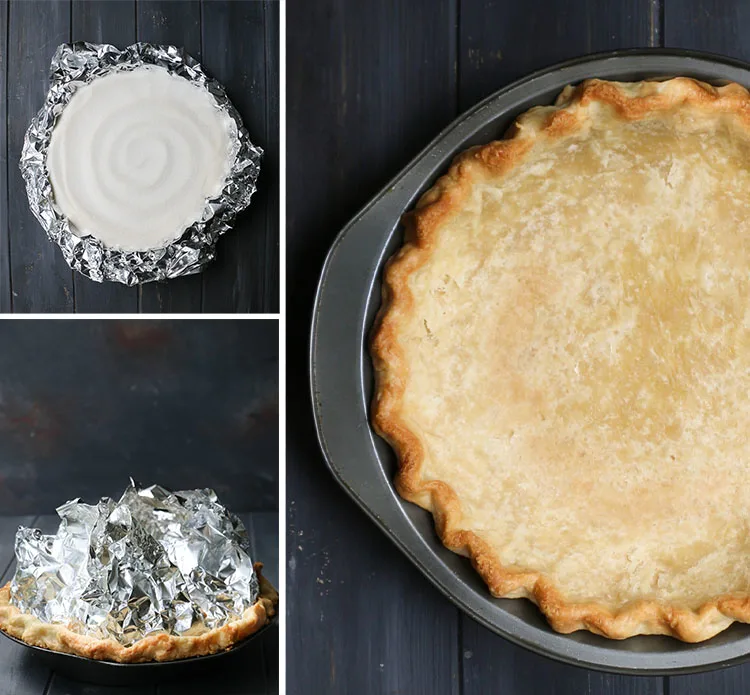
Removing the sugar
Once you’ve baked the pie crust, remove it from the oven. Let it cool for 5 minutes.
Lift up the edge of the foil carefully, especially if you’ve molded them around the edges. You don’t want to ruin any pretty fluting you might have done.
Once you’ve got all of the edge of the foil gathered up, slowly pull it up from the crust. If you started with a well chilled crust, you shouldn’t have any issues with sticking.
I usually have a small area here or there that’s a bit more stubborn, but if I hold the pan down with one hand, I can slowly work the foil away from the crust with the other.
The sugar is going to take a while to cool down, so place it on a heat safe surface or on a cooling rack to cool completely before storing.
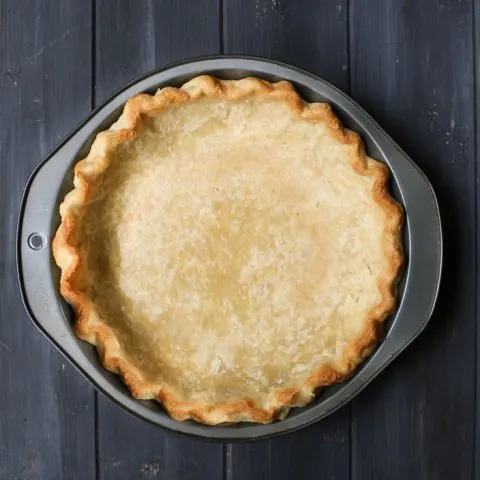
Once the crust is cool, it’s ready to use in your favorite recipe!

How to Blind Bake a Pie Crust
Make easy work of blind baking a pie crust without any special equipment. If you've got foil and white granulated sugar, you've got everything you need to pre-bake a pie crust!
Ingredients
- one 9" single unbaked pie crust, thoroughly chilled
- 5-6 cups white granulated sugar (more as needed)
Instructions
- Preheat oven to 350 degrees F. Position oven rack in center of oven.
- Take a large sheet of heavy duty foil and press into the bottom and corners of pie shell. Mold the foil over the edges of the pie crust.
- Fill the foil lined crust all the way to the top with granulated white sugar.
- Stir the sugar around to distribute evenly.
For partially baked crust:
- Bake for 45 minutes. Remove from oven. Allow to cool for 5 minutes, then carefully gather up the edges of the foil and lift up slowly and gently to insure no areas are sticking.
- Use as directed in your individual pie recipe. When baking again, I like to shield the crust edges with foil or pie crust shield to prevent those exposed edges from over browning.
- Allow leftover sugar to cool in the foil on a heatsafe surface or cooling rack until sugar is completely cool. Once cool, pour sugar into an airtight container for normal use in baking or sweetening.
For a fully baked crust:
- Bake for 60 minutes. Remove from oven. Allow to cool for 5 minutes, then carefully gather up the edges of the foil and lift up slowly and gently to insure no areas are sticking.
- Use as directed in your individual pie recipe.
- Allow leftover sugar to cool in the foil on a heatsafe surface or cooling rack until sugar is completely cool. Once cool, pour sugar into an airtight container for normal use in baking or sweetening.
Notes
* Insure your crust is fully chilled before covering with the foil. I like to leave it in the refrigerator for at least an hour or freeze it for 30-60 minutes. You want the crust to be firm and cold.
*You can use the toasted sugar as you would normal granulated sugar. It will have simply taken on a slight caramelized flavor.
*You can use the same sugar again at least one or two more times. This will produce a deeper caramelized sugar.
*As stated in the post, different pie crusts will bake up differently. I use my Easy All Butter Pie Crust in this post.
*If you prefer a more well done crust, you can increase baking time up to 75 minutes, but check along the way by lifting up the foil to see if you have the desired amount of browning.
*See blog post for lots of tips and additional details.