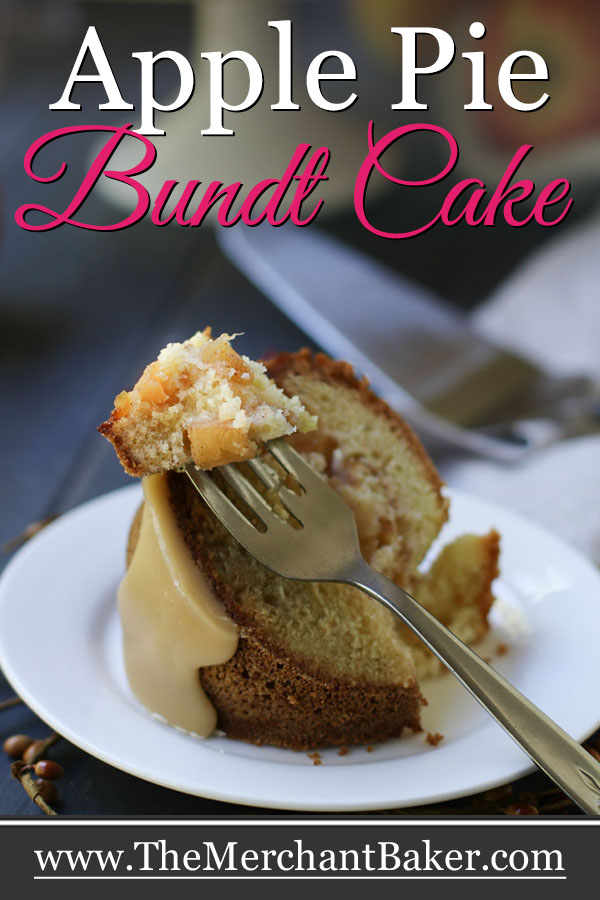


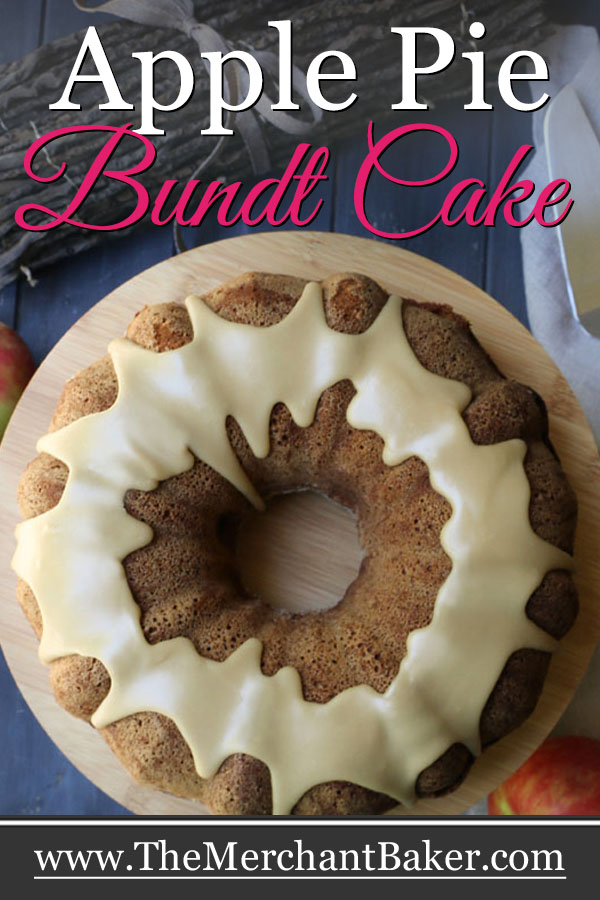


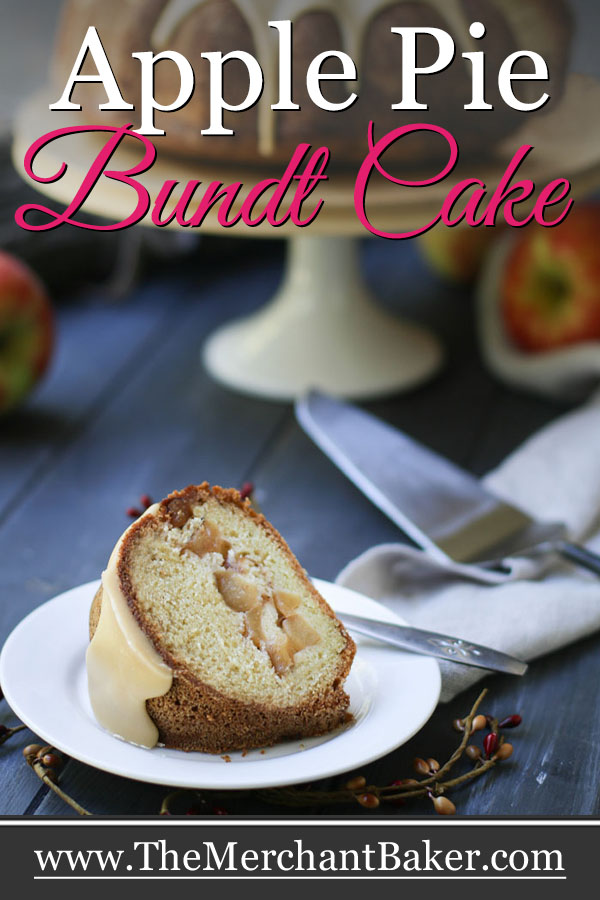


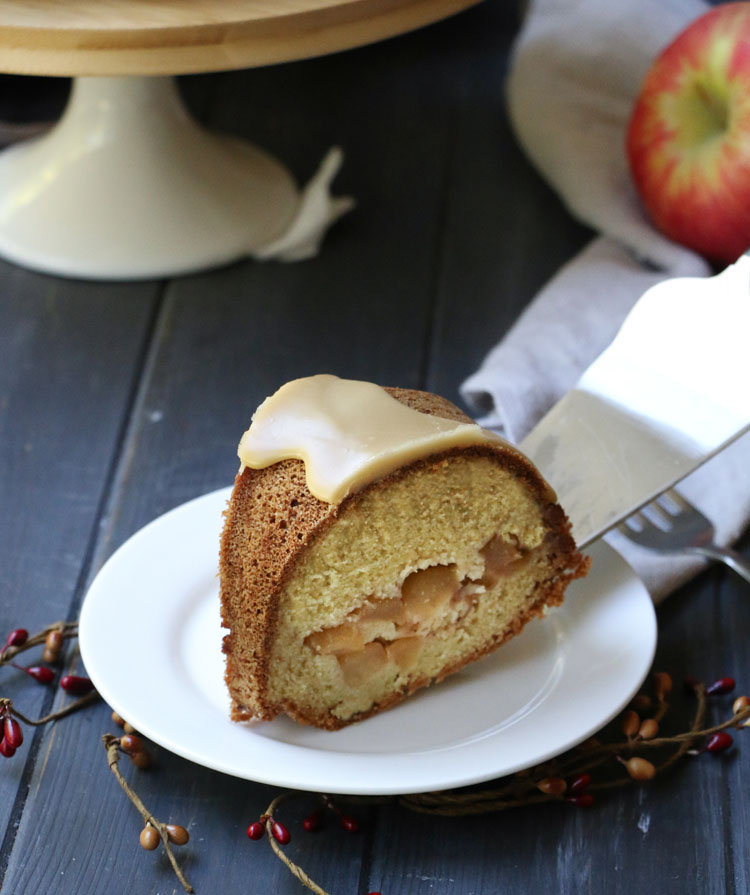
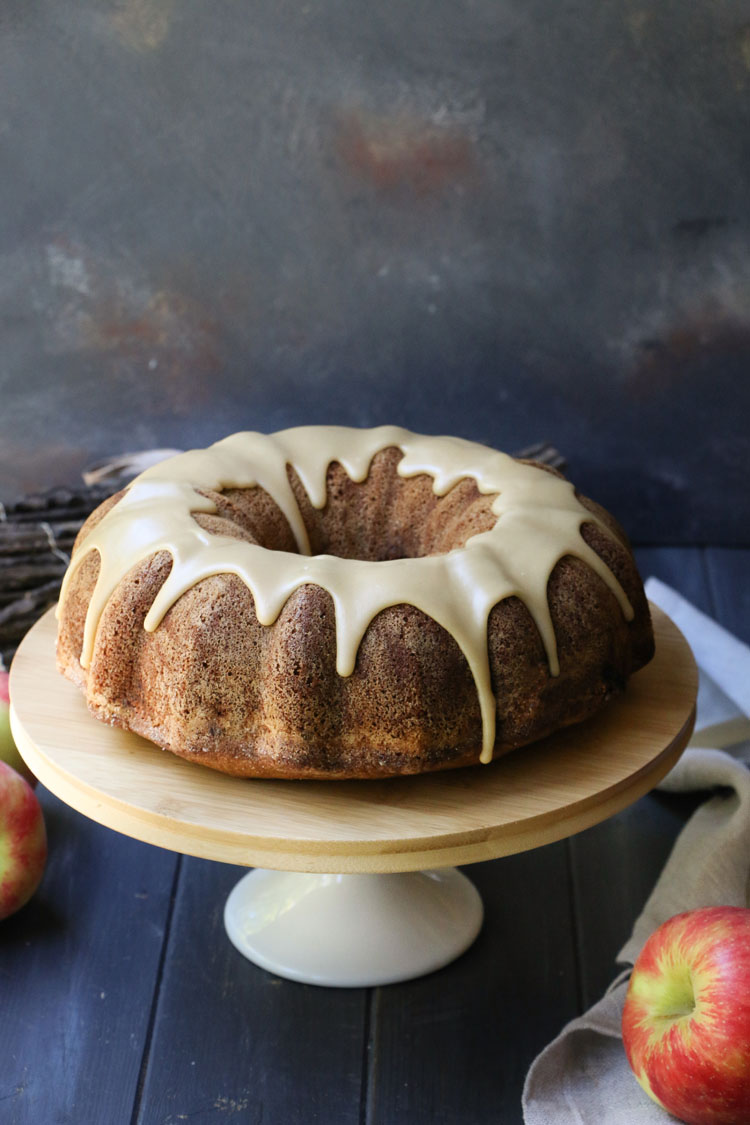
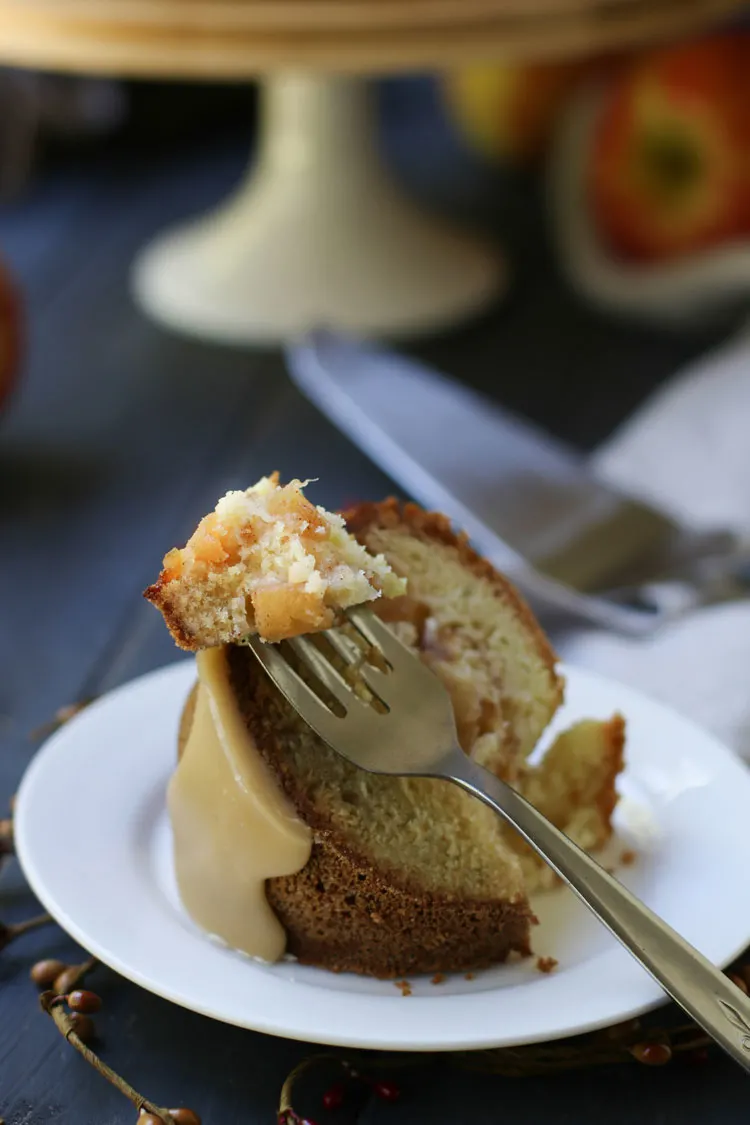
Celebrate fall with this Apple Pie Bundt Cake. Pound cake batter, rich with butter and cream, is layered with an easy stove top apple pie filling. A warm, buttery, brown sugar glaze is poured over the top and adds a caramel note to this wonderful cake.
I can’t remember when I decided an apple pie and cake mash up would be a good idea.
I wanted to develop an apple cake that was different than my favorite apple cake, Cinnamon Apple Cake.
That’s been a favorite for years and years. I love the addition of cream cheese to that batter. It adds a richness I love and really keeps the cake moist for days.


Spiced Applesauce Cake is another winner. That’s a super easy snack cake. No chopping up apples, here. Just spoon in the applesauce! The flavor is delish and it is ridiculously good with Buttermilk Caramel Sauce poured over the top. That’s a great cake to serve warm. Soooo good!
The point was not to just throw some chopped up apples into another cake. So, why not apple pie filling instead?
How to make apple pie filling on the stove top
If you’ve never made a homemade pie, you might think fruit filling is some kind of complicated mixture. But, generally, you’re just talking about fruit, sugar, spices/flavorings and a thickener of some sort.
This stove top apple pie filling is quite simple.
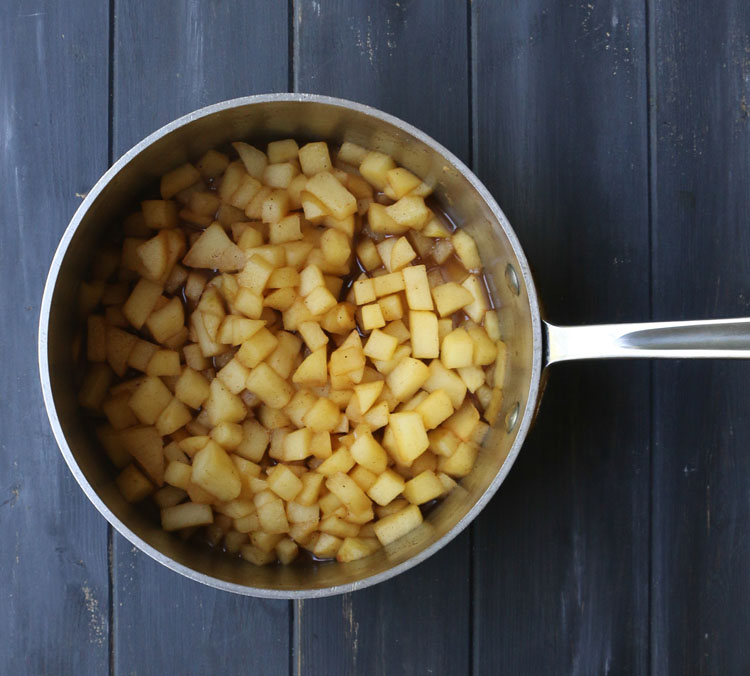
Start by melting some butter in a saucepan, then add apples, brown sugar, apple pie spice and lemon juice. Cook them over medium heat until fork tender.


You’ll see that the apples start giving off a lot of juice. See how much is collecting in the bottom of the pan in the first photo above.
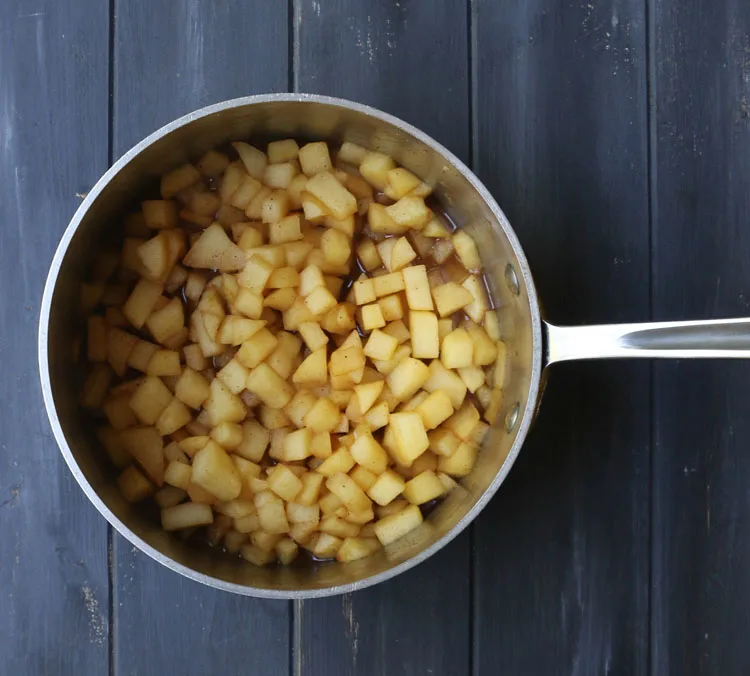
As you continue cooking and getting to the point where your apples are tender, some, but not all of that liquid will evaporate (second photo.)
Don’t over cook your apples or you’ll end up with mushy apples on their way to becoming applesauce.
Just cook until tender. Then, create a slurry of cornstarch and water and add it to the pan. Stir and cook until the mixture is thickened. It will happen quickly! (Third photo)
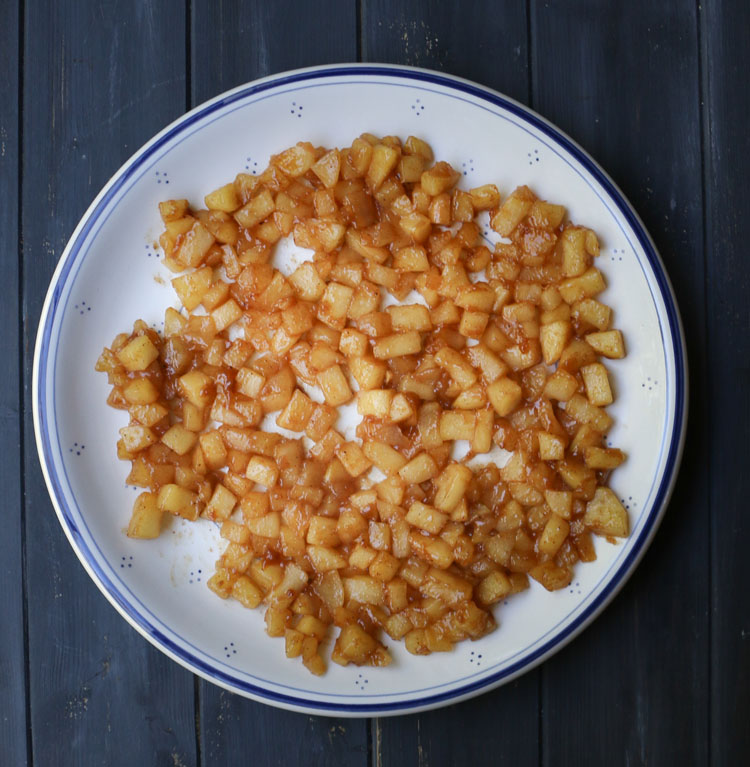

Now, we can’t add hot apple pie filling to the cake batter, so spread the mixture out on a large plate or baking sheet to cool while you move onto other steps, starting with prepping the bundt pan.
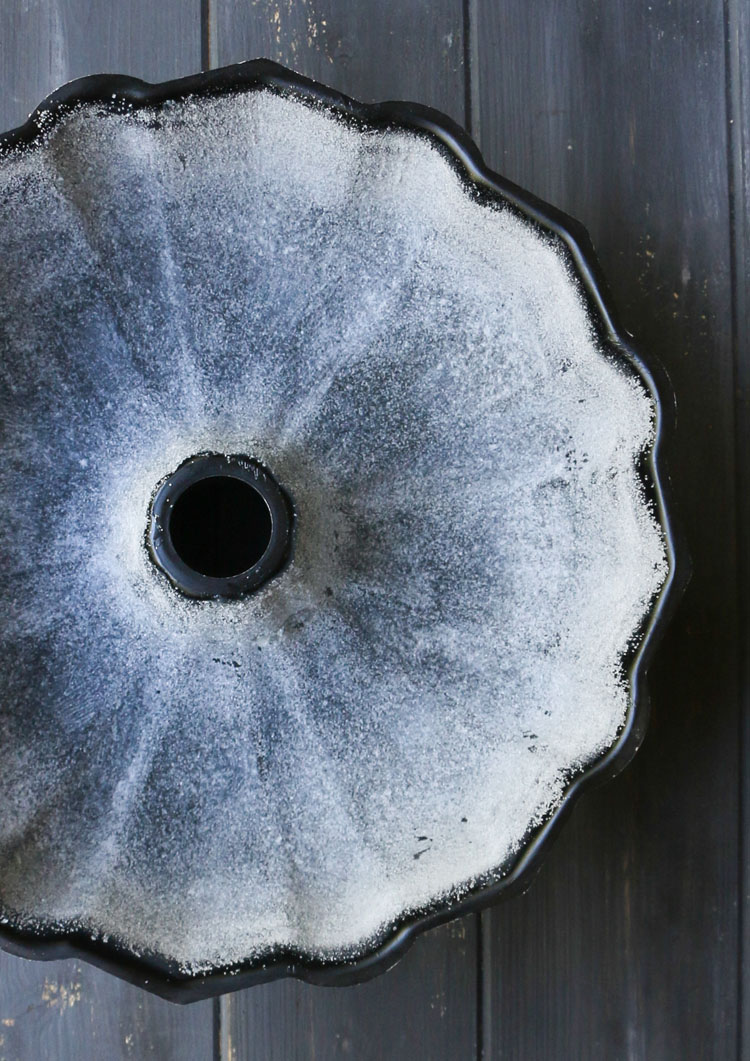
Preparing the bundt pan
Normally, I use a flour/butter mixture to prep a bundt pan like I did for this Pumpkin Ricotta Cake.
But for today’s cake, I wanted to go with butter and sugar. You can either melt some butter and brush it all over the inside of the pan or just partially melt it and use a piece of waxed paper to rub it all over.
(I took an additional step and put my pan into the freezer for a couple of minutes to resolidify the butter. I didn’t want the sugar to start dissolving in any liquid butter.)
Then, take a couple spoonfuls of sugar and shake them all over the pan, ensuring that every surface, nook and cranny are coated.
If you see that you’ve missed a spot where sugar isn’t sticking, go back and dab some butter in that spot so that the sugar will stick.

Making the cake
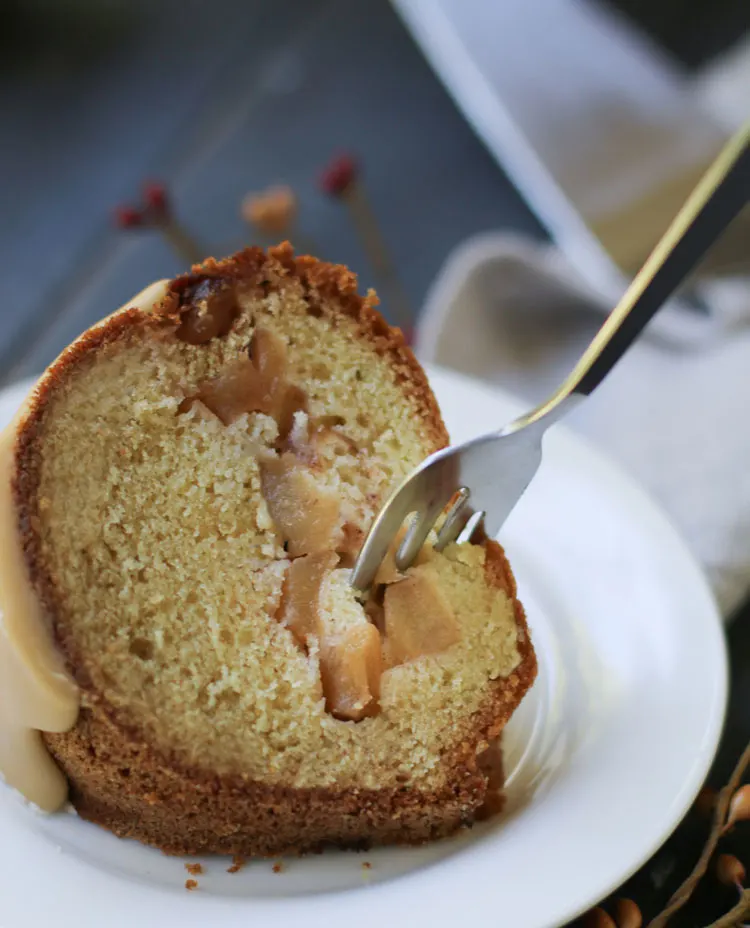
I wanted a sturdy cake that would stand up to the apple pie filling, so I went with a pound cake.
Traditionally a pound cake is made with butter. Some add sour cream (which I love!) For this cake, I decided to add heavy cream for that extra bit of richness.
And, If I’m being honest, the reason I added cream to this cake was because I had planned on developing a peaches and cream pound cake. Doesn’t that sound good?
But, by the time I got some good peaches in hand, it really was too late for a peach recipe. Maybe we can take a rain check on that until next summer?
Yeah..so up there in the beginning of the post where I talk about not remembering why I decided to do a mash up of apple pie and cake? Well, now I remember why! lol! See? I just needed to talk it out! :)
Okay…back to the cake. There’s cream in it…because of the peaches that have now become apples. Or, to be more exact, apple pie filling.
Measure your flour correctly!
I use the spoon and sweep method. Fluff the flour before measuring it to break it up, lightly spoon it into the measuring cup and sweep the excess off with the back of a knife.
Doing that gives me a cup a flour that weighs 4.25 ounces. So, for three cups, that’s 12.75 ounces. If you have a scale, forget the cup and just weigh it.
If not, follow the spoon and sweep method, so that you don’t end up with too much flour in your batter.
Make sure your ingredients are at the proper temperature
- Butter– The butter should be softened but not completely soft. You should be able to press your finger into it and have the butter maintain the indent left by your finger. Depending upon how warm my kitchen is and how cold my butter was when I started, this might take 30-60 minutes. Or, I use the microwave to bring it to temperature using power level 1 and checking it every 30 seconds. Don’t forget the power level or you’ll end up with a microwave filled with melted butter. Been there, done that.
- Eggs-These can/should be completely room temperature. They’re easier to mix into the batter when they’re room temperature. If you forget to take them out ahead of time, place them in a bowl and cover them with very warm water. Let them sit for 10 minutes and you’re good to go!
- Heavy cream-I’ll let this sit out with the butter, or if I forget, I’ll just microwave for 10-15 seconds or until the chill is gone. If you go the microwave route, don’t over heat the cream warm or it will melt the butter in your recipe. Not a good idea.
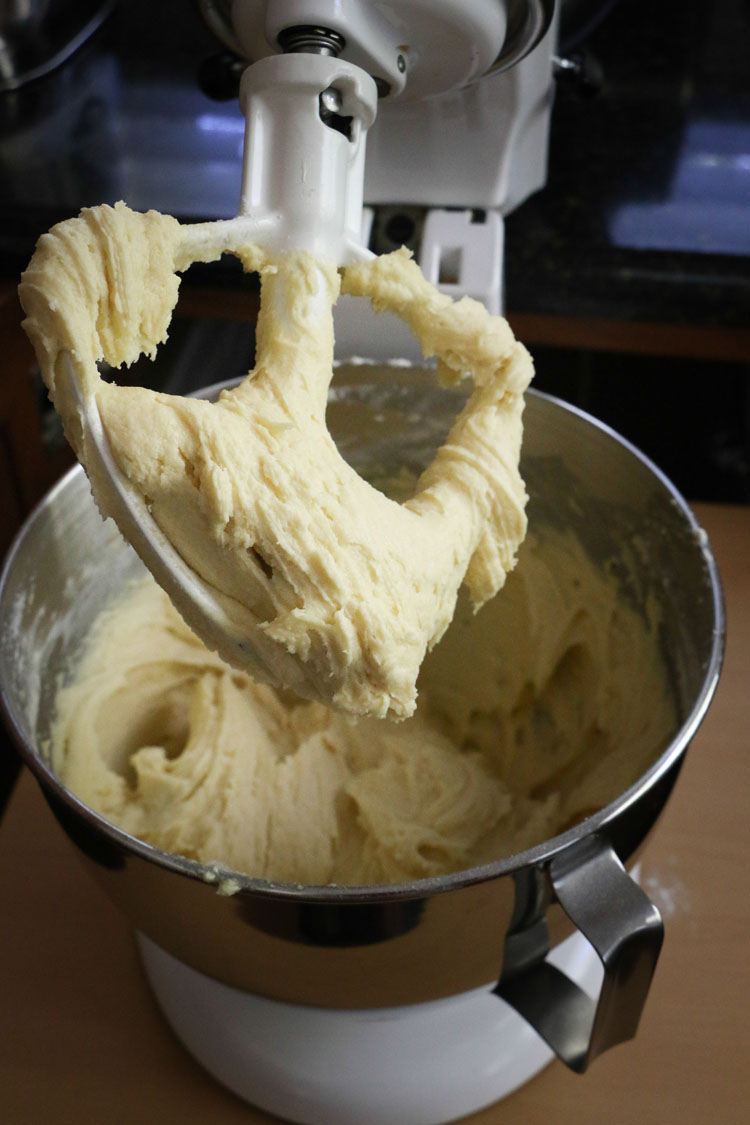
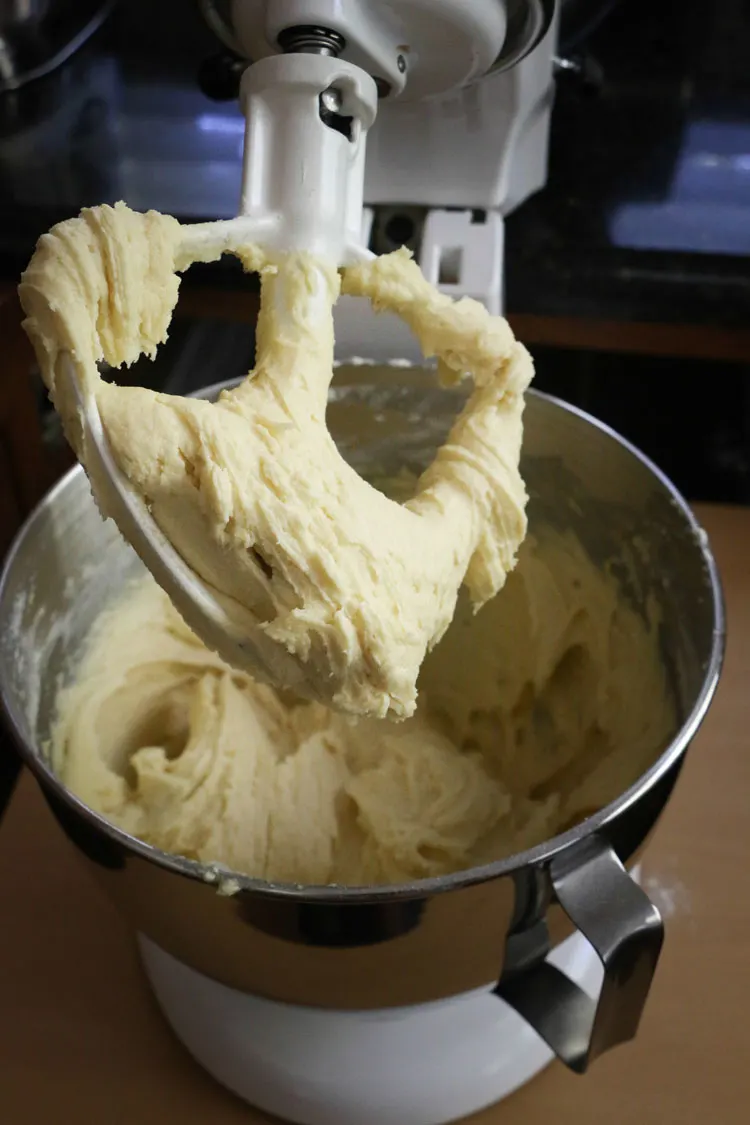
The batter comes together in a traditional way, whisking dry ingredients together and setting aside. Then, beating the butter and sugar together until light and fluffy. Don’t skimp here. Spend the time to whip some air into the mixture.
Then, add the eggs and vanilla. I always add the eggs one at a time for best blending.
Finally, alternate flour mixture and cream ending with the flour mixture. You will have a fluffy and thick batter when you’re done.
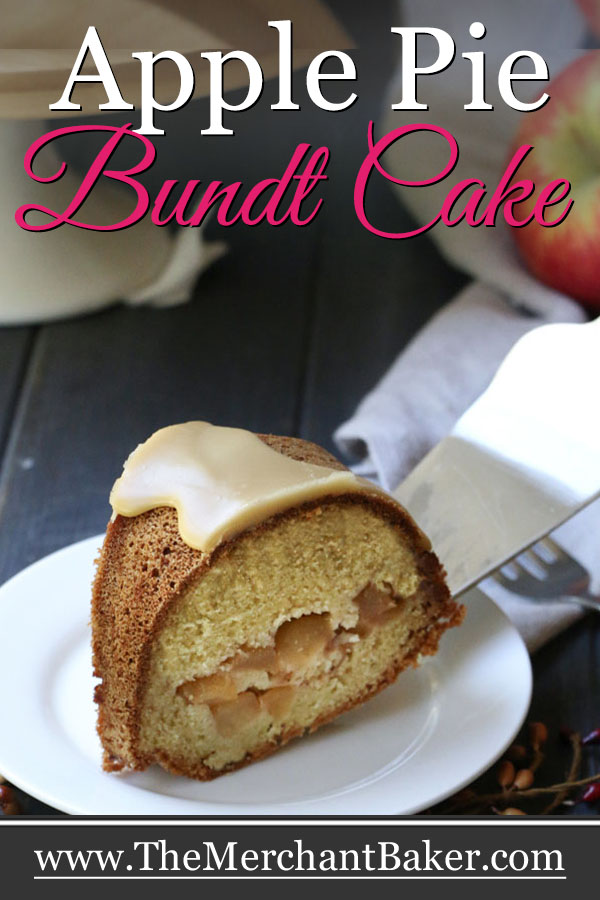
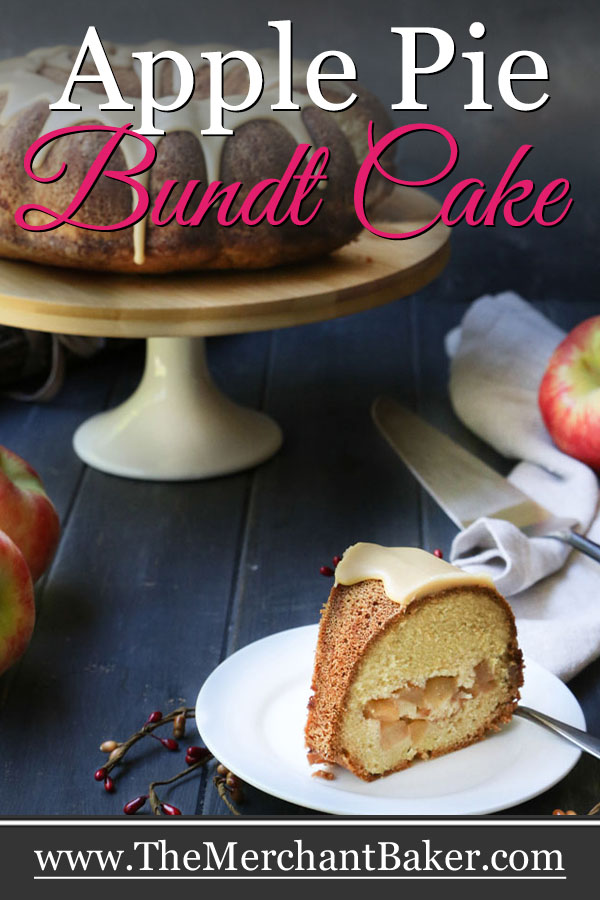
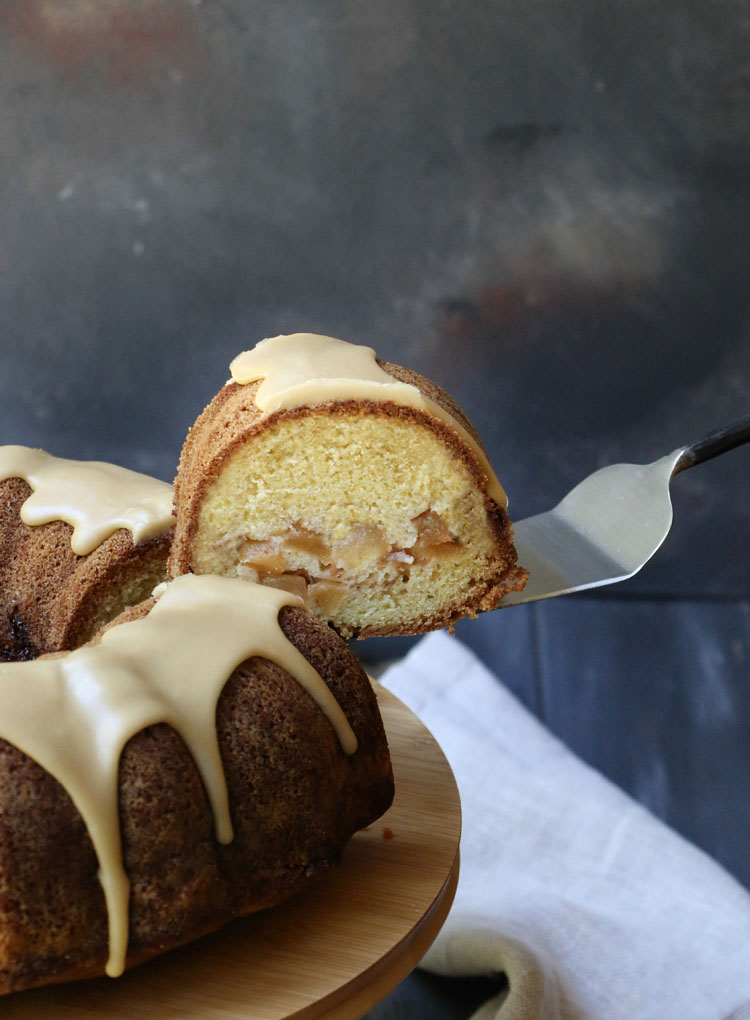
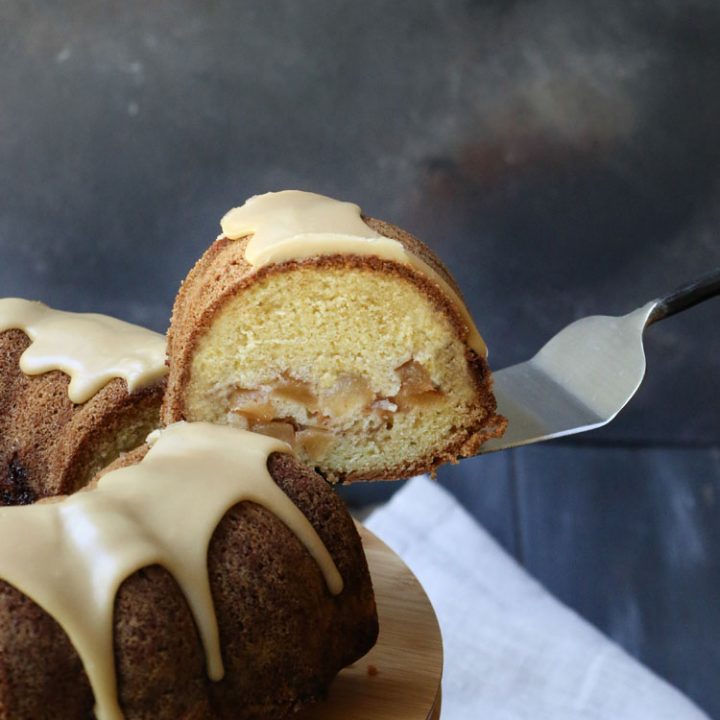
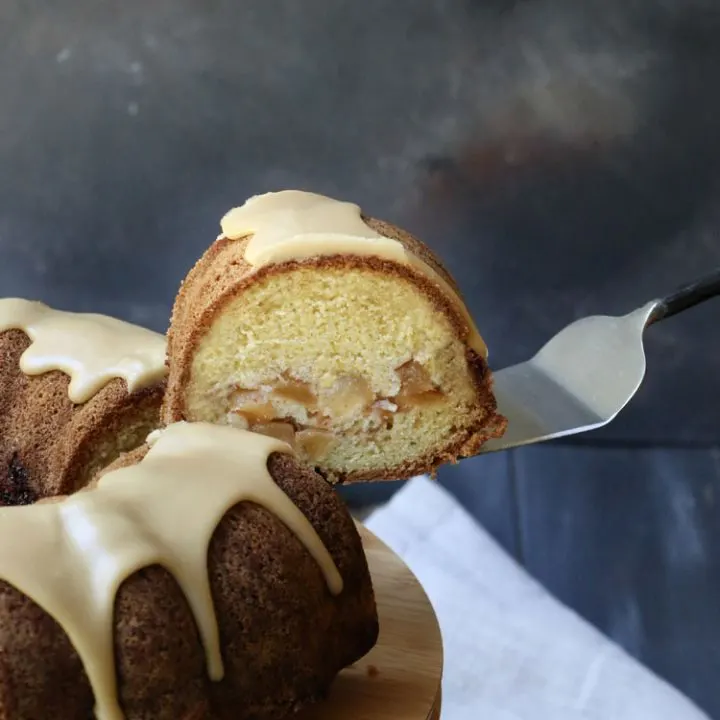
Layering the batter with the apple pie filling
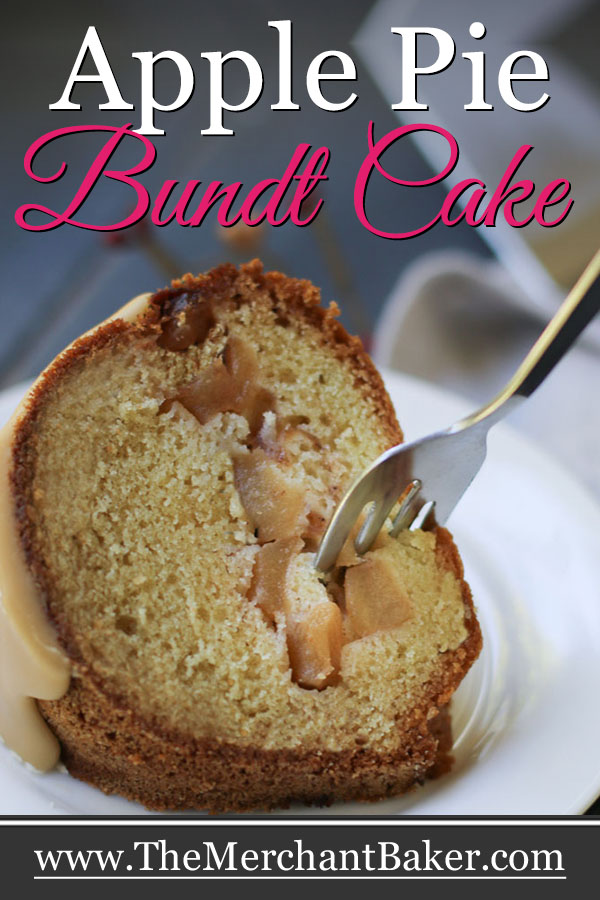
I’m going to be honest…there are many ways you can do this. My goal was simply to get a nice layer of apple pie filling somewhere in the middle of the cake.
These are the challenges:
- Because the cake batter is thick, if it’s not completely surrounding the apples, you’ll end up with holes around the apples where you want solid cake.
- And, if the apples end up touching the sides of the pan, they will burn. They need the cushion of batter.
Bottom line, you need to make sure you have batter around your apples at all times.

I tried it a few different ways, but here’s what worked for me…
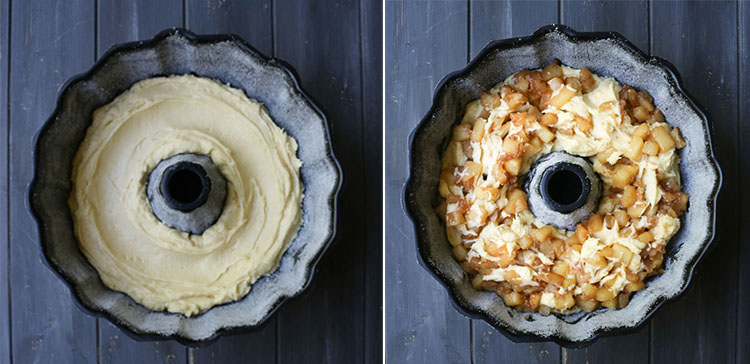
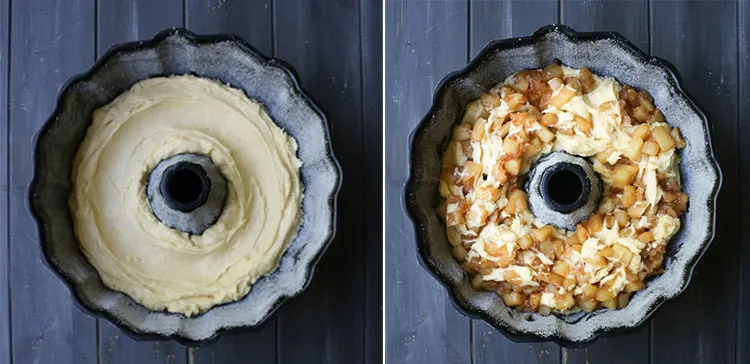
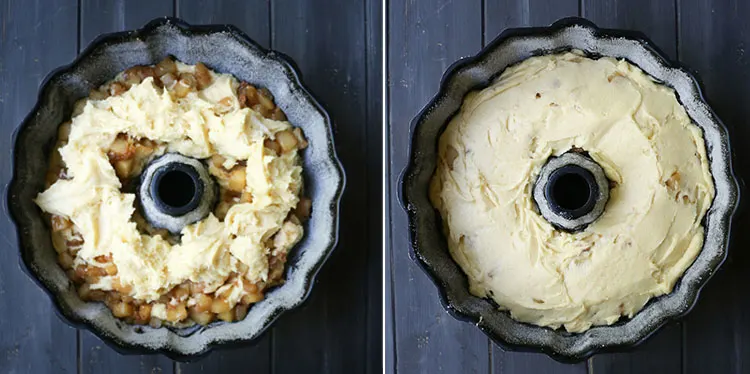
First, I took a little more than a third of the batter and spread it evenly in the bottom of the pan. This would be my base. I took a spoon and created a ditch in that batter for the next layer to sit in.
Next, I took a couple of spoonfuls of batter and lightly stirred them with my apples. Just enough to fill in a little around the apples and to insure the apples wouldn’t hit the side of the pan.
Layer that batter-cushioned apple filling on top of the layer already in the pan.
Take the remaining cake batter and dollop it around the pan, spreading evenly with an offset spatula.
That’s it! Ready to bake!
Please be careful not to overbake the cake. Remember, cakes that have baked too long will become dry. And no one wants to eat dry cake.


The following paragraphs contains affiliate links. We are a participant in the Amazon Services LLC Associates Program, an affiliate advertising program designed to provide a means for us to earn fees by linking to Amazon.com and affiliated sites.
Tips for removing the bundt cake from the pan
Pan preparation is key! Full disclosure, my bundt pan {aff. link} has a non stick coating. As long as I butter and flour or butter and sugar the insides well, I’ve never had a cake stick. Don’t leave any spots on your pan uncovered by your prep!
The other trick to getting a cake to remove from the pan is to allow it to cool slightly and firm up a bit. A hot cake is a soft cake. A soft, hot cake isn’t sturdy enough to safely release and be handled.
So, let the cake cool for 15 minutes in the pan before removing. Set a timer for this to insure you don’t get caught up with other things and forget. Why? Because allowing the cake to fully cool in the pan can also cause it to stick.
Then, let it cool completely on a wire rack . {aff. link}
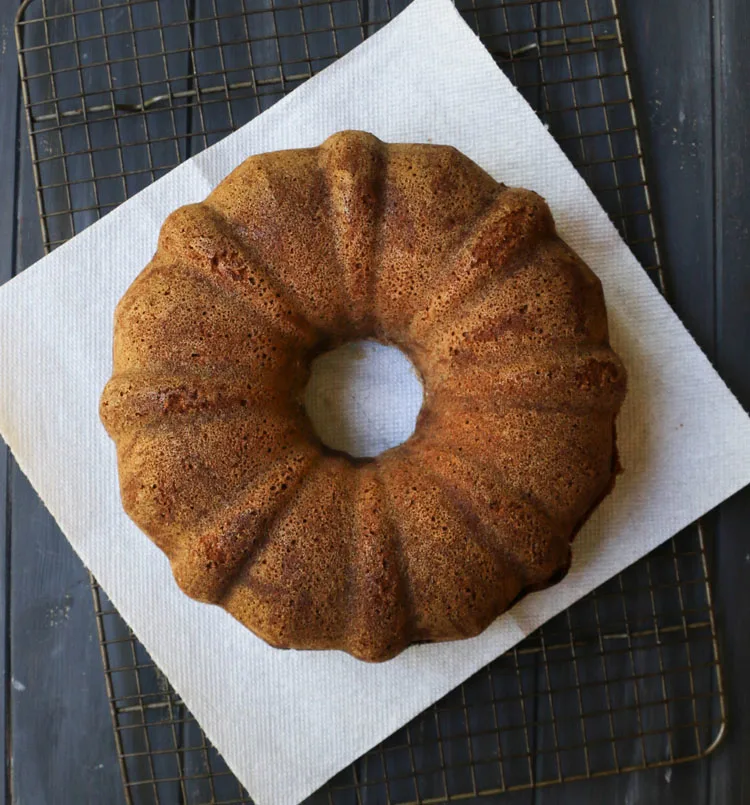
I always turn my cakes out onto a paper towel lined rack. It helps with the moisture that collects under the rack while still allowing the cake to breathe. It also keeps my cakes from sticking to the rack.
Make sure your cake is ready to be iced before you start making the icing. Put it on the serving plate and brush away any crumbs. The icing step goes quickly. As soon as you make the icing, it goes right on the cake. So be ready!

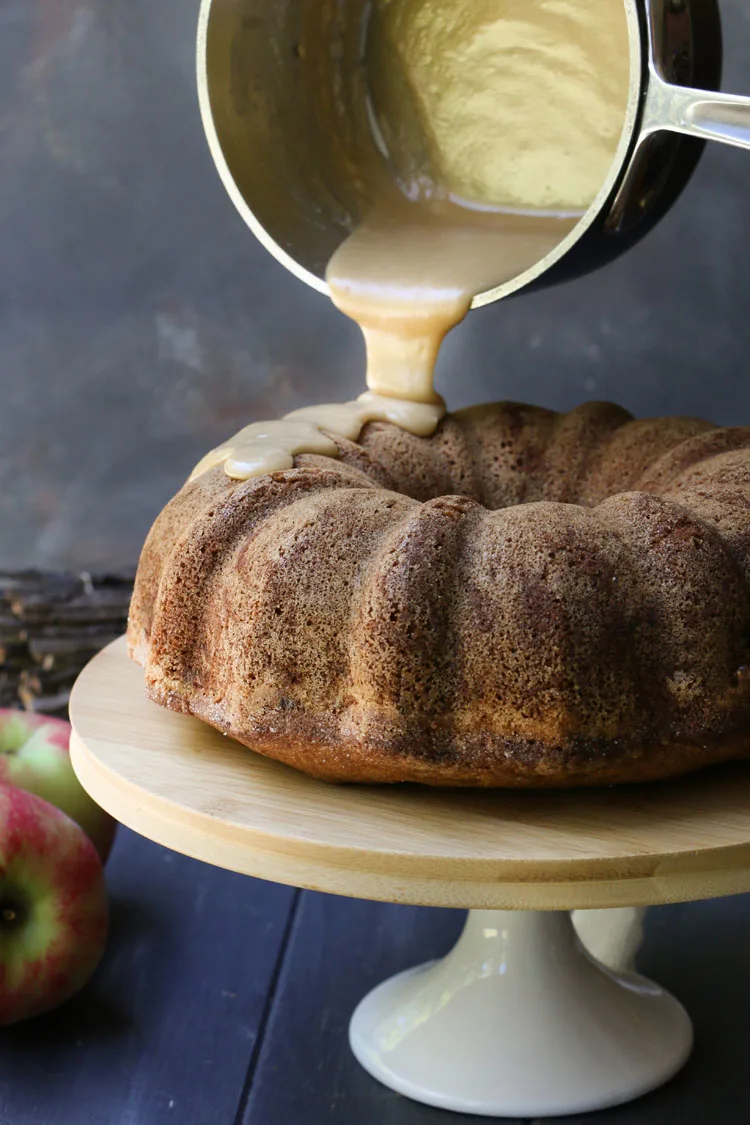
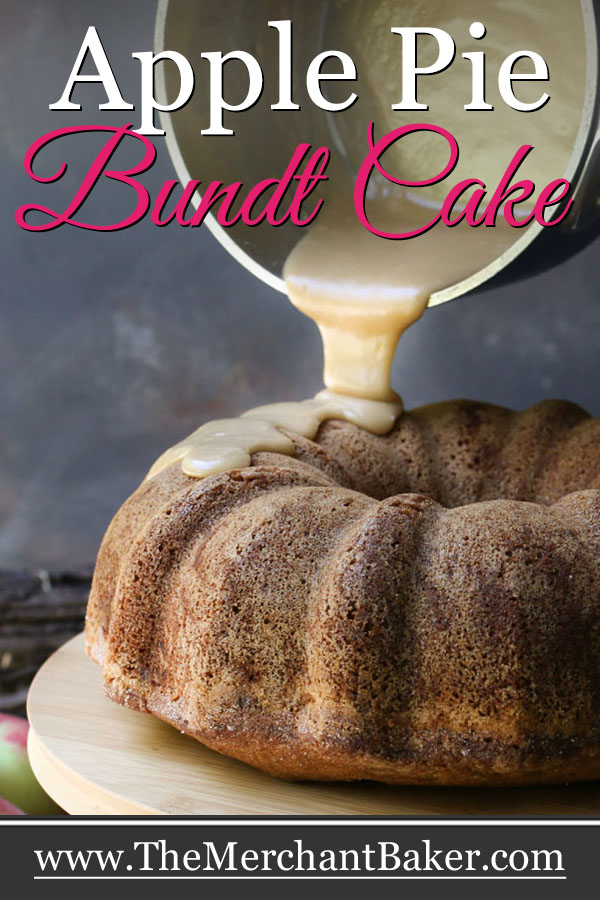
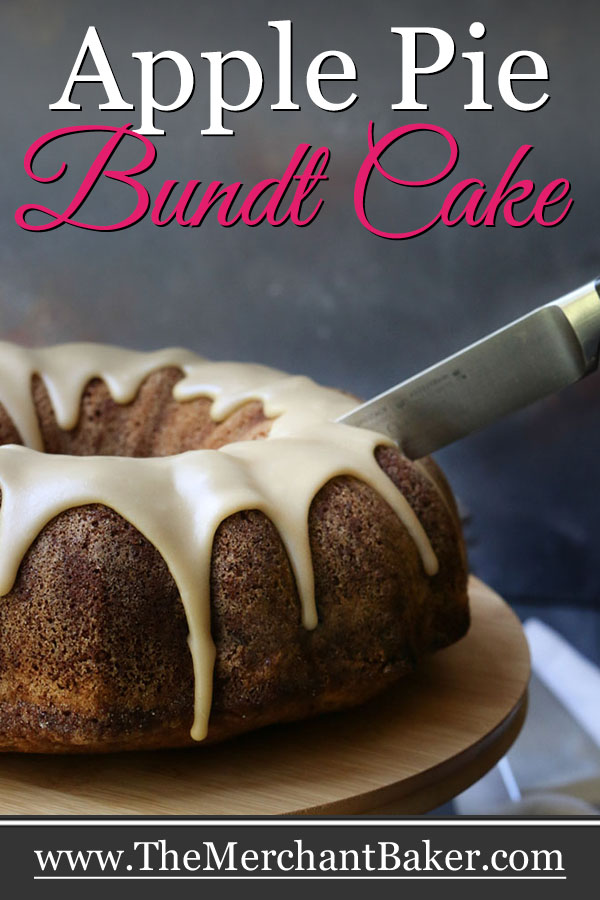
Making the buttery brown sugar glaze
This is a buttery, brown sugar glaze that hits some subtle caramel notes, due to the brown sugar. For those who love my Brown Sugar Butter Pecan Scones…this is that same icing. Everybody LOVES it!
This glaze is made on the stove top. No worries though. It comes together very easily.
Simply heat the water and sugar until the sugar dissolves. We don’t want any gritty sugar involved, right?
Then, whisk in the butter until it’s combined. Remove the glaze from the heat and stir in the vanilla, confectioner’s sugar and a pinch of salt.
Now, get ready because this glaze sets up almost immediately once you pour it. You might even start getting a top crust while it’s in the sauce pan if you don’t get to your cake quickly. No worries there. Just give it a quick stir to insure it’s smooth before pouring.

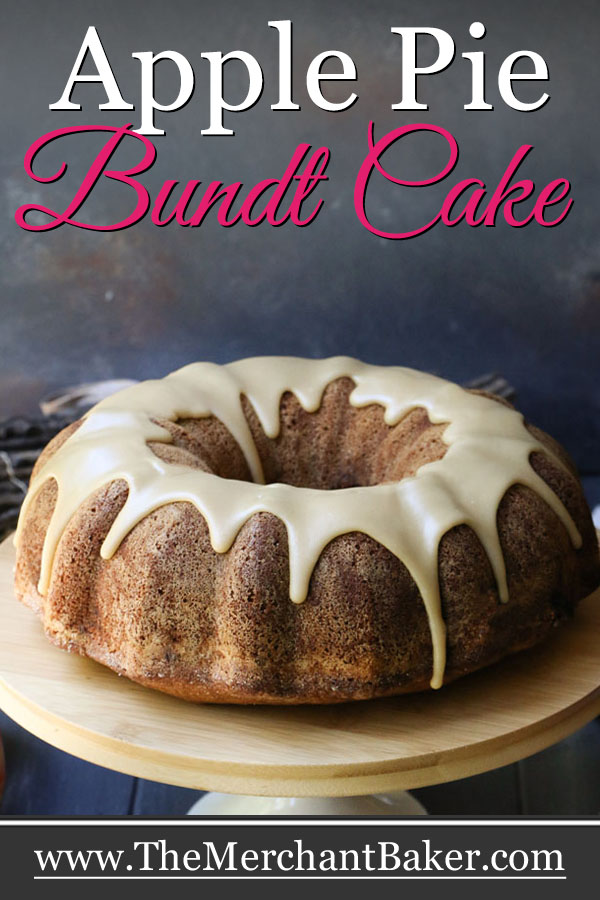
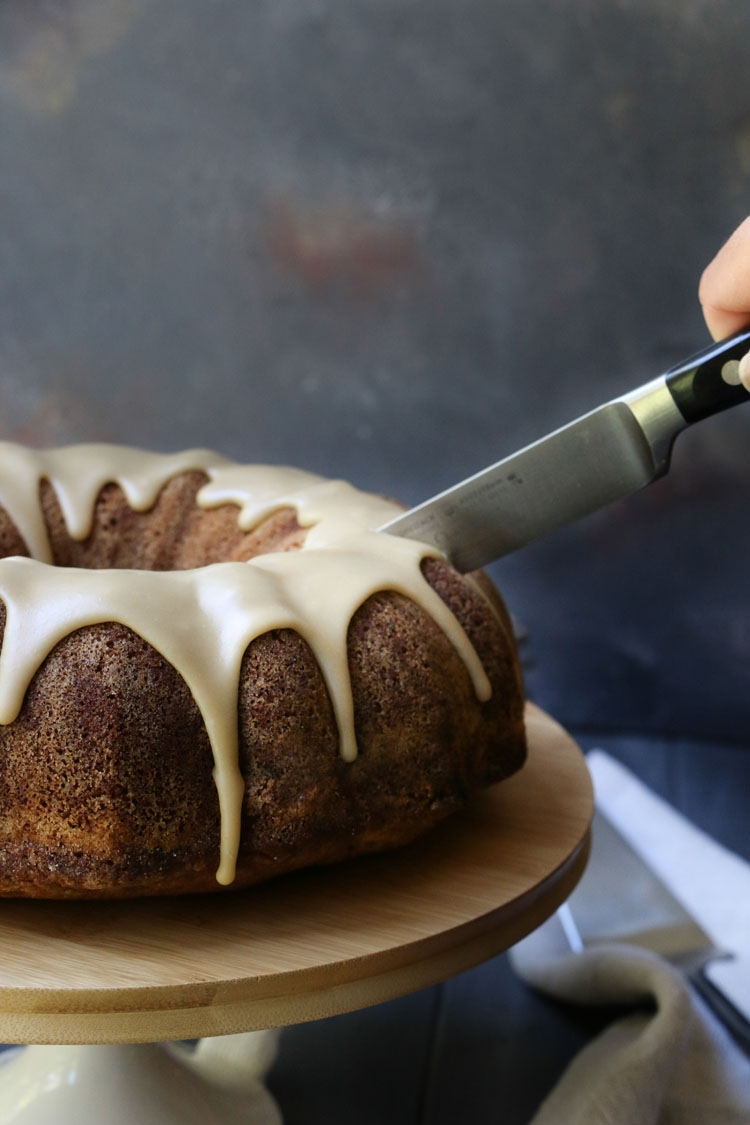
Glazing the cake
I will warn you in advance, because this sets up quickly, it may be difficult to get a nice smooth pour all the way around your cake.
What happens is that as you pour, making your way around the cake…by the time you come full circle and arrive back at your starting point…well…that part of the glaze will have already set up.
If this worries you, then do a random drizzle and forget trying to get the perfect pour.
Or, do a quick first pass over the cake and then do a drizzle on top with any leftovers. That’s what I did with my Brown Sugar Butter Pecan Scones.
Or, remember that it’s just cake, glaze doesn’t have to be perfect to be delicious, and it’s going to taste great regardless.


Doubling the glaze
I like to err on the side of less glaze. For me, it’s a nice hit of sweetness.
But, I know many of you would prefer to really get a heavier coating of that delicious glaze.
So, if the amount of glaze you see in my photos seems like it’s just not enough for you…feel free to double the recipe. I almost doubled it myself, though, more for looks than for my personal taste.
My family did think there was enough glaze, though I’m sure no one would have complained if there were more :)

Other options to top Apple Pie Bundt Cake
I chose to top my cake with the glaze. However….
I happen to think that this cake would taste AMAZING covered in my 10 minute Buttermilk Caramel Sauce. Why? Because that stuff tastes wonderful on EVERYTHING! If you decide to go that route, skip the glaze.
Here’s another idea…maybe double down on the apple flavor and top with Apple Cider Caramel Sauce!
Or, just use a premade caramel sauce. It won’t be as buttery and delicious as making it from scratch. But, if you use a caramel sauce that you love, then you’ll be happy.
Keep the caramel sauce separate from the cake, reheat the sauce as needed, and then top individual servings. I mean, there’s nothing like warm caramel sauce being poured over an Apple Pie Bundt Cake, is there?
The truth is, I even like this cake plain. Maybe just a dusting of confectioner’s sugar would make a simple, but perfect topping.

However you decide to adorn the cake, it will be a welcome addition to your fall baking repertoire. It’s just one way you can have your cake and eat pie too! ;)
Apple Pie Bundt Cake
Celebrate fall with this Apple Pie Bundt Cake. A pound cake batter, rich with butter and cream is layered with an easy stove top apple pie filling. A warm, buttery, brown sugar glaze is poured over the top and adds a caramel note to this wonderful cake.
Ingredients
To prep pan:
- 1 Tablespoon butter, melted (salted or unsalted is fine)
- 2 Tablespoons granulated sugar
For the apple pie filling:
- 1 Tablespoon salted butter
- 4 cups peeled and diced apples about 3-4 apples or 1 1/2 pounds
- 1/4 cup light brown sugar, packed
- 1 Tablespoon freshly squeezed lemon juice
- 1 teaspoon apple pie spice or cinnamon
- 1 Tablespoon cornstarch
- 2 Tablespoons water, apple juice or apple cider
For the cake:
- 3 cups all purpose flour
- 1 teaspoon salt
- 3/4 teaspoon baking soda
- 1 cup unsalted butter (softened)
- 1 1/2 cups granulated sugar
- 4 large eggs (room temperature)
- 1 teaspoons vanilla extract
- 10 Tablespoons heavy cream (this equals 1/2 cup plus 2 Tablespoons)
For the glaze:
- 6 Tablespoons brown sugar, packed
- 2 Tablespoons water
- 1 Tablespoon salted butter
- 1/2 teaspoon vanilla
- 1/2 cup powdered sugar
- pinch of salt
Instructions
Prep the pan:
- Using a brush, coat the inside of a 10" bundt pan insuring all areas are covered completely. Let the butter set for a minute so that it's not too wet. (I put my pan into the freezer for a couple of minutes to let the butter get firm again.)
- Sprinkle the sugar over all surfaces, tilting and rotating the pan as you sprinkle, until the pan is completely coated. Set pan aside.
Make the apple pie filling:
- Melt butter in a medium saucepan over medium heat. Add apples, brown sugar, lemon juice and apple pie spice.
- Cook apples, stirring occasionally just until fork tender but not mushy. As you cook, the juices from the apples will release in the beginning and start to evaporate as you near the end. You should still have some juice left in the bottom of the pan when the apples are tender.
- In a small bowl, stir together cornstarch and water until combined. Add to the apple mixture and stir until fully combined and the apple mixture thickens. This will happen almost immediately. Remove from heat.
- Cool apple mixture completely. I like spread the hot apple mixture into a thin layer on a large plate or baking sheet to speed cooling.
Preheat oven:
- Adjust oven rack down to the bottom third of the oven. For me, this is just one level down from the center. Preheat oven to 350 degrees F.
Make the cake batter:
- In a medium bowl, whisk together the flour, salt and baking soda.
- In a large bowl, with an electric mixer, beat softened butter and sugar until light in color and fluffy in texture, about 3 minutes.
- Add eggs, one at a time mixing after each addition. Add vanilla and mix until combined. Mixture may look curdled. That's fine.
- Alternate adding 1/3 of the flour mixture, 1/2 of the cream, 1/3 flour, last half of the cream, last third of the flour. Mix after each addition until almost, but not fully combined. Remember to scrape sides/bottom of bowl and beaters as necessary. After last flour addition, scrape bowl one more time and mix for another 10-20 seconds to insure everything is well combined.
Bake the cake:
- Spoon at least 1/3 of the batter into the bottom of the pan and spread evenly. This will give you a good base for the top of your cake.
- Then, create a ditch by dragging the back of a large spoon through the batter. Take a few spoonfuls of batter from the bowl and lightly stir with apple pie mixture. You just want enough batter to cushion the apples from the sides of the pan and to fill in some of the space between the apples. See photos in post. Spoon this mixture into the pan, taking care to insure no bare apples are touching the pan or the apples will burn. Cover with remaining batter, spreading evenly until apples are covered.
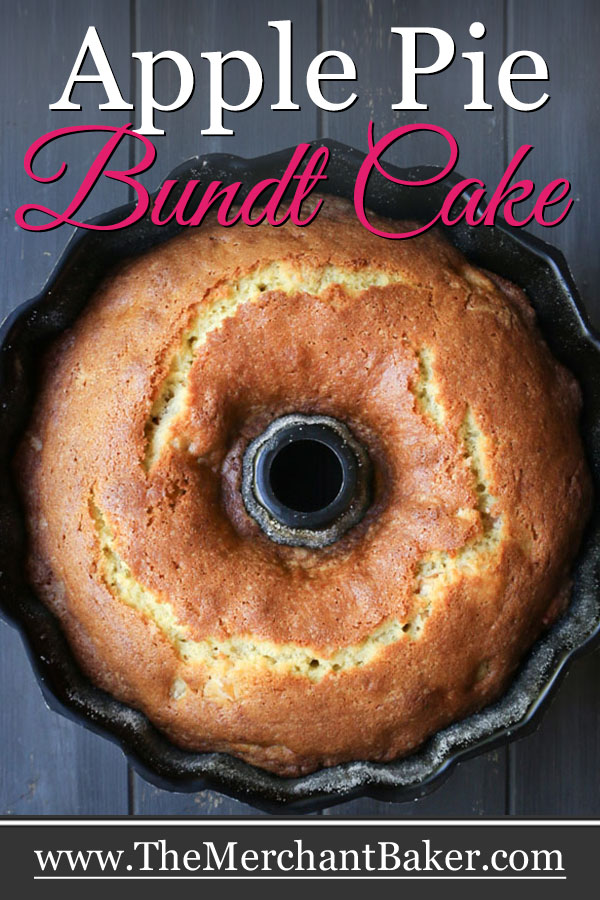
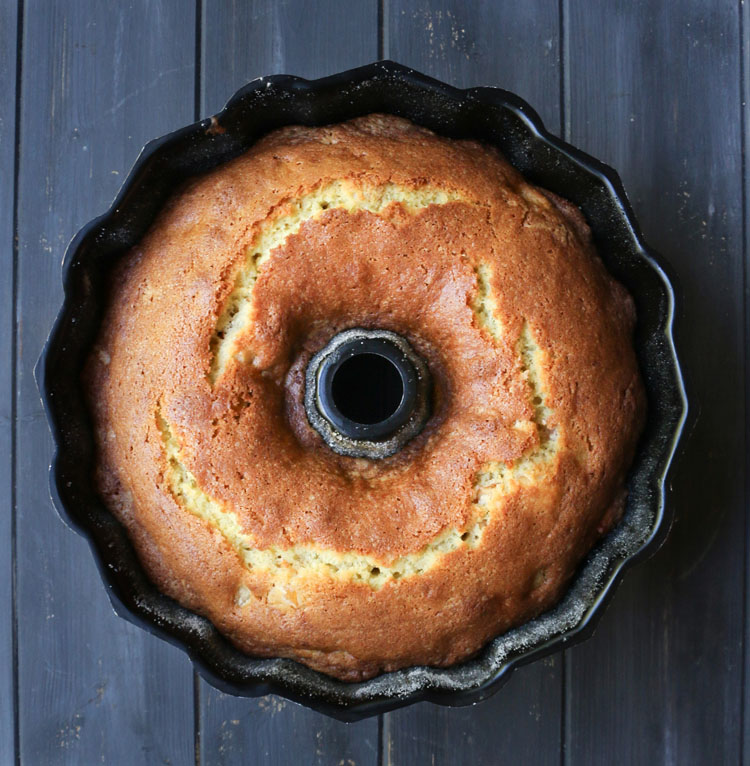
- Bake for 50-60 minutes or until toothpick inserted into center comes out clean. Take care not to overbake or you'll risk ending up with a dry cake.
- Allow to cool in pan for 15 minutes. Then, flip out of pan onto a paper towel lined rack to finish cooling completely.
Make the glaze:
- In a small saucepan, mix the brown sugar and water together with a whisk and heat just until sugar is dissolved. Whisk in the butter until fully combined.
- Remove pan from heat and whisk in vanilla and powdered sugar. (Sift your powdered sugar first if it's lumpy.) Continue whisking until smooth and any remaining lumps are completely dissolved. Taste and add a pinch of salt, if needed.
- Pour, spoon or drizzle over cooled cake. The glaze sets quickly so don't dawdle on this step.
Notes
- If you use salted butter, reduce salt in recipe to 1/2 teaspoon.
- You don't have to strictly follow how I layered the apples. I didn't want the apple filling dispersed throughout, but I also didn't want a tunnel of apple pie filling in the center. So, I went halfway which gave me enough filling in places to feel like pie. You can layer however you wish. Just insure you give yourself a layer of batter on the bottom and the top. The well helps keep the apples from touching the sides of the pan, where they will simply burn during the baking process. What happens in between those layers is up to you!
- If you want a more fully coated cake, double the glaze. (For quick reference and easy measuring, if you double the sugar to 12 T, that equals 3/4 cup. And 4T of water equals 1/4 cup.)
- I think this cake is just as delicious without the glaze. So, feel free to skip it if you don't like that extra sweetness. Or, substitute the glaze for 10 min Buttermilk Caramel Sauce or your favorite sauce. I would top individual slices at serving time instead of pouring over the whole cake.
- See post for more tips!
Linda
Thursday 9th of October 2025
Can this cake be baked and stored in a covered cake holder safely over night?
Ramona
Tuesday 14th of October 2025
Hi Linda, Yes, this cake should be fine stored in a covered cake holder overnight.