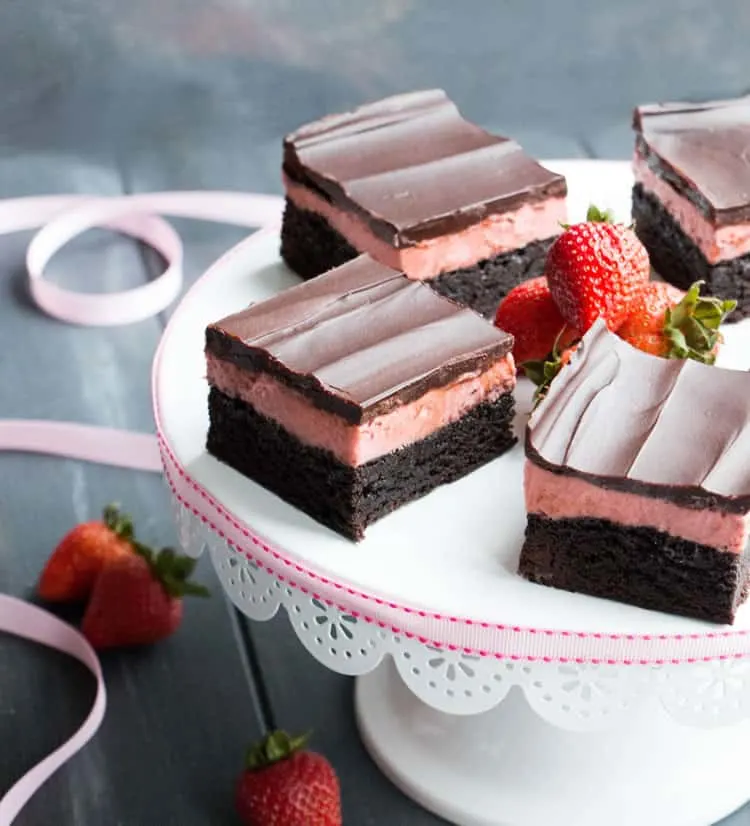
And just like that, Valentine’s Day is just one week away. I often make brownies around Valentine’s, but this year I thought, why not a triple threat? I’m not just making any old brownies, I’m making Strawberry Cheesecake Truffle Brownies.

Yep, these brownies are all dressed up and pretty in pink!
I’ve shared quite a few brownie recipes with you. There’s the mother of all the favorites, Black Cocoa Brownies. In that post, I talk all about my search for the perfect brownie. That’s the closest to my fave so far, as far as a base brownie recipe.
I mention in that post how important the cocoa is to a good brownie. And because I think it’s important, and because you might not have read every single post I’ve ever written, I will happily mention it again today.
You can take the exact same brownie recipe and make it with five different types of cocoa….and you will end up with five different tasting brownies. Really.
One of the reasons I love that Black Cocoa Brownie so much is not only because of the texture, but because the black cocoa brings such a rich flavor to it.
Oh…and then there’s Mayan Brownies. That’s become one of our favorites. And for that one, I used a completely different cocoa. If you are a brownie lover, you should definitely experiment with different cocoas.
Today, I’m encouraging you to experiment with another ingredient, freeze dried fruit.
Freeze dried fruit is the whole fruit and nothing but the fruit. The water is gone and what you’re left with is tons of real fruit flavor.
And what’s cool about it is that you can add that real fruit flavor bomb to places where the fresh version of that fruit might not work as well.
I first used freeze dried fruit powder when I bought this Lemon Juice Powder. That stuff is fantastic for adding a burst of fresh lemon flavor to just about anything. It’s so much fresher tasting than an extract. Why? Because it’s real lemon flavor.
I’ve added that lemon powder to pancakes and muffins and cakes and frostings and, well, you name it.
Then, I started seeing more freeze dried fruit at the store and experimented with things like Strawberry Chocolate Bark, Raspberry Valentine Sugar Cookies and Chewy Toffee Apple Cookies.
I almost picked raspberries as my fruit of choice for today, but I was thinking about chocolate covered strawberries and thought I’d go with that instead.
I find my freeze dried fruit at Trader Joe’s, but I’m starting to see it more often in the produce section of my regular grocery store.
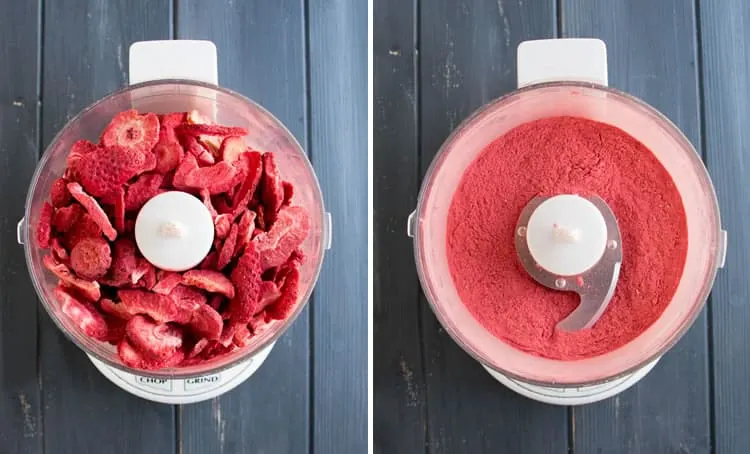
All you have to do is grind that fruit into a powder. I do that in my mini food processor.
Then, you’re going to want to sift out the seeds. If you check out the photos in my Raspberry Valentine Sugar Cookies post, you’ll see what it looks like once you sift out the seeds.
It only takes a second to sift out the seeds. I like my fruit powders to bring flavor, not a crunchy seedy texture, so for me, the seeds must go.
Because you have to cool or chill each of the layers, there’s some time involved in making this recipe. Plan ahead. I made the brownies the day before I filled and topped them.
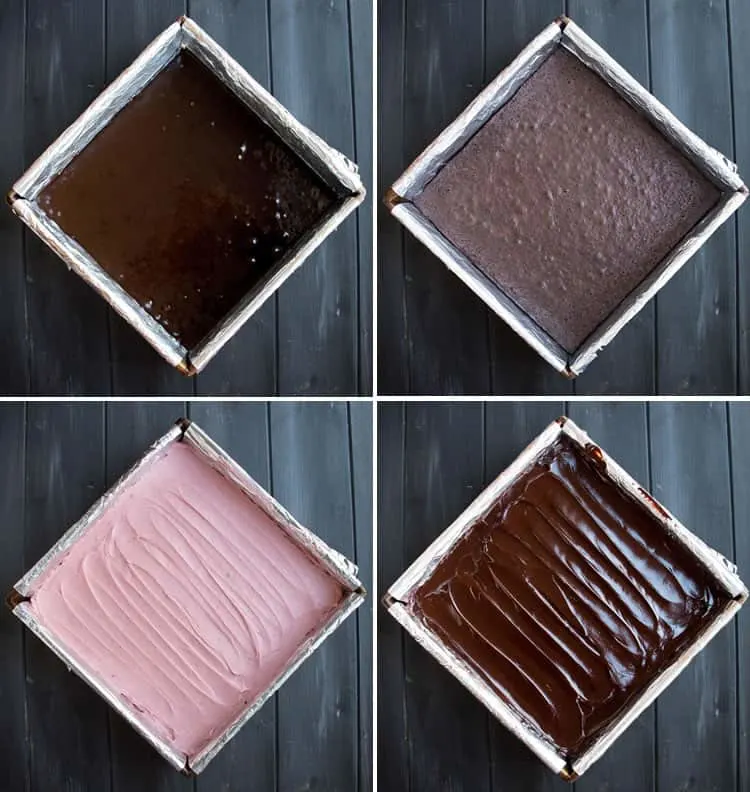
The brownie recipe is an easy one bowl recipe. It’s a version of my Mayan Brownies recipe, but I left out all the spices, switched to olive oil as the fat and I left out the chips.
And, I only left out the chips to exercise the tiniest bit of restraint. I figured I was already topping the brownie with cheesecake and ganache….but hey, add chips if you want. More chocolate? Sounds good.
You want to use melted butter instead of olive oil? Also good.
Once the brownie base is cool, we’re going to make the cheesecake filling. It’s a no bake cheesecake filling and, again, you can make it in one bowl.
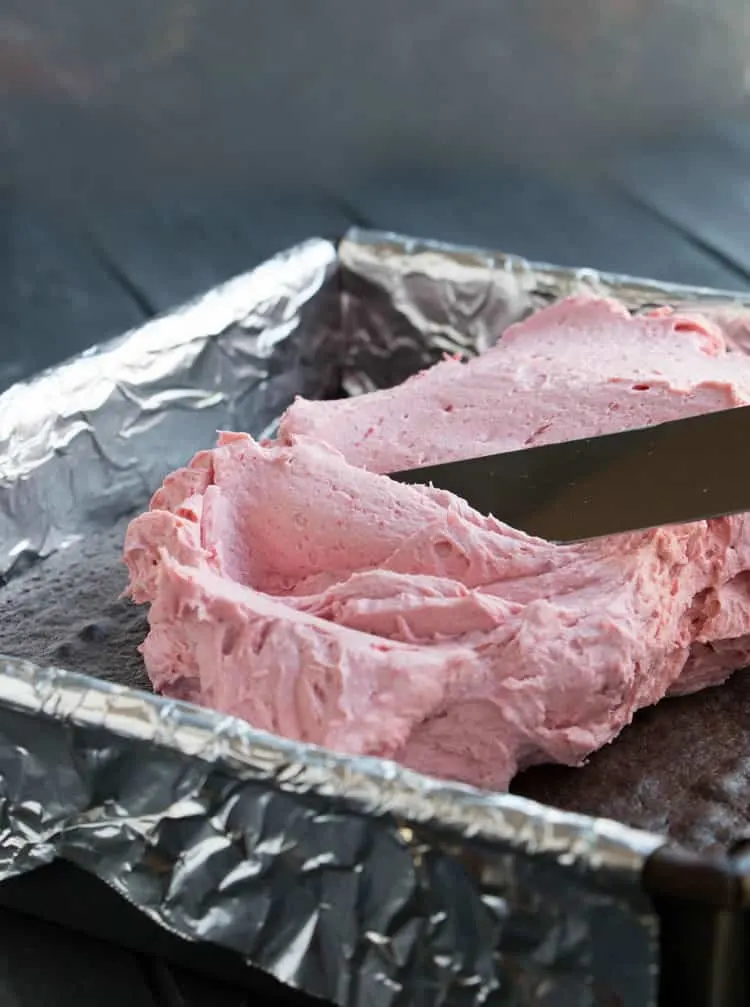
It’s pretty easy. Just whip up the cream cheese, sugar, salt and vanilla. Then, sprinkle on that magical fruit powder and drizzle in the whipping cream while you beat the whole mixture to stiff peaks.
I always add fruit powders when I add the liquid ingredients. It gives the powder a better chance at rehydration and will give you the smoothest texture.
Spread the fluffy cheesecake mixture evenly on top of the brownie base and chill in the refrigerator for a couple of hours. You want the cheesecake mixture to have time to firm up before you top it with the ganache.
I always make a dark chocolate ganache. I always make it on the stove. But, I decided to make it in the microwave this time.
I just heated the cream and corn syrup in a microwave safe bowl and it really was faster and easier and saved having to wash a sauce pan. I’m not sure why I didn’t try it before.
For this recipe, since there were multiple steps, I was motivated to make each step as easy as I could.
Once the ganache cools down, but is still glossy and spreadable, it goes right on top of the cheesecake layer.
Now you could, theoretically, dive right in and cut up those brownies while the ganache is still soft. It will be messy, but it will be delicious.
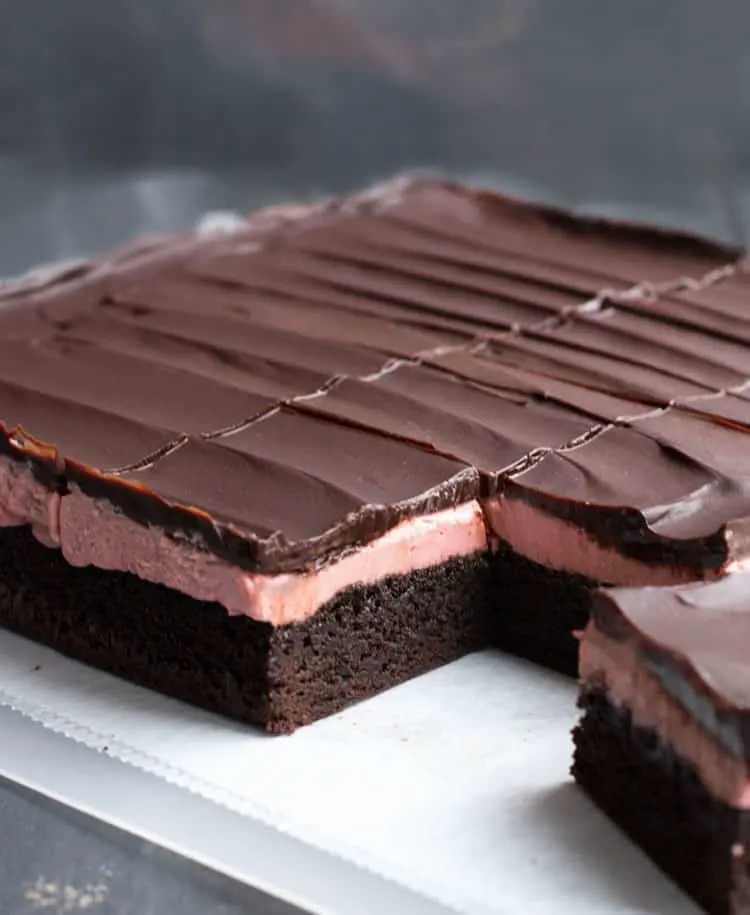
I, on the other hand, wanted some nice, clean cuts, so I chilled mine until the ganache was set. I then used a hot knife to cut into them.
The hot knife is great for getting a nice clean cut through the ganache. If the knife is really hot, it will really melt the ganache and that melty chocolate will bleed into your cheesecake layer. Still delicious. Not so pretty.
If you cut the squares cold, straight from the fridge, without a hot knife, the ganache top might crack a little.
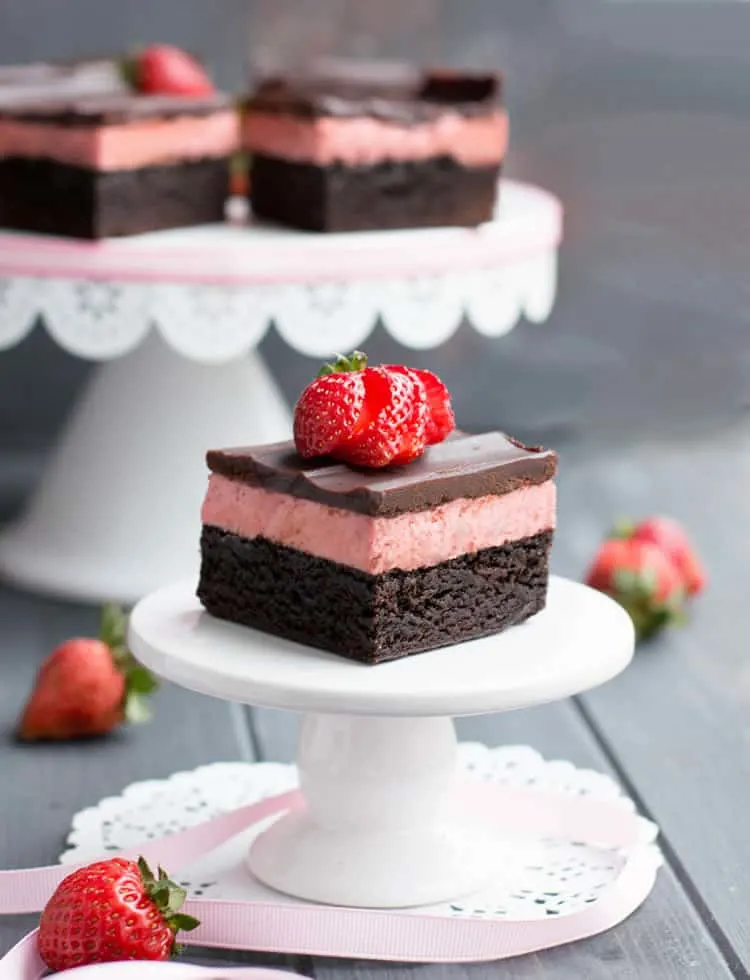
The cleanest cuts I could get were by cutting the bars when they were cool, but not cold. In other words, you want the ganache set up enough so that it doesn’t spread to the cheesecake layer, but cool enough to get a nice clean cut.
Basically, I just let them sit out for about 30 minutes at room temperature and cut them with a sharp, (not hot) knife. That gave me the cleanest cut.
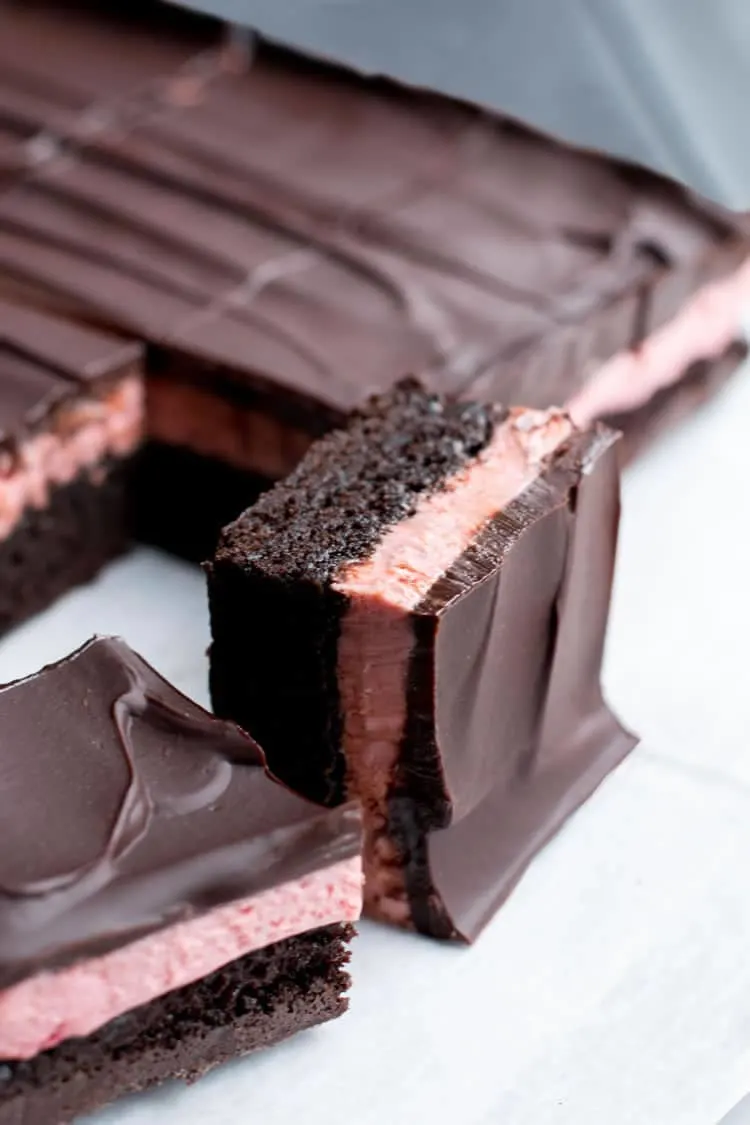
Don’t worry if they’re not perfect. Some chocolate will get through to the strawberry layer on some of your cuts.
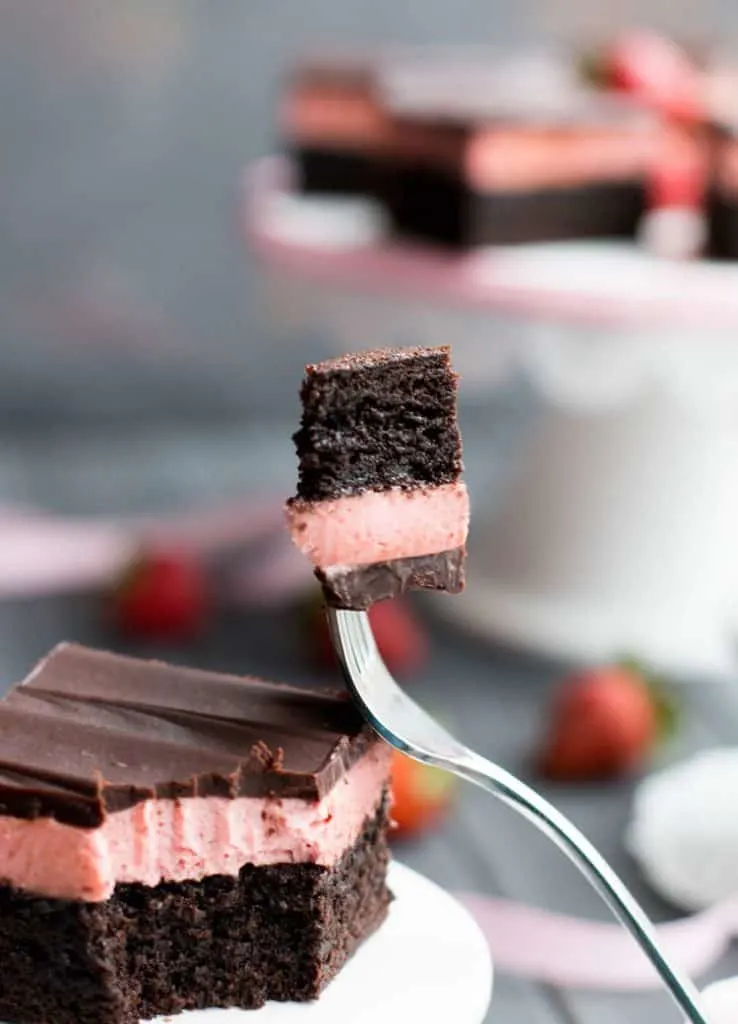
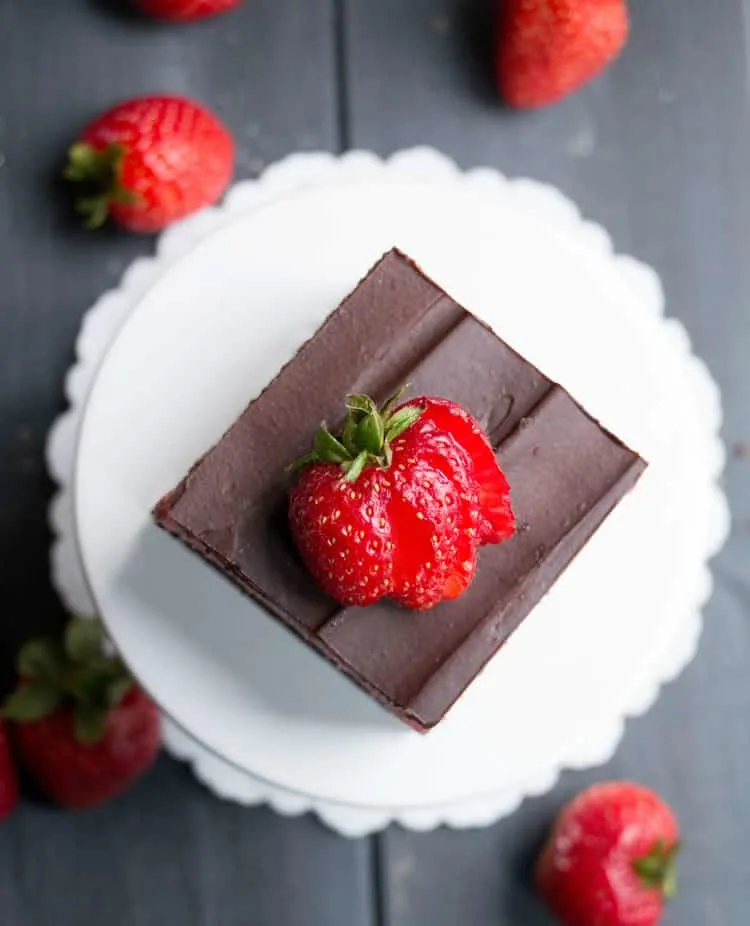
When all is said and done, you’ll end up with a really tasty bite. Fudgy brownie, creamy strawberry cheesecake and rich chocolate ganache. Strawberry Cheesecake Truffle Brownies.
Extra special brownies for your extra special valentine :)
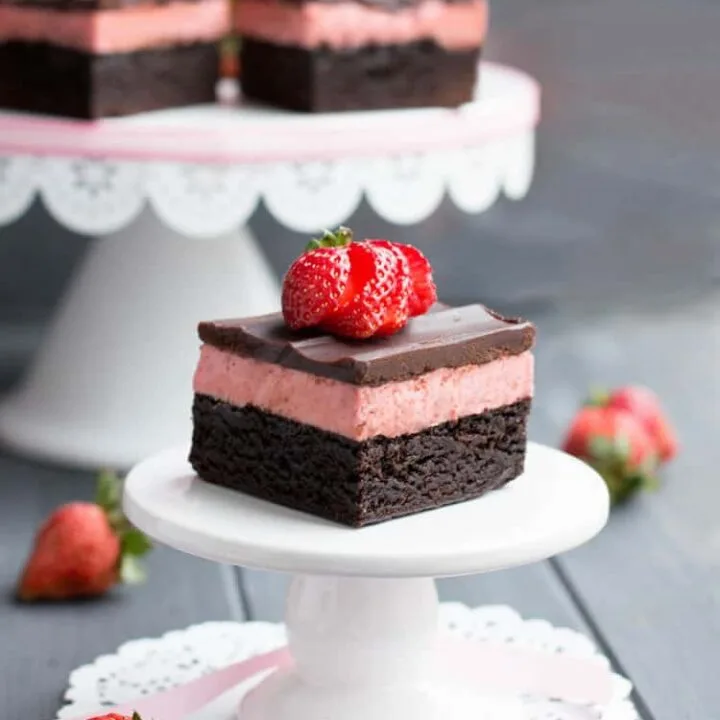
Strawberry Cheesecake Truffle Brownies
Ingredients
For the brownies:
- 3/4 cup all purpose flour
- 1 1/4 cups granulated sugar
- 1/2 cup unsweetened or dutch process cocoa, I used King Arthur Flour's Double Dutch Dark Cocoa
- 1/2 teaspoon espresso powder
- 3/4 teaspoon salt
- 1/2 cup olive, vegetable or canola oil, I used a mild olive oil
- 3 large eggs
- 1 teaspoon vanilla
Strawberry cheesecake filling:
- 8 ounces cold block cream cheese, I used Philadelphia
- 1/2 cup granulated sugar
- pinch salt
- 1 cup heavy whipping cream
- 1/2 teaspoon vanilla extract
- 1.2 ounces freeze dried strawberries, I used Trader Joe's
Chocolate ganache:
- 3 ounces heavy whipping cream
- 1 1/2 Tablespoons light corn syrup
- 1/4 teaspoon vanilla
- 6 ounces dark chocolate, chopped
Instructions
For the brownies:
- Preheat oven to 350 degrees F. Line a 9" square pan with foil. Spray lightly with cooking spray. Set aside.
- In a mixing bowl, whisk together flour, sugar, cocoa, espresso powder and salt.
- Add oil, eggs and vanilla and stir until smooth. Spread evenly into prepared pan. Bake for 25-30 minutes or until edges look like they're just pulling away from the sides of the pan and a toothpick inserted in the center comes out with a few moist crumbs. Take care not to over bake or you'll risk a dry brownie. Allow to cool completely.
Make the cheesecake filling:
- Place freeze dried strawberries into a small food processor and process to a powder. Sift the powder to remove the seeds. Discard seeds and set powder aside. You should have about 4 1/2 Tablespoons of strawberry powder.
- In a medium bowl with an electric mixer, beat cold cream cheese for 10 seconds. Add sugar, vanilla, and a pinch of salt. Beat for about 30 seconds until fully combined. Sprinkle strawberry powder on top of mixture, then slowly pour cream into bowl and beat until combined and you have stiff peaks. Take care not to over beat.
- Spread cheesecake mixture evenly over completely cooled brownies. Cover pan with foil and allow to chill for a couple of hours.
Make ganache:
- Heat cream and corn syrup in a pan on the stove, or in a bowl in the microwave until hot and just beginning to simmer around the edges. Remove from heat and add chopped chocolate. Stir until smooth and glossy. Add vanilla and stir until combined. Set aside to cool for about 15-30 minutes.
- Spread cooled ganache evenly over chilled cheesecake layer. Return to refrigerator to chill thoroughly. Remove brownies from foil. Cut into squares and serve. (See recipe notes for cutting tips.)
Notes
*There are multiple cooling steps involved so plan ahead. It may take a few hours for the brownies to completely cool. You could make your brownies one day and then make the filling and topping the following day.
*If you cut it with a cold knife and the ganache is very firm from the refrigerator, you may crack the top of the ganache. To avoid this, you can let the squares sit at room temperature for about 15-30 minutes so that they are still chilled but the ganache is a little softer to cut. I was able to get some nice clean, non-chocolate smudged cuts that way. I also had some success with gently heating a sharp knife in a cup of hot water and wiping it dry before making a cut. Repeat heating and wiping clean after each cut. This method will melt the chocolate a bit and you may see that smudge the cheesecake layer. The secret is to not over heat the knife. Just make it barely warm enough to cut through the ganache layer.
*Brownies should be stored in the refrigerator.
*I almost always add chocolate chips to my brownies. This time I omitted them, but feel free to add a cup of your favorite chips to the brownie batter, if you desire.
The Merchant Baker Copyright © 2018


Marloe
Tuesday 18th of February 2025
Where does the cream come in for the cream cheese mixture? Assuming I’m supposed to add it with the cream cheese, but in the instructions there is NO mention of the heavy whipping cream. Kind of important,no?
Ramona
Tuesday 18th of February 2025
Hi Marloe, the cream is actually mentioned in step 2 of making the cheesecake filling where it says, "slowly pour cream into bowl." Hope that helps!
Vanessa
Tuesday 2nd of April 2019
Hi, can this be made with any box brownie mix?
Ramona
Wednesday 3rd of April 2019
Absolutely, Vanessa! Feel free to use your favorite mix. It's a great shortcut!
Karly
Friday 9th of February 2018
So cute! Perfect for Valentine's Day!
Ramona
Friday 9th of February 2018
Thanks, Karly! Happy Valentine's Day!