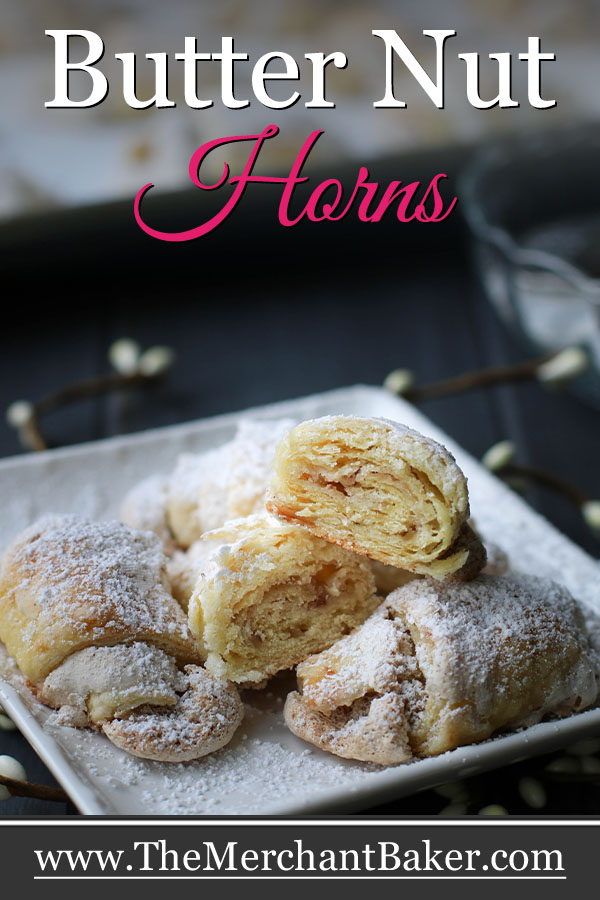


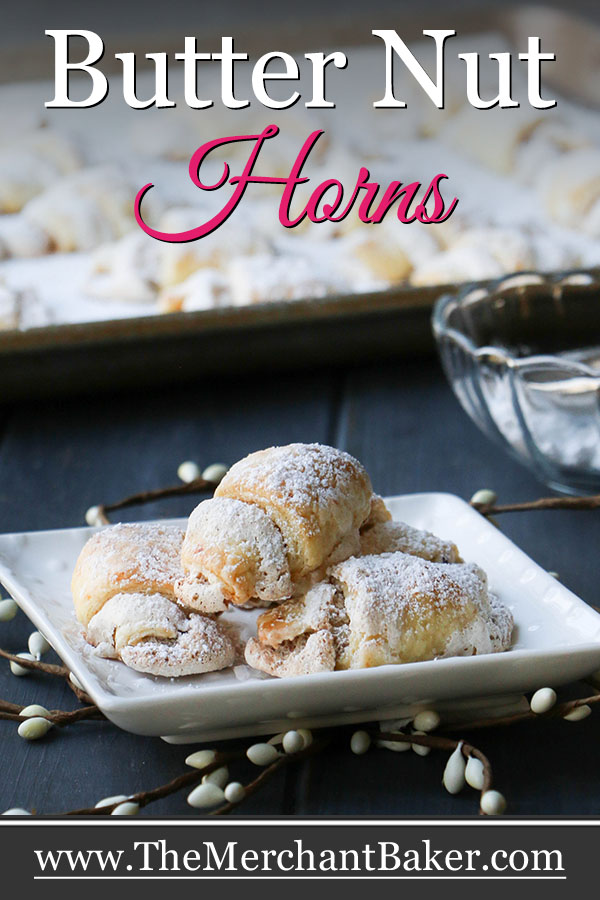


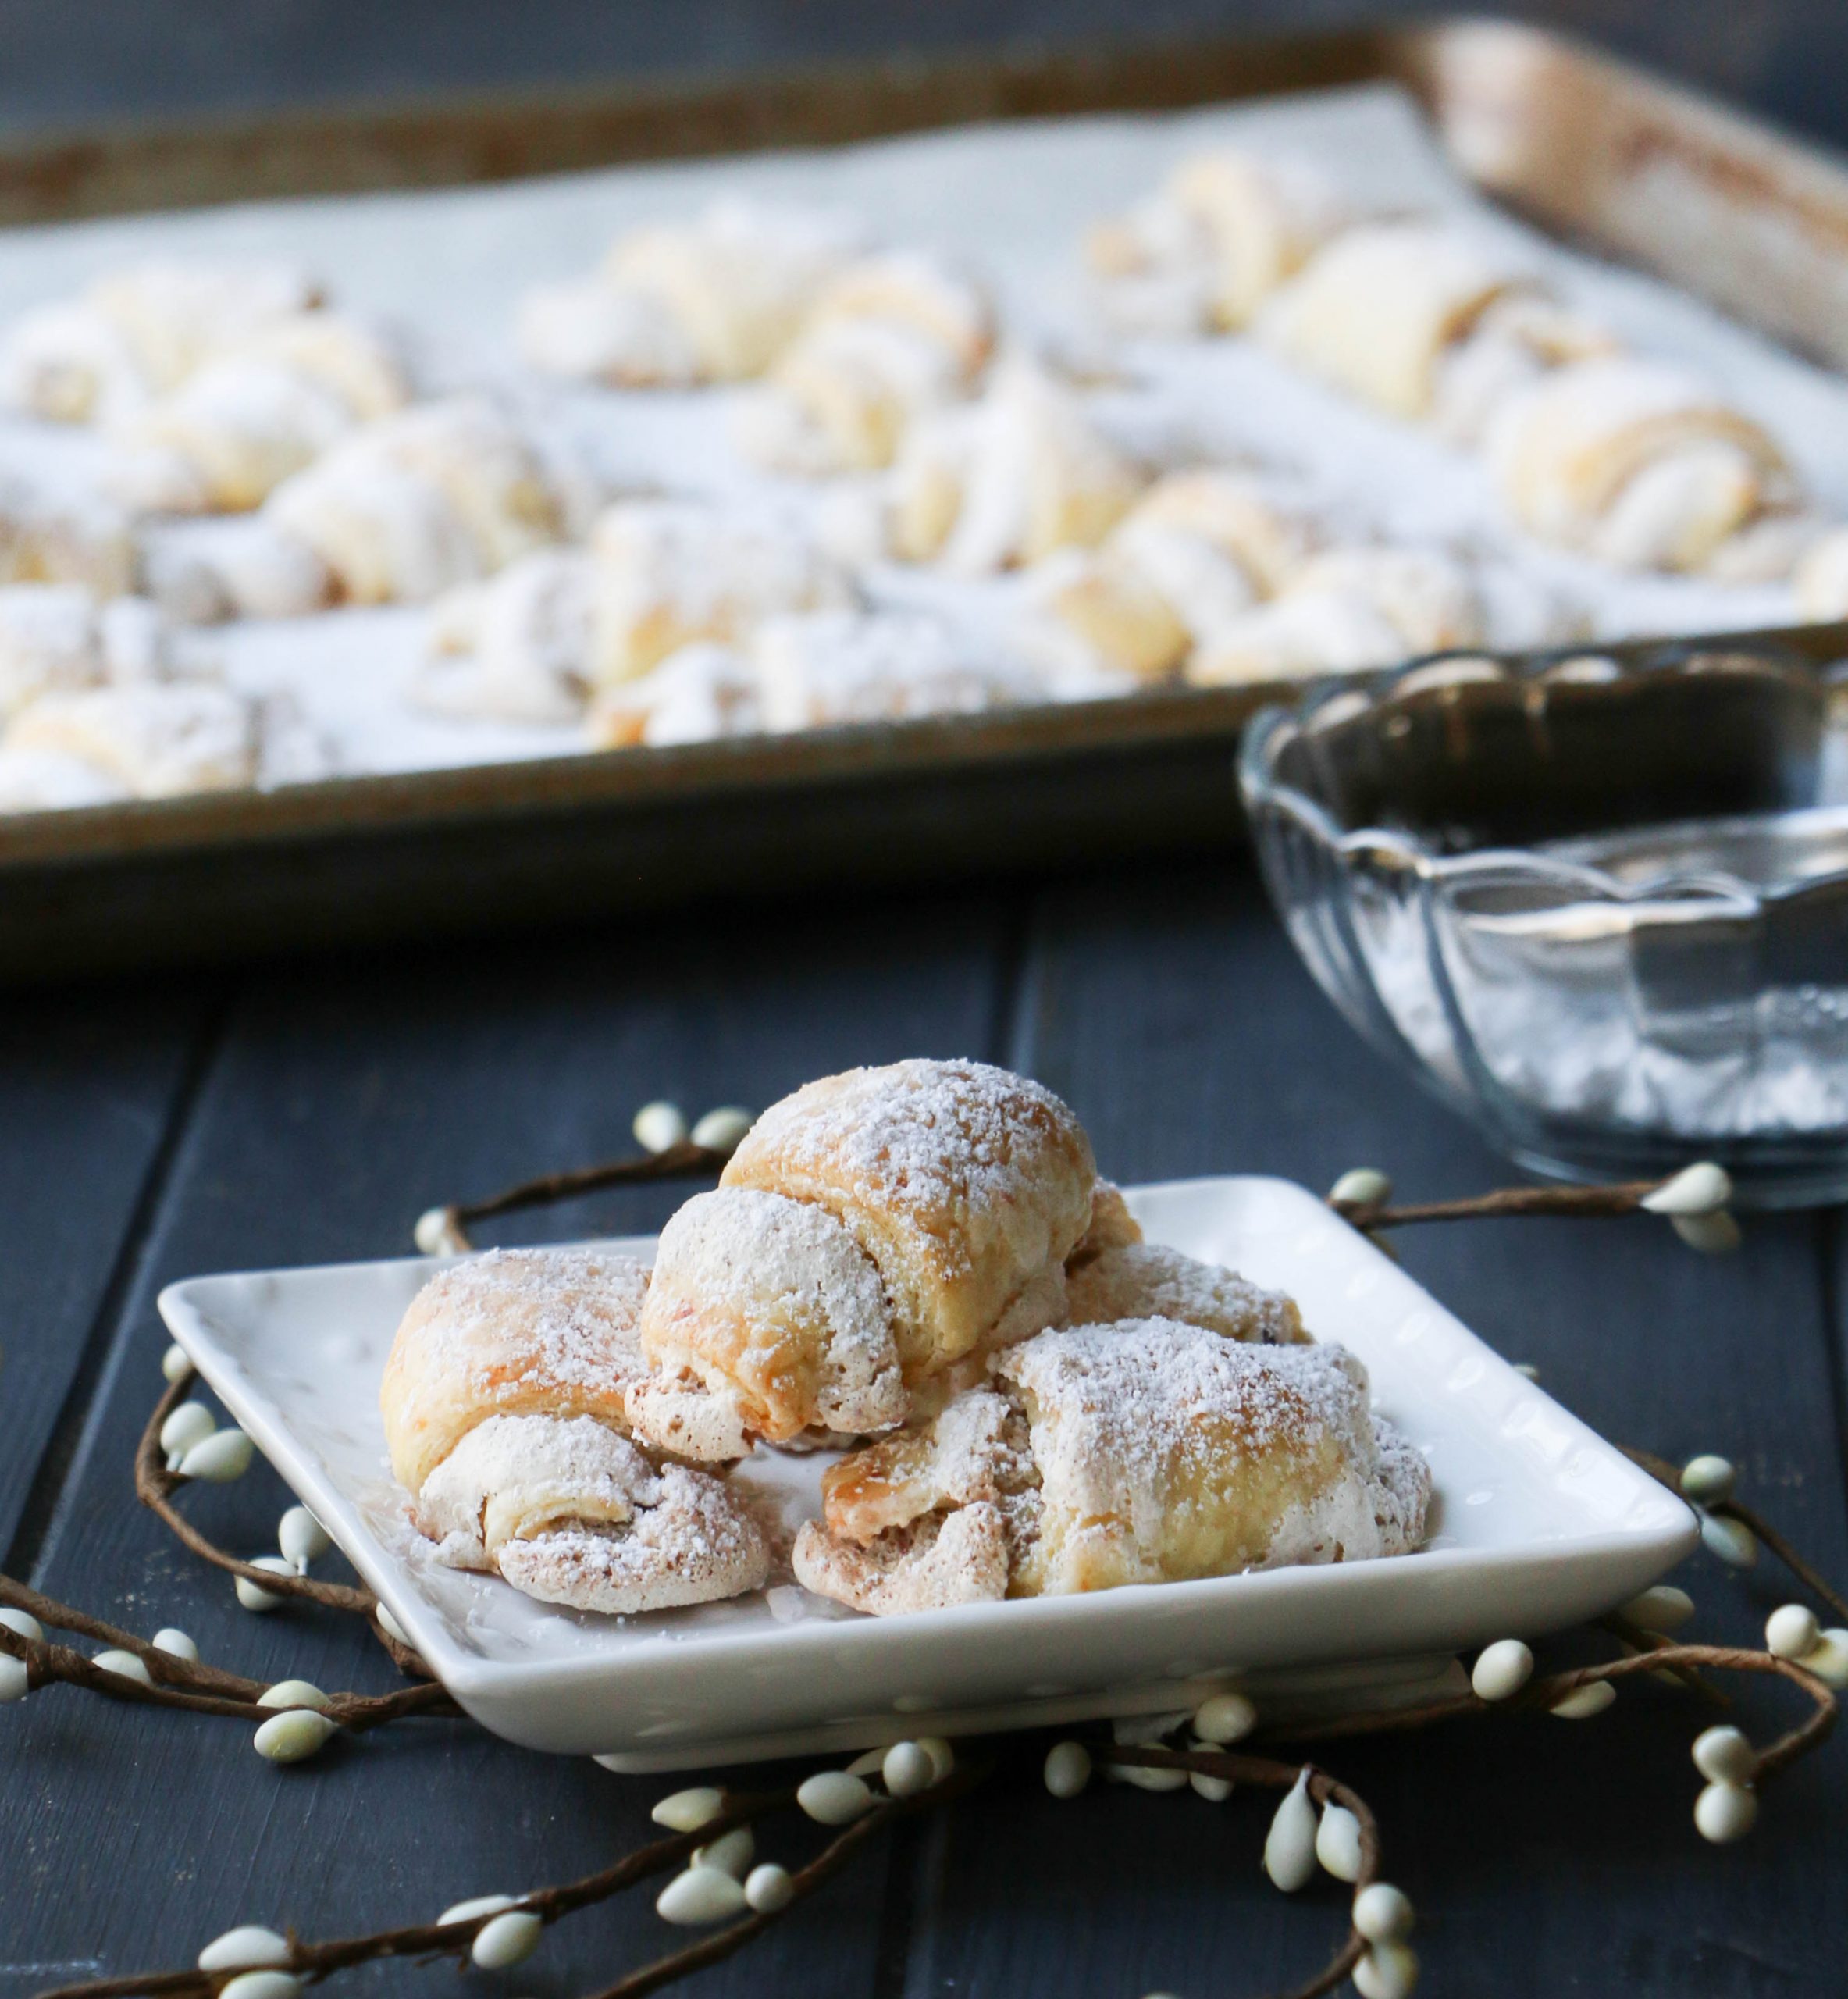
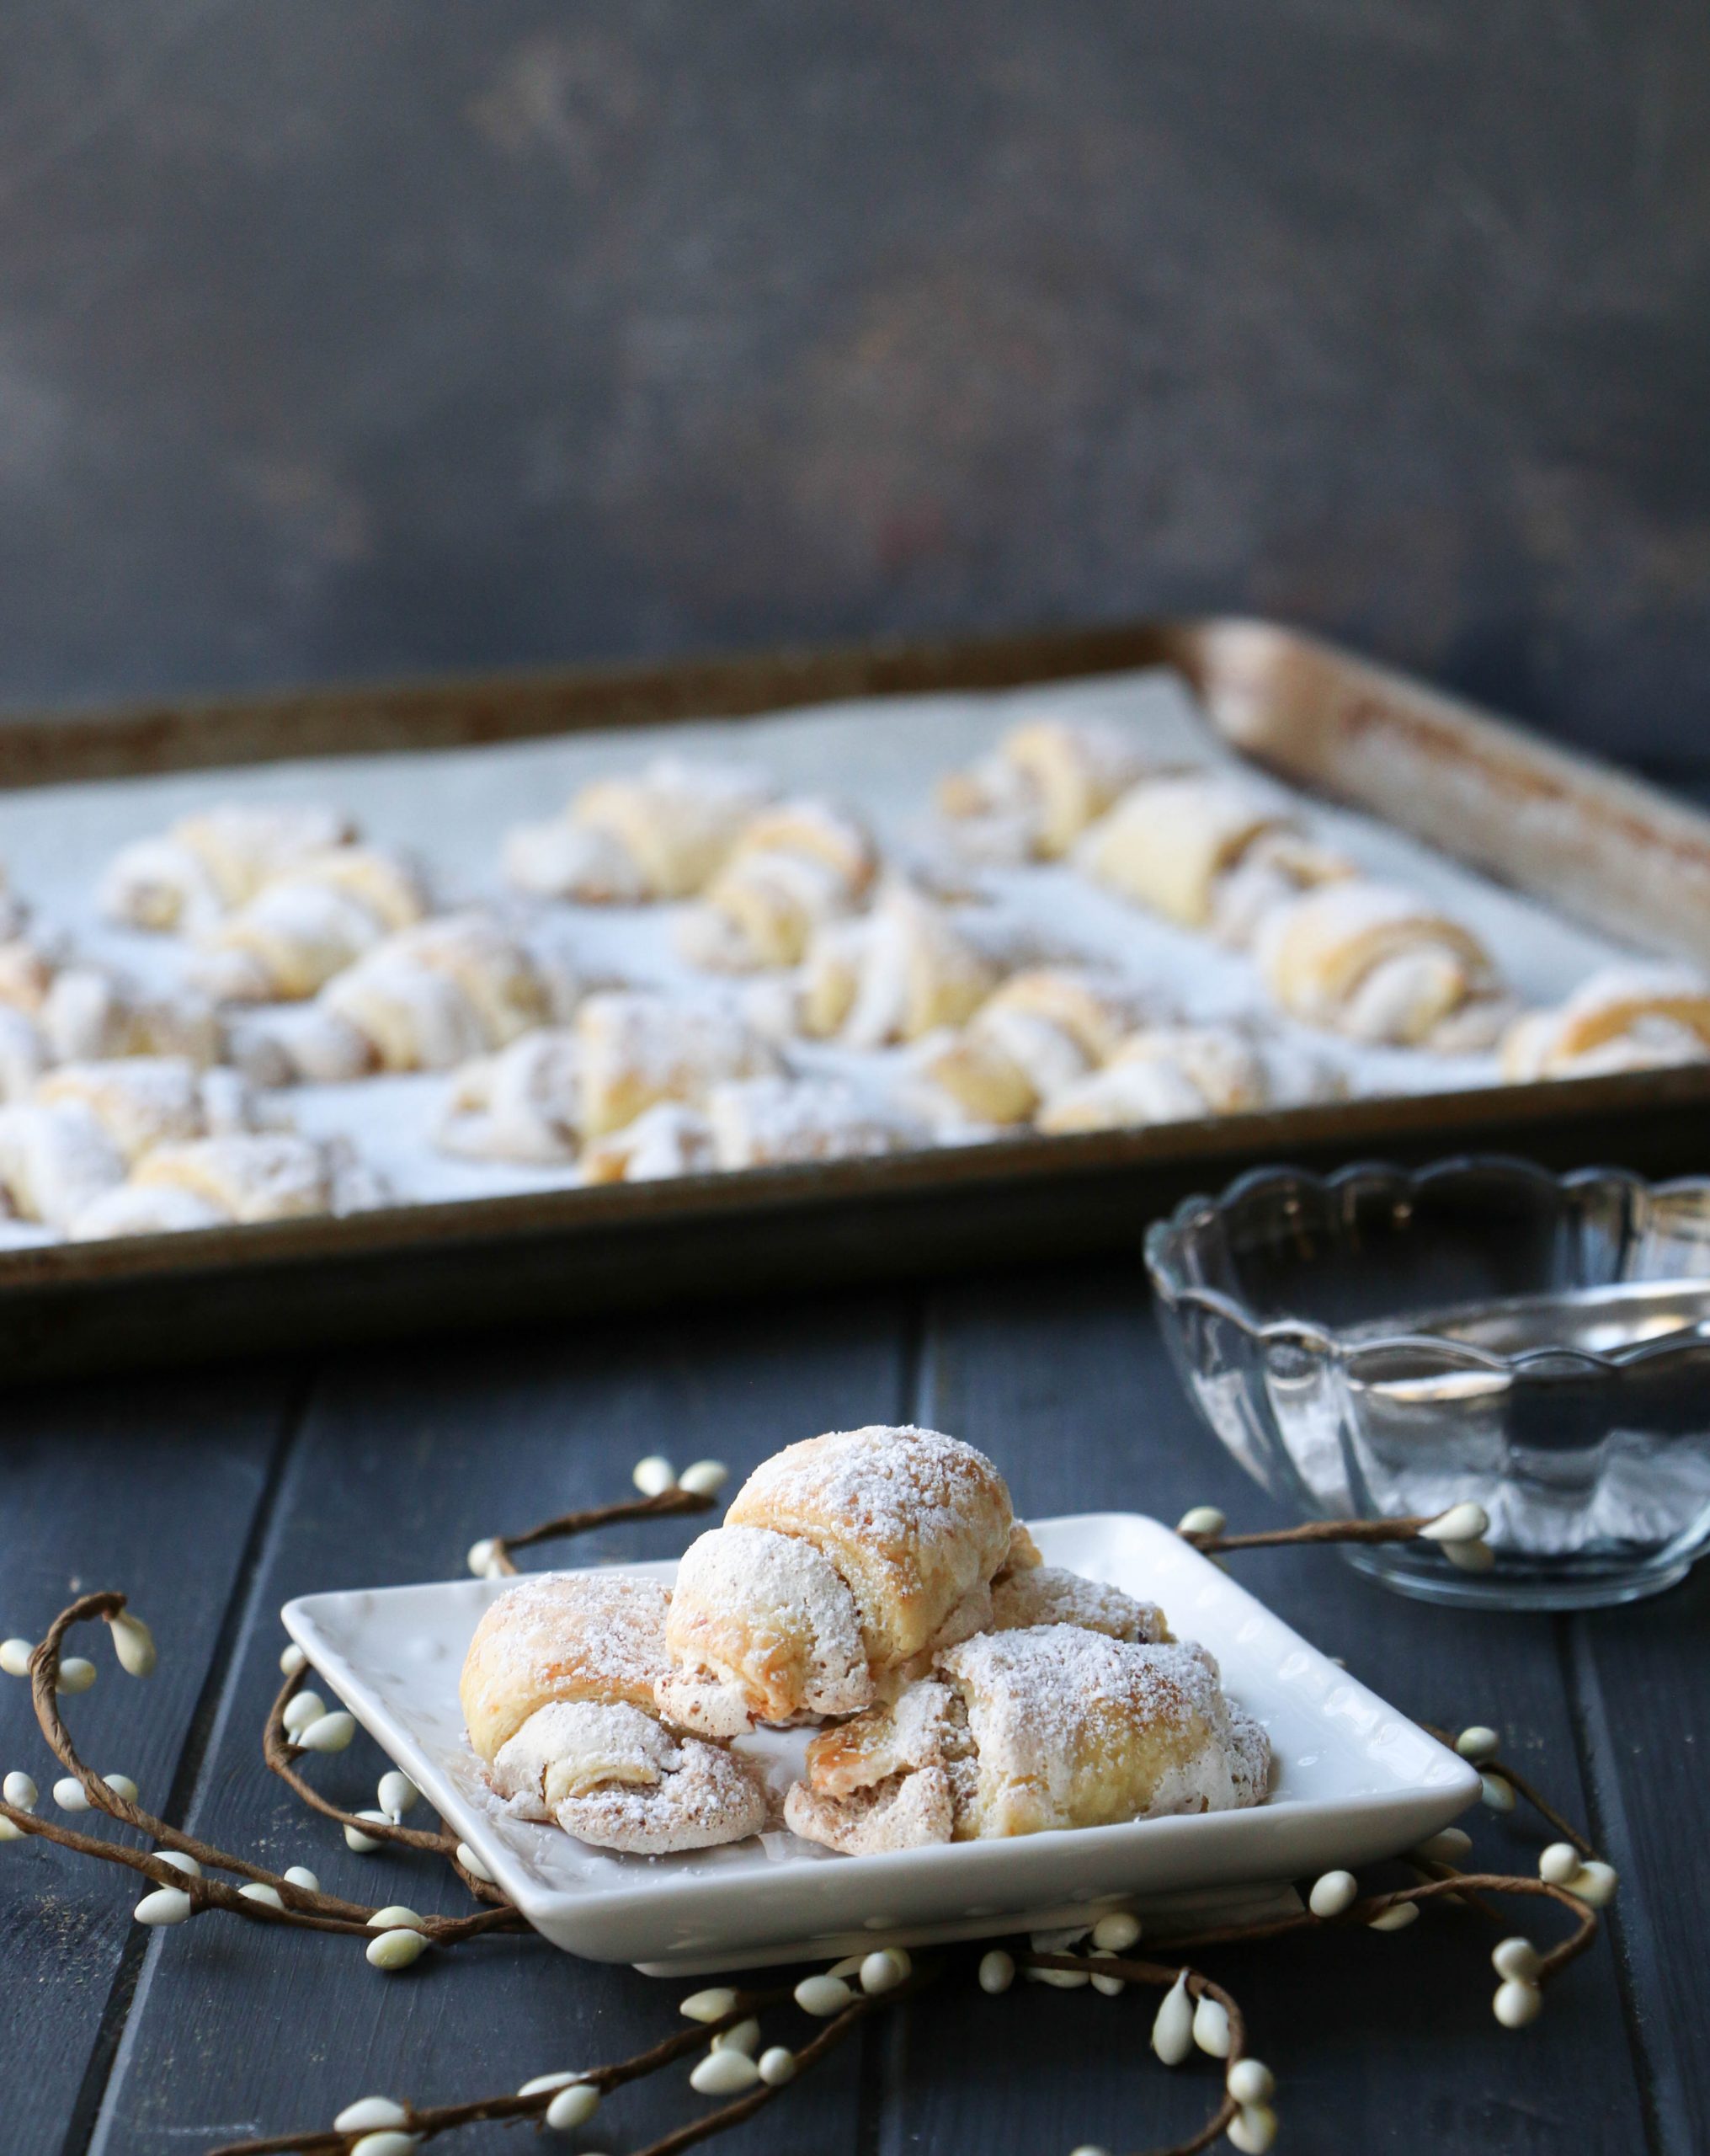
Butter Nut Horns are more pastry than cookie, but we’ve been making them as part of our Christmas cookie trays for years. Each horn is made from a tender, yeast based pastry dough that is filled with a nutty almond flavored meringue. The pastry is flaky but soft, and the meringue is crisp, light and melt in your mouth delicious!
This is one of my favorite Christmas cookies! It’s also one of the most involved. For that reason, it doesn’t always make the cut when I’m trying to figure out which cookies to make for the holidays.
I’ve had this cookie in my arsenal for more years than I care to count. It was given to me by a lovely woman with whom I worked at my first job out of college.
After graduating, I moved to the east coast to pursue my career in retail. I remember thinking it was strange that my first team was decades older than I.

They were “old timers” and had seen plenty of energetic young graduates pass through. I was simply one in a long line of young managers they would encounter.

Because retail hours were ridiculously long, we spent quite a bit of time together. I often felt like I only went home to sleep. Those wonderful ladies I worked with became like my family away from home.
They were the ones that helped to teach me the store side of the business. They took me under their wing like an honorary grand daughter.
During the holidays, our offices were filled with home baked treats. As a life long baker, I appreciated all of their delicious efforts and enjoyed my fair share of their talents.
When it was time for me to move up and out to other positions in the company, they made all of my favorites and shared their treasured recipes with me. This is one of them.
How to Make Butter Nut Horns
There are two main elements to this “cookie”…the pastry dough and the filling.
We’re going to start with the pastry dough. The dough contains yeast, but you won’t have to worry about any kneading or rising. You will, however, need to let it rest in the refrigerator for an hour, so plan ahead.
Active Dry Yeast vs. Instant Yeast
I’ve used both without issue. I usually have instant yeast on hand, so that’s what I used when I made this batch.
The amount will be the same. You’ll need 1 1/8 teaspoon of yeast or about 1/2 a packet.
The recipe calls for 2 Tablespoons of water, but depending upon which yeast you use, you’ll add it at different times and at different temperatures.
If you use active dry yeast, dissolve it in 2 Tablespoons of warm water (about 110 degrees.) You need the warm water to help activate the yeast. This mixture will become the start of your wet ingredients.
However, if you use instant yeast, simply add it to the dry ingredients. (You’ll add the 2 Tablespoons of water later with the wet ingredients.)

Cutting in the butter
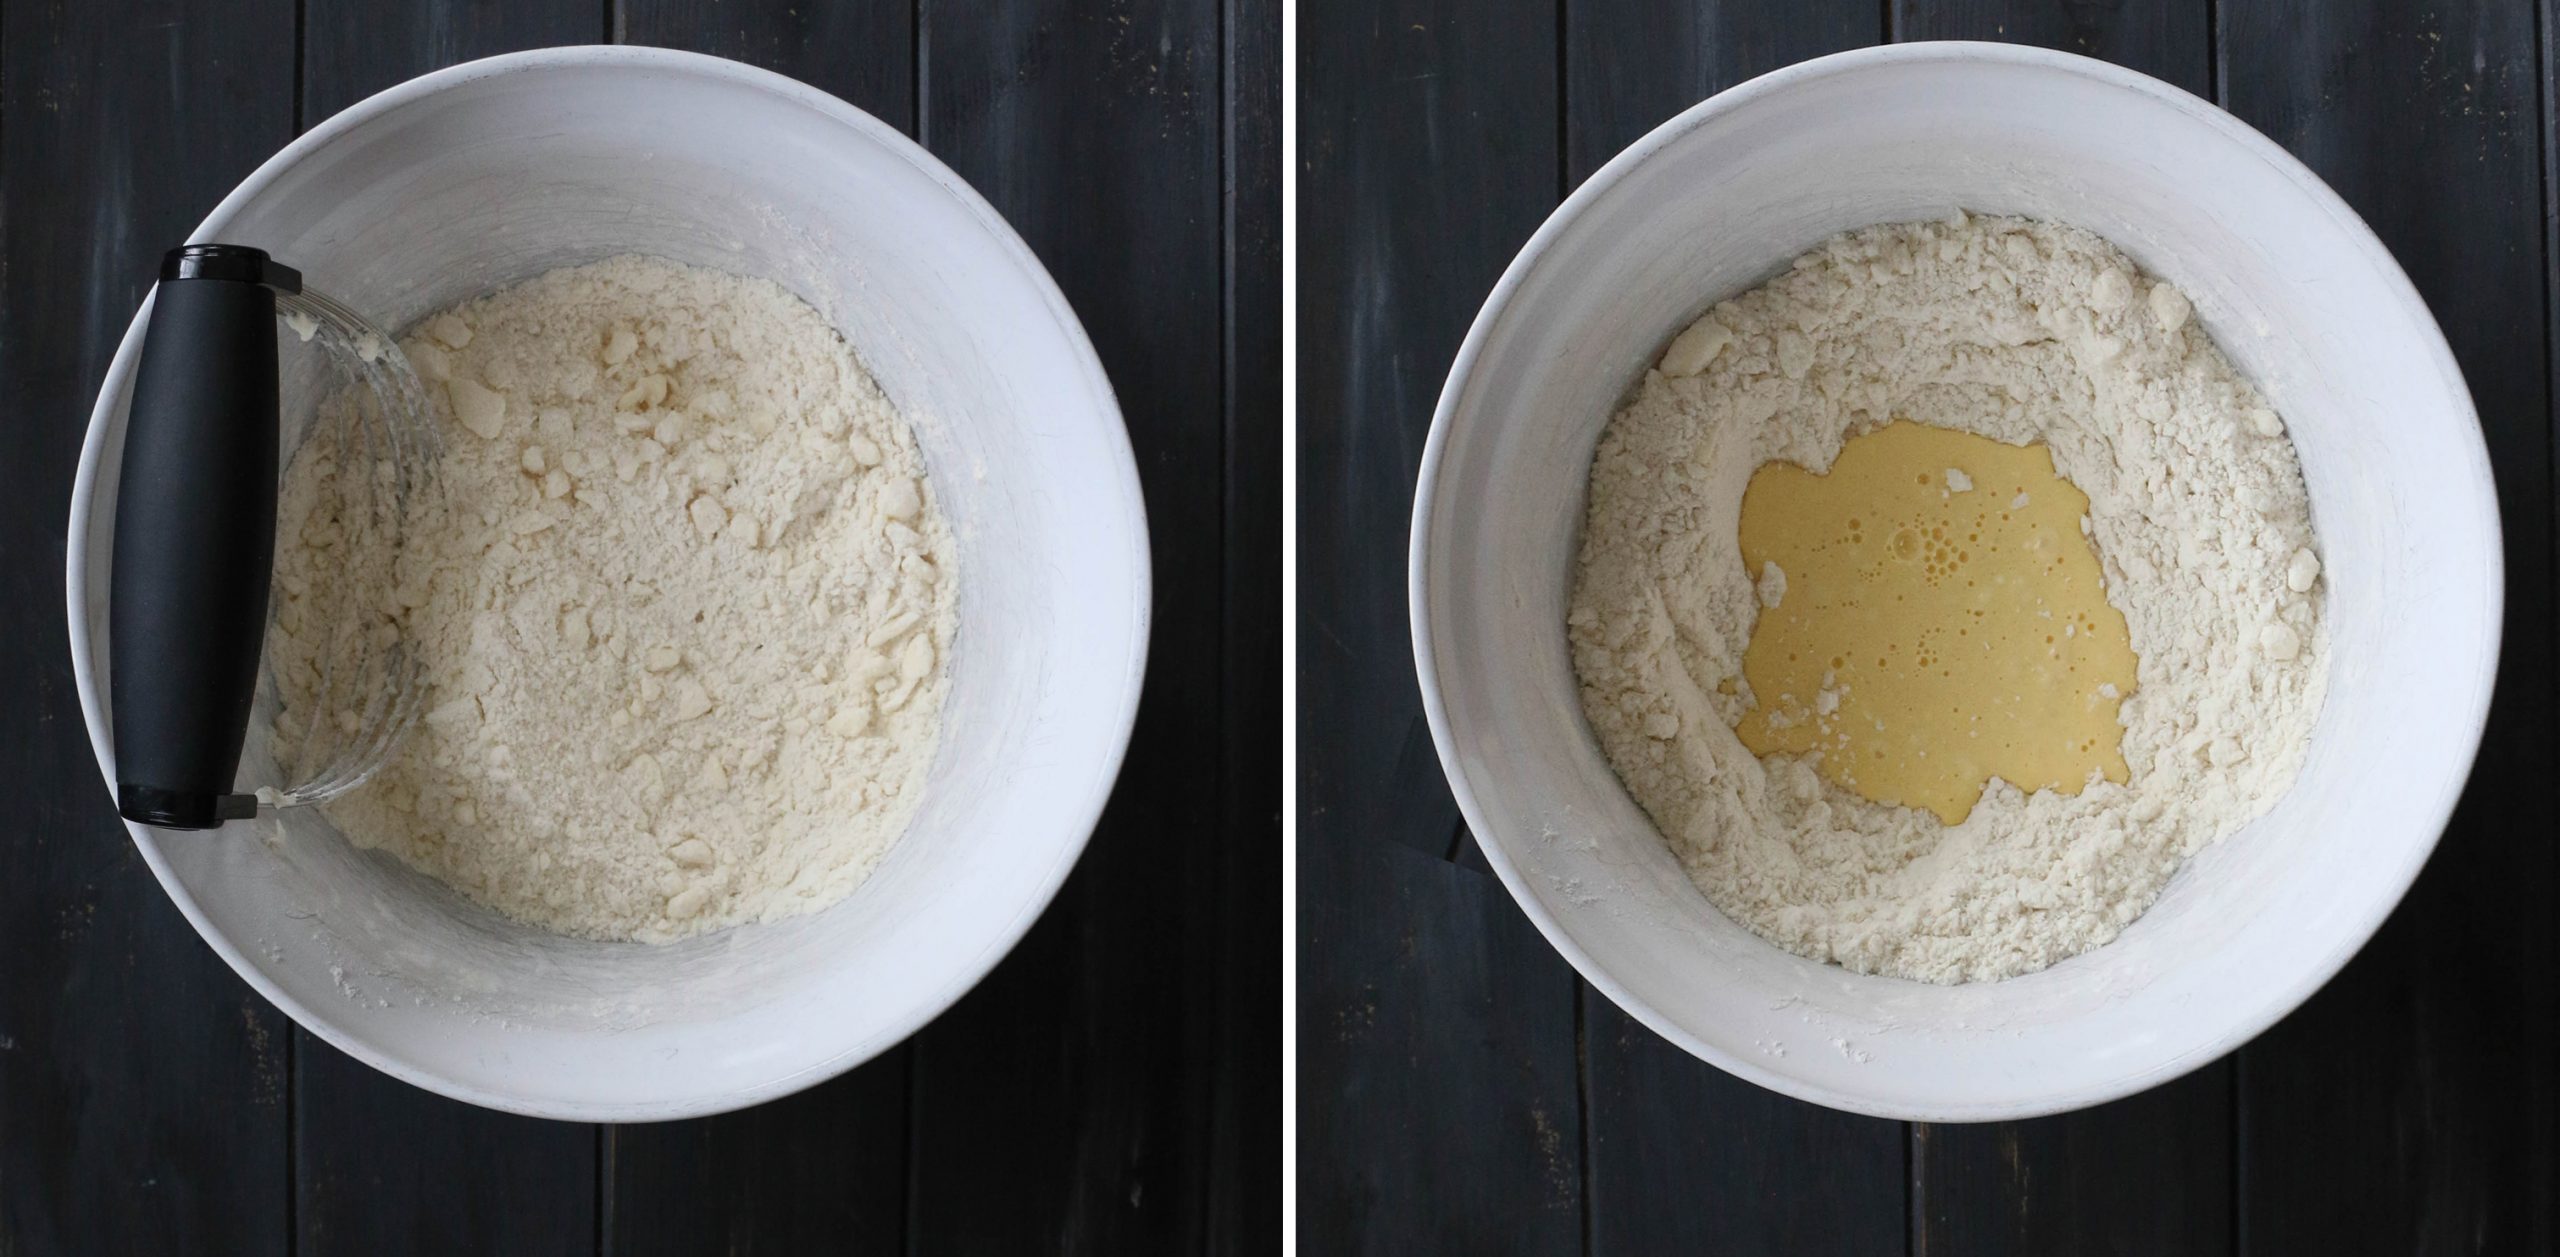
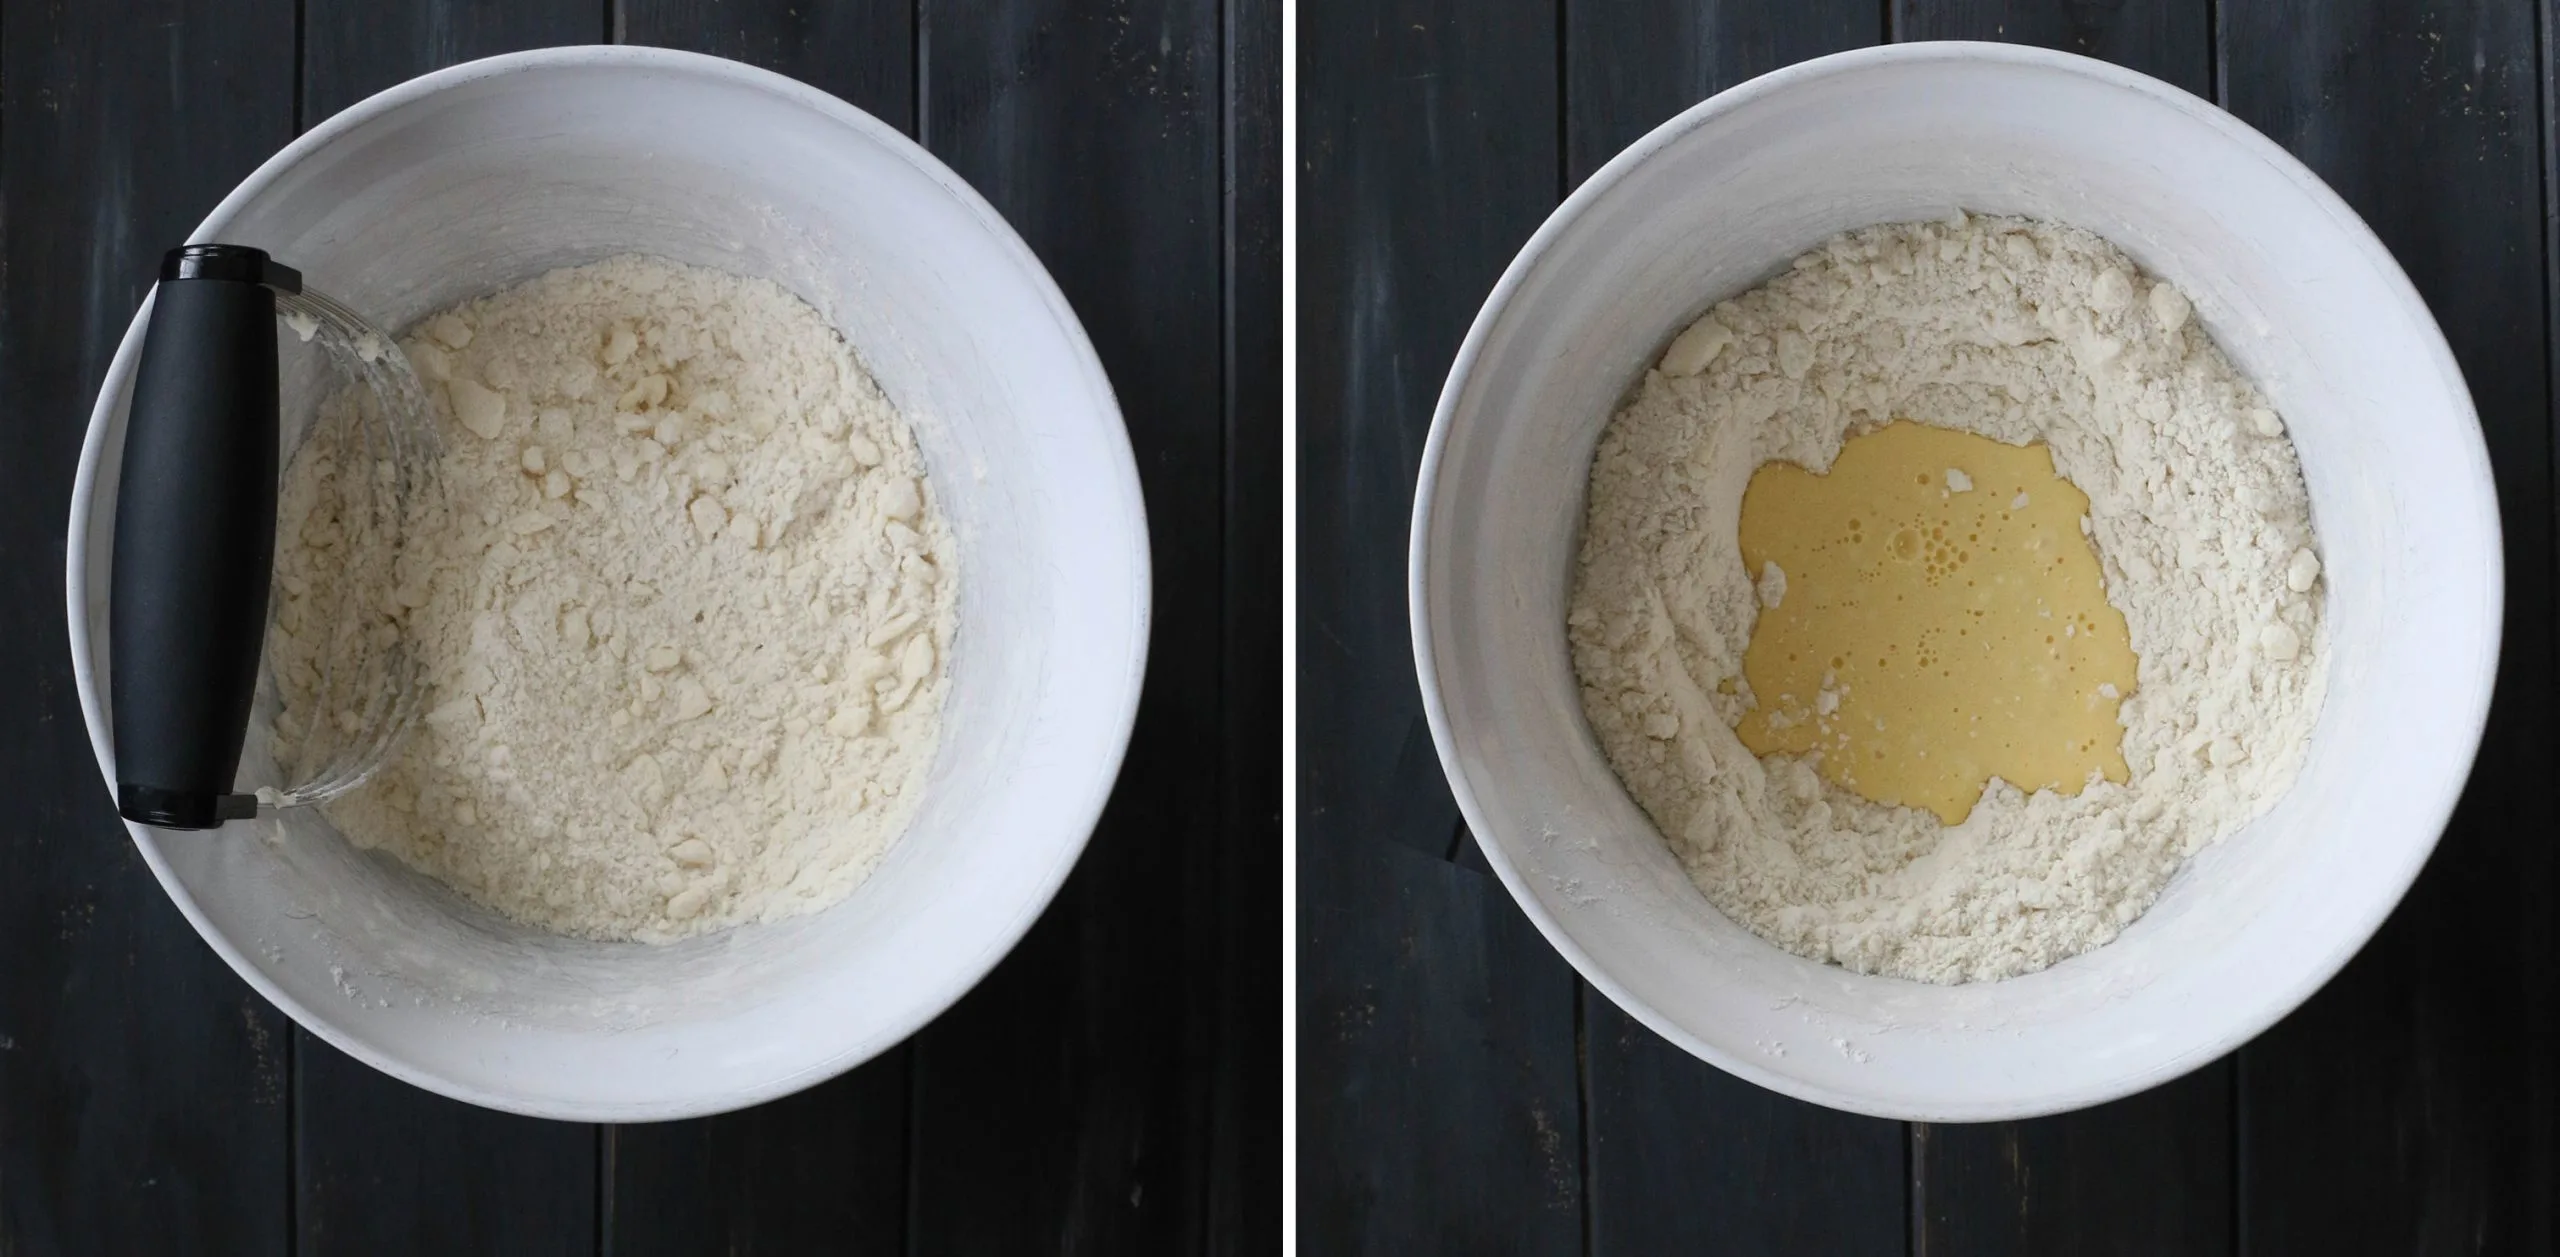
So, after you’ve whisked the flour, baking powder, salt and yeast (if you’re using instant), it’s time to cut in the butter. This is just like you would do if you were making any of my scone, biscuit or pie crust recipes. You know the drill.
You can use a pastry cutter like this one. Or, you can use 2 knives. You can also pulse the mixture a few times in the food processor. But only use the food processor to cut in the butter, not to mix up the dough. For that reason alone, I just do it by hand. Less dishes.
I always start by cutting the butter into small chunks, then using my pastry cutter to work those into the dough until I have pieces no larger than peas.
I’ve used all of these pastry cutters with success, but my favorites are the ones with the thinner wires. It really comes down to what feels most comfortable and effective for you. Both will get the job done.
The following paragraphs contains affiliate links. We are a participant in the Amazon Services LLC Associates Program, an affiliate advertising program designed to provide a means for us to earn fees by linking to Amazon.com and affiliated sites.
Mrs. Anderson’s Baking Pastry Cutter
Adding the wet ingredients
Once you’ve separated the eggs, the yolks will get combined with the sour cream, water and vanilla.
Make a well in the center of the dry ingredients and add the egg yolk mixture. Stir this mixture until it looks shaggy and there are no longer any powdery dry bits in the bowl.

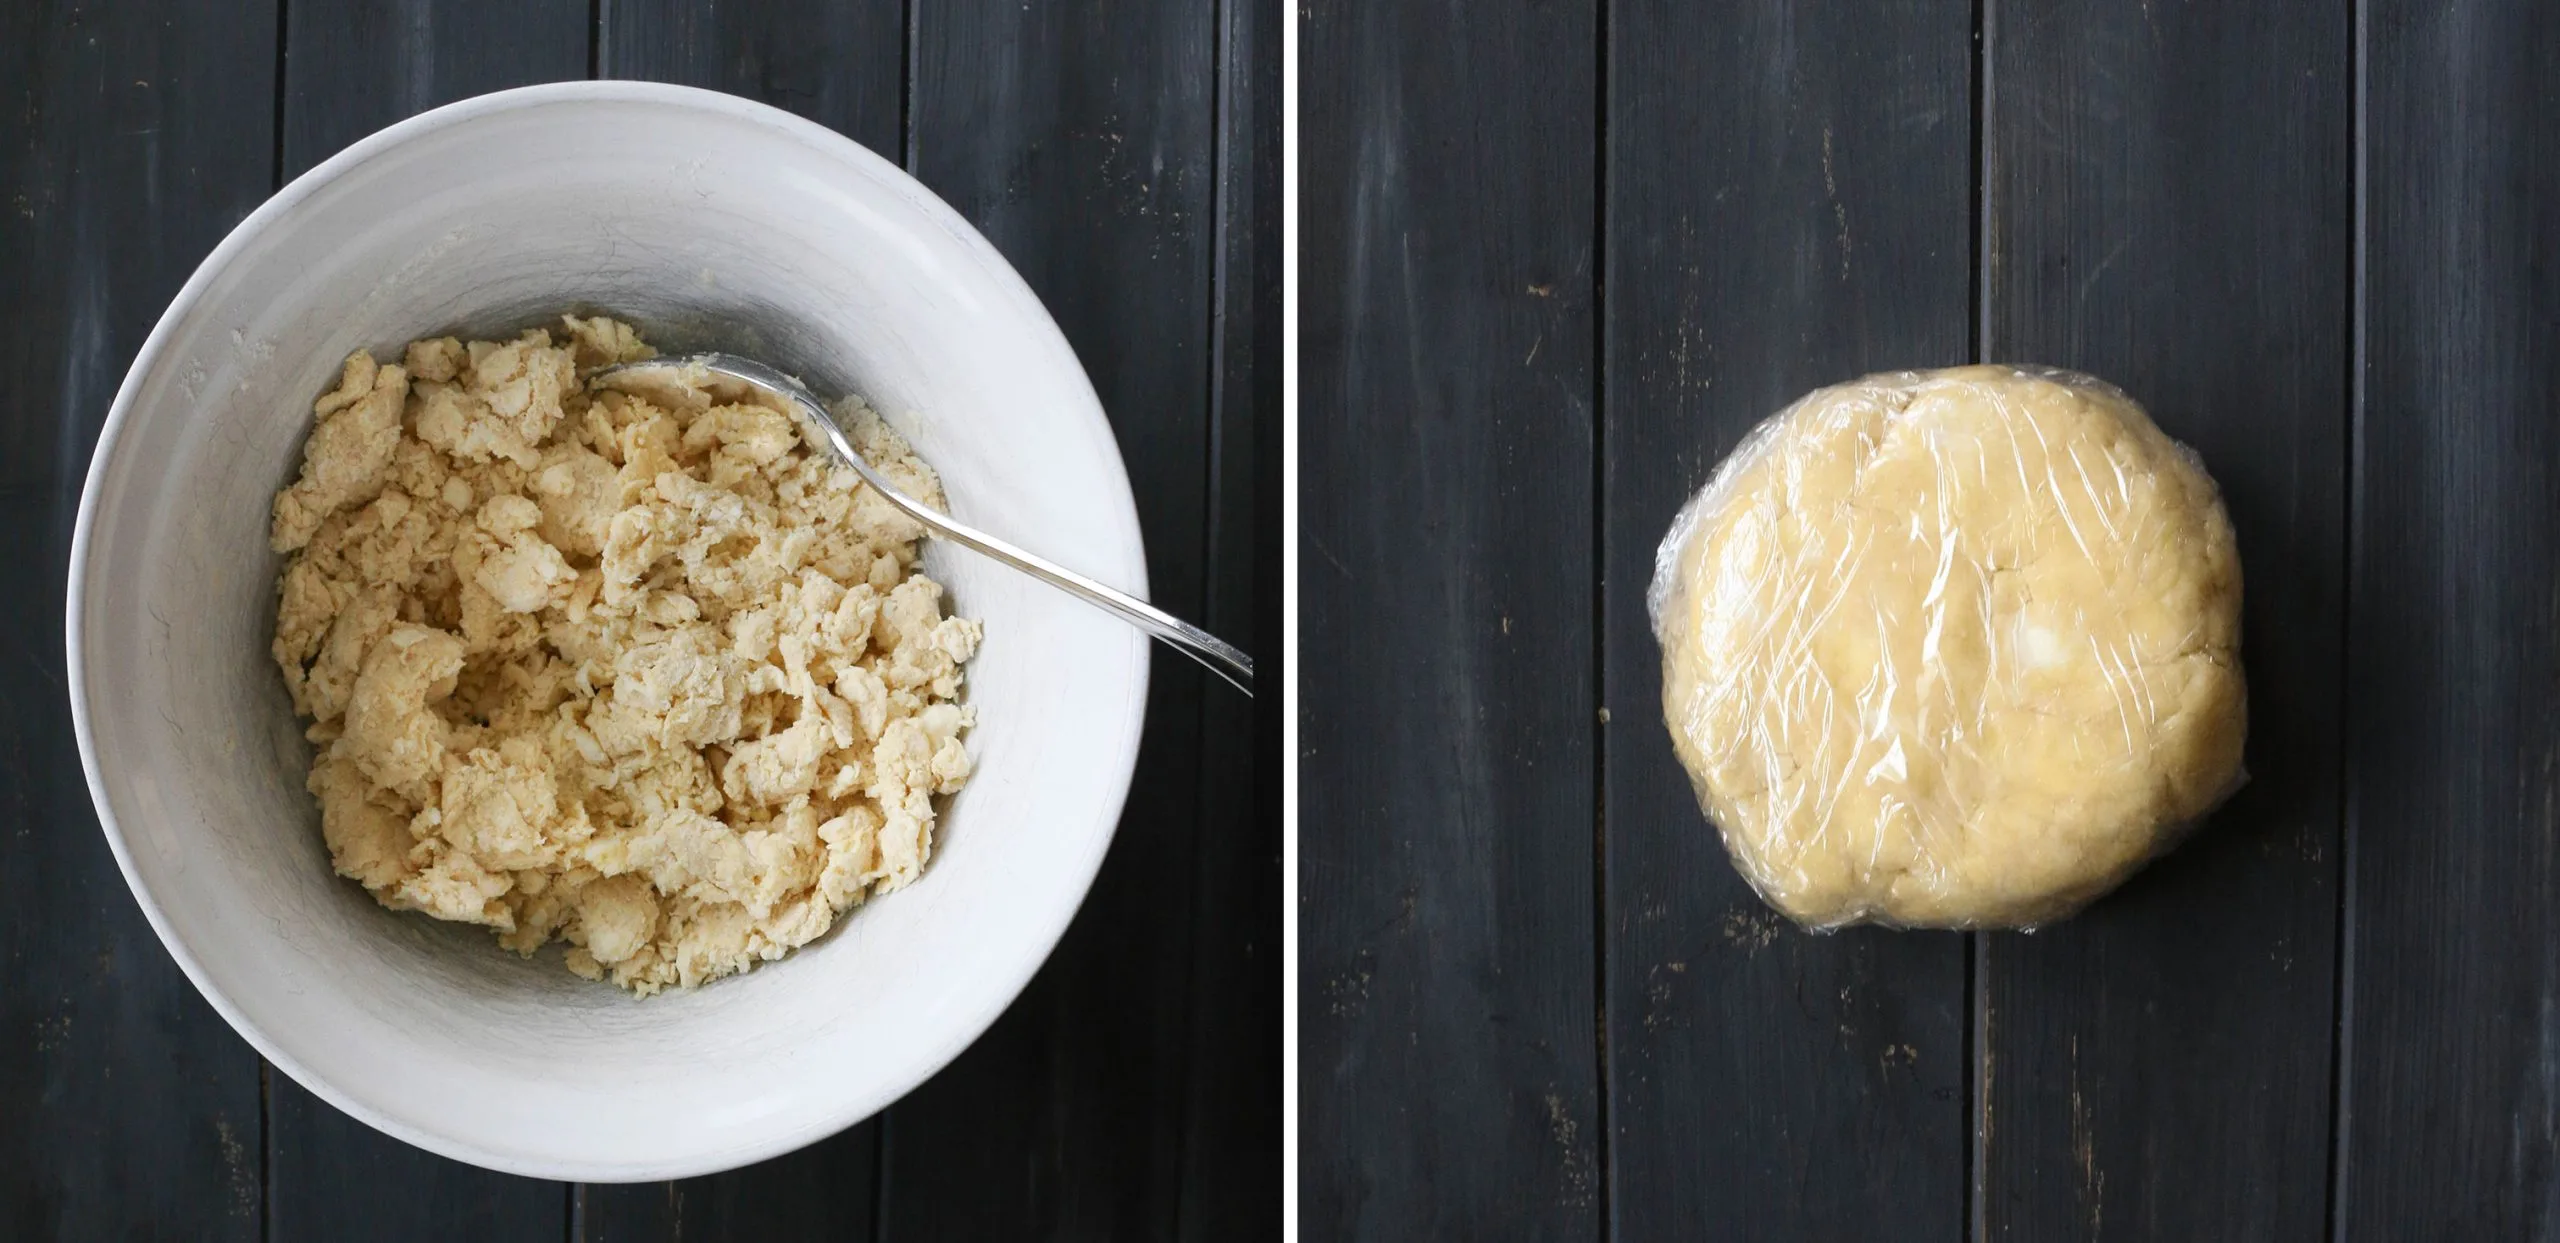
Then, get in there with your hands and bring those shaggy bits into a ball. You’ll have to squeeze the mixture and turn it over a few times before it all comes together. Wrap in plastic wrap and place it in the refrigerator for 1 hour.
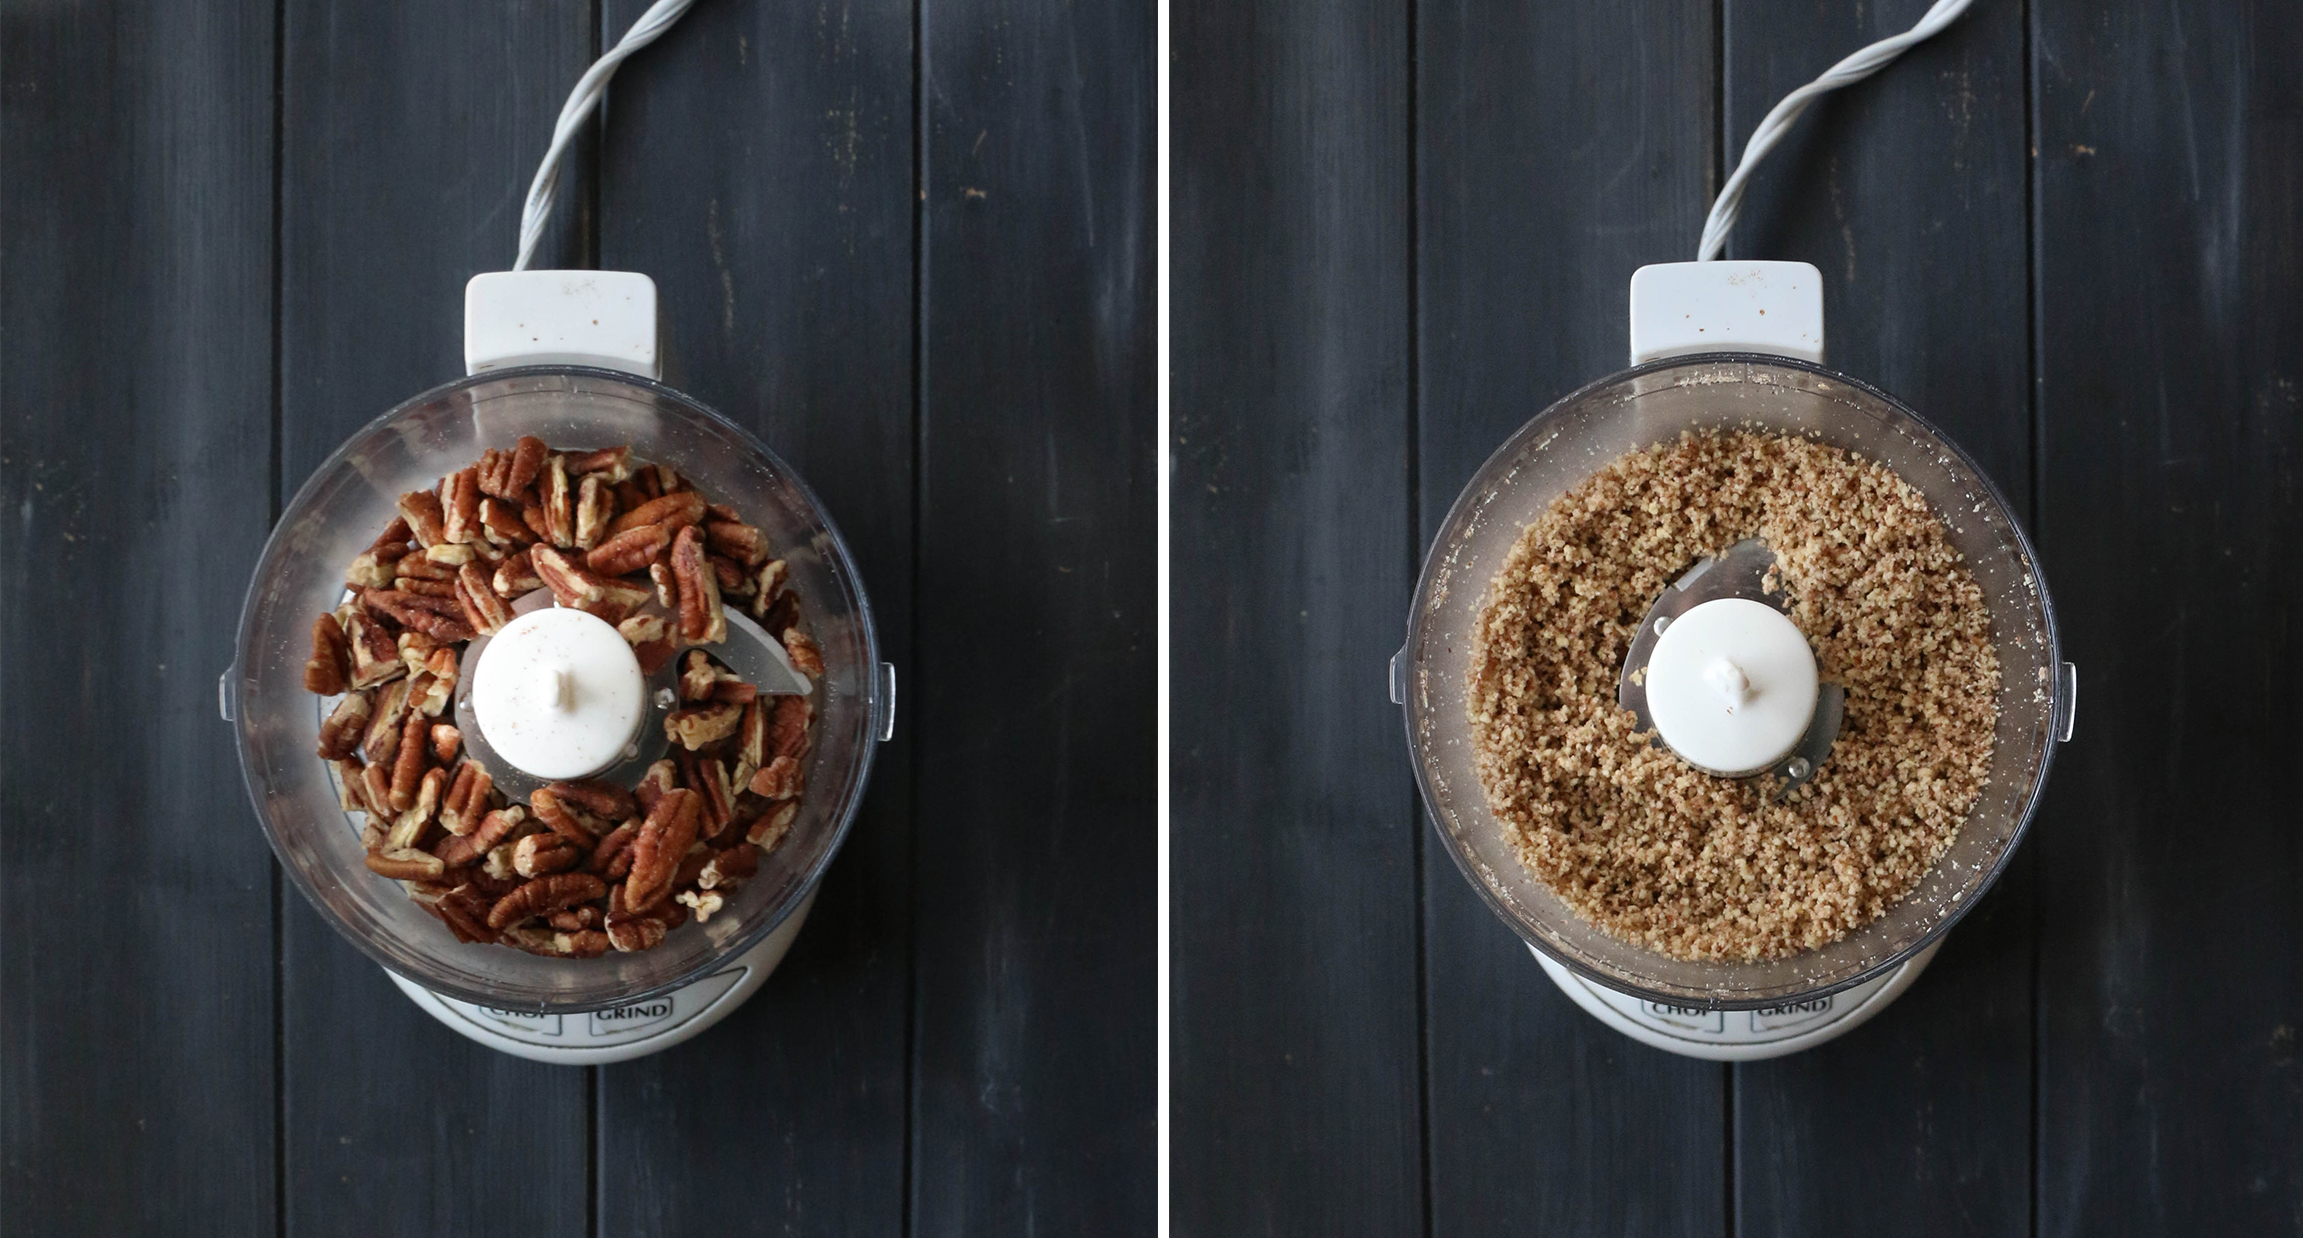
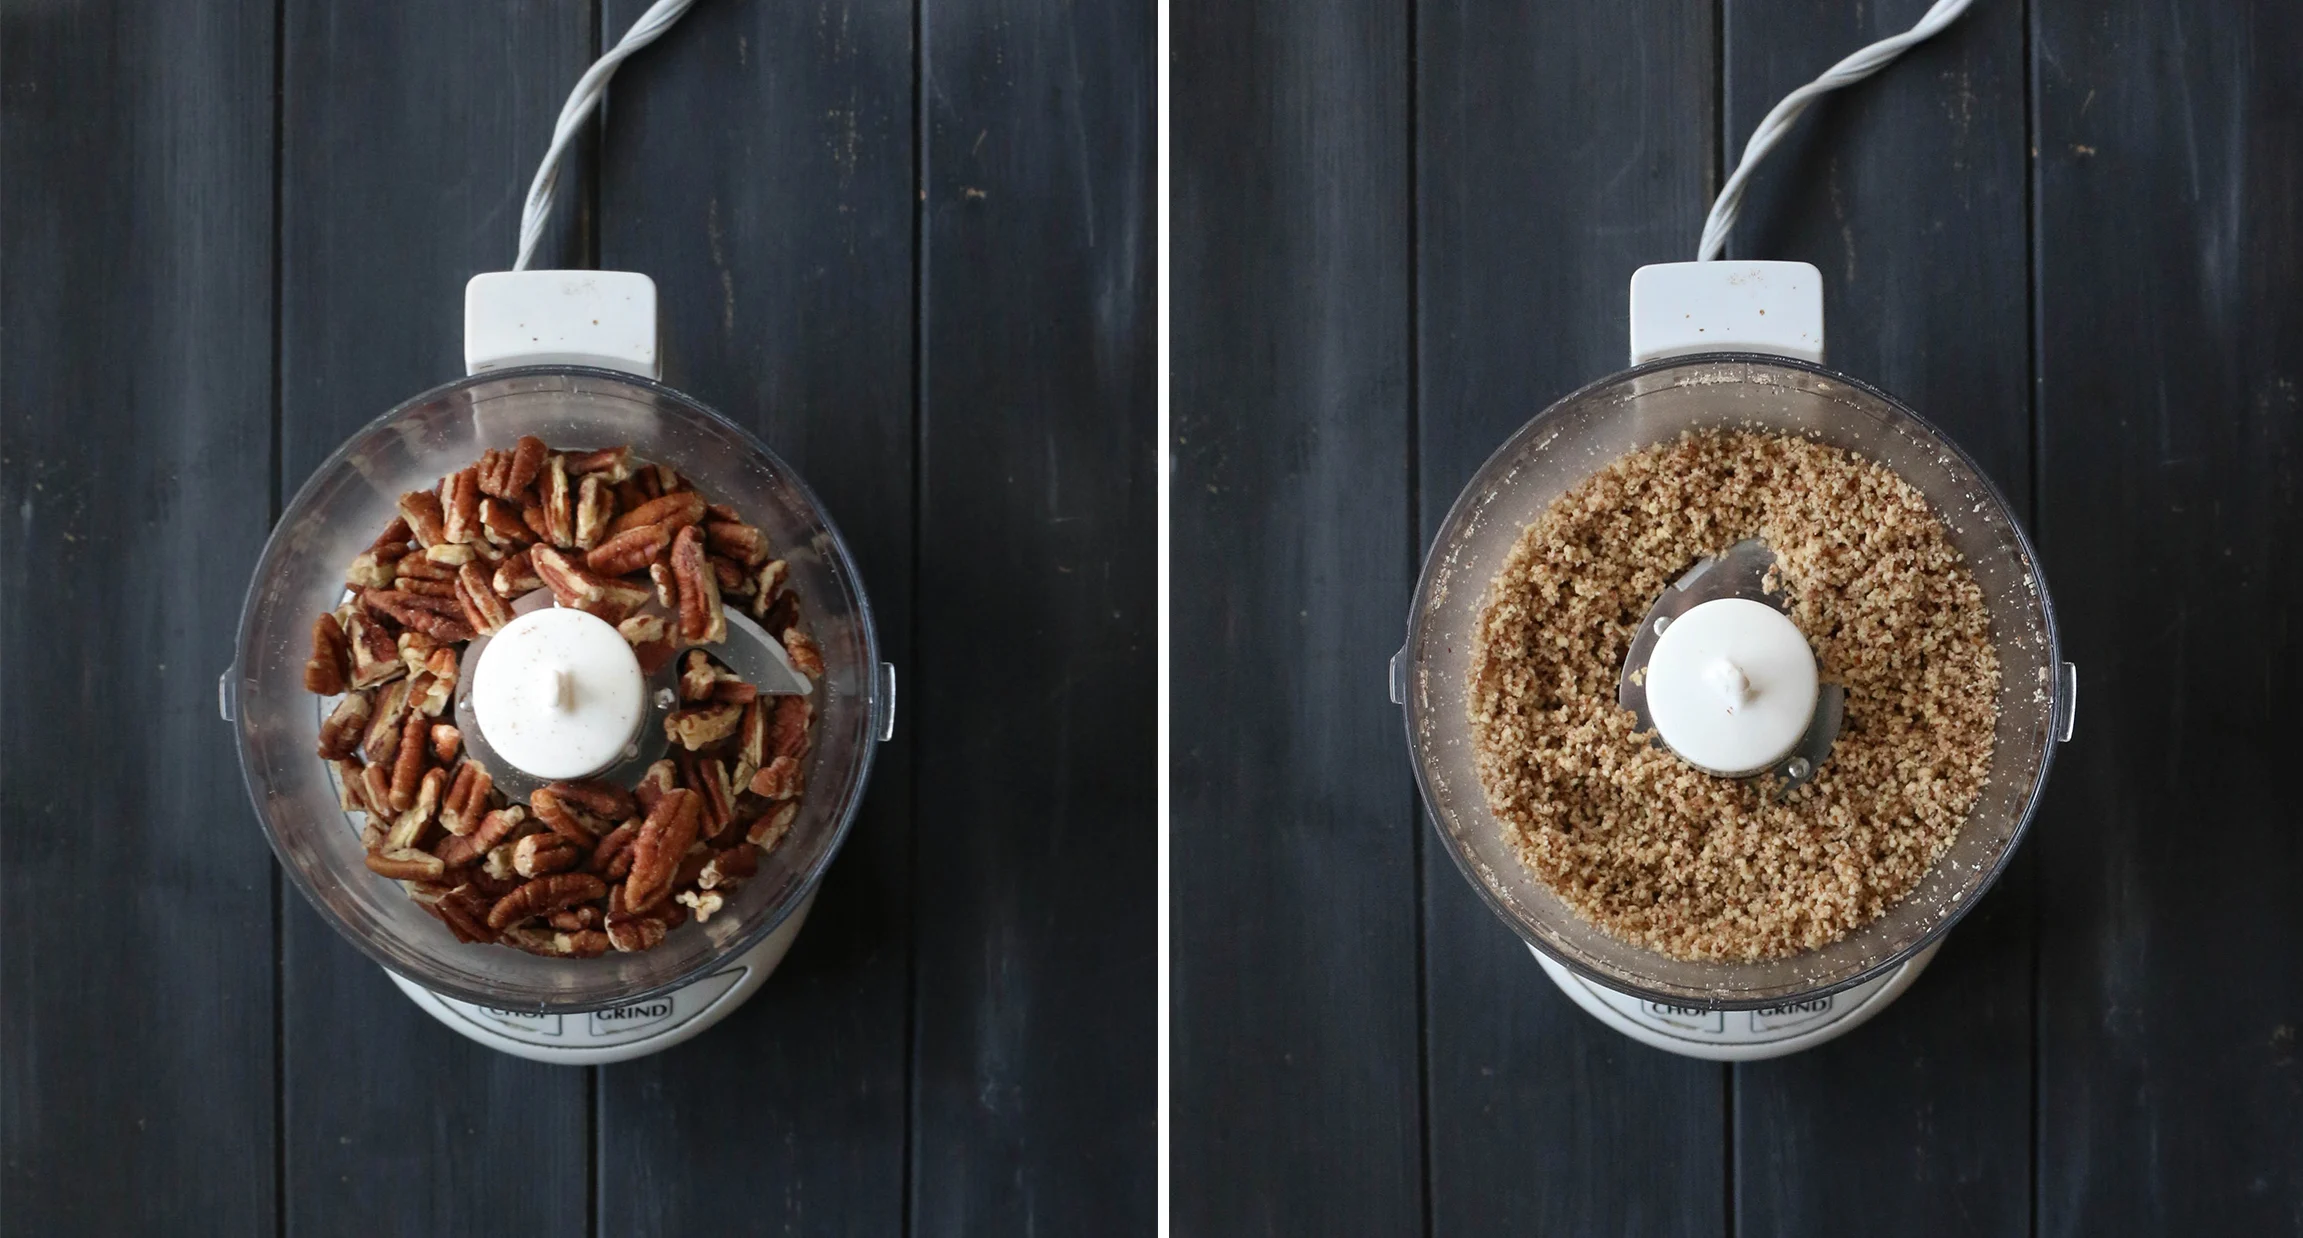
What kind of nuts can I use?
I normally use walnuts, but I only had pecans on hand. You can use others as long as they are finely ground. You can buy finely ground nuts or you can use a food processor to do the job.
And just for your reference, a half cup of pecan pieces resulted in a half cup of finely ground pecans. So, start with a half cup and grind more, if necessary.
Please be careful not to grind the nuts into a paste. We need nuts, not nut butter :)

Making the meringue
There are a few things to note about making meringue. First, you must have an impeccably clean bowl and beaters.
If you want the meringue to whip up properly, there can be no residual fat on the bowl or the beaters.
So, starting with the egg whites themselves, make sure that no bits of yolk (aka fat) are present.
Use a glass or metal bowl. Plastic bowls can retain fat from previous uses.
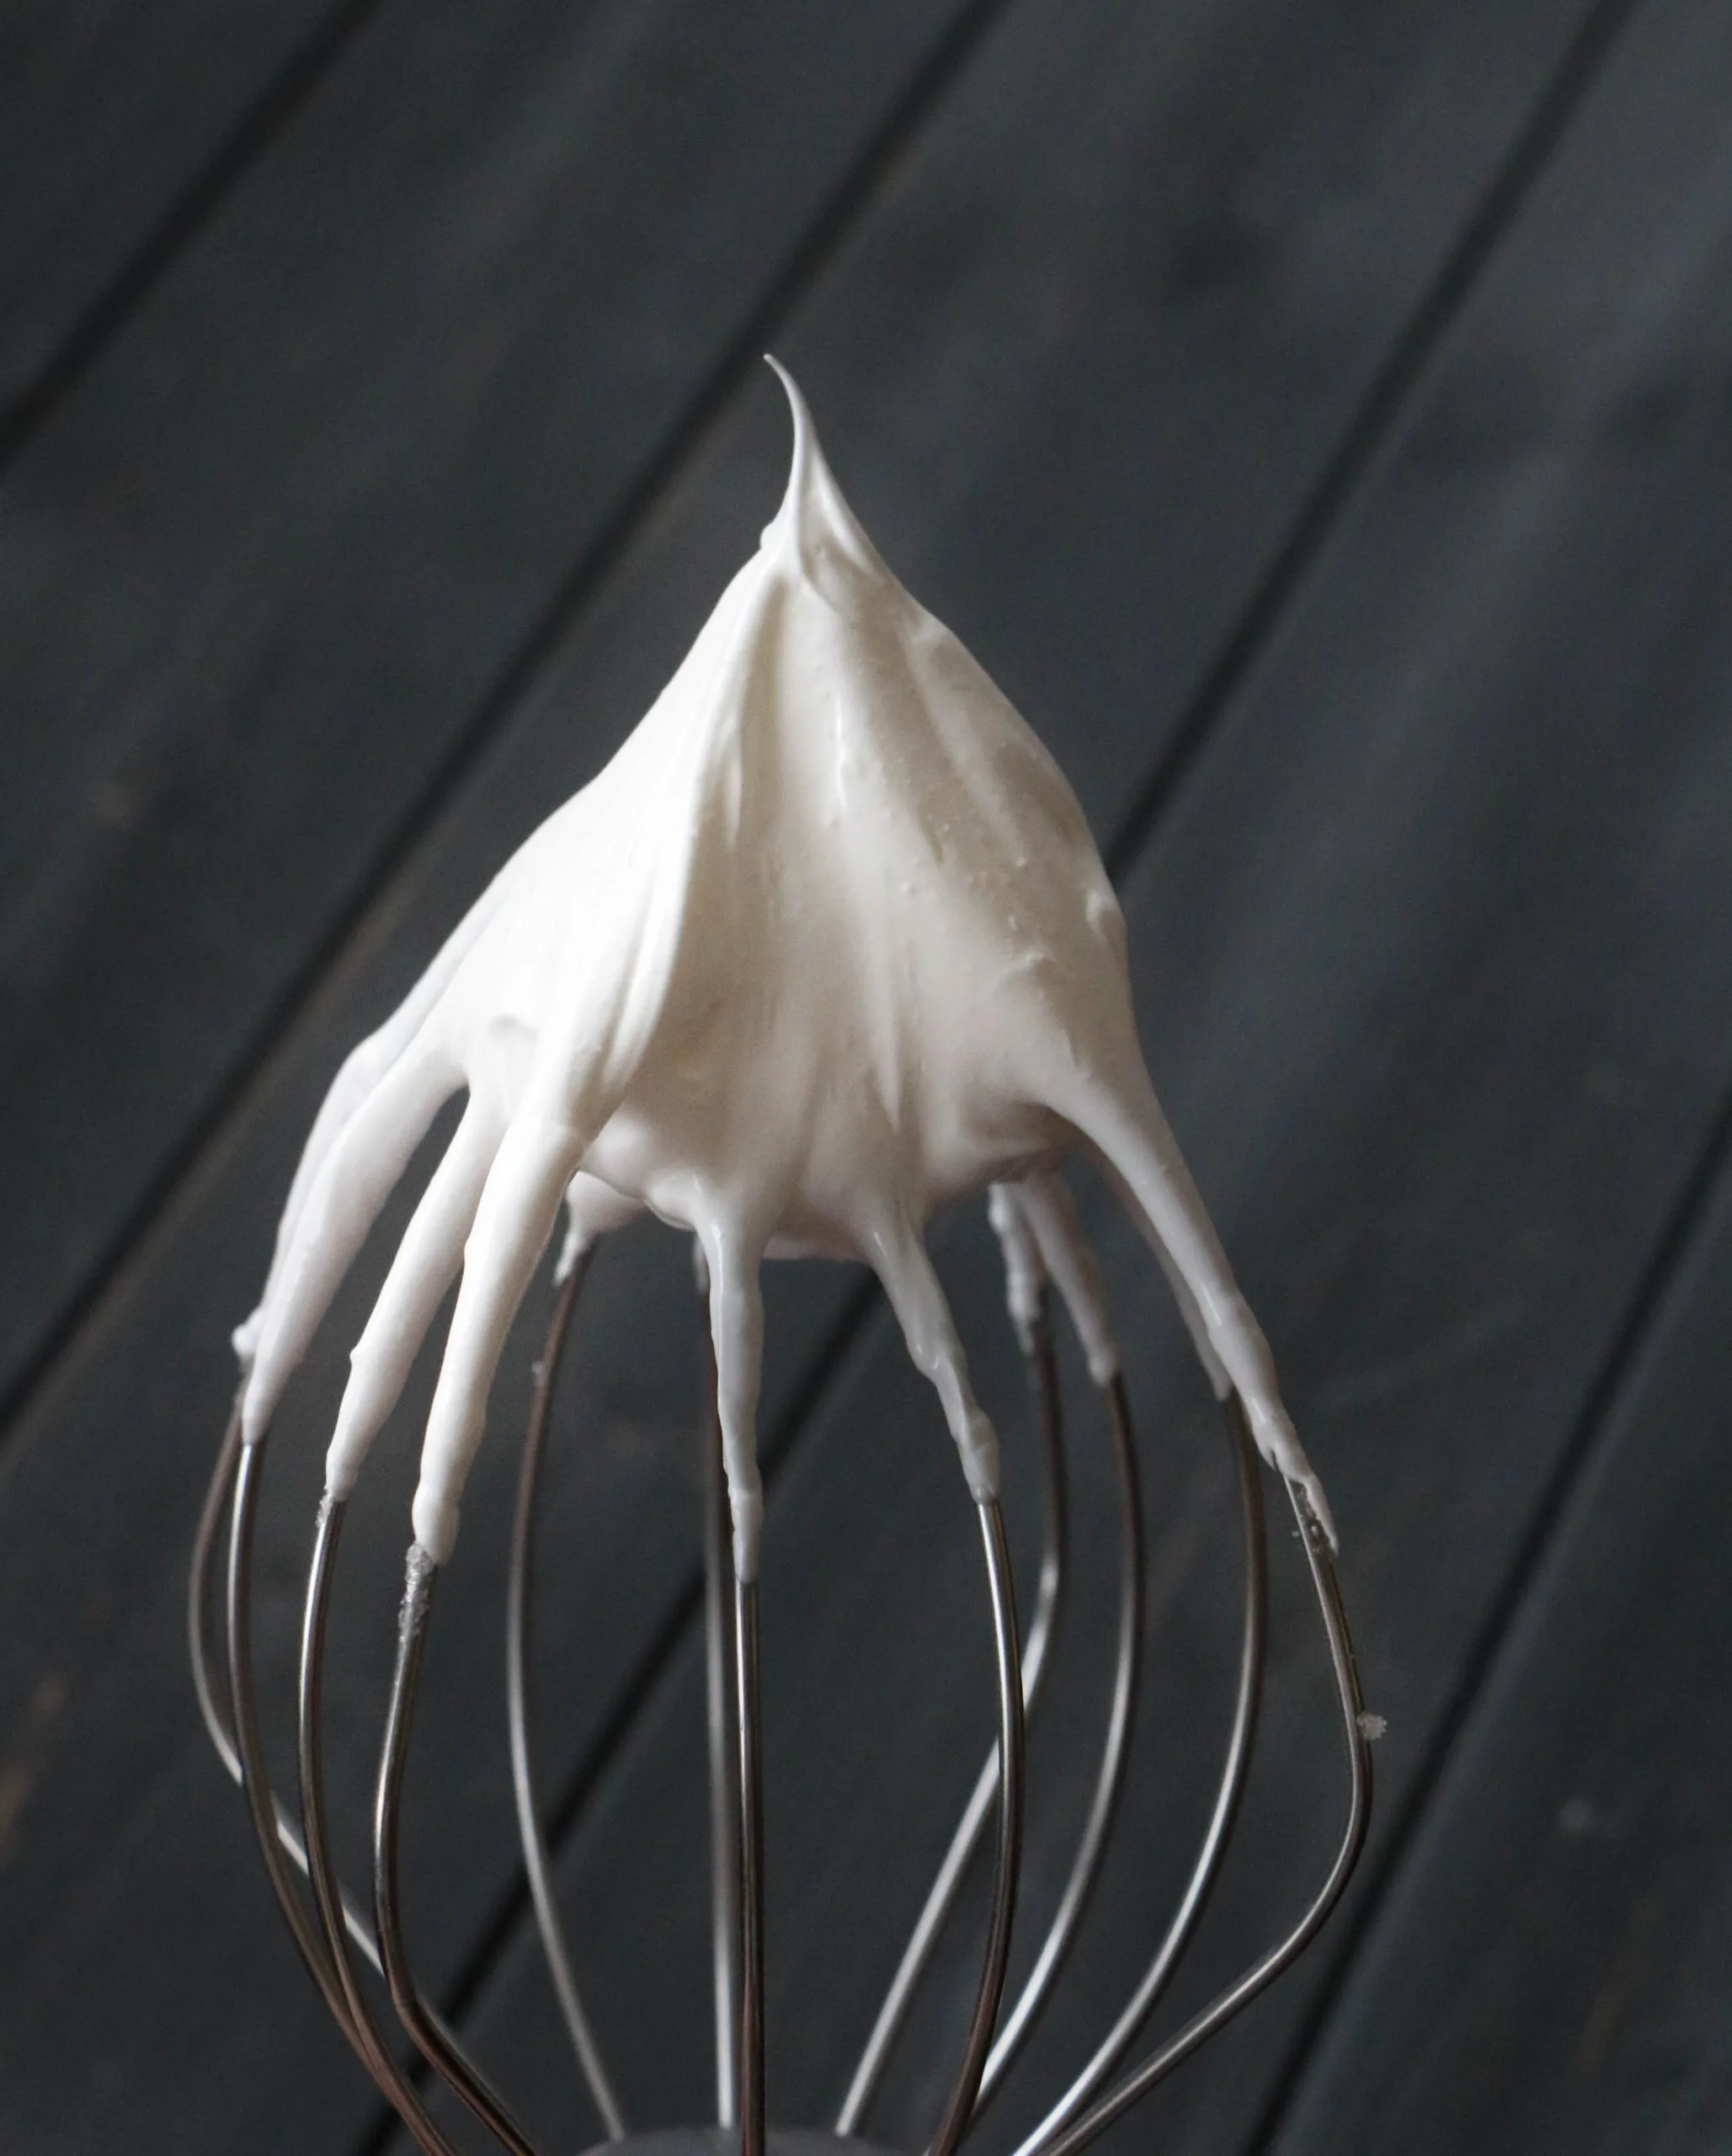
Start by whipping the egg whites with an electric mixer until nice and foamy. Then, very gradually, add the sugar, a small amount at a time, beating for a good 15 seconds after each addition. Take your time here. You want to give the sugar time to dissolve into the egg whites.
Whip the mixture to stiff peaks. That means when you pull the beater out of the bowl, the peaks will stand on end and not be soft enough to flop over. Be patient. It may take between 7-10 minutes to achieve this stage.
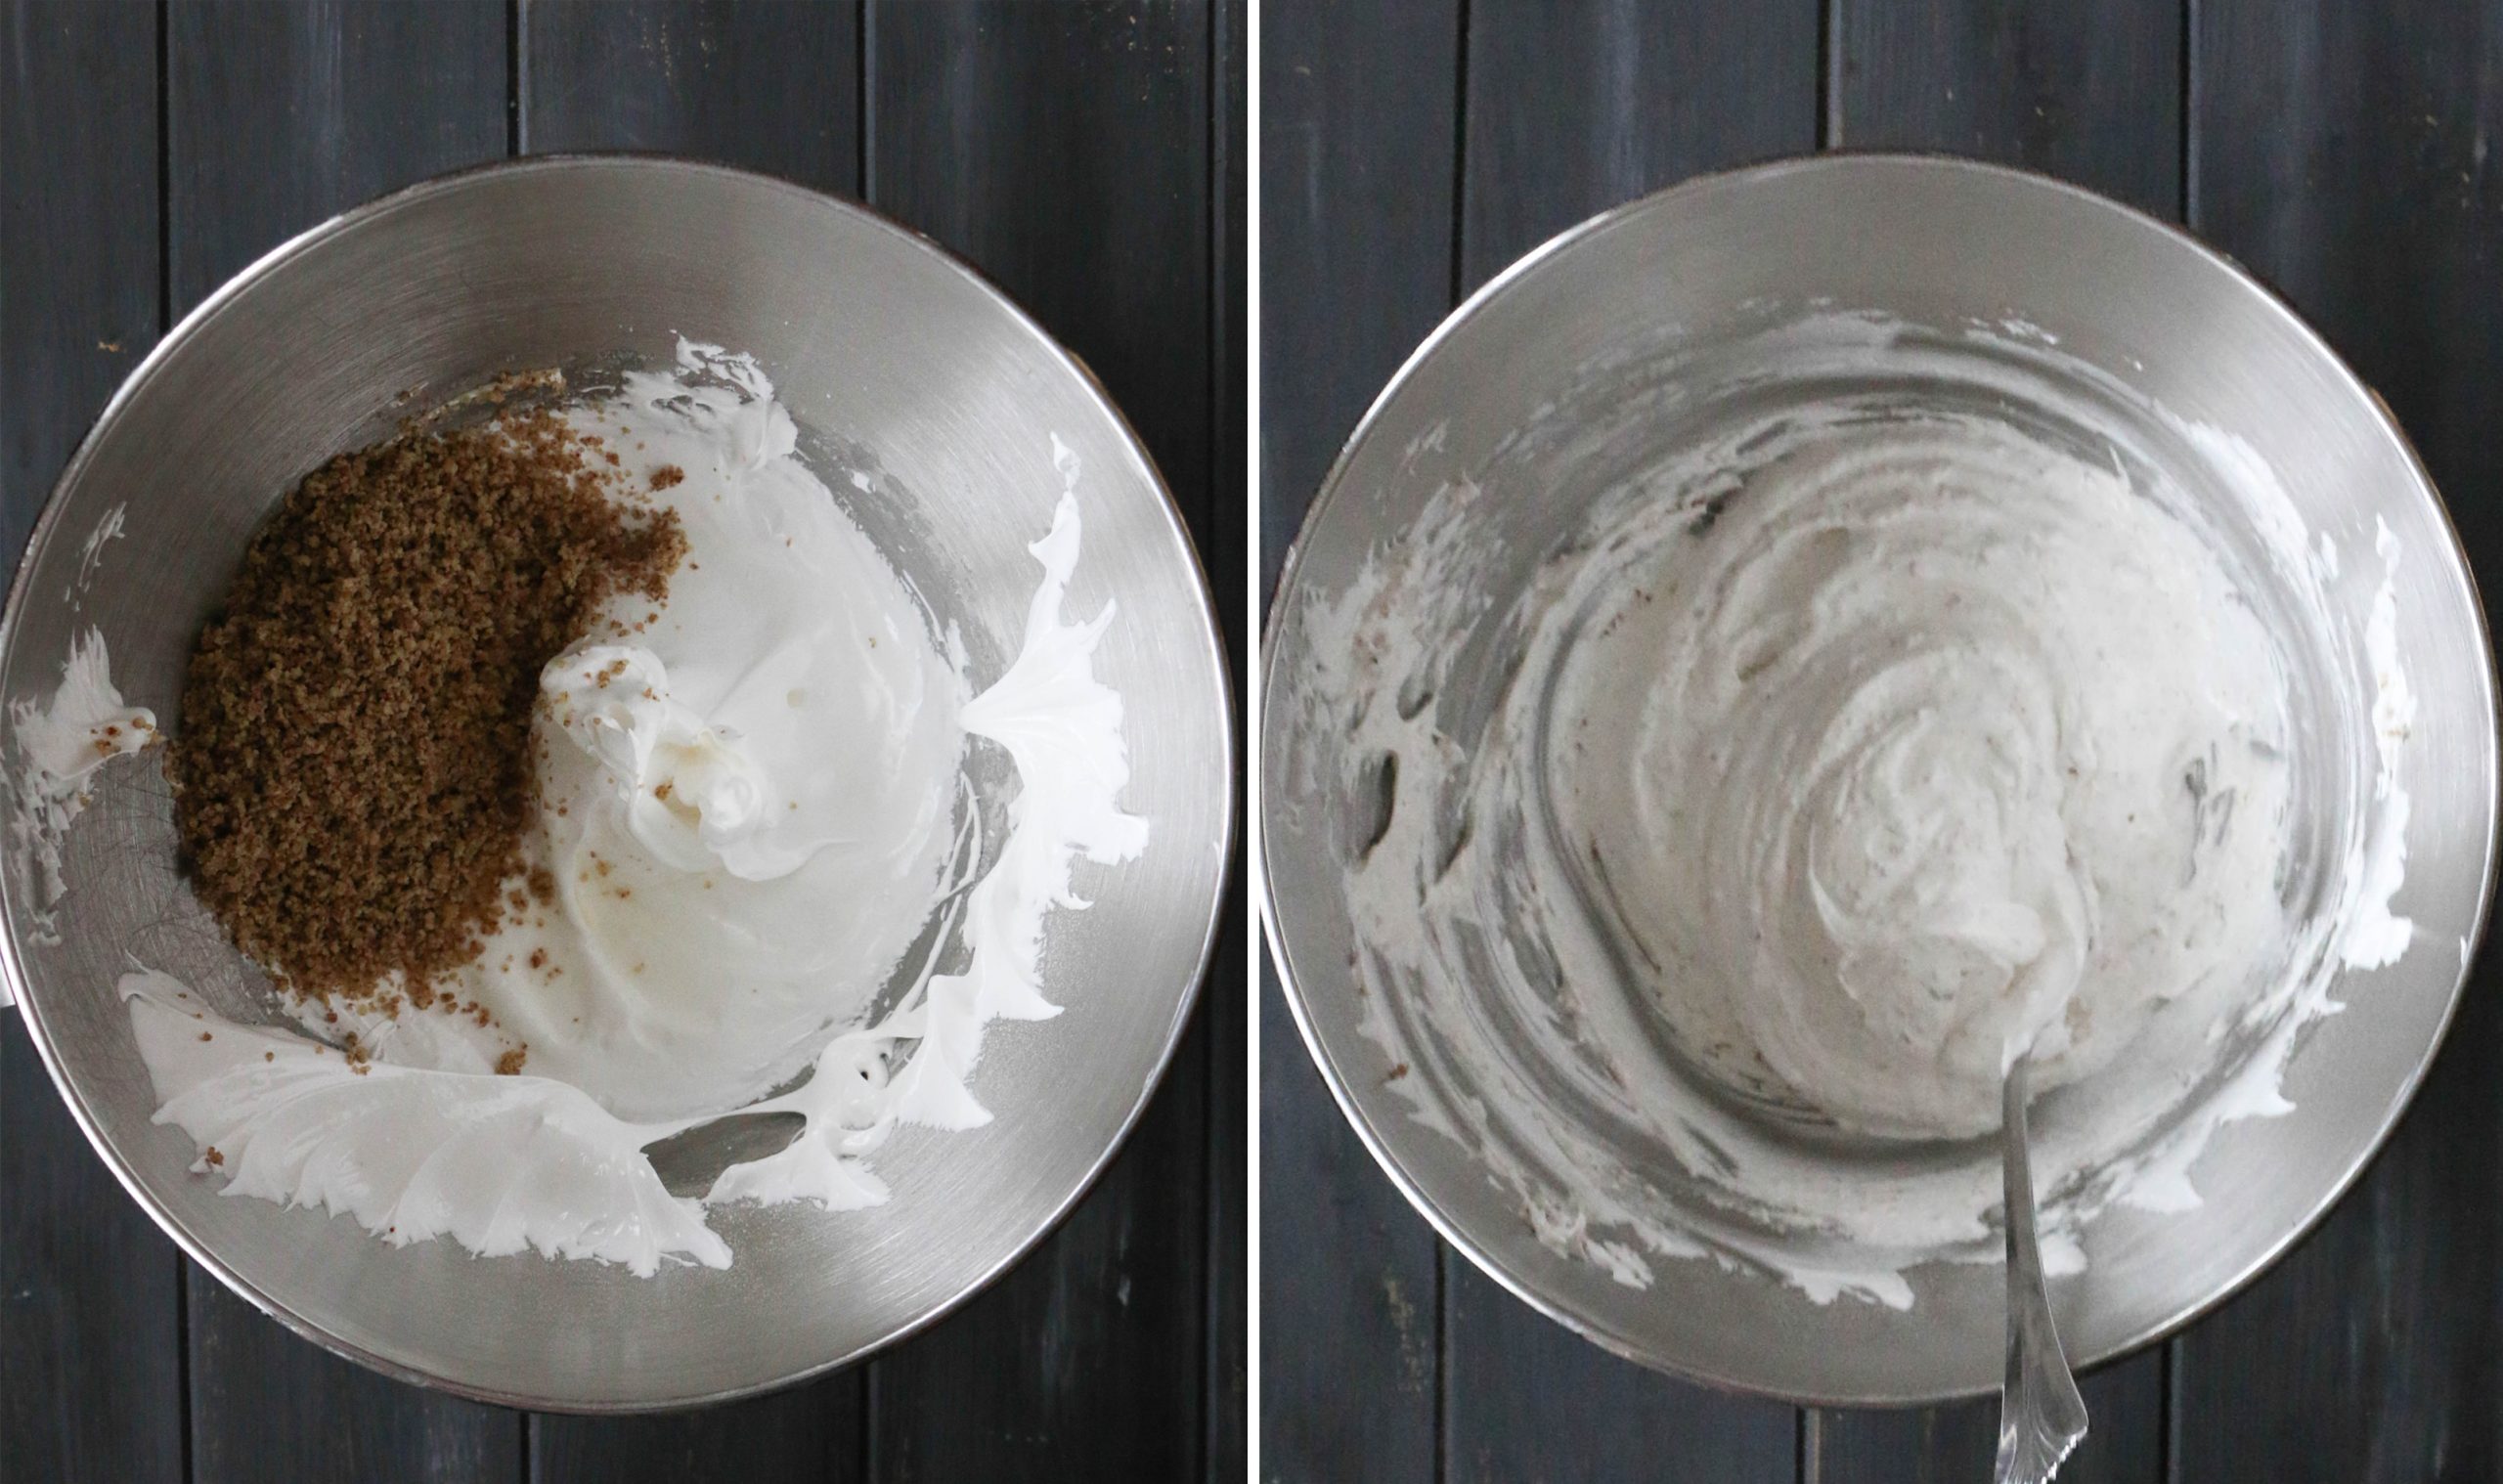
Once you have stiff peaks, then just gently fold in the almond extract and finely ground nuts. Set aside.

Rolling the Butter Nut Horns
The dough will be divided into 4 parts. Each part will be rolled into a 9″ circle and cut into 12 wedges. I used to do this step one at a time.
I would roll a circle of dough, cut it in 12 wedges, spread a heaping teaspoon of meringue on each wedge and roll them up.
After all of these years, I’ve taken some shortcuts that make the process a little less tedious.

Short cut tip # 1
First, I like to get all of the dough rolled out into circles before doing any cutting or filling. They are rolled in confectioner’s sugar, not flour. Use the confectioner’s sugar just as you would the flour, to keep the dough from sticking to the surface or your rolling pin.
Short cut tip #2
I prefer to roll the dough on layer of plastic wrap. It makes for easy clean up. This only works well if you have a work surface that plastic wrap will cling to.
Another benefit of this is that as you start filling the horns, your work area will have bits of residual meringue left and make it too messy to roll out another circle. Rolling all of the dough in the beginning prevents this issue.
Separate and cover the rolled out circles of dough with plastic wrap and place the stack into the refrigerator until I’m ready to use them.
Don’t worry about rolling into perfect circles with smooth edges. Just do your best to get a 9″ -ish circle rolled out. Those jagged edges will get rolled up into the horn and no one will be the wiser.
Cutting and filling
Taking one circle at a time, cut it into 12 wedges. It’s easiest to start by cutting the circle into four and then cutting each of the four sections into 3 wedges.


Short cut tip # 3
Instead of filling each wedge individually, I now fill 12 at the same time. So, take 1/4 of the meringue filling and spread it evenly over the first circle of dough that’s already been cut into wedges.
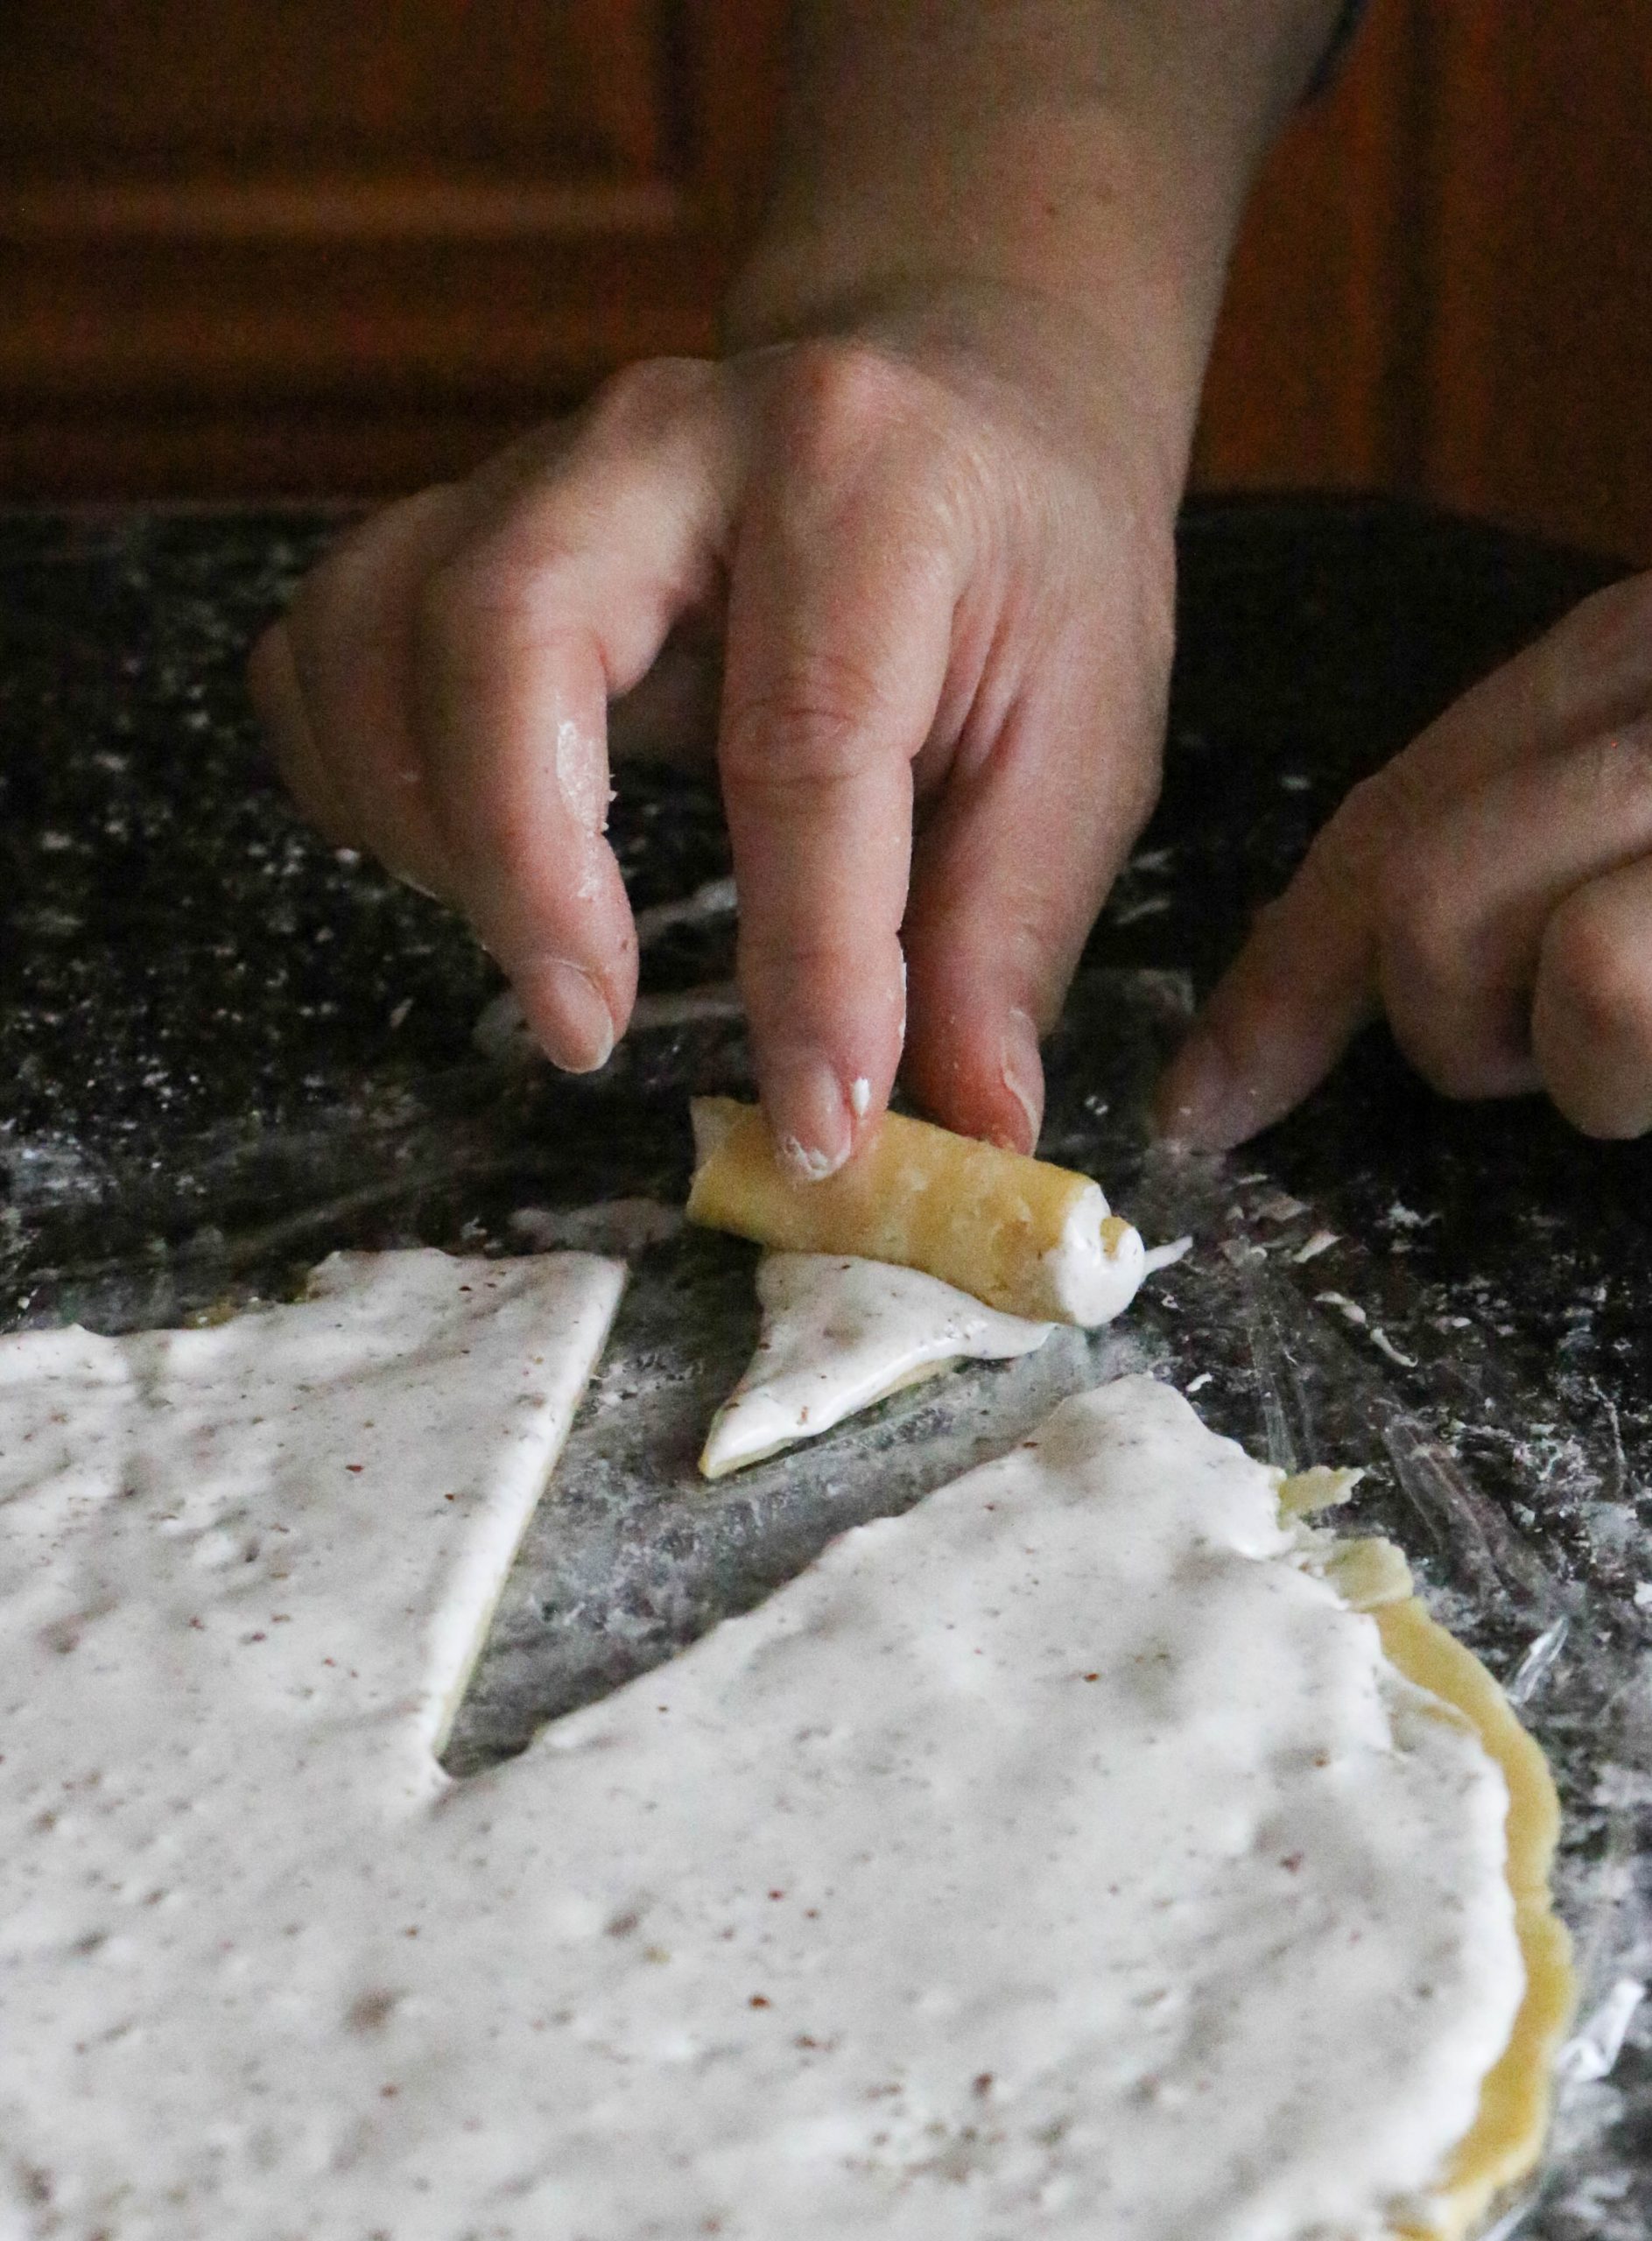
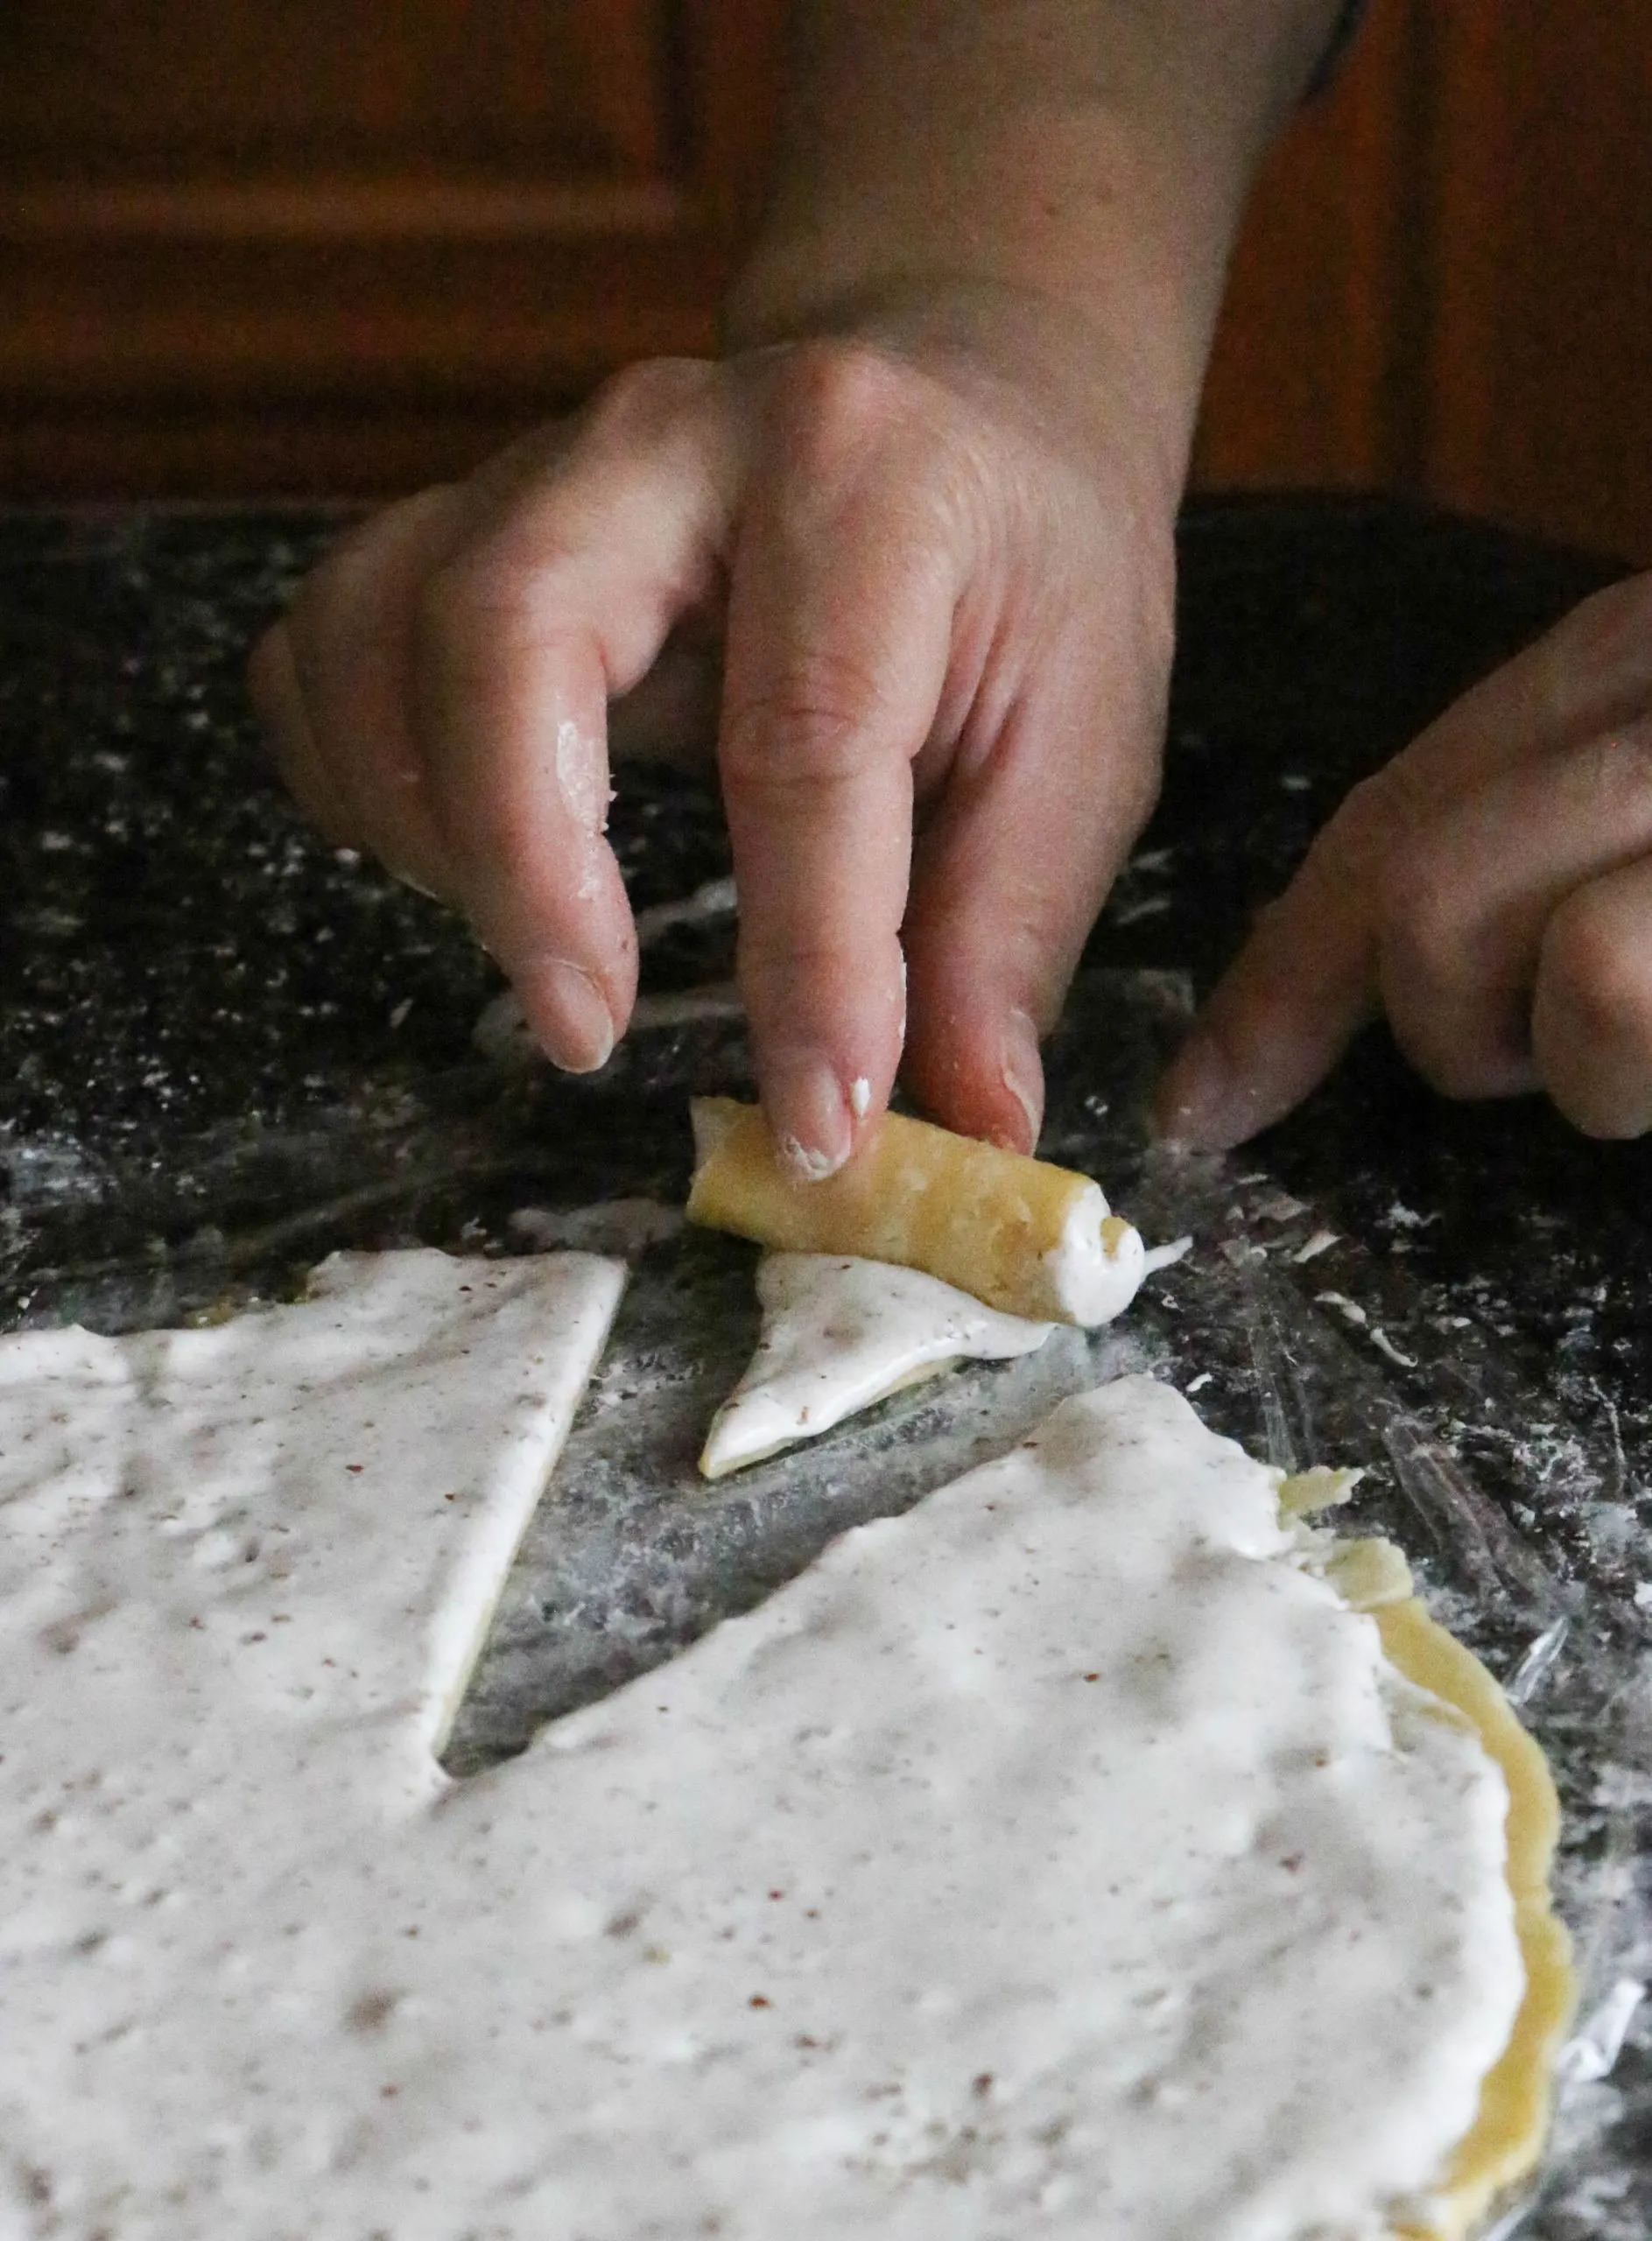
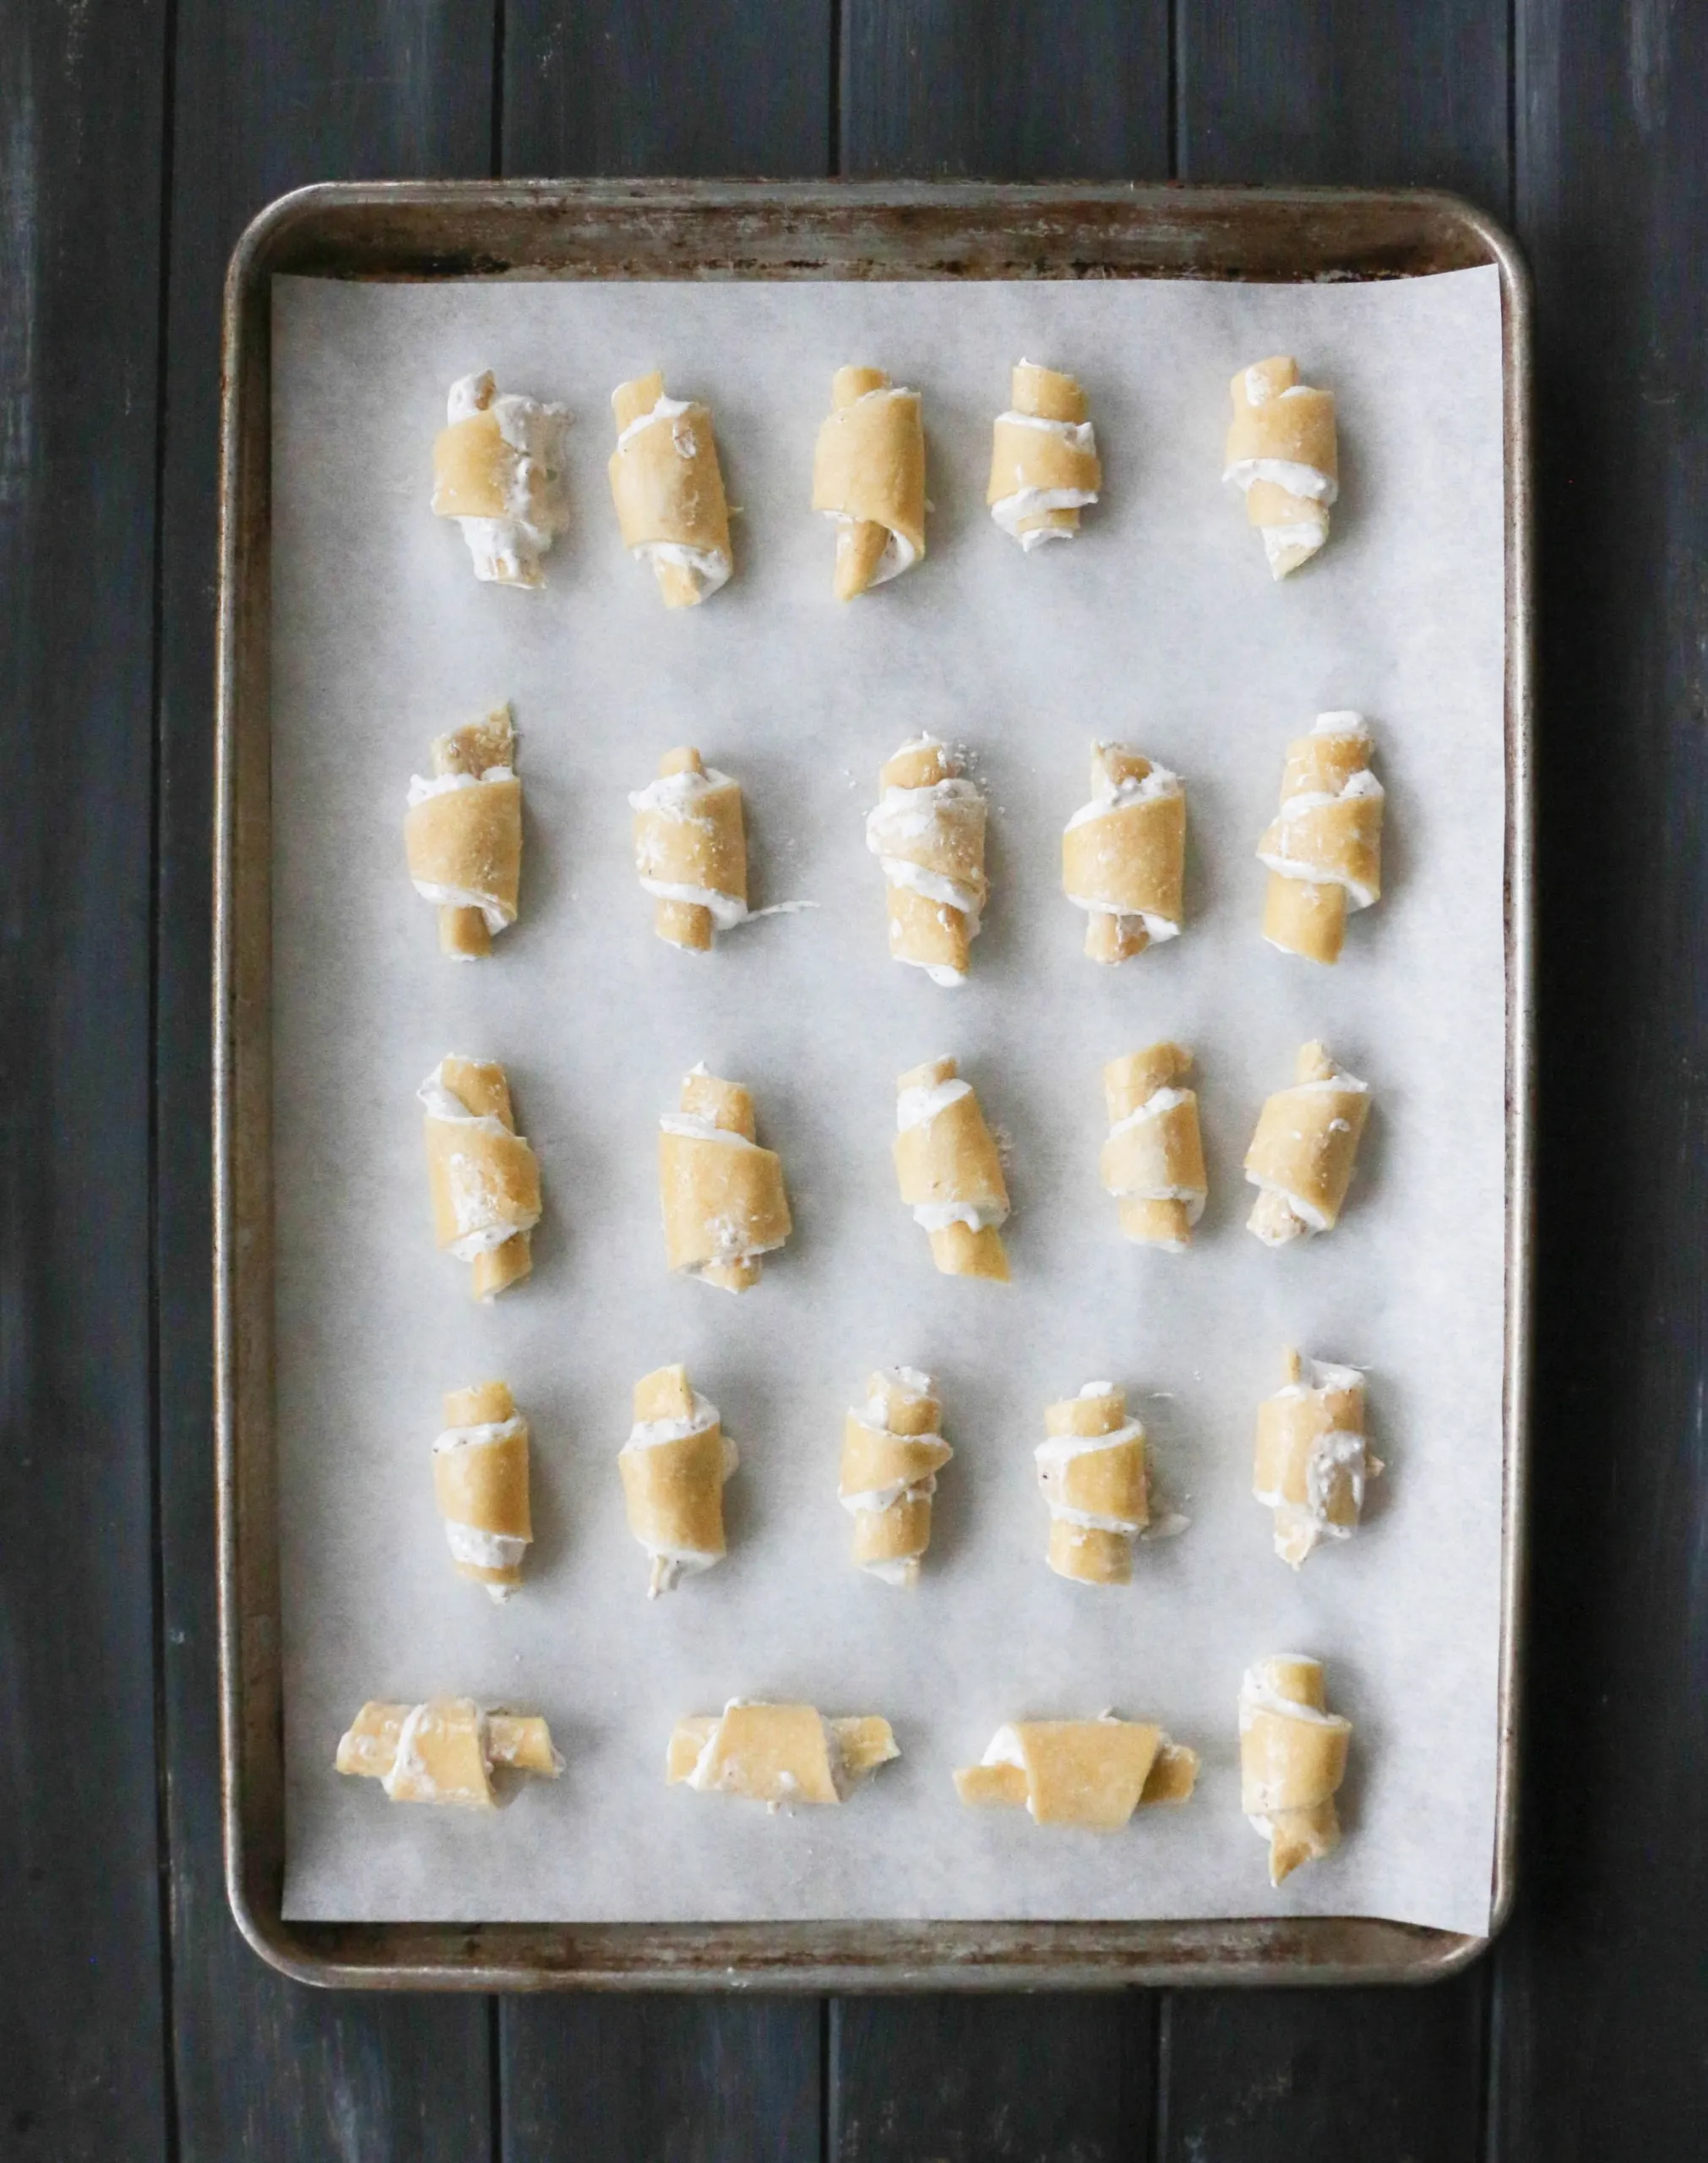
Then, lift the corner of one of the wedges, pull it away from the circle (so that you have some room to work) and gently roll up the wedge starting at the wide outer edge and rolling to the point.
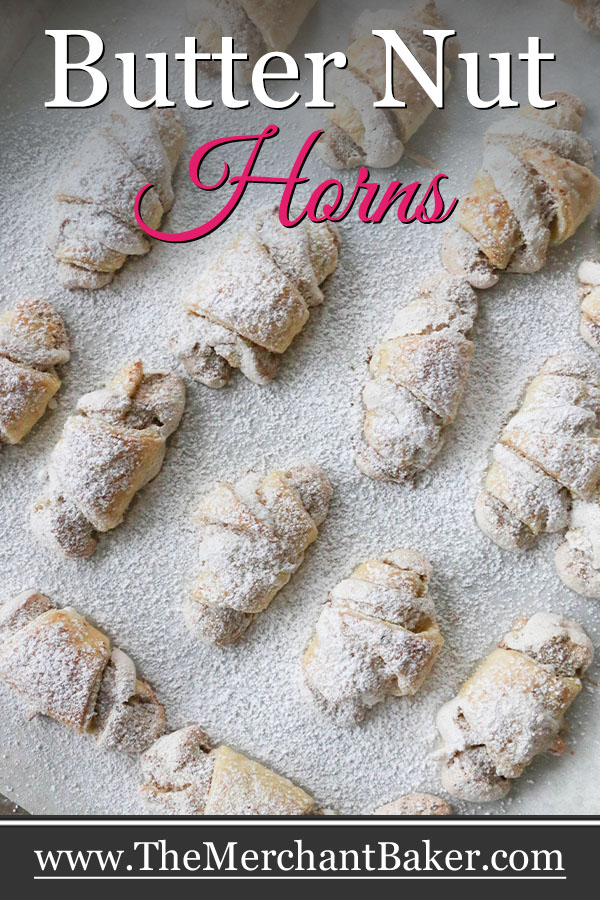
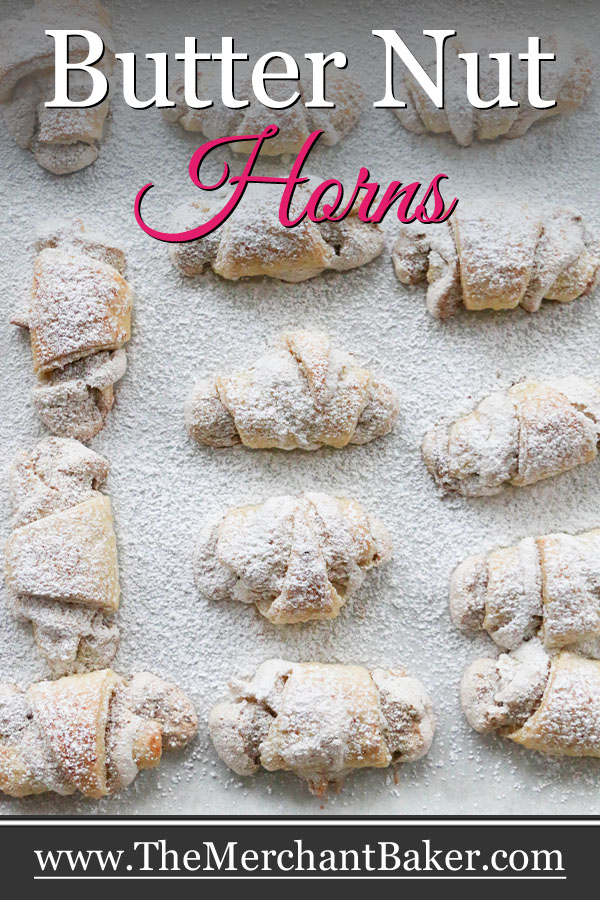
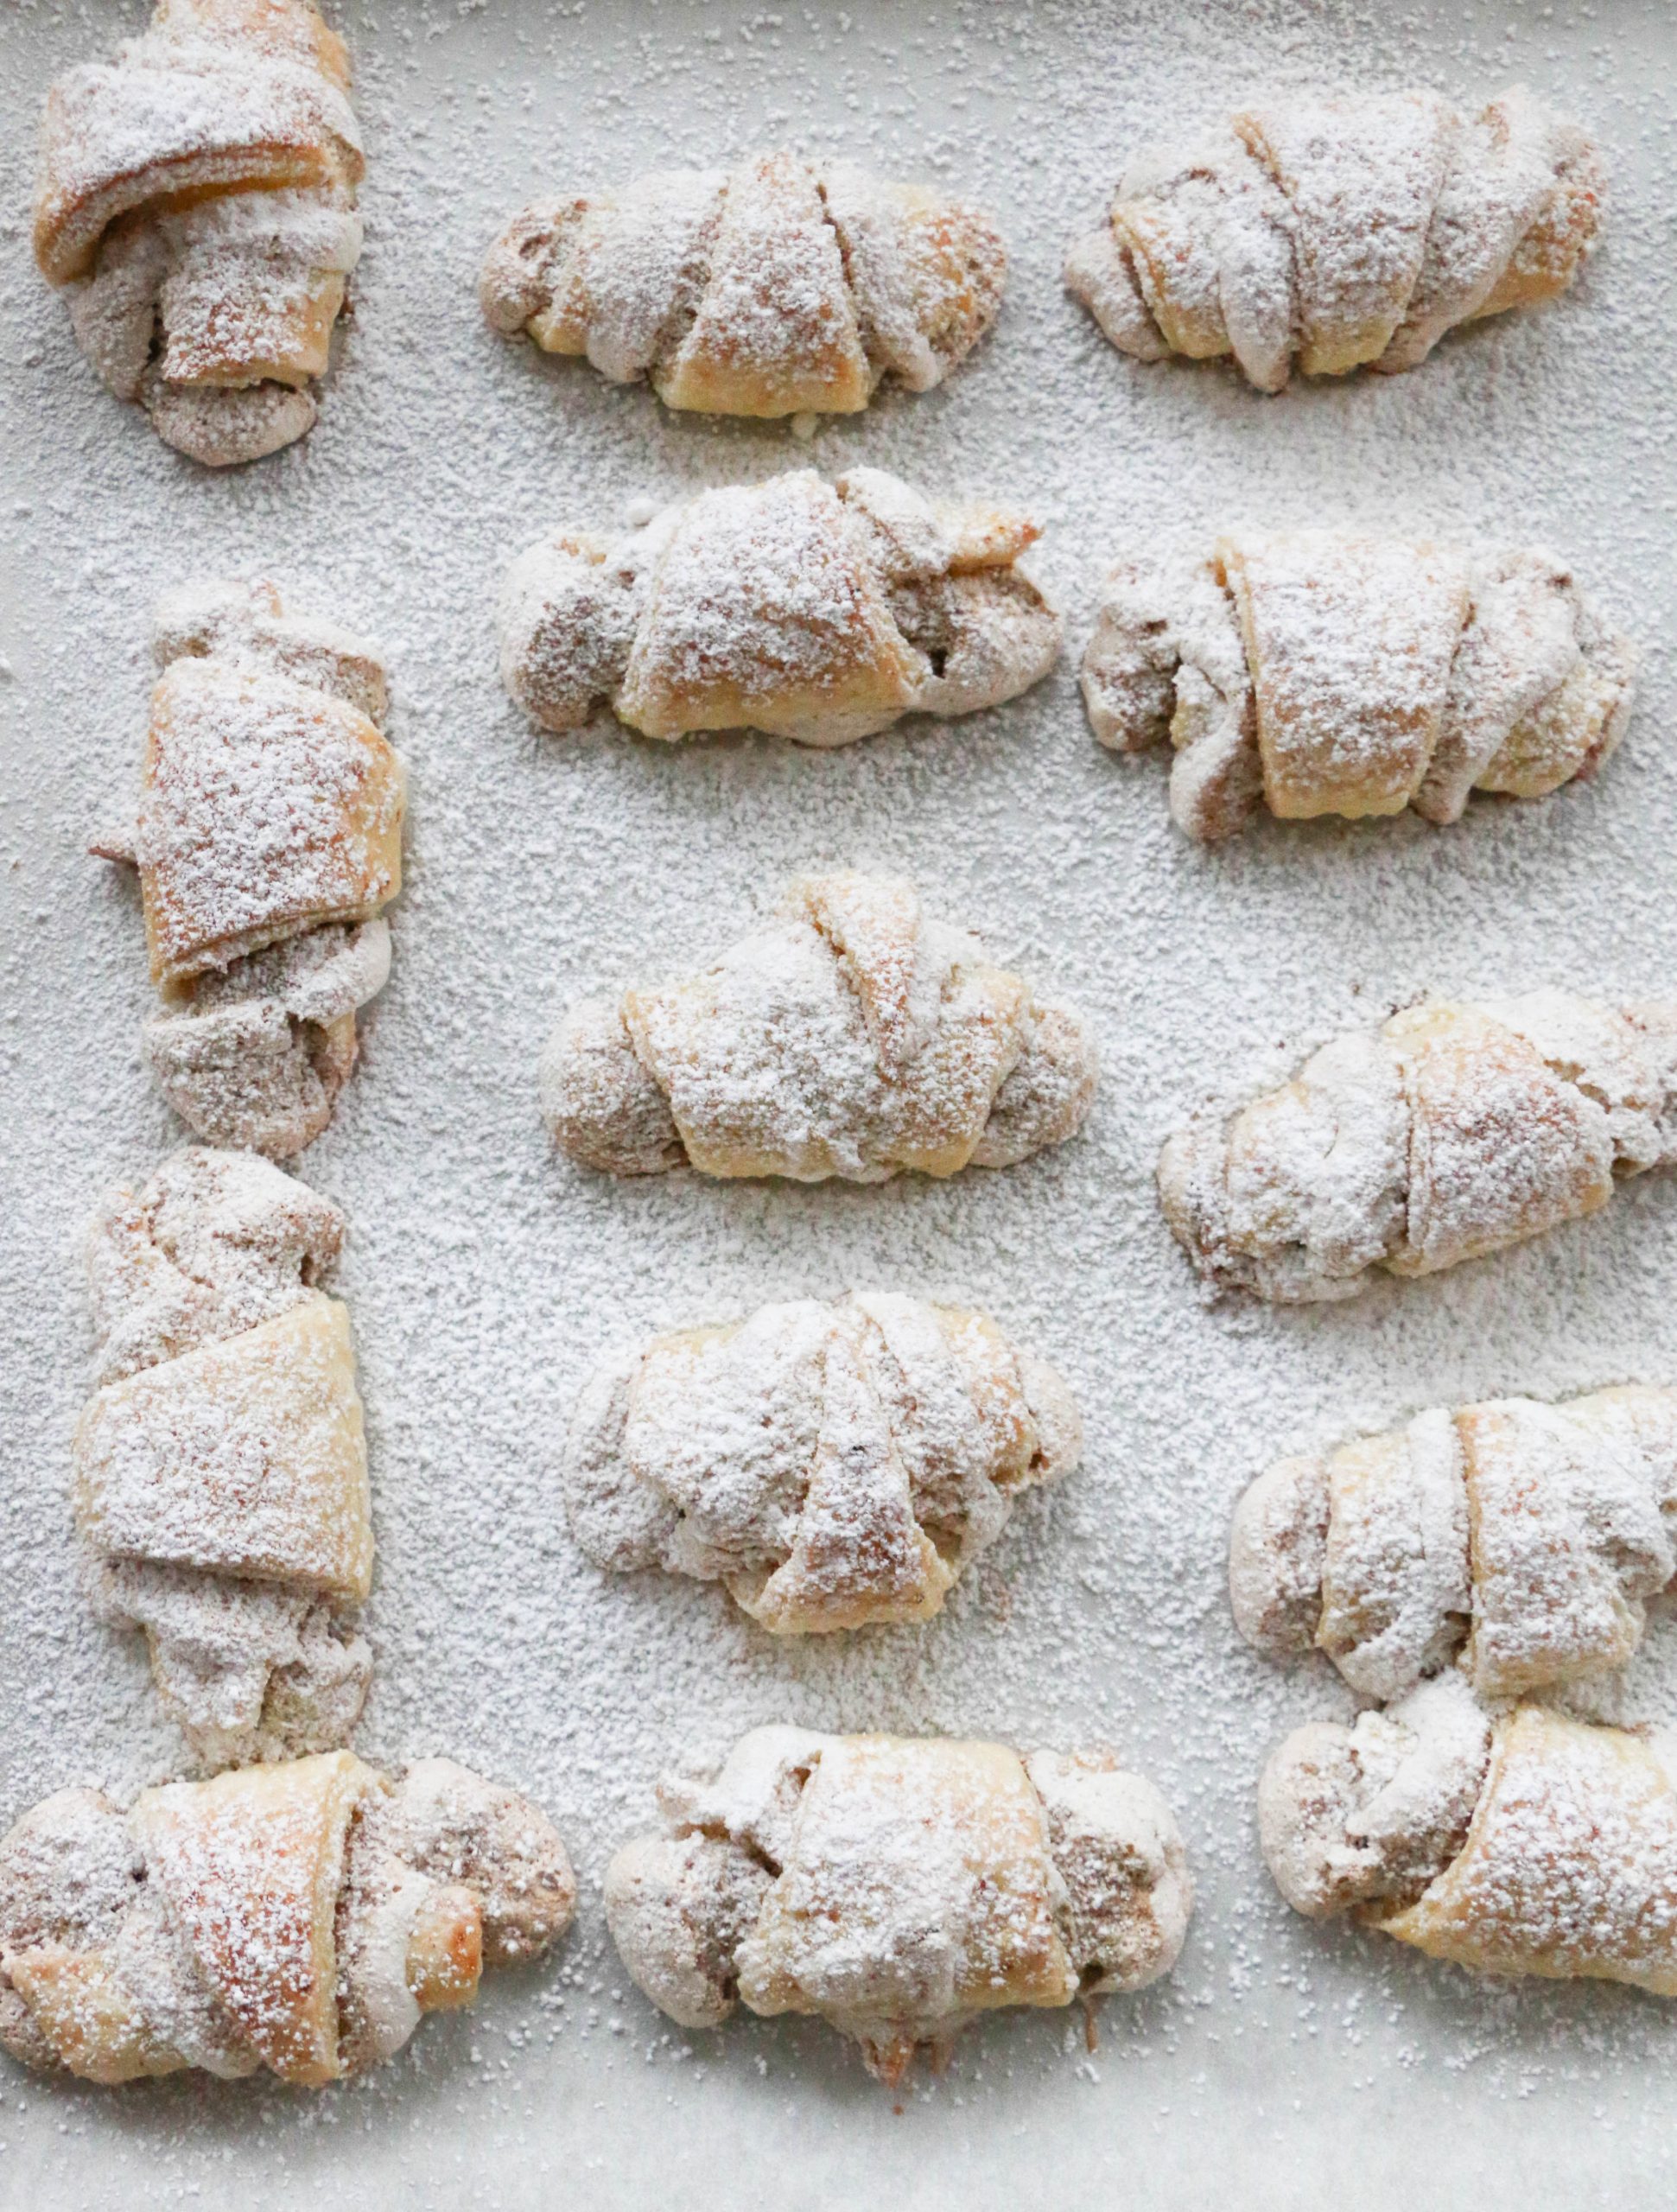
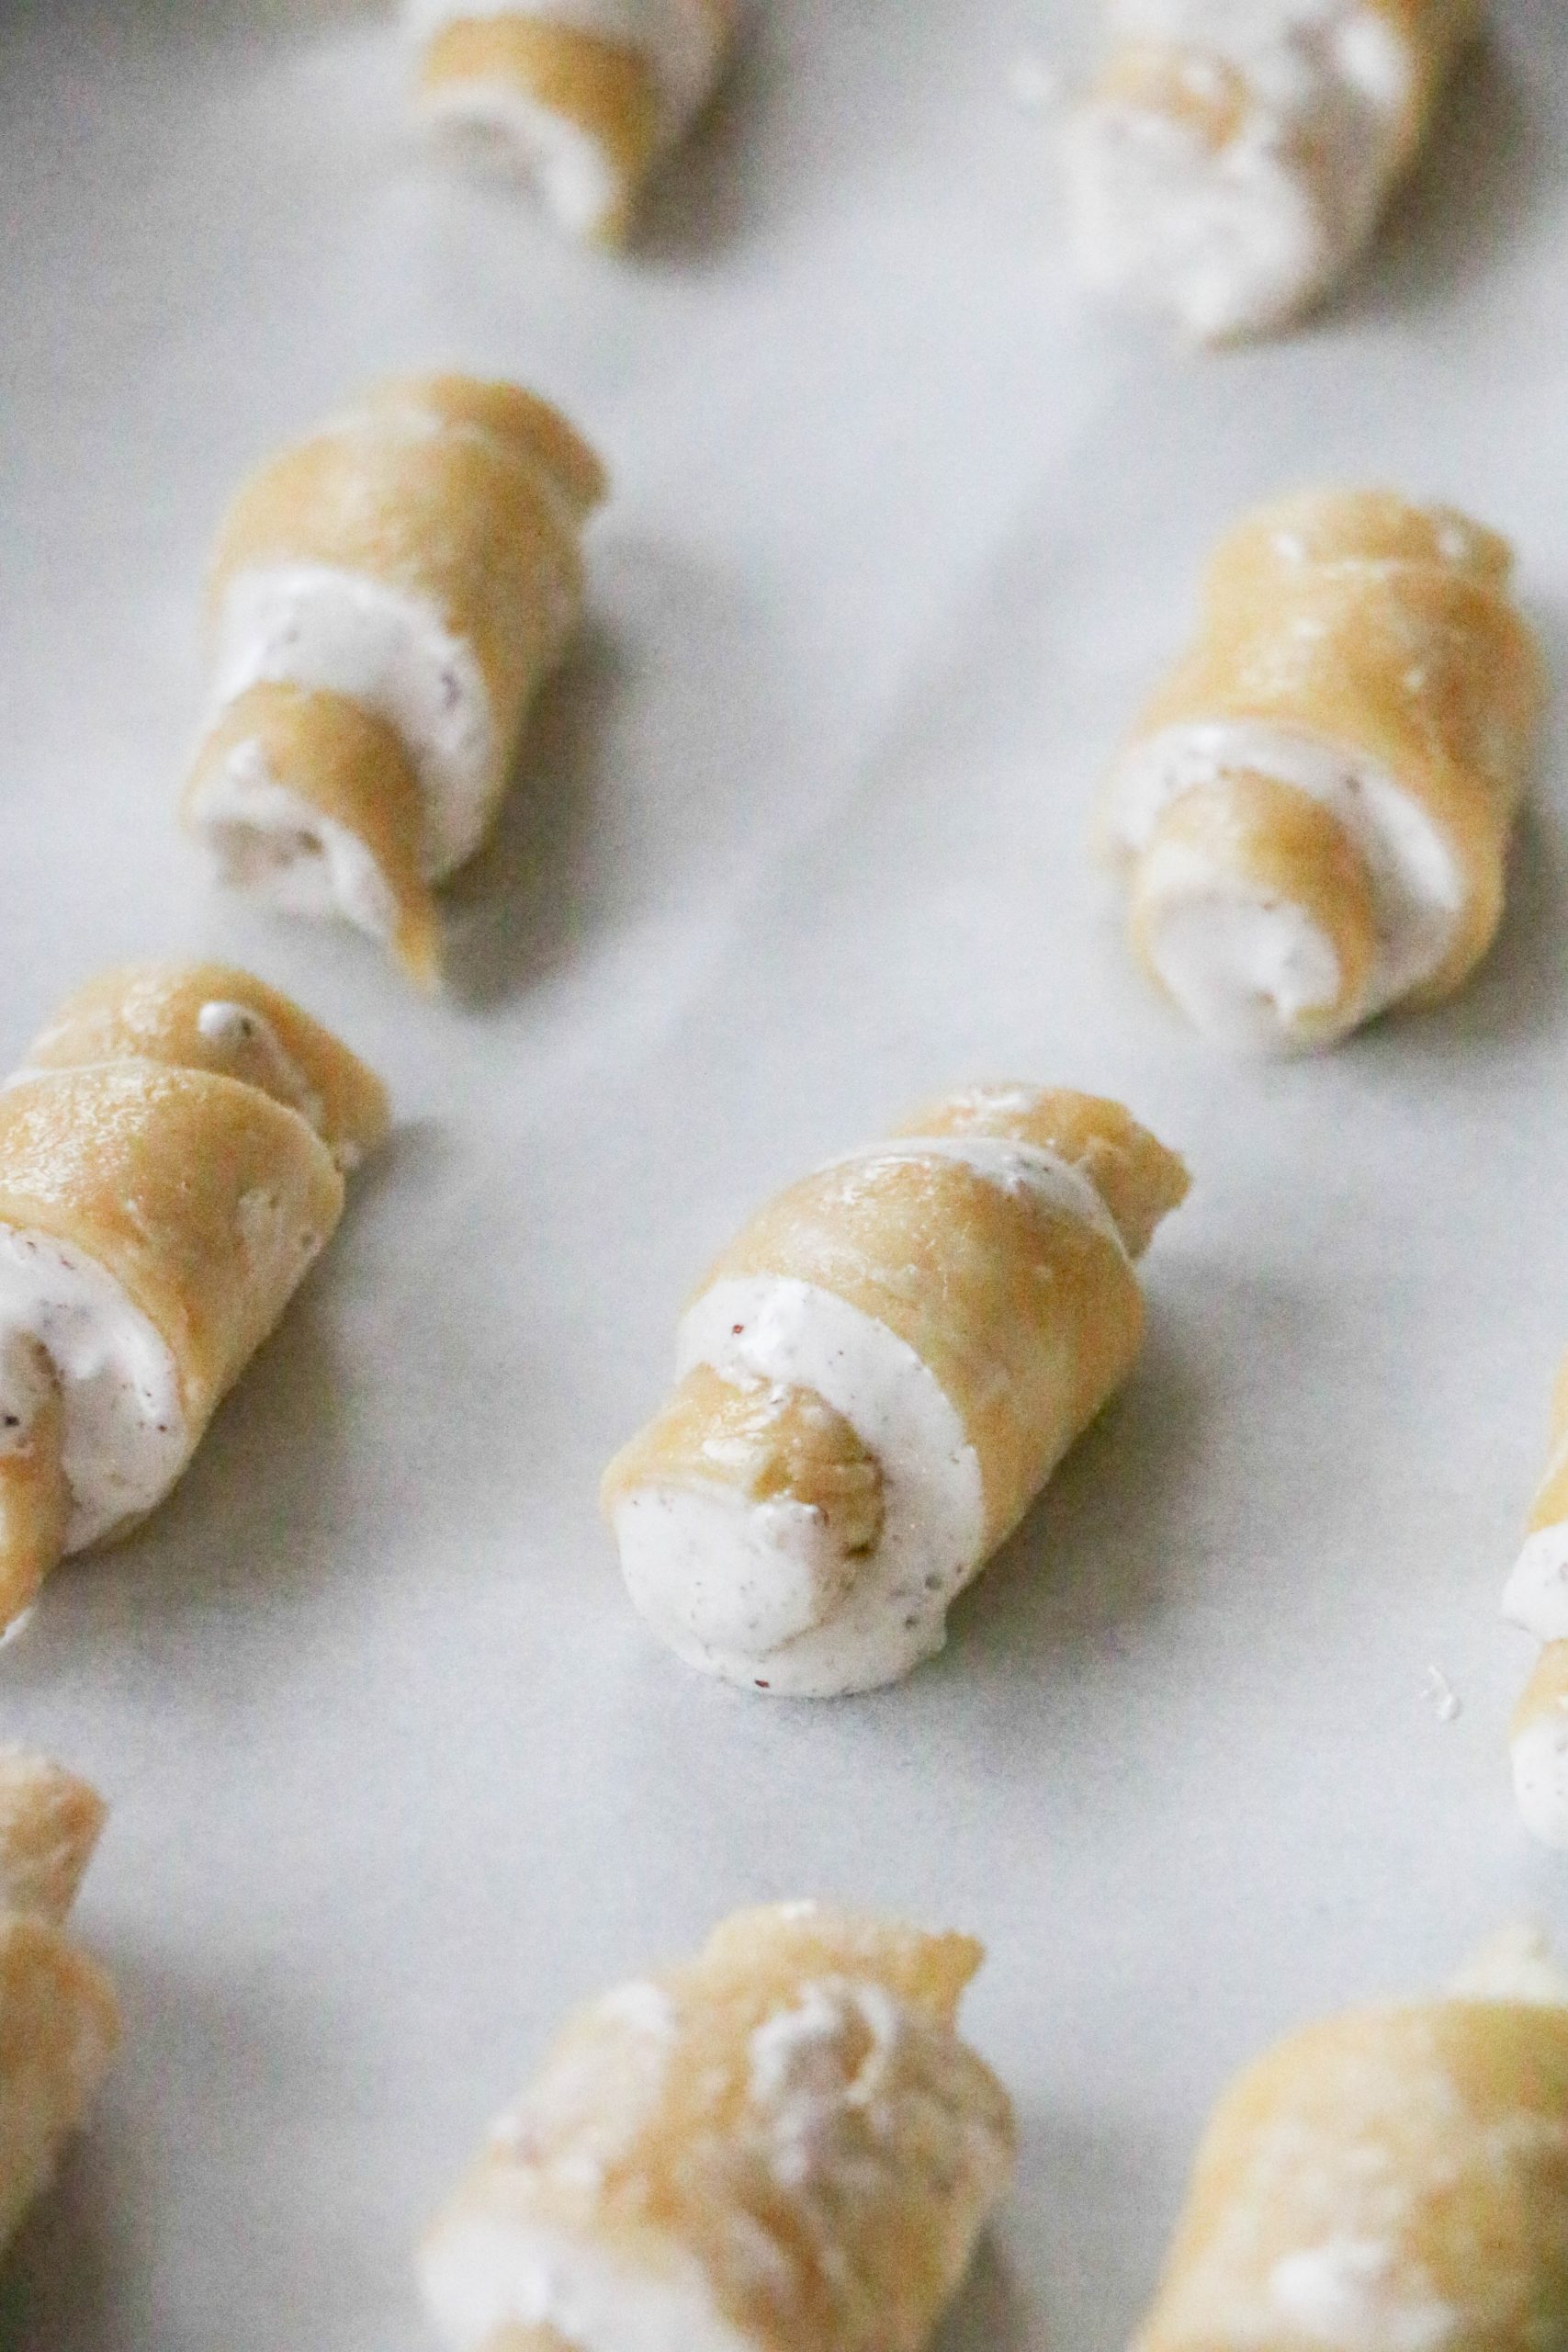
Place the horn on the prepared baking sheet with the narrow point on the bottom. This will help the horn stay together. If the point is on the top, the meringue will lift it up when baking. I had a few of those in this batch. No worries. It will all be good in the end.
When you’re done rolling your first 12 wedges, your work surface will undoubtedly have bits of messy meringue all over it. If you took my advice in the rolling step, your next circle of dough will be on it’s very own meringue free bit of plastic wrap.
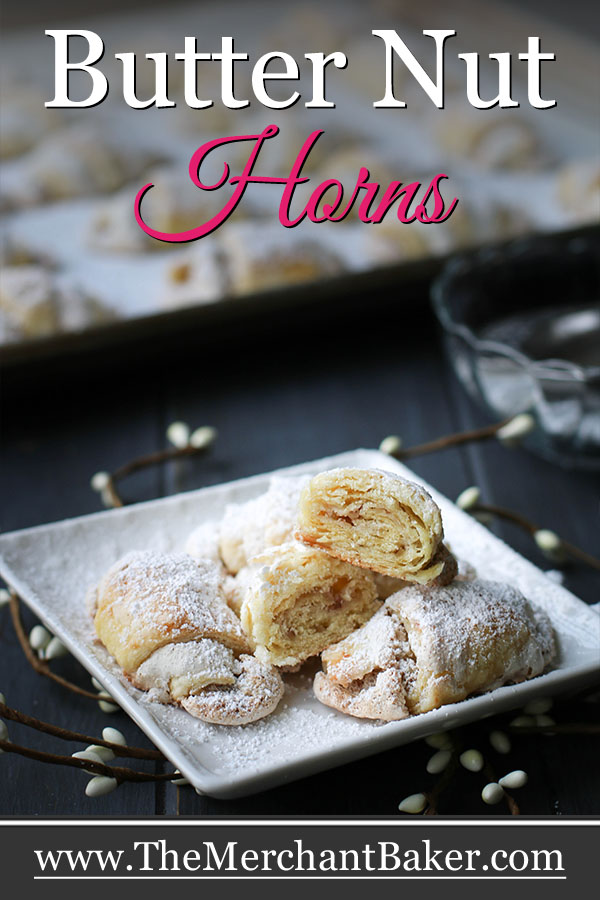
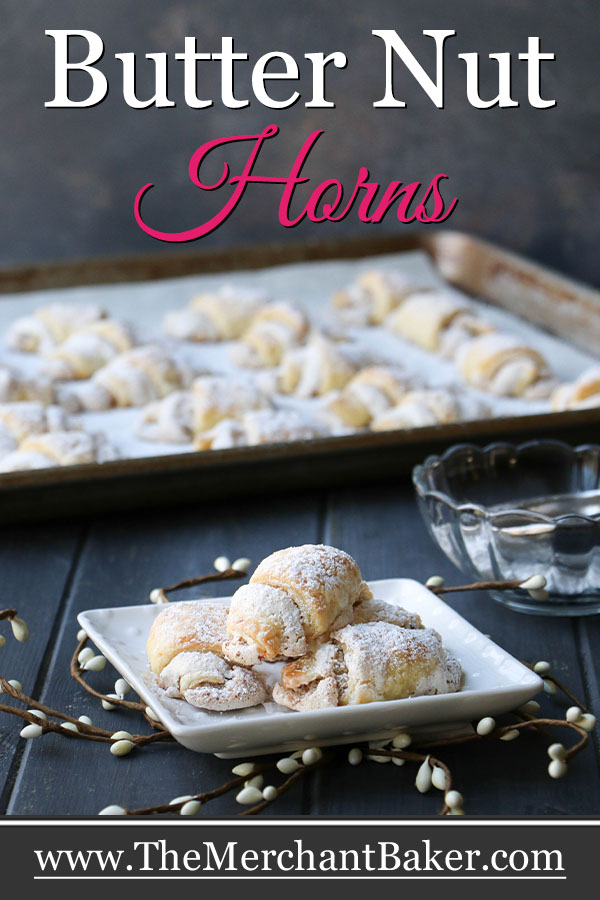
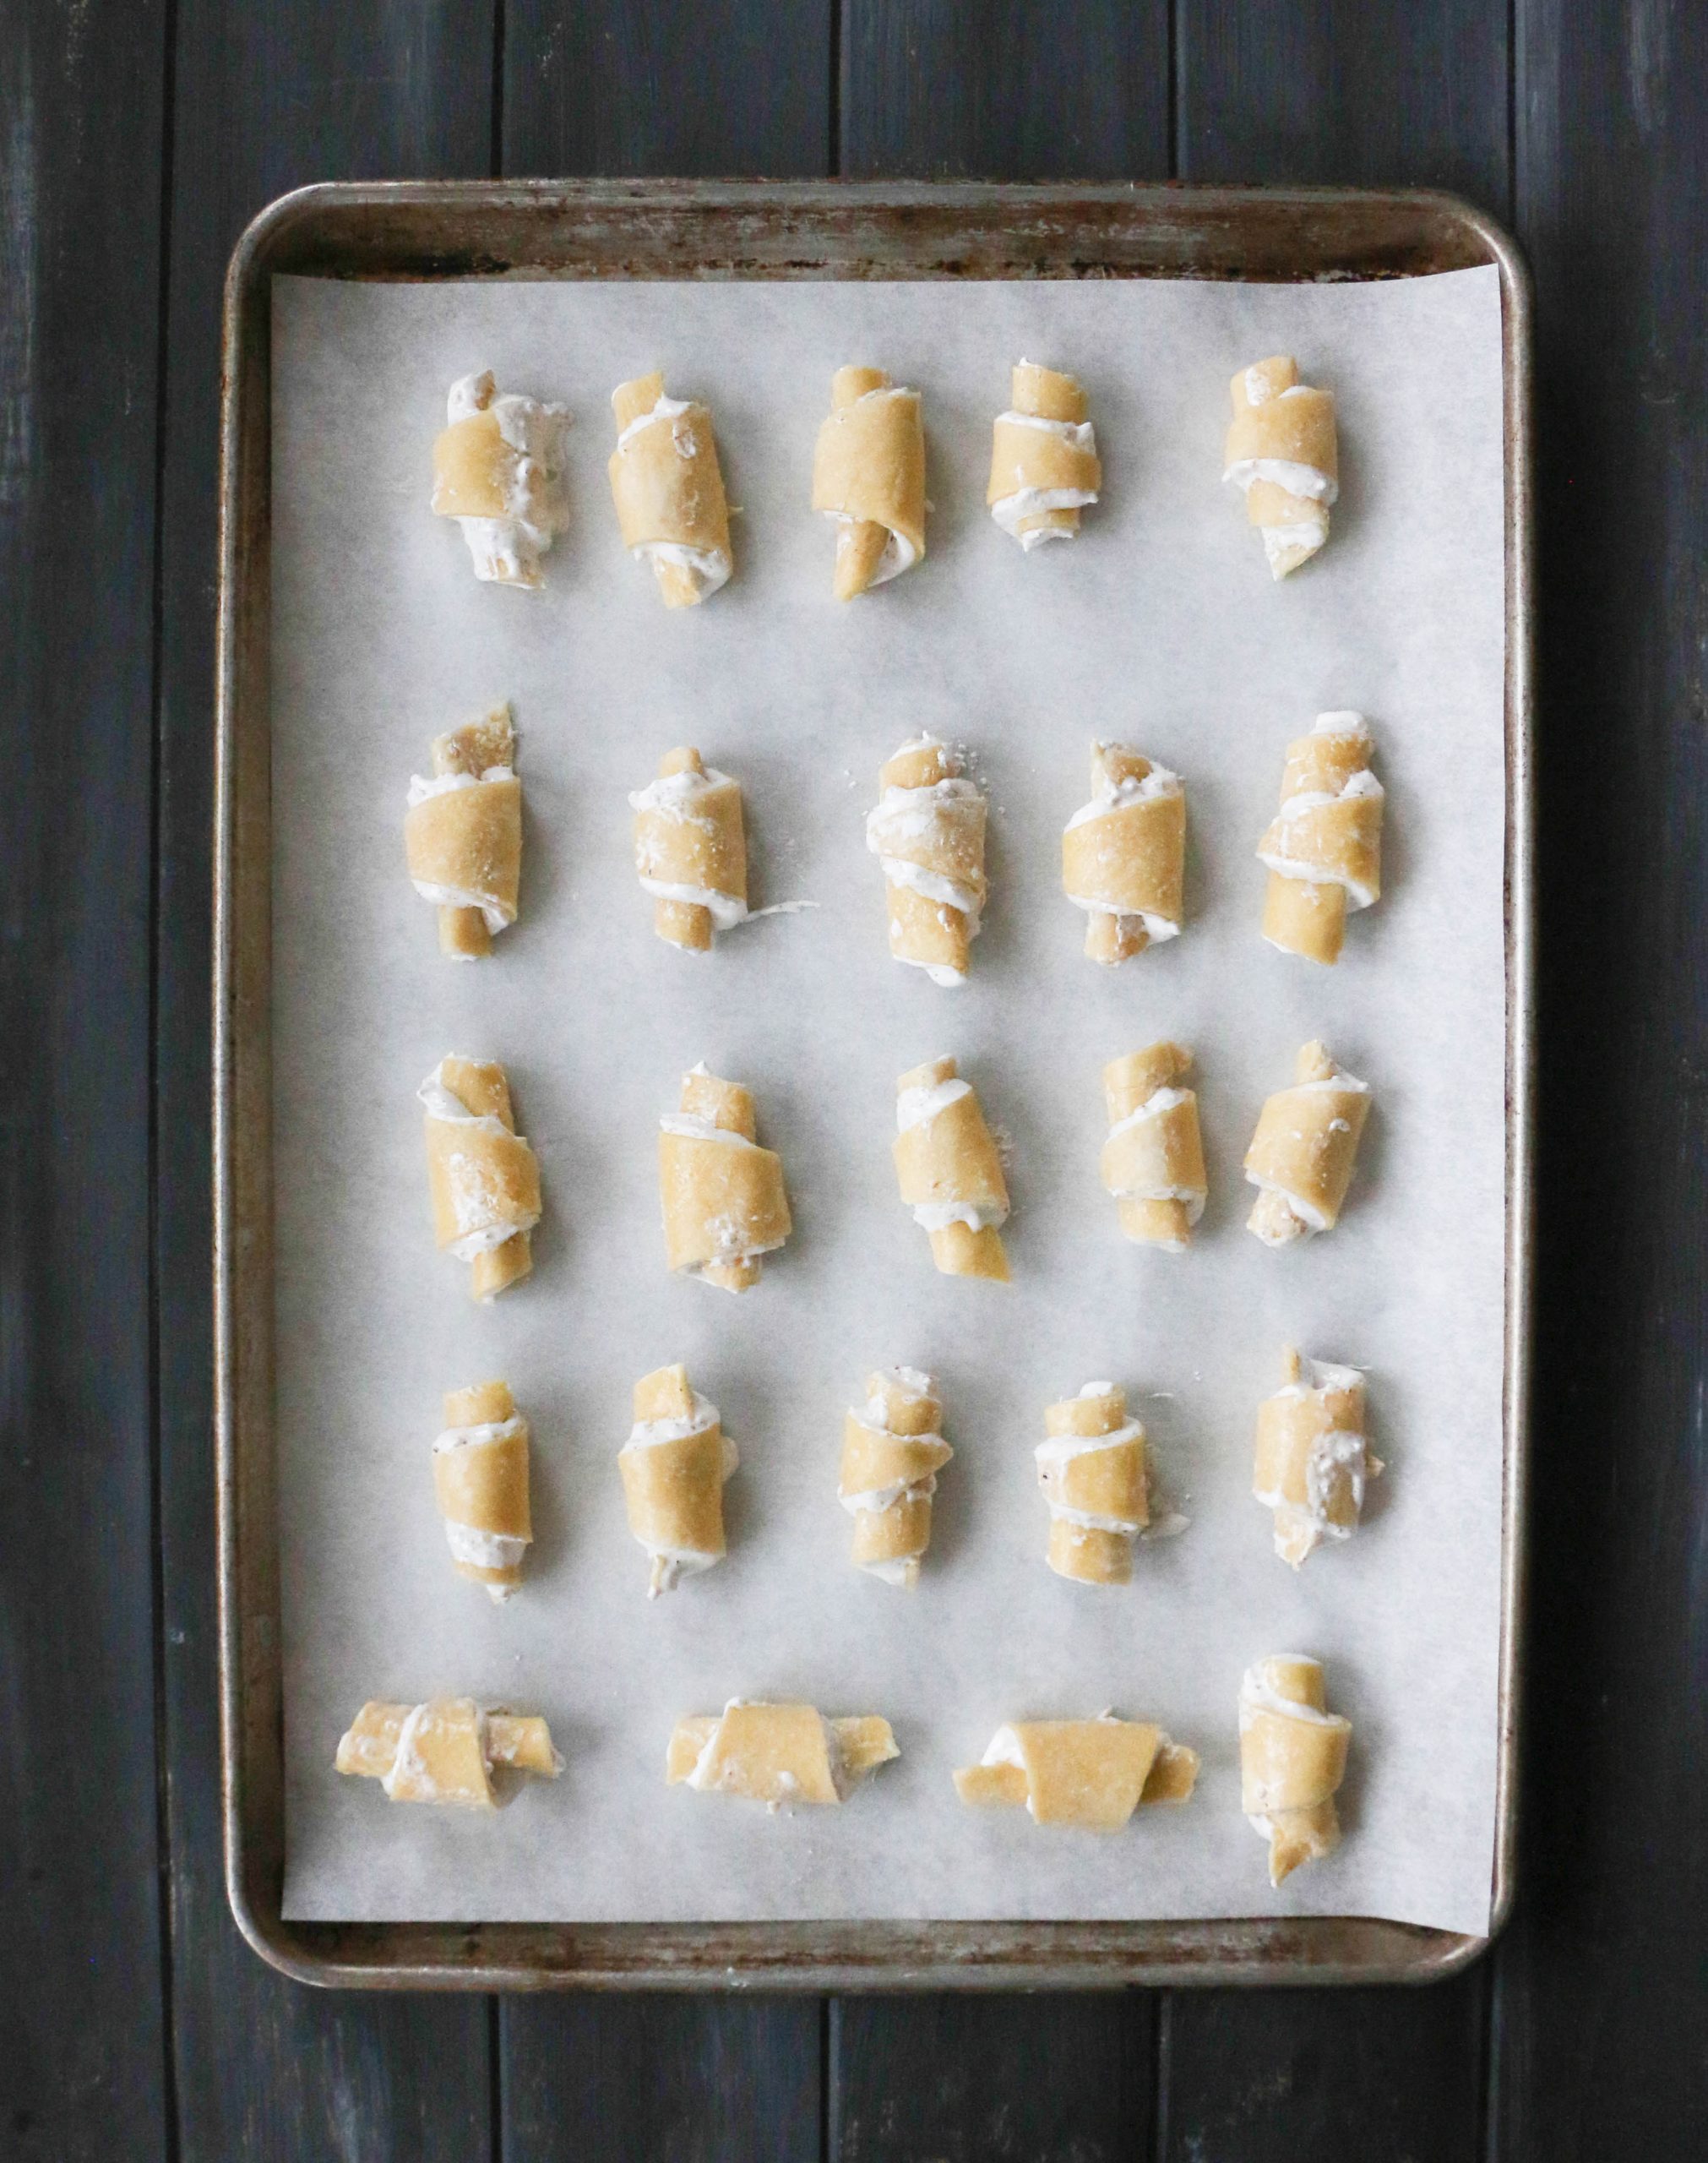
Now just cut, fill and roll up the horns, repeating the steps from the first section of dough. When you’ve filled up a sheet, send it to the oven while you work on the remaining cookies.
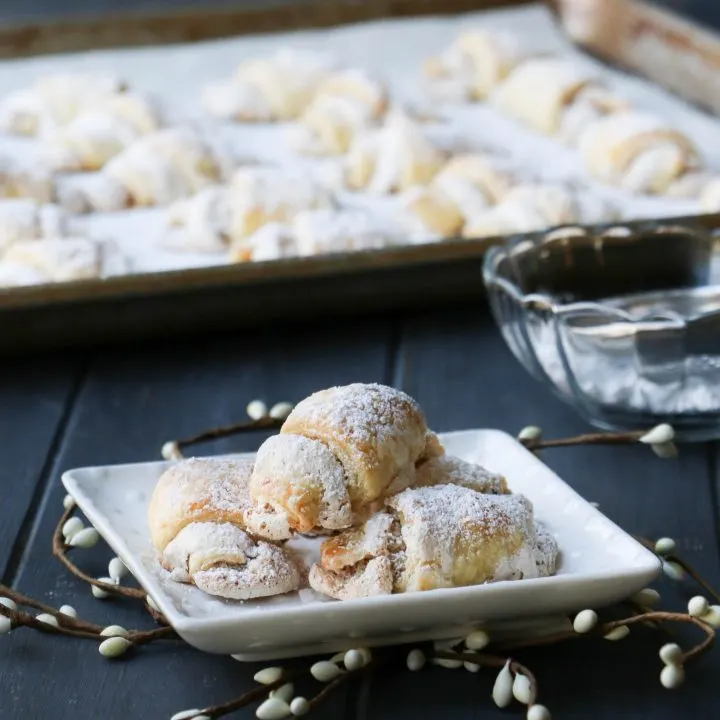
Baking the Butter Nut Horns
These cookies should be baked on a lightly greased cookie sheet, a silpat {aff. link} or a piece of parchment.{aff. link} I went with parchment.
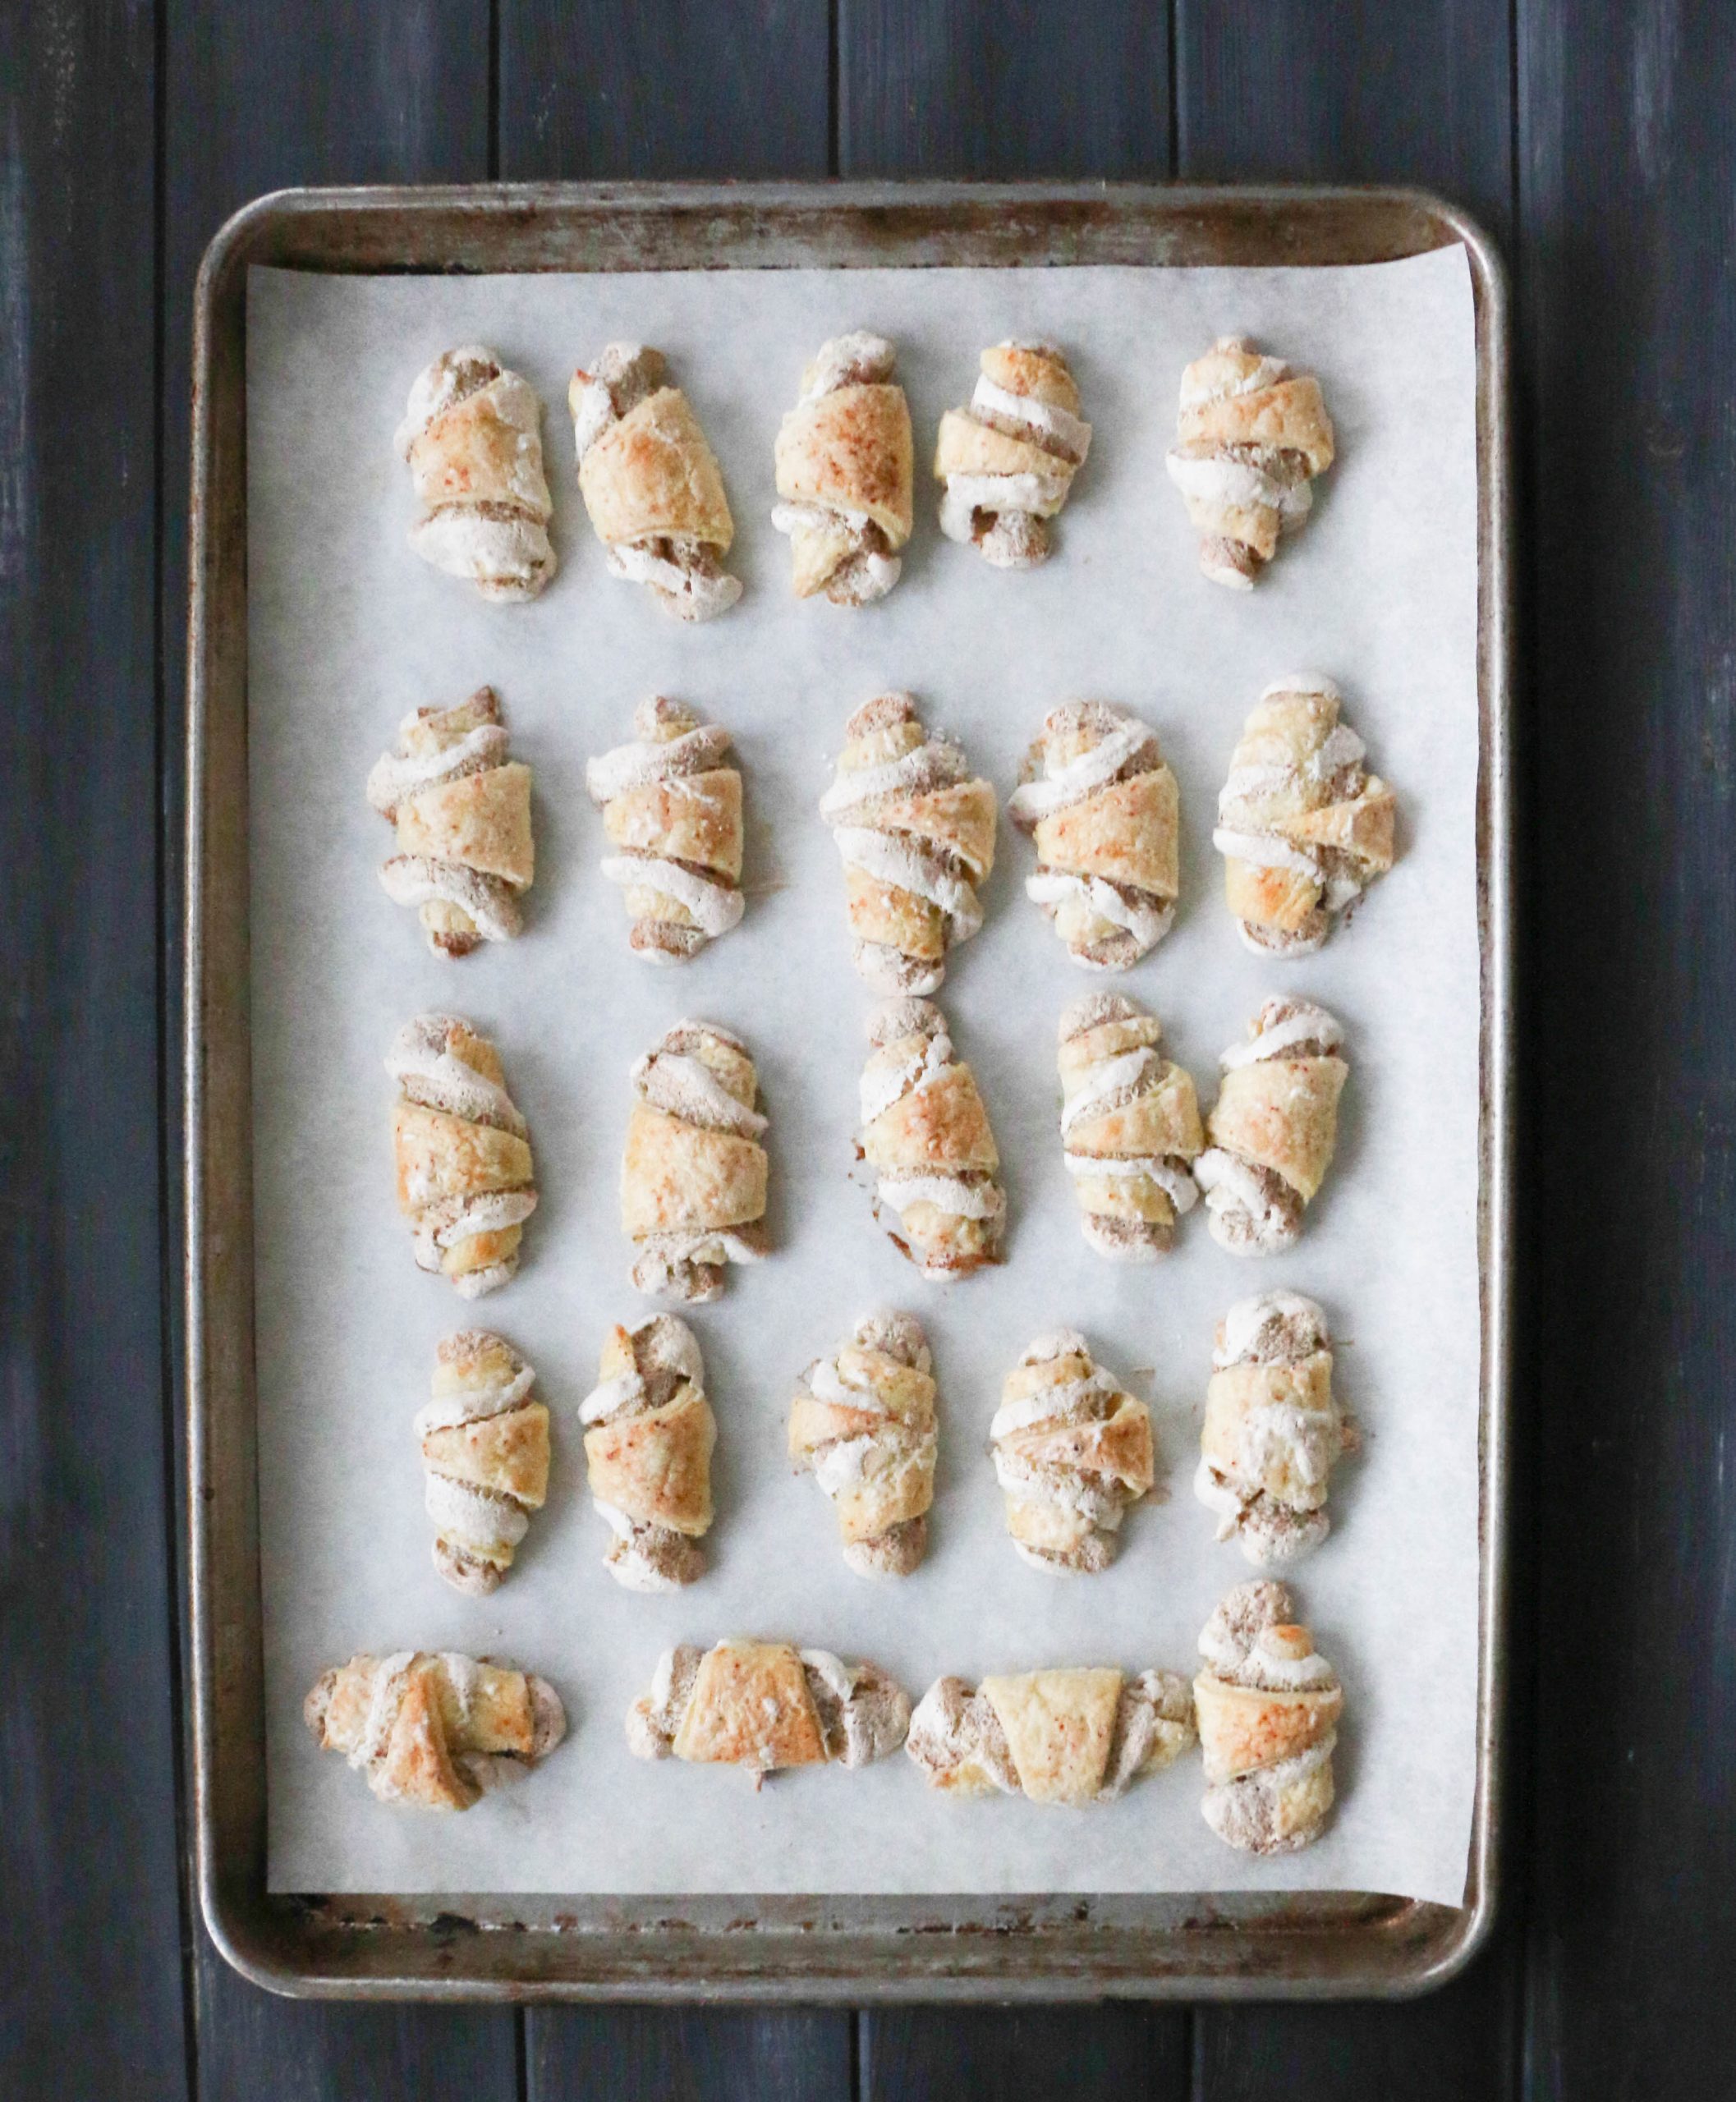
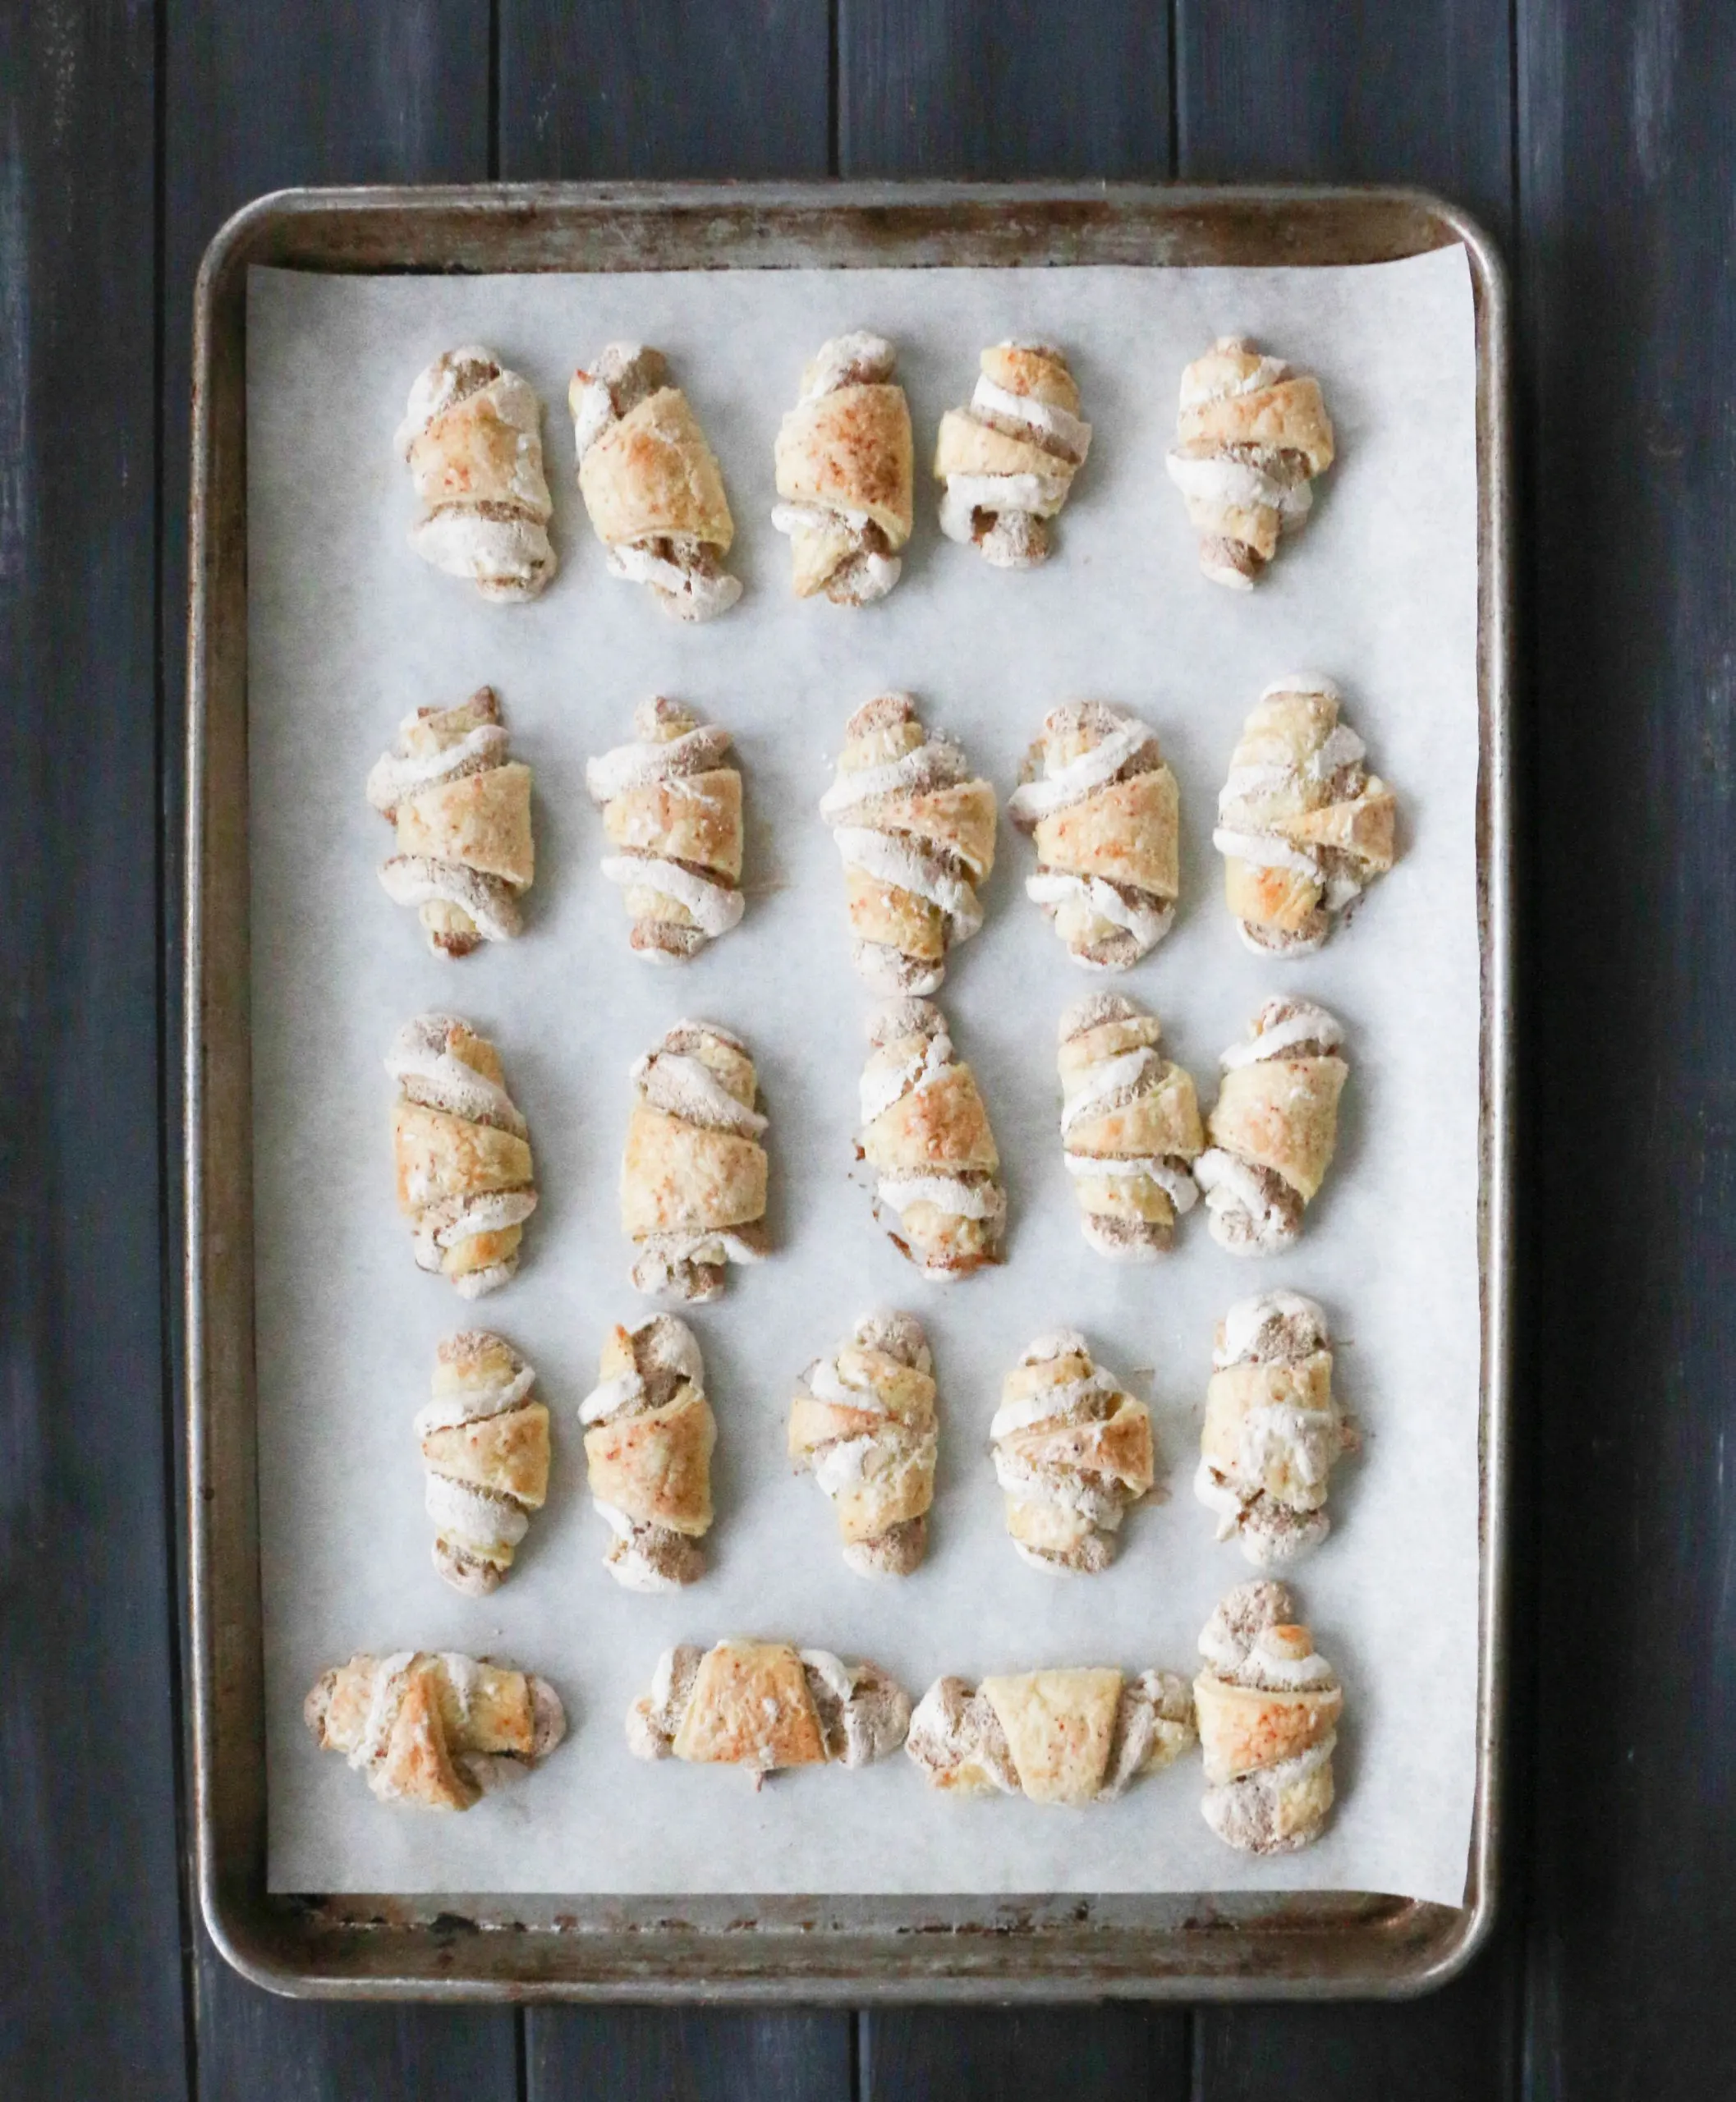
Bake them on the center rack of the oven for 10-12 minutes until the meringue has puffed and the tops of the cookies are a nice, light golden brown. Try not to under bake them.
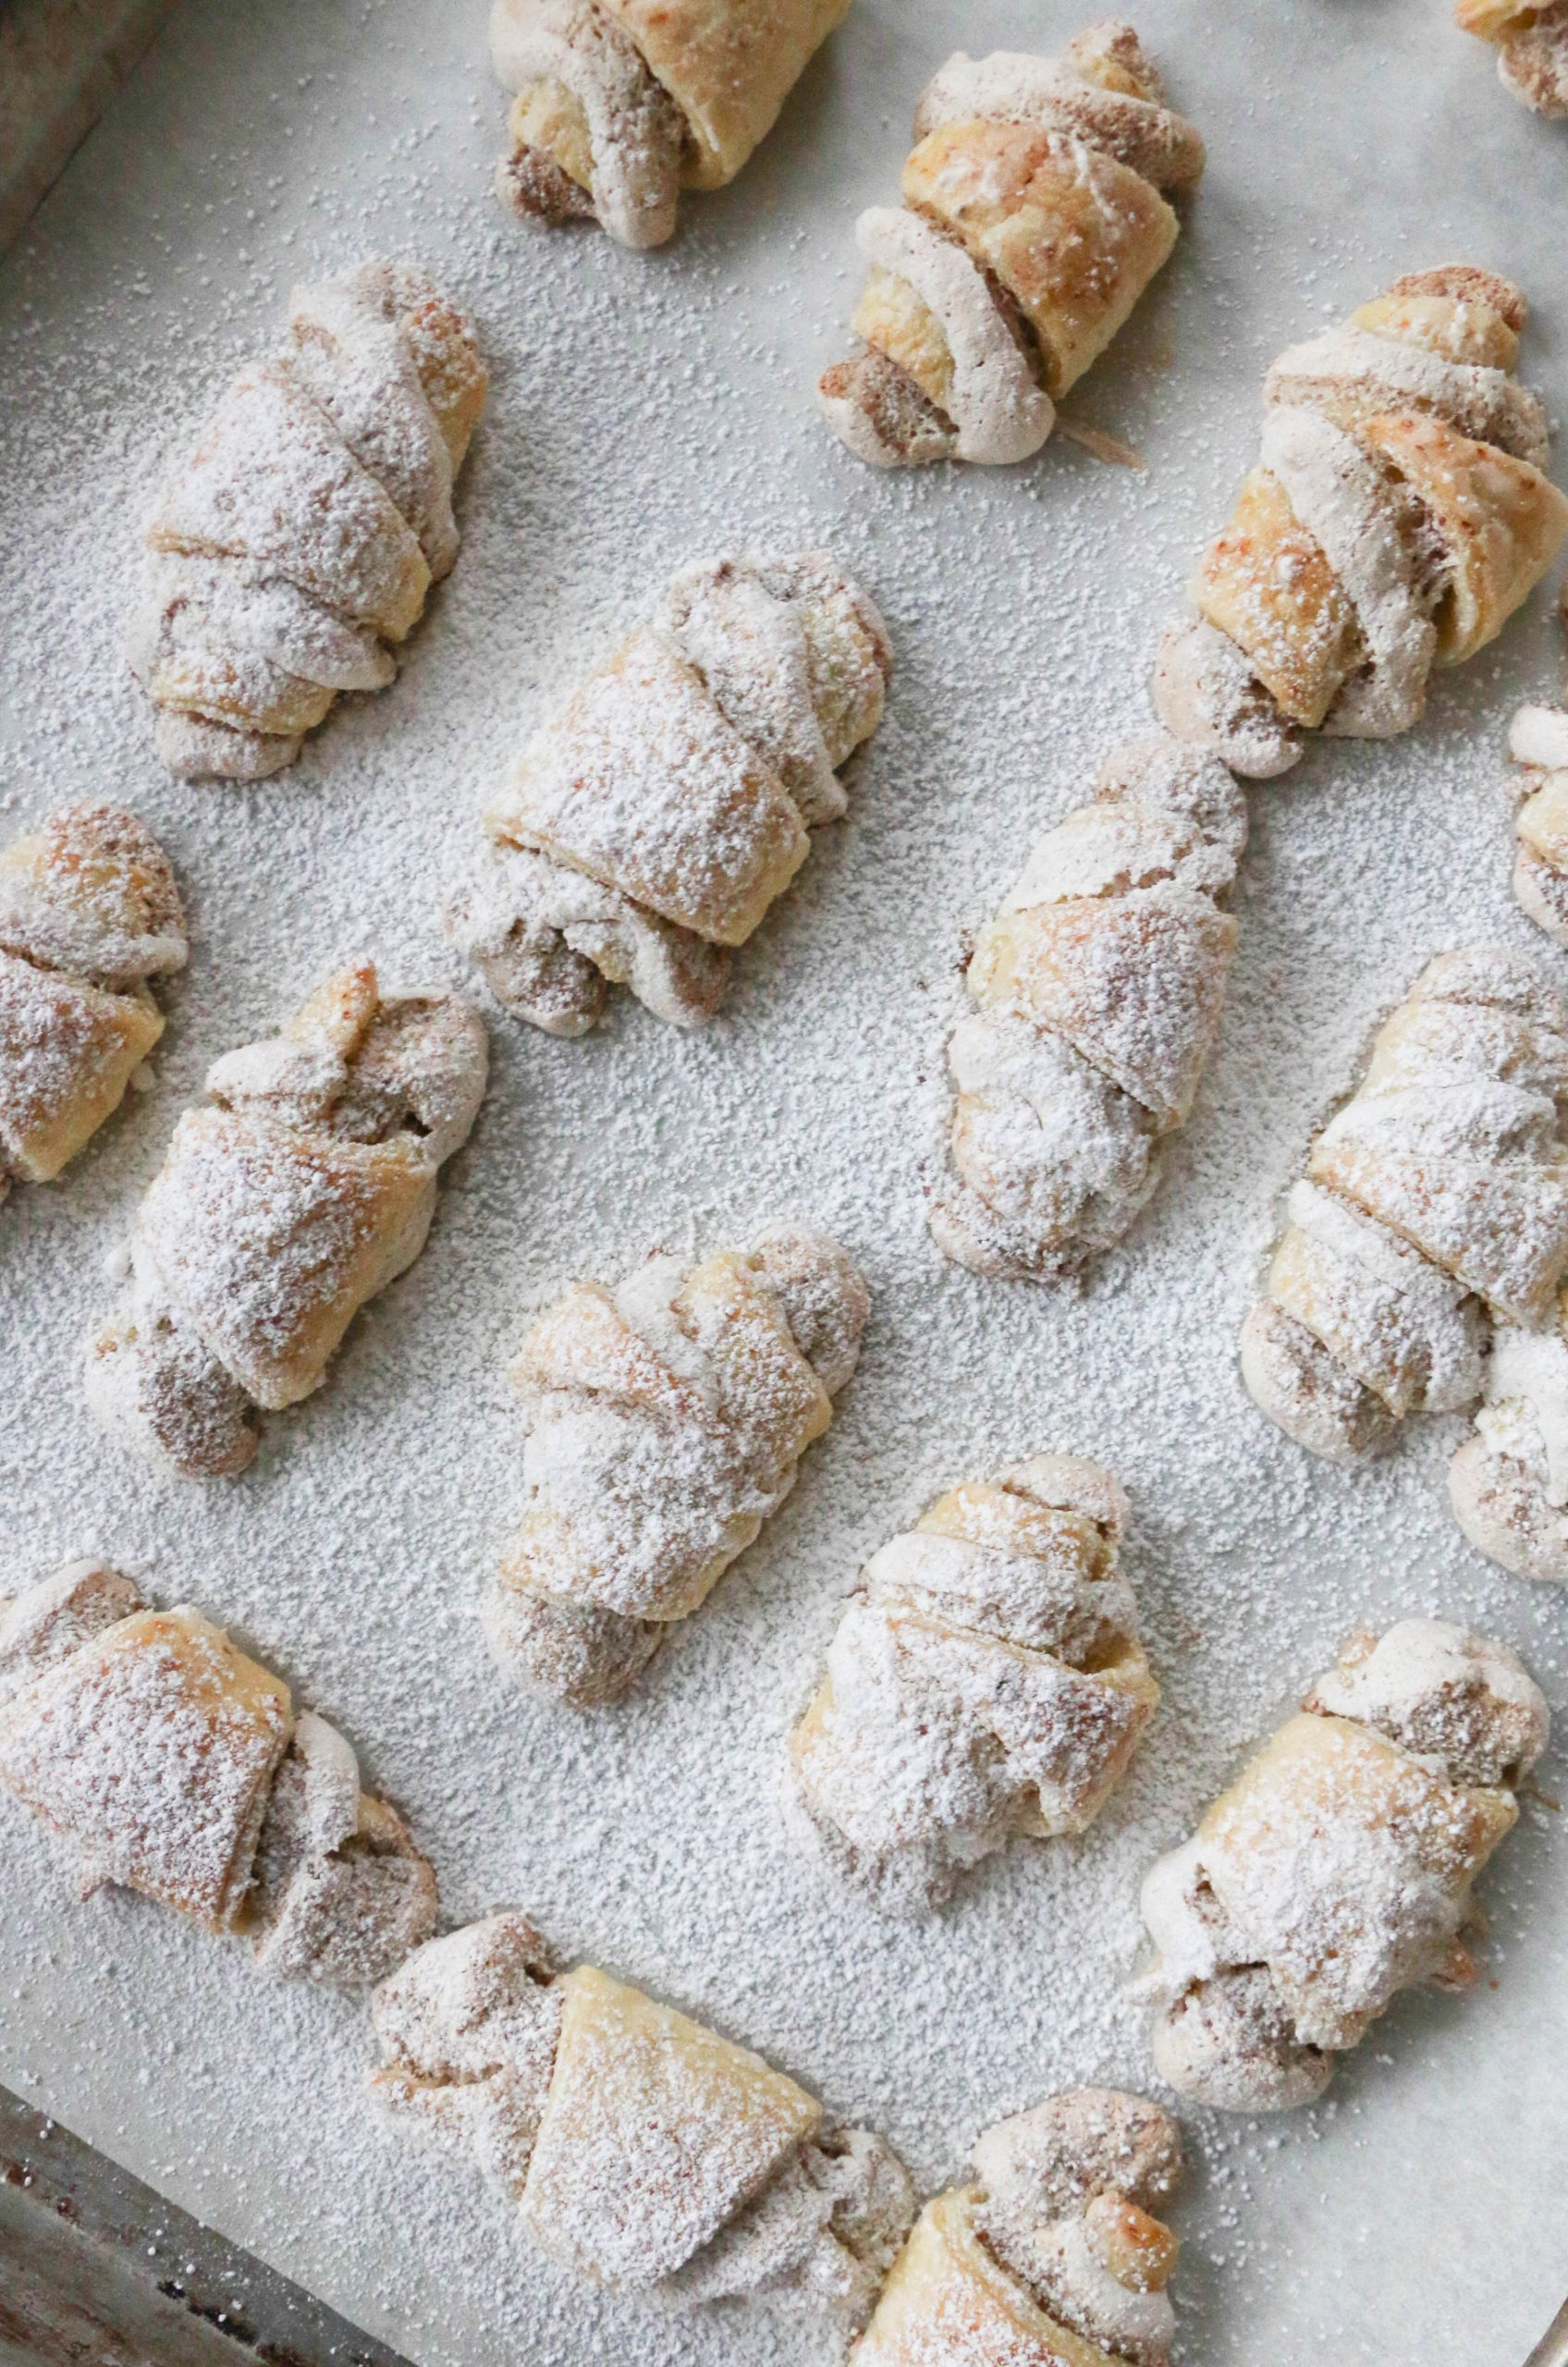

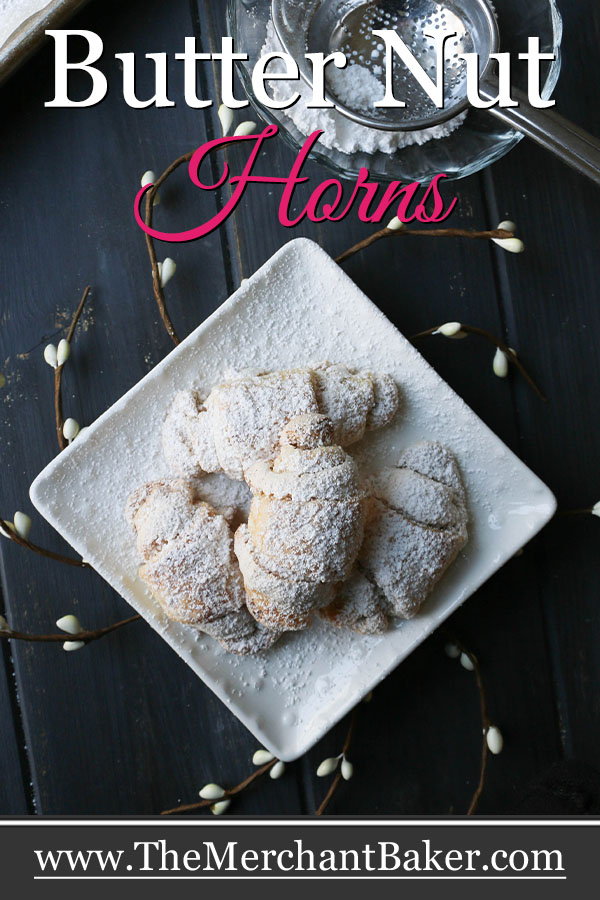
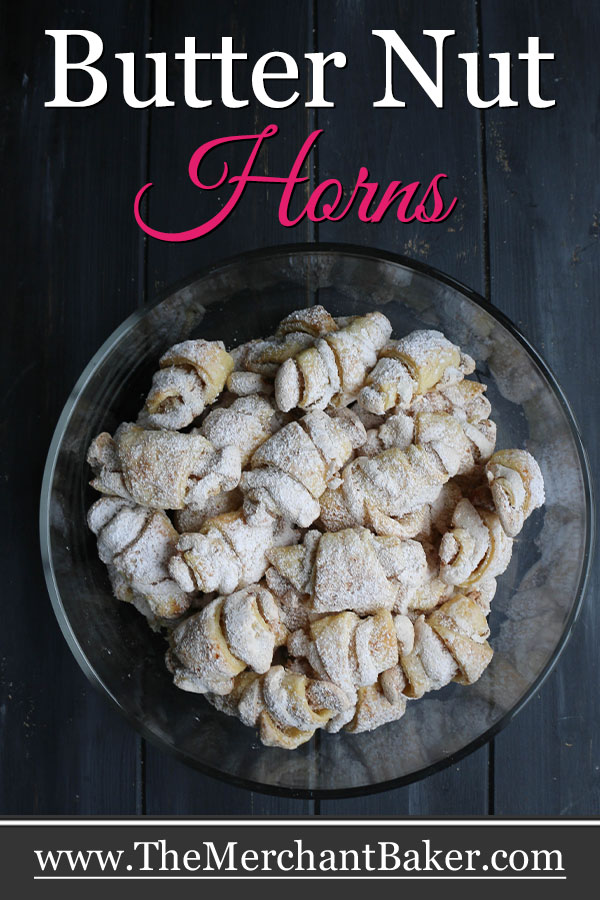
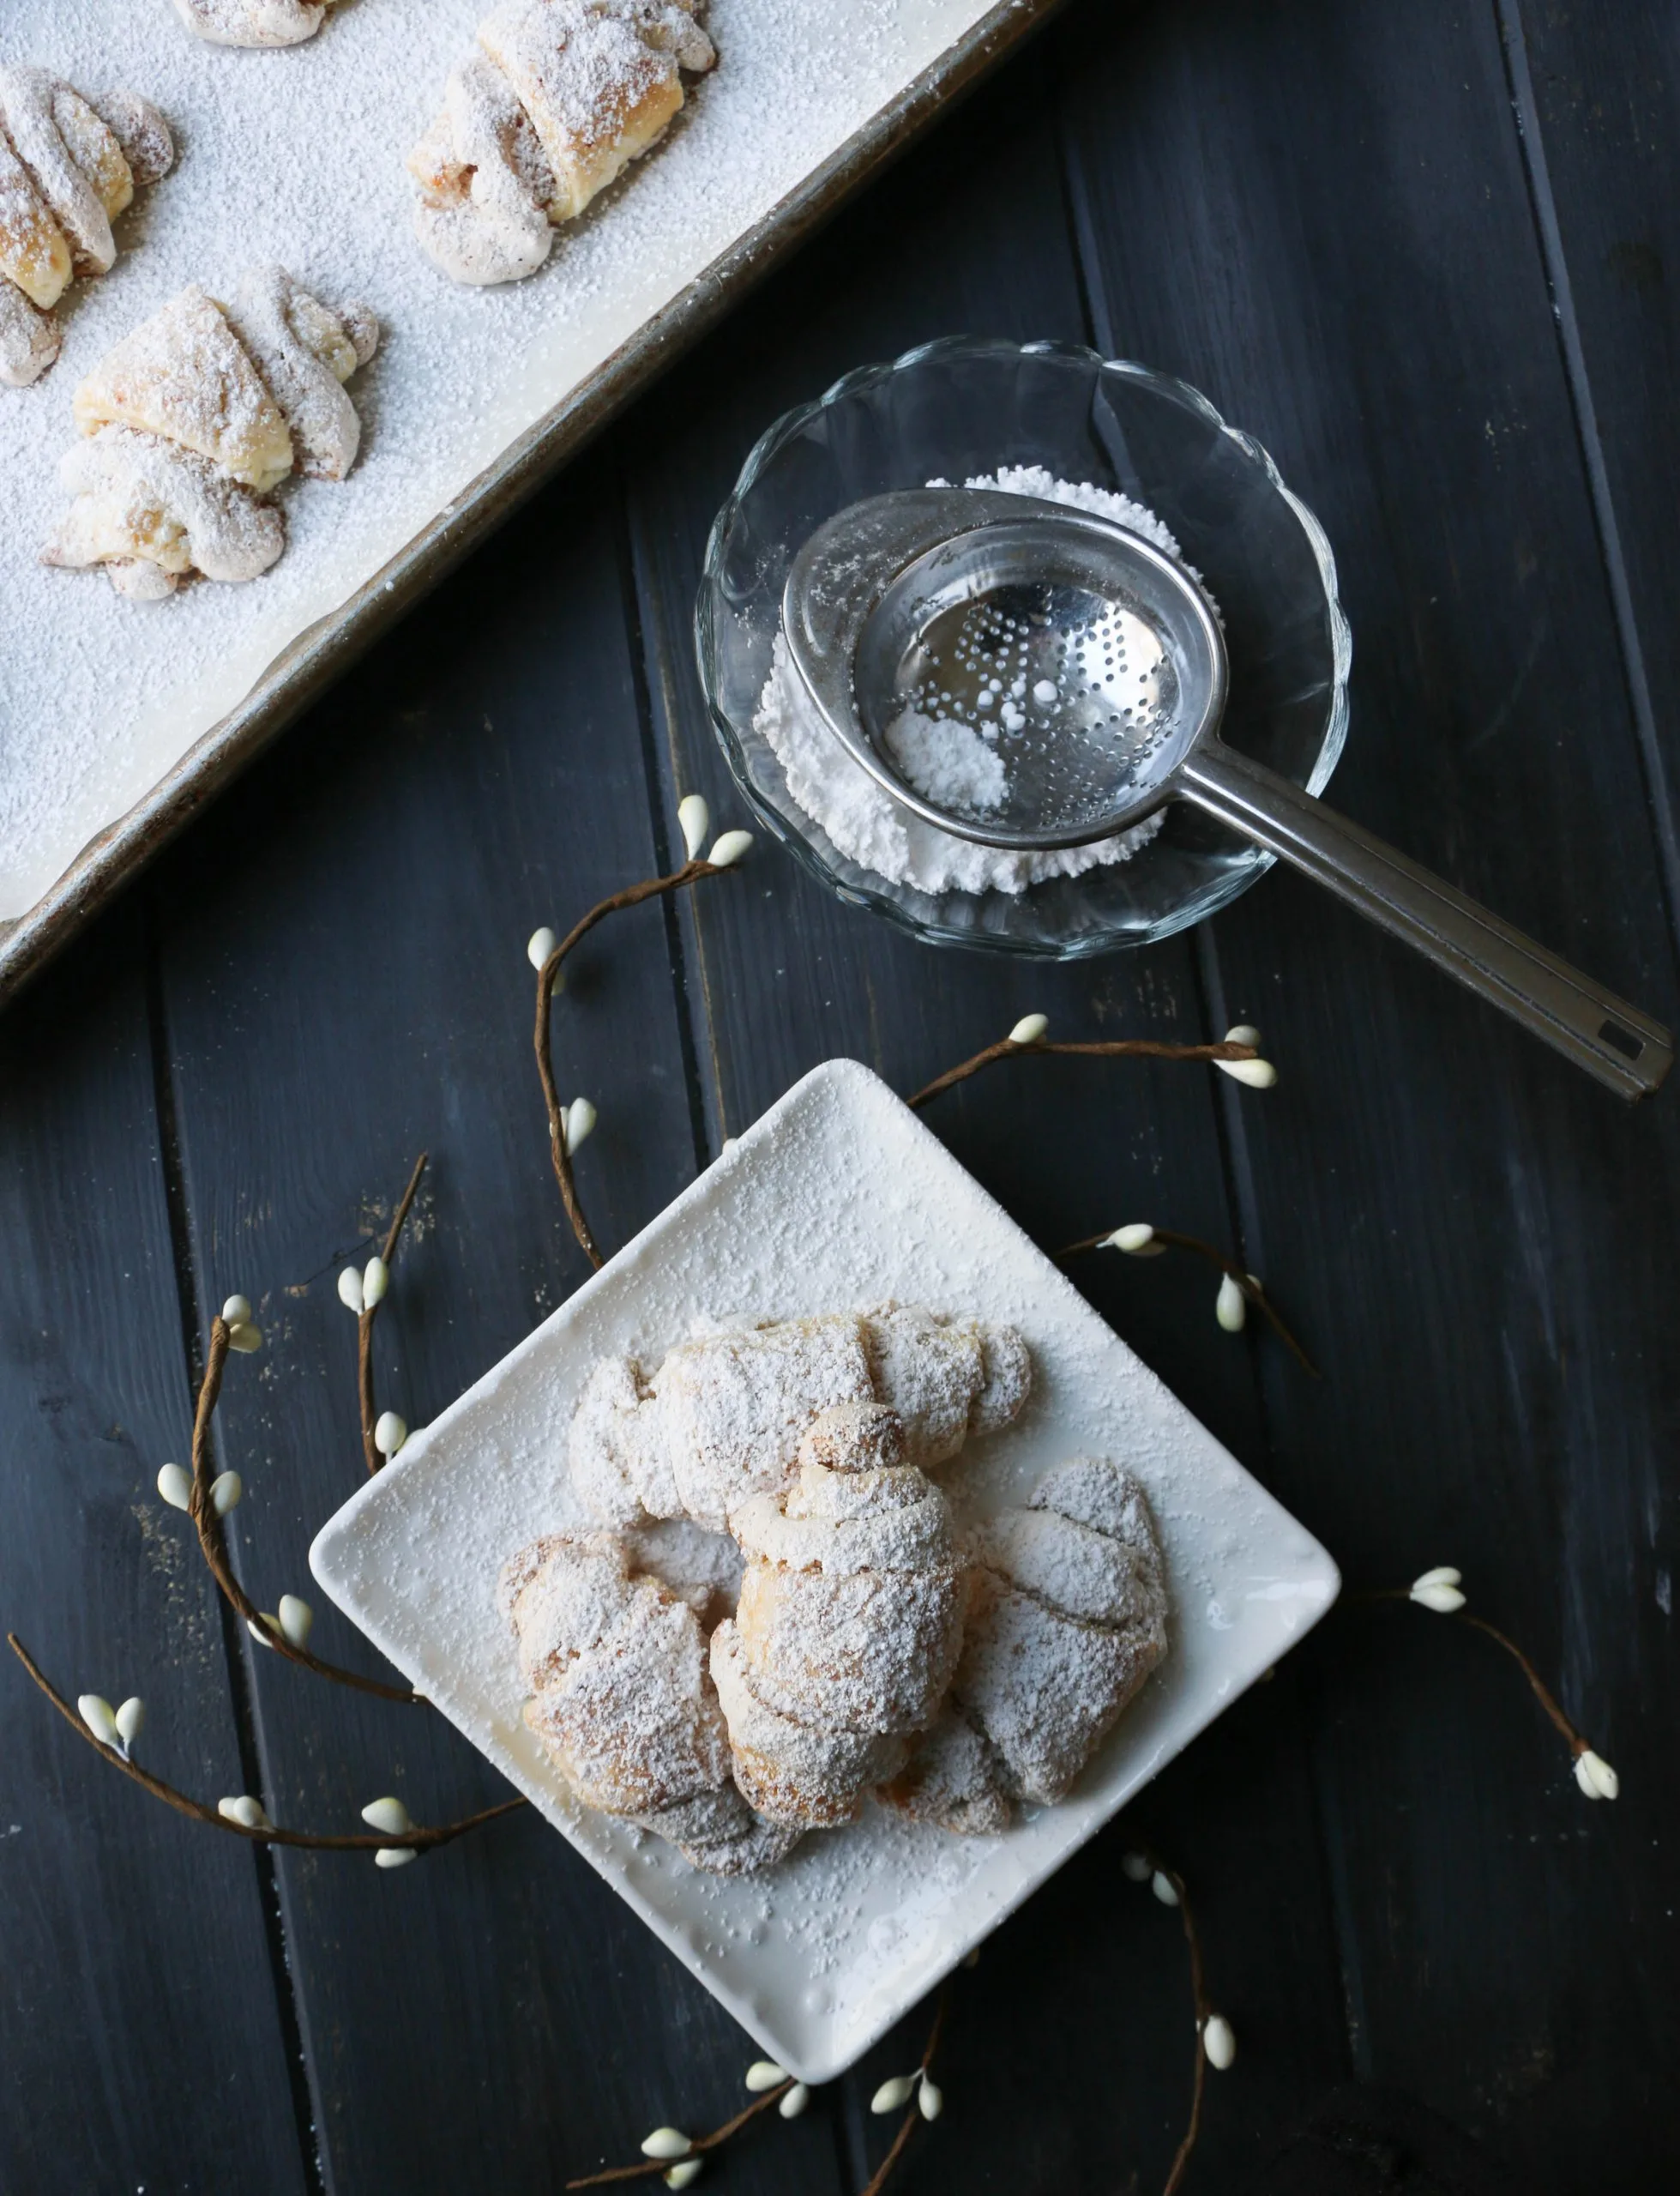
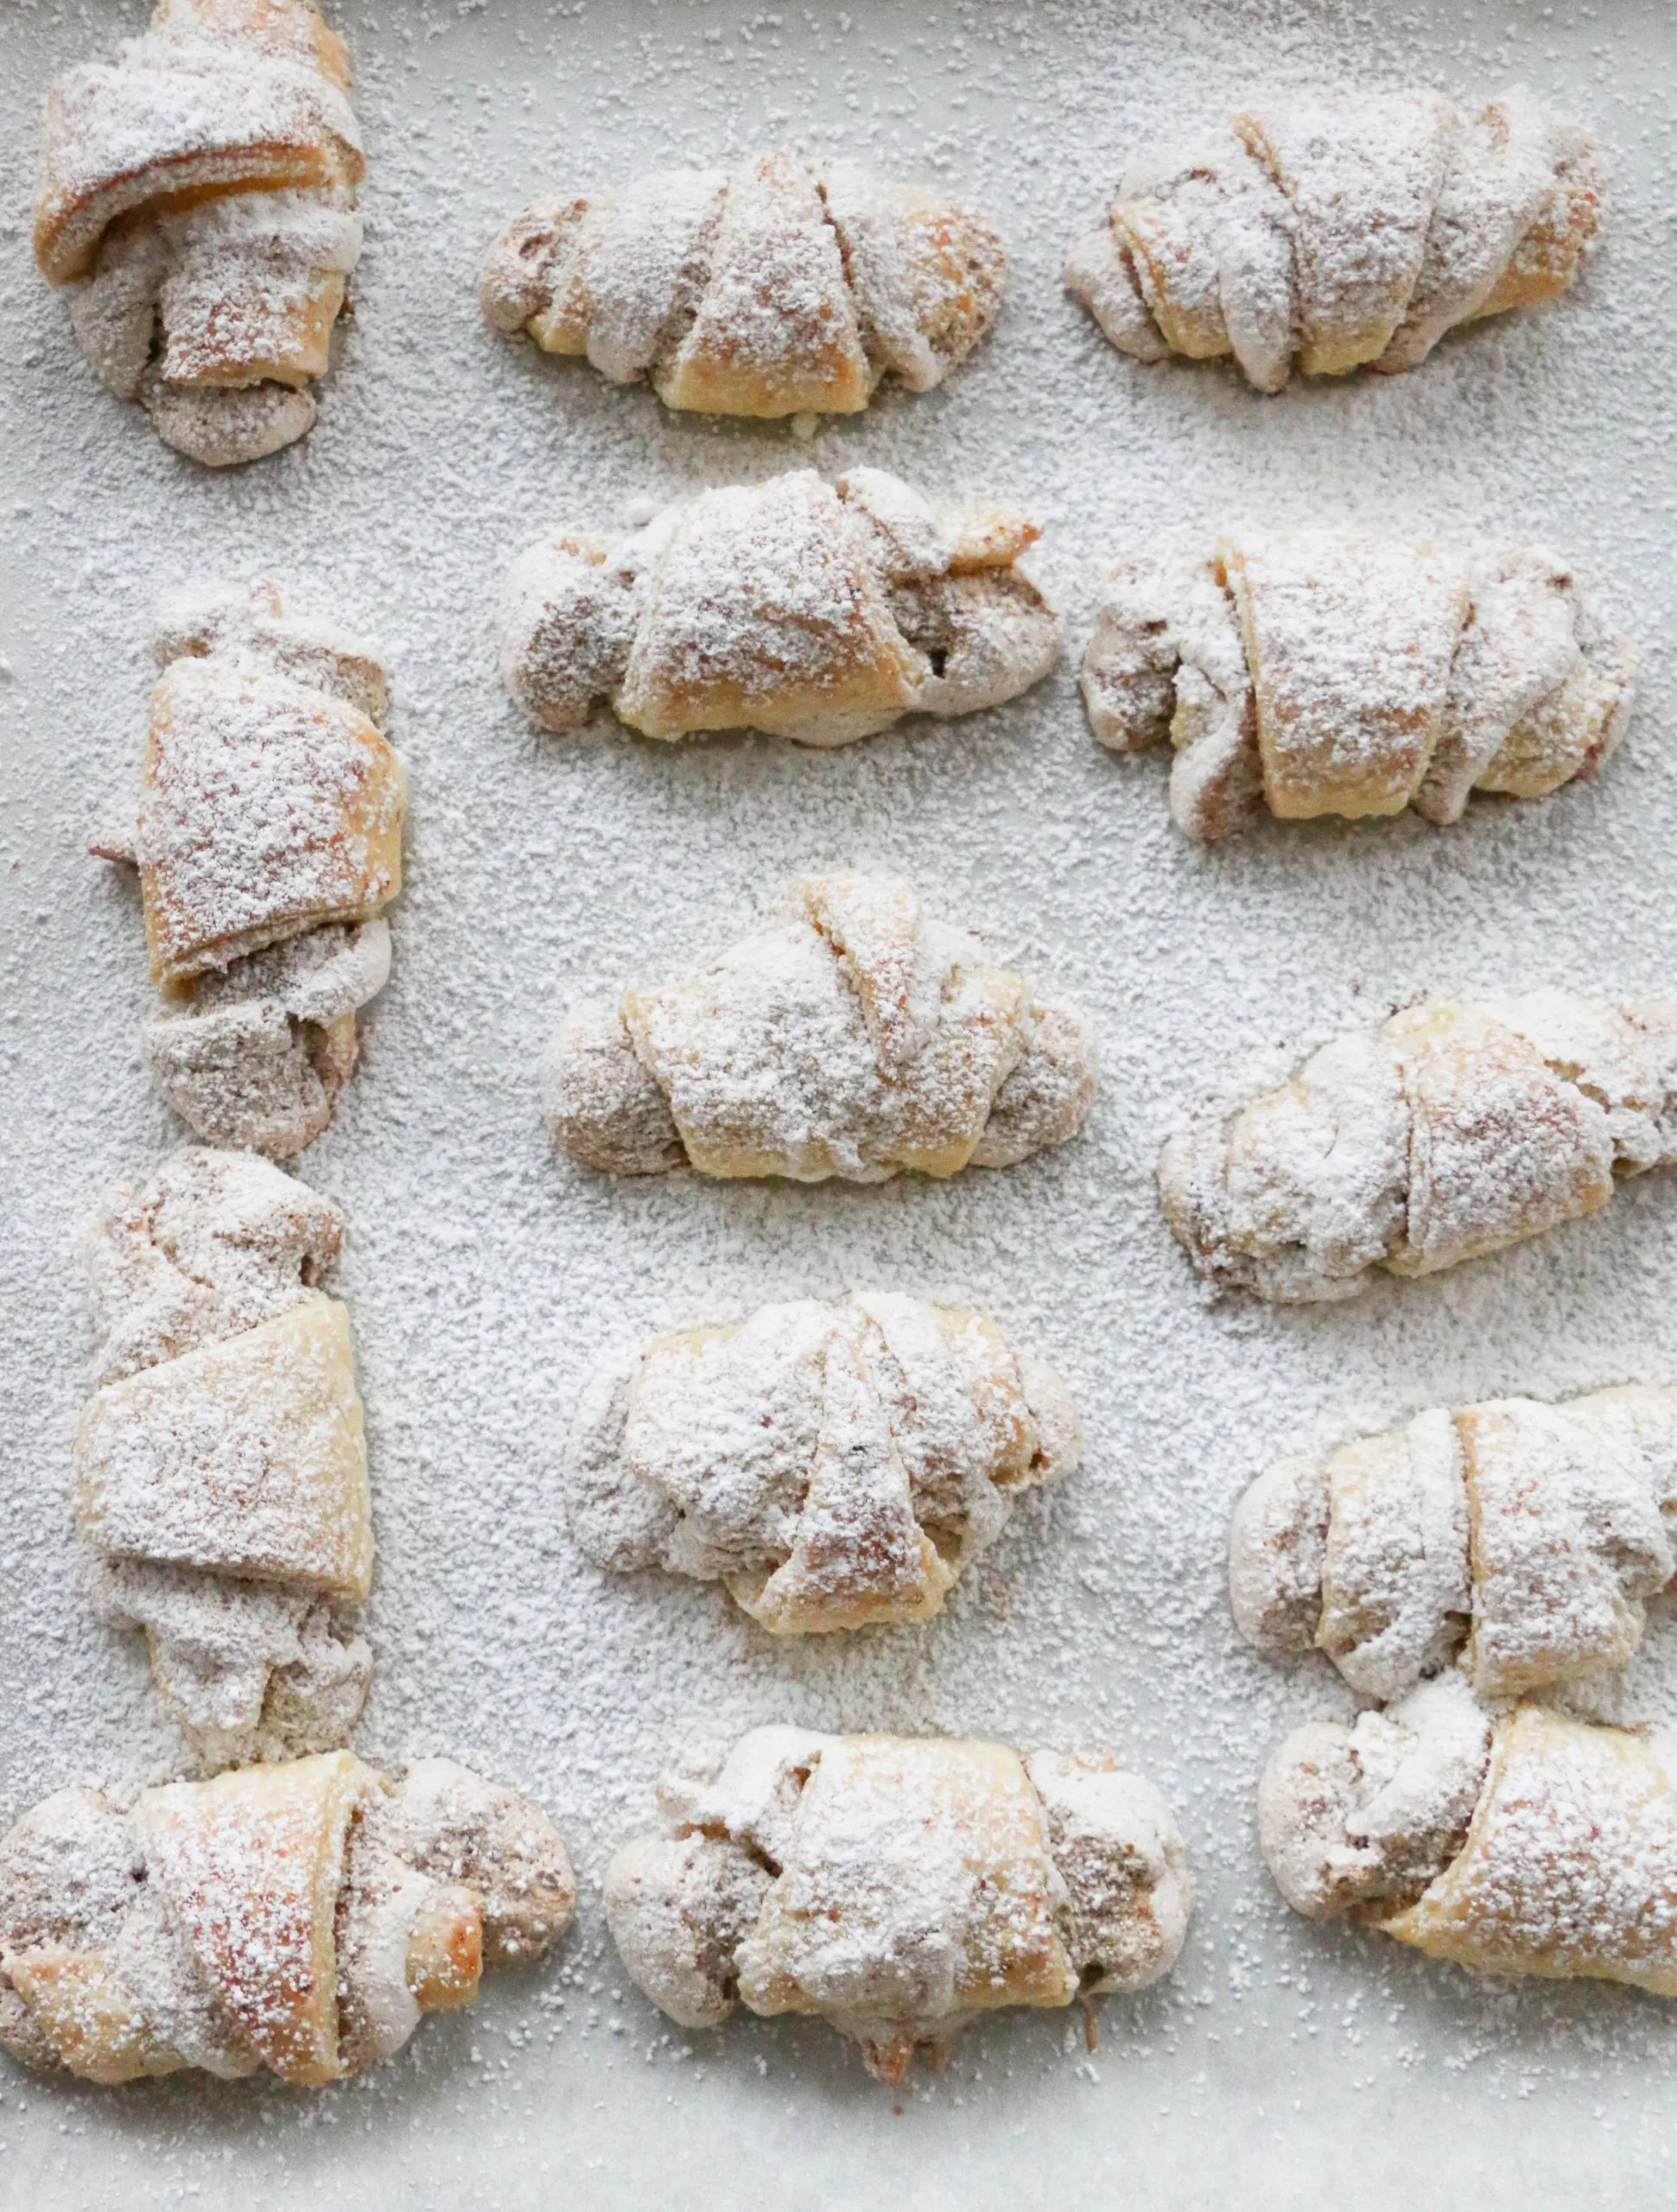
Then, you can let them cool on the sheet. Once cool, sprinkle with confectioner’s sugar. (You’ll see that any imperfections quickly get camouflaged by this step :)
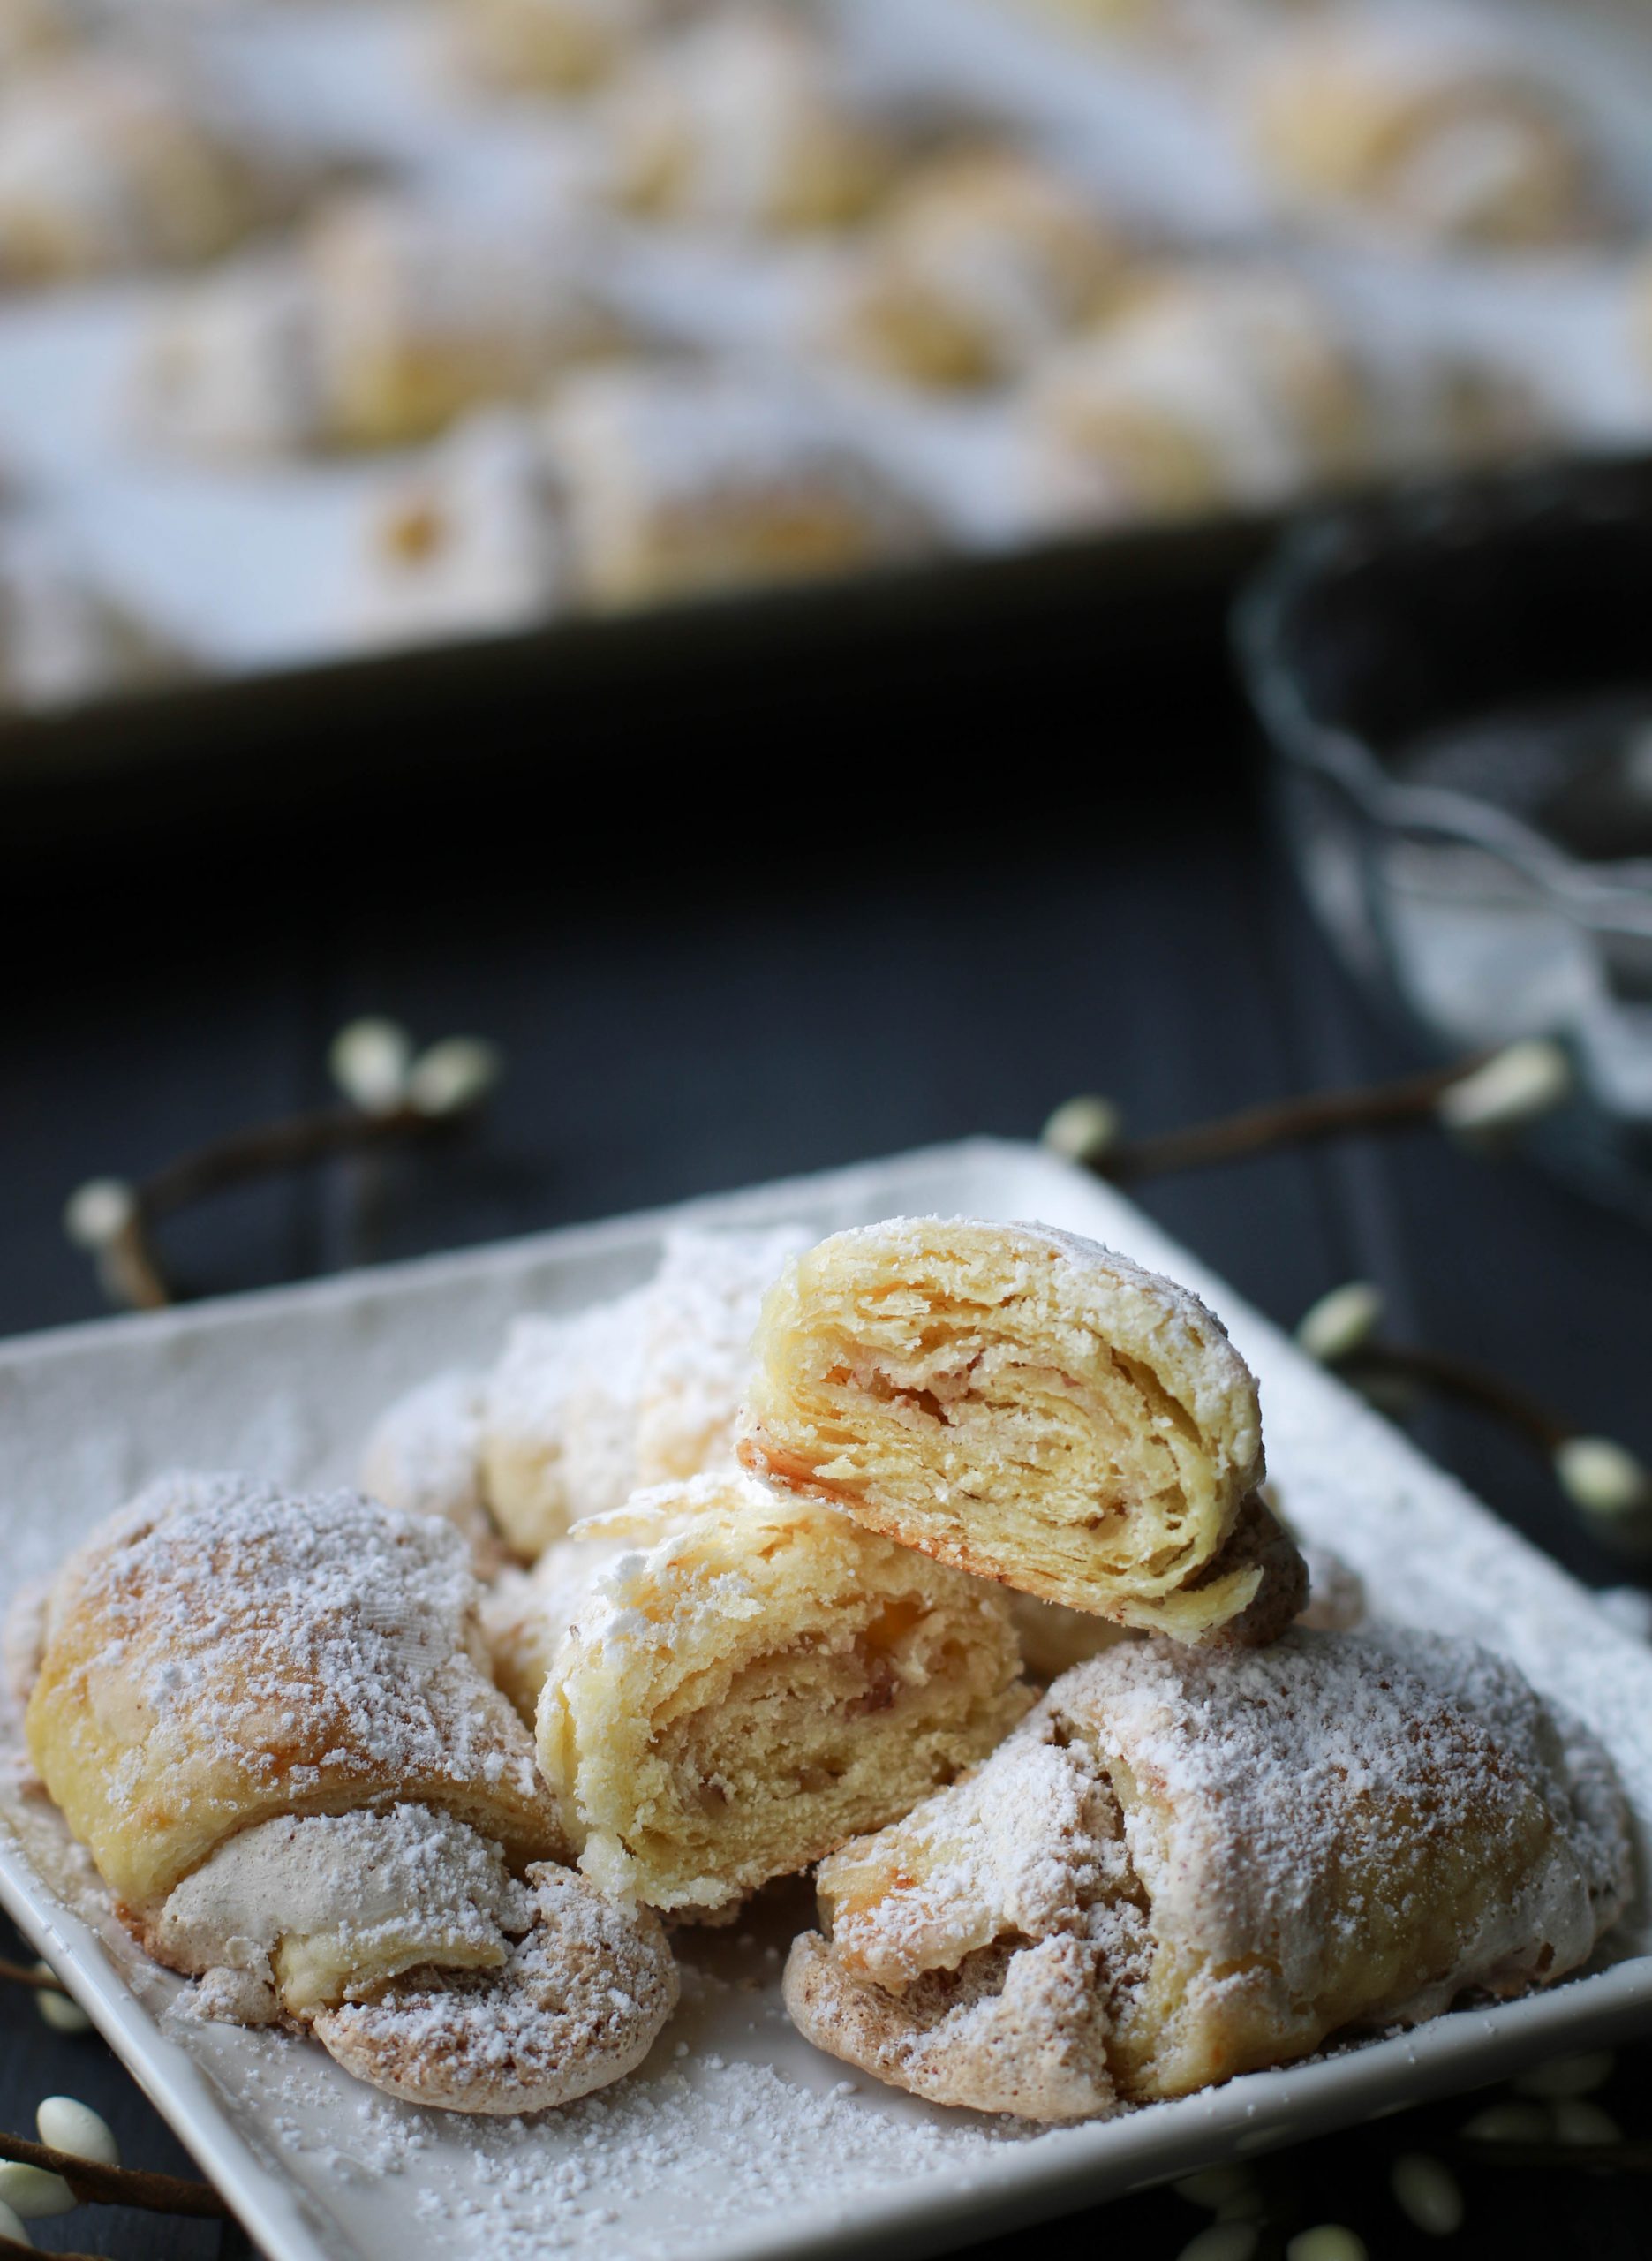
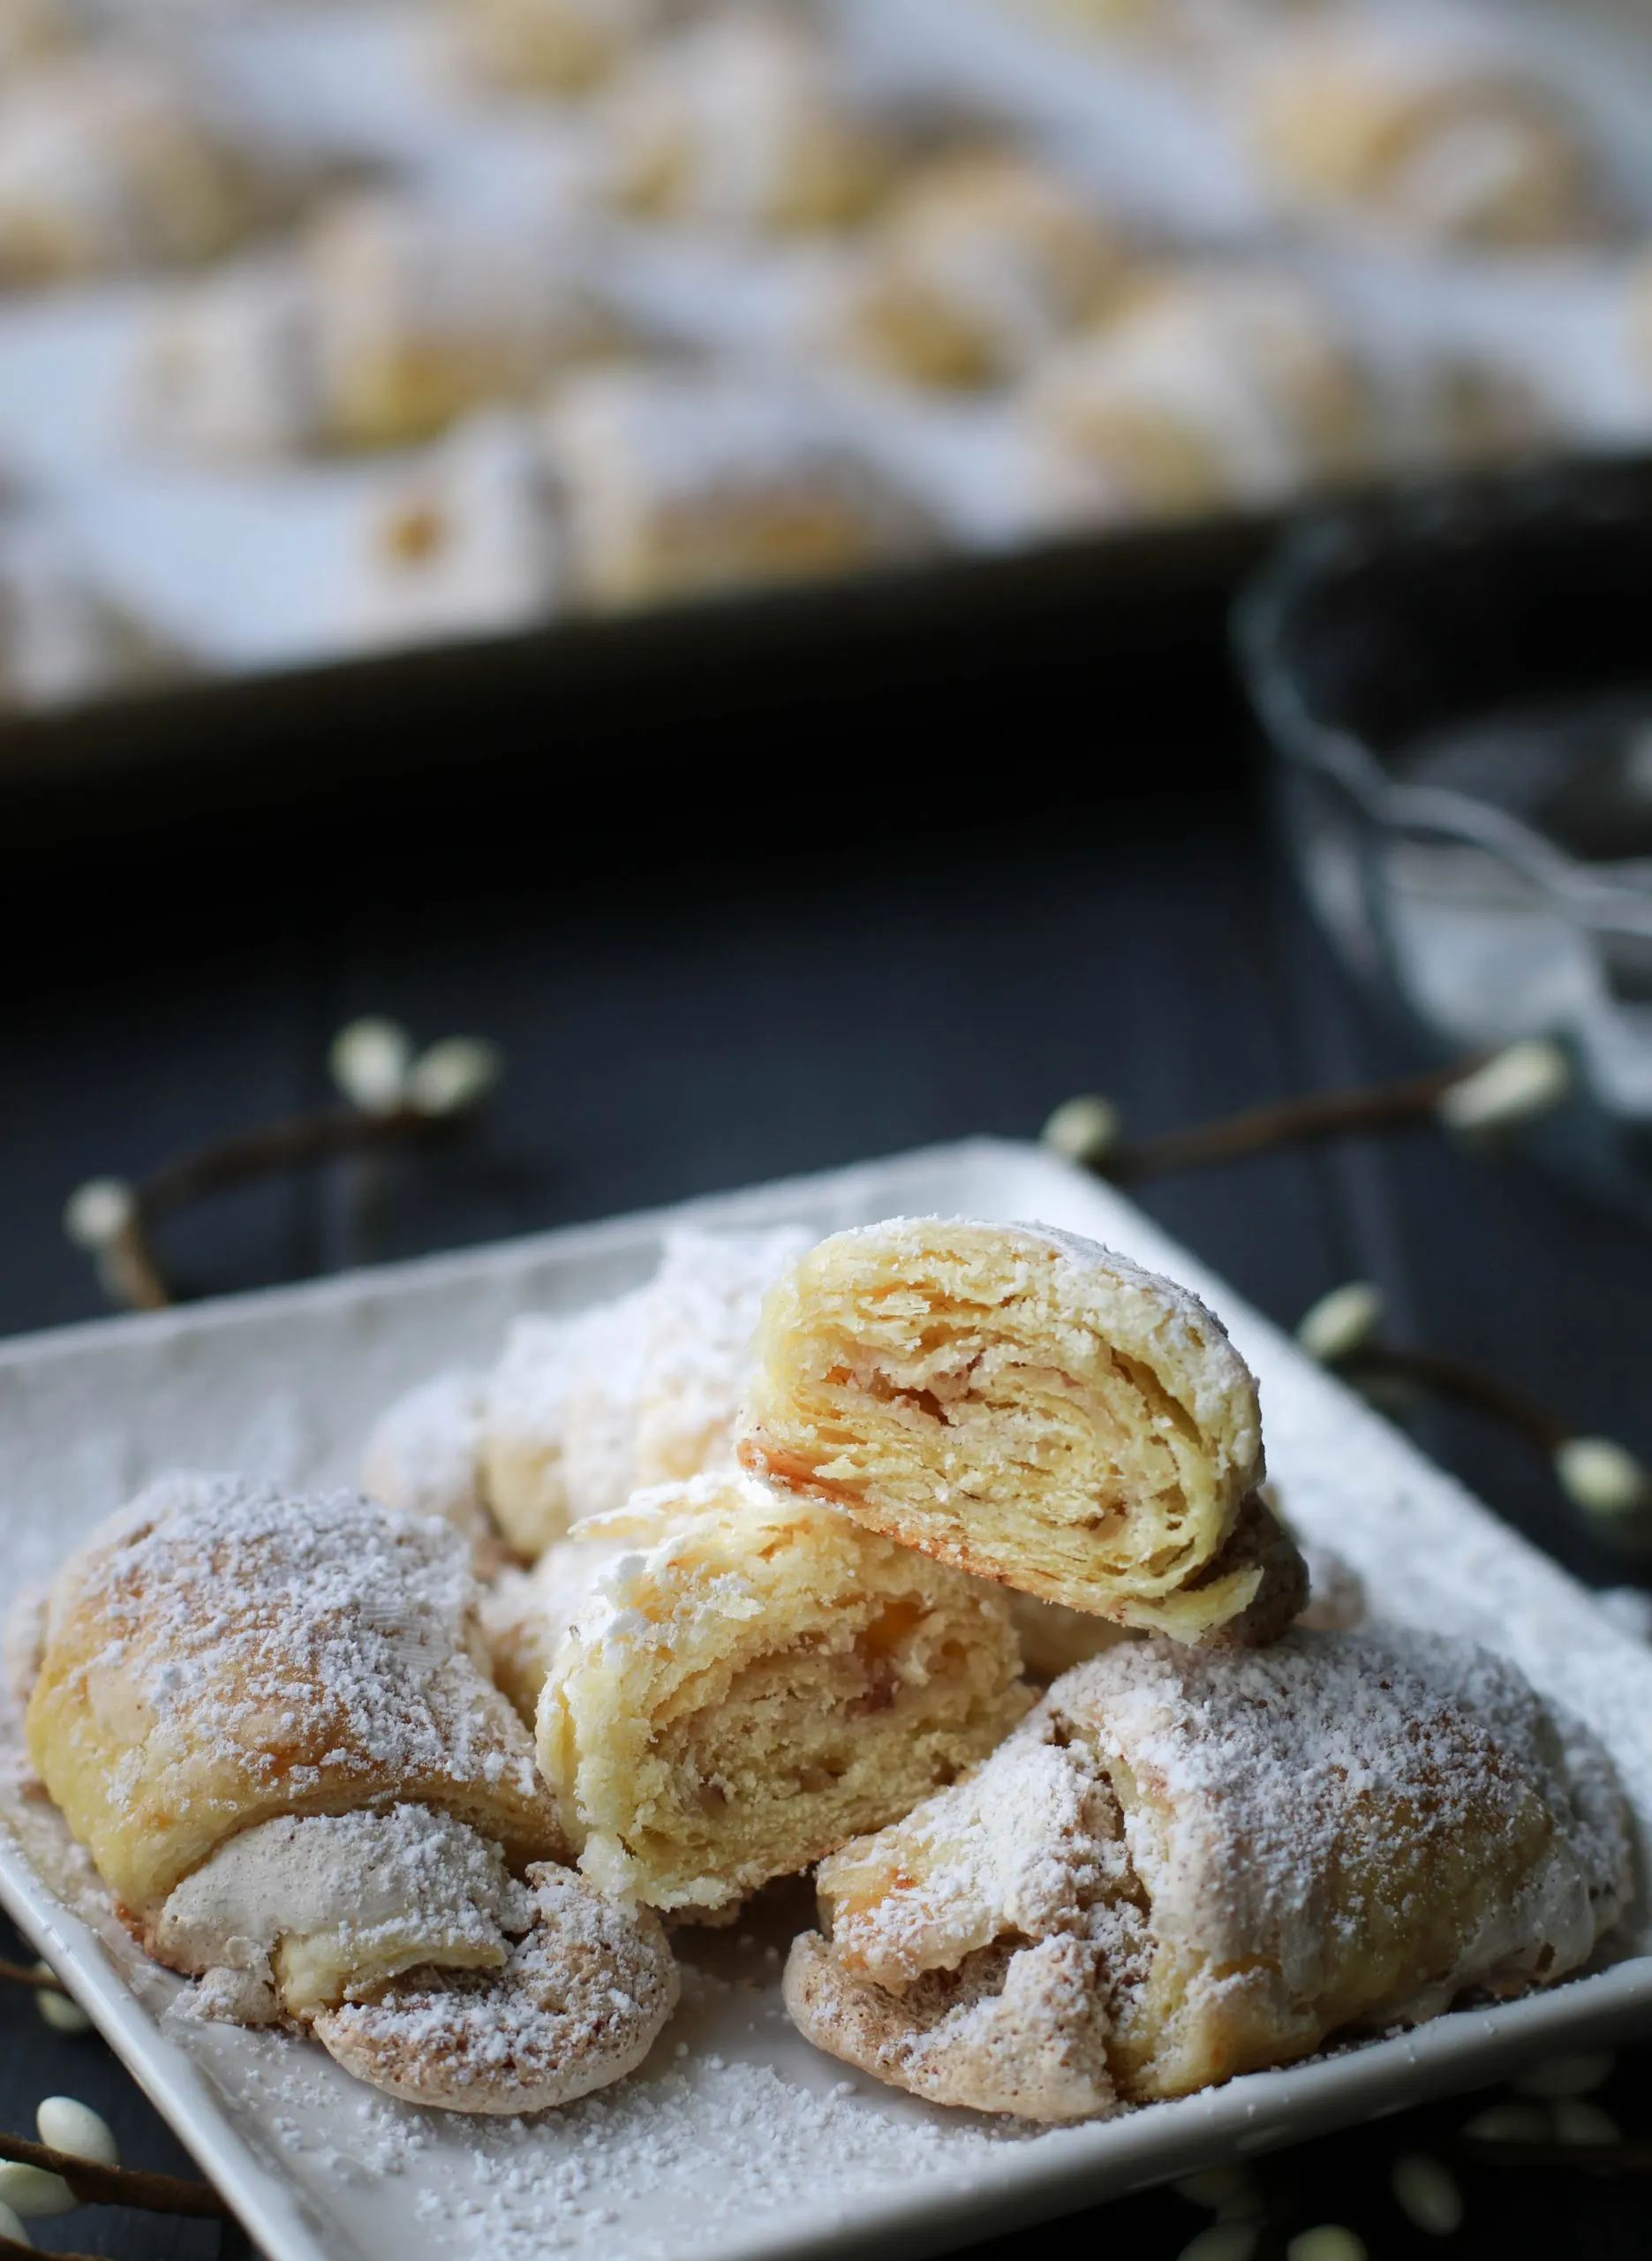
When you bite into one of these delicious cookies, the confectioner’s sugar topping will melt in your mouth, the meringue will be crispy and light and the pastry dough soft and a bit flaky.
They are special treat and bring back some warm memories of some very special ladies.

Butter Nut Horns
Ingredients
- 2 cups all purpose flour
- 1 teaspoon baking powder
- 1/4 teaspoon salt
- 1 1/8 teaspoons instant dry yeast (see notes for using active dry yeast)
- 1/2 cup salted butter (1 stick), cold and cut into small pieces
- 2 large egg yolks (save whites for filling)
- 2 Tablespoons water
- 1/4 cup full fat sour cream
- 1/2 teaspoon vanilla
For the filling:
- 2 large egg whites
- 1/2 cup sugar
- 1/2 cup finely ground walnuts or pecans
- 1/2 teaspoon almond extract
- confectioner's sugar for rolling and topping
Instructions
Make the dough:
- In a large mixing bowl, whisk flour, baking powder, salt and yeast. (see notes if using active yeast instead of instant yeast)
- Using a pastry cutter or two knives, cut the butter into the flour mixture until no pieces are larger than a pea. Set aside.
- In a small mixing bowl, whisk together the egg yolks, water, sour cream and vanilla.
- Make a well in the flour mixture and pour the egg yolk mixture into the center. Mix with a large, sturdy spoon until the dough comes together and wet ingredients are distributed. Dough will look shaggy.
- Use your hands to finish the mixing process insuring all dry bits in the bottom of the bowl have been incorporated and you can form a ball.
- Wrap ball in plastic wrap and refrigerate for 1 hour.
Make the meringue filling:
- In a stand mixer, using the whip attachment, whip egg whites until foamy and no longer transparent. Very gradually add the sugar while continuing to whip. Whip to stiff peaks. This may take from 7-10 minutes.
- Fold in nuts and almond extract.
- Preheat oven to 400 degrees F. Line 2 large sheet pans with parchment. Set aside.
Roll, cut and assemble cookies:
- Remove dough from refrigerator and divide into 4 pieces.
- Sprinkle confectioner's sugar on work surface and rolling pin. Roll one piece of dough into a 9" circle adding confectioner's sugar as necessary to prevent sticking. Cut into 12 equal "pie" slice wedges. Don't worry about imperfect edges. The wide end is simply going to be rolled up into the inside and won't be visible. (You can continue rolling and cutting all four sections of pastry before moving onto the filling step.)
- Take a quarter of the meringue mixture and spread it over the entire circle of cut dough.
- Lift the edge of one wedge and pull it away from the circle. Gently roll it from the wide end to the point, taking care not to squeeze all of the meringue out from the roll. Set it, with the point side down onto the prepared baking sheet.
- Repeat process with remaining wedges and remaining pieces of dough, placing cookies about 1 1/2" apart on the baking sheet.
Bake and Serve:
- Bake for 10-12 minutes or until cookies are puffy and light golden brown on top.
- When cool, dust with confectioner's sugar and serve. Store in an airtight container for up to 3 days.
Notes
*If you use unsalted butter, increase salt to 1/2 teaspoon.
*If you use active dry yeast instead of instant yeast, it will be mixed with the wet ingredients instead of the dry. In a small bowl, dissolve yeast in the 2 Tablespoons of water, but the water should be warm (110 degrees.) Add the yolks, sour cream and vanilla and blend until well combined. This mixture can then be added to the flour mixture as in step 4 and you can proceed as planned.
*A half cup of nut pieces will grind down to about half cup of finely ground nuts. Start with a half cup and then grind more if you need it. Nuts should be finely ground, but take care not to process too long or you'll end up with a nut butter instead of ground nuts.
*Once you separate your eggs, cover the bowl with the whites in it with plastic wrap and keep it in the refrigerator to stay cool while you're waiting for the dough to chill.
*Make sure the bowl you use to whip the egg whites is clean and free from any fats. For this reason, it's best to use a glass or stainless steel bowl as plastic is at greater risk to retain fats, even after washing.
*I like to roll all four sections of dough into circles first before starting the filling step. I place sheets of plastic wrap in between to keep the pastry circles separated from each other.
*To cut 12 equal wedges, start by cutting the circle of dough into 4 sections. Then cut each of those section into thirds. It doesn't have to be perfect.
*Cookies are best fresh, but I have successfully frozen them in an airtight container, separated by wax paper for up to a month.
Cyndi B
Friday 4th of December 2020
This looks like a great recipe! I will try this tomorrow during our Noreaster that is projected here. Stay safe, and thanks for a new. Recipe to try!
Ramona
Friday 4th of December 2020
Hey, Cyndi! We're waiting for the rain to arrive later today. Remember that a wet day might not be best for whipping up meringue, though I don't have enough comparison in my history of making meringue to give you further advice. It's just more likely to absorb all that extra moisture in the air. Whenever you make them, I do hope you enjoy them!