I thought you might like some pie, but packaged a little differently.

But first, can we talk about this super cute pumpkin? (No, the pie isn’t in the pumpkin, although that’s a fun idea!) I’ve been crazy over this little pumpkin ever since I picked it (and it’s brother :) up at a fall festival a few weeks ago. I love the little yellow speckles and the long rebel stems that have a mind of their own.
You’ll see them used as props in my recent pumpkin posts, One Bowl Fudgy Pumpkin Brownies and Pumpkin Ricotta Bundt Cake. (I would have used them in Pumpkin Biscuit Sticky Buns too, had I had them in my hot little hands at the time.)
I thought I would give one of them center stage now as I close out the pumpkin madness that has taken over the blog for the past few weeks.
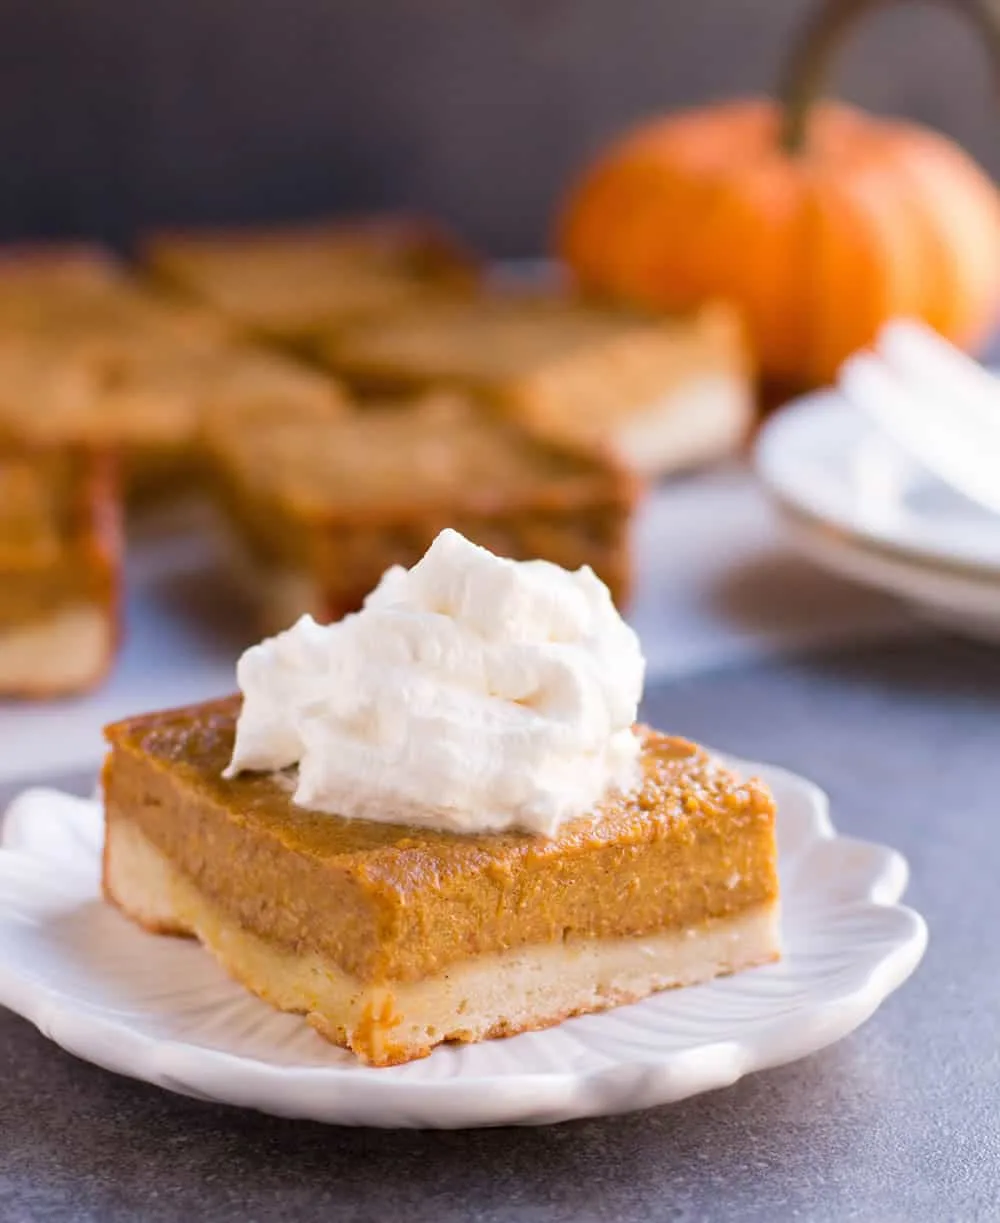
I’ve been obsessed with posting a pumpkin pie for over a year now. I love, love, love pumpkin pie and could eat it year ’round, along with my pumpkin pie lovin’ family.
I originally wanted to post a Pumpkin Slab Pie because, well, you know I have an undying love for all things slab pie like this Apricot Cherry Slab Pie or Lemon Lime Cream Slab Pie.
Slab pies are PER-FECT for a crowd. But I didn’t have a “go to” filling and I wasn’t sure about a crust. I had done a ton of research but never got down to developing and testing recipes.
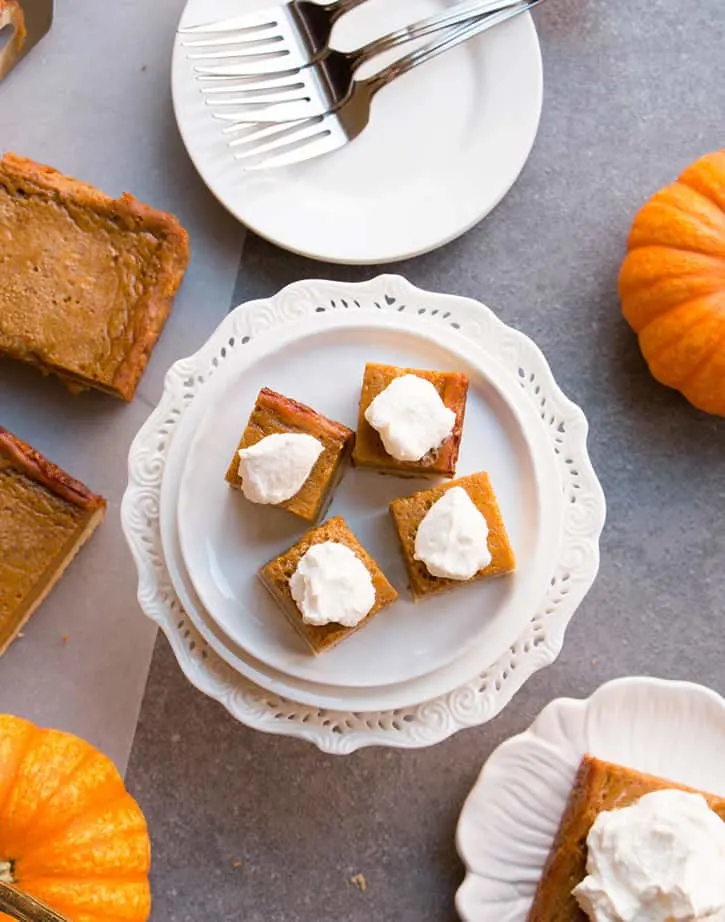
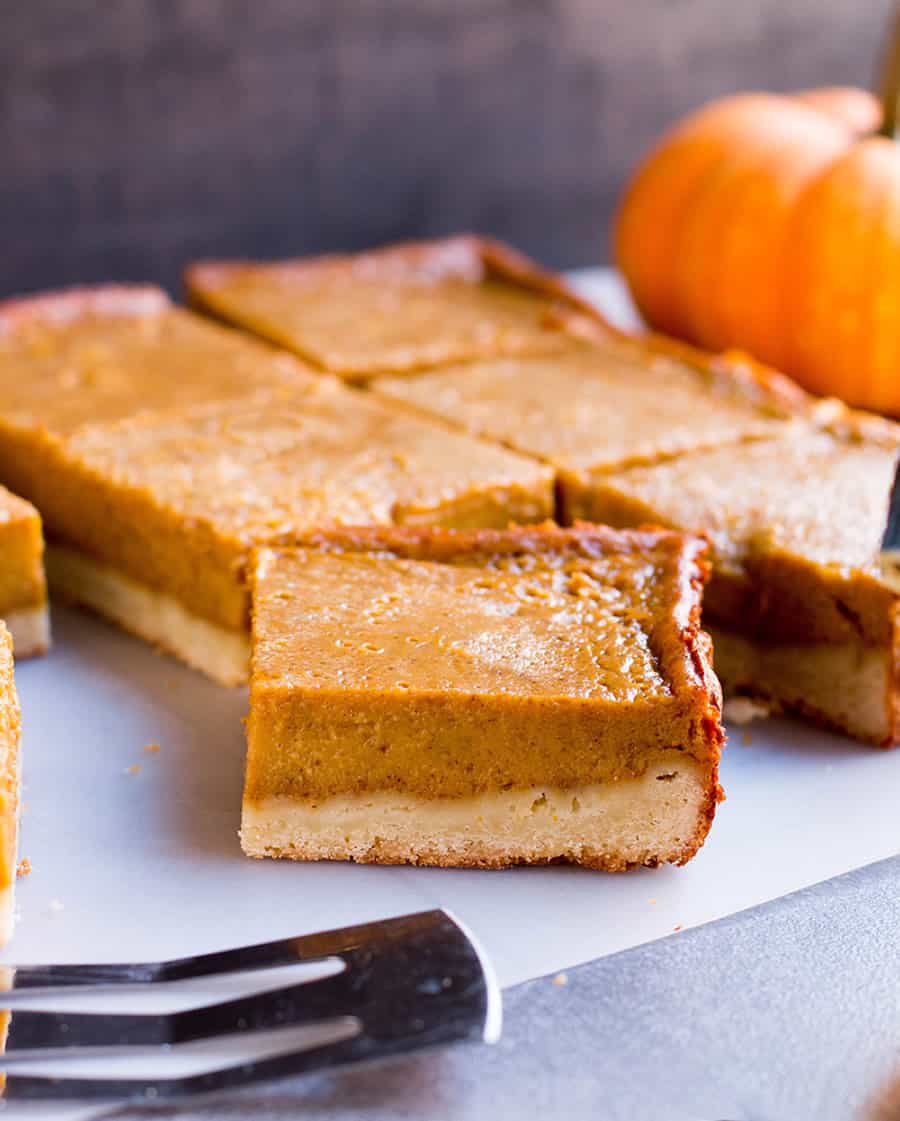
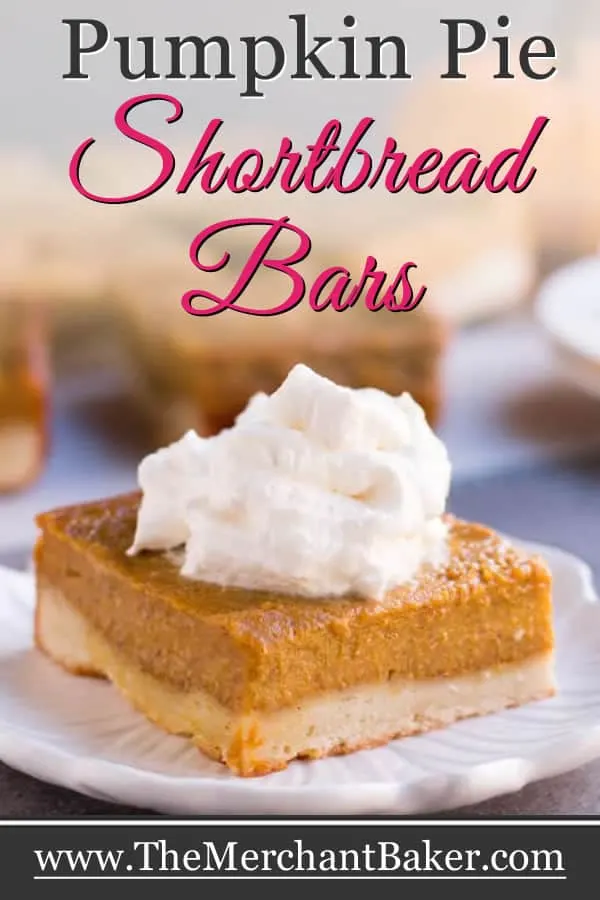
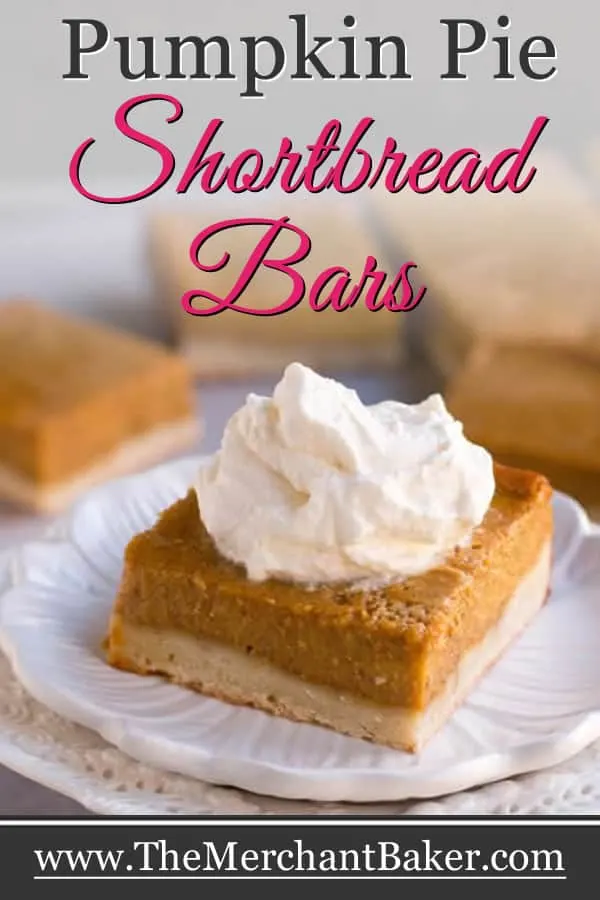
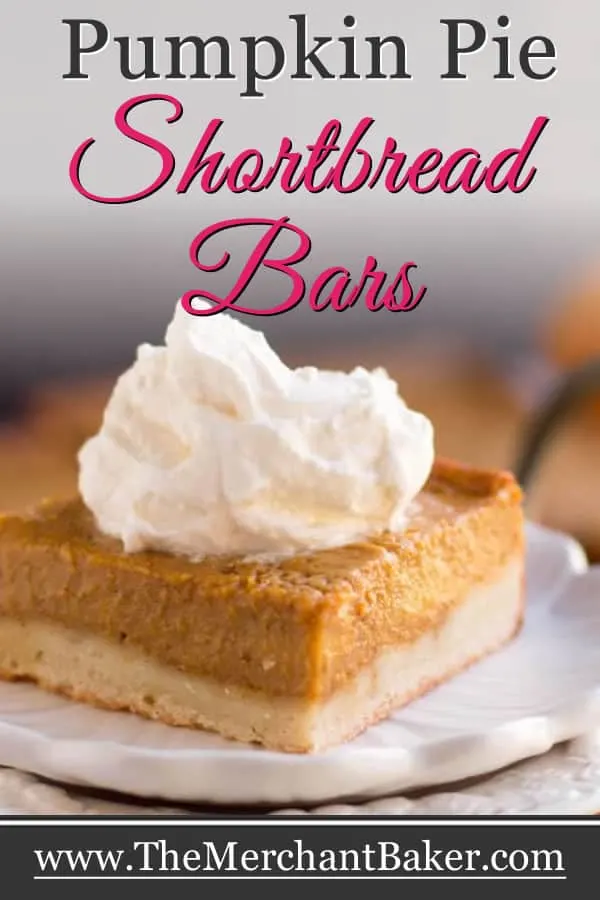
Then I decided, instead of a slab pie, I would make Pumpkin Pie Shortbread Bars (which are sort of what slab pies get sliced into anyway.)
Bars make for a great crust to filling ratio and that ratio is why I always think slab pies taste better than their traditional counterparts. For this recipe, I chose a 9″ pan, so it’s not a full slab, but it could be, if you increased the recipe. Let’s just consider this one a mini slab pie; I’m giving you a tile, instead of a whole slab :)
Let’s talk about crust. I don’t always love the pie crust on a pumpkin pies I’ve had. They always seems to be over baked on the edges and soggy on the bottom.
I usually save calories and just eat the filling. So, instead of tackling that pie crust issue head on (not that I don’t have a pie crust that I love) I went with an alternative crust and decided on shortbread.
I was inspired by the crust I made for Millionaire Magic Bars. I had to tweak the amounts a few times, but I landed on the right ratio and was good to go. There’s no crust stress here.
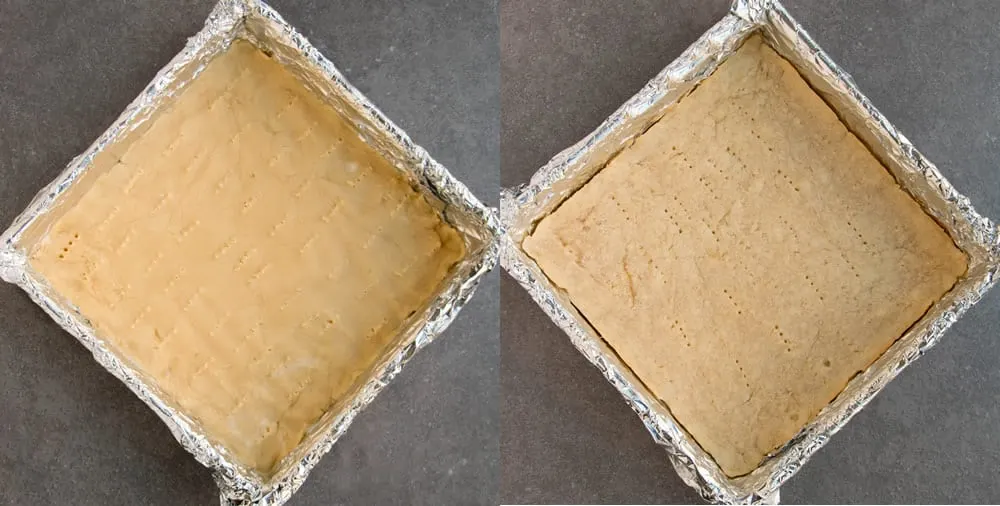
Just mix up the dough and press it into the bottom of the pan. I used a fork to prick holes all over the crust before baking, and then baked it just enough for it to set.
Some parts of the crust bubbled up a little during the pre-baking, so I just went back over the now pre-baked crust again with a fork and released that extra air. (Photos are before baking on left, after pre-baking on the right)
I did try different ratios of flour and sugar in the crust. Some were sweeter. Some were crunchier. The one I landed on is less sweet and the texture is soft and tender, not crumbly. It’s lightly sweet, makes nice clean cuts and is easy to bite into.
For the filling…well, you can use all cream, or half cream and half milk, or half and half or whole milk. I tried half cream and half milk for one trial. That was delicious.
But then I thought I’d try evaporated milk and was surprised to find that the texture was creamier than the mixture with the cream. Go figure.
So I stuck with the evaporated milk, at least for this iteration of pumpkin pie. My test loving self will probably keep trying different ratios of dairy. If I learn anything new, I’ll be sure to update you.
As far as spices, there’s a lot of personal preferences and my guess is that they are all pretty tasty. I wanted to insure that my spices (cinnamon, ginger, nutmeg and clove) were front and center but not overpowering.
I did add a little more ginger than your average Joe because I like that flavor in my pumpkin pies. If you have a pumpkin pie spice mixture that you already love, you can use that instead.
I know my family was loving the mix that I put in because my daughter mentioned, as she was trying a new sample, “I hope you didn’t change the spices on this new one. They were perfect!”
Making the custard is a one bowl deal. Beat the eggs, add the pumpkin, spices and sugar. Then stir in the milk. I started these trials by whisking the mixture. Not a good idea.
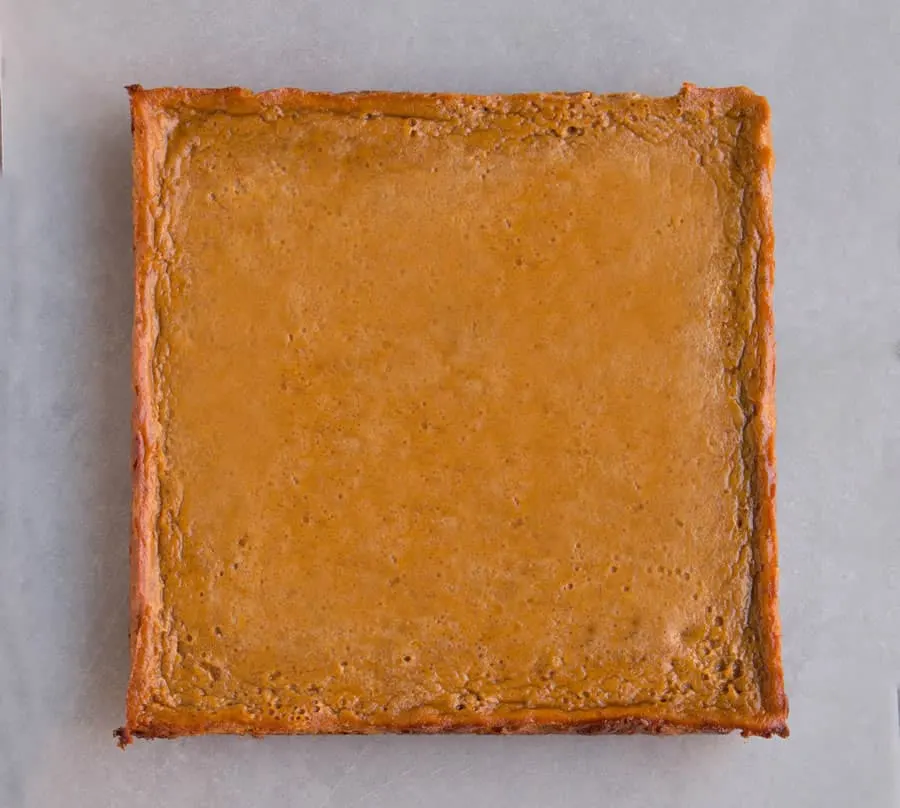
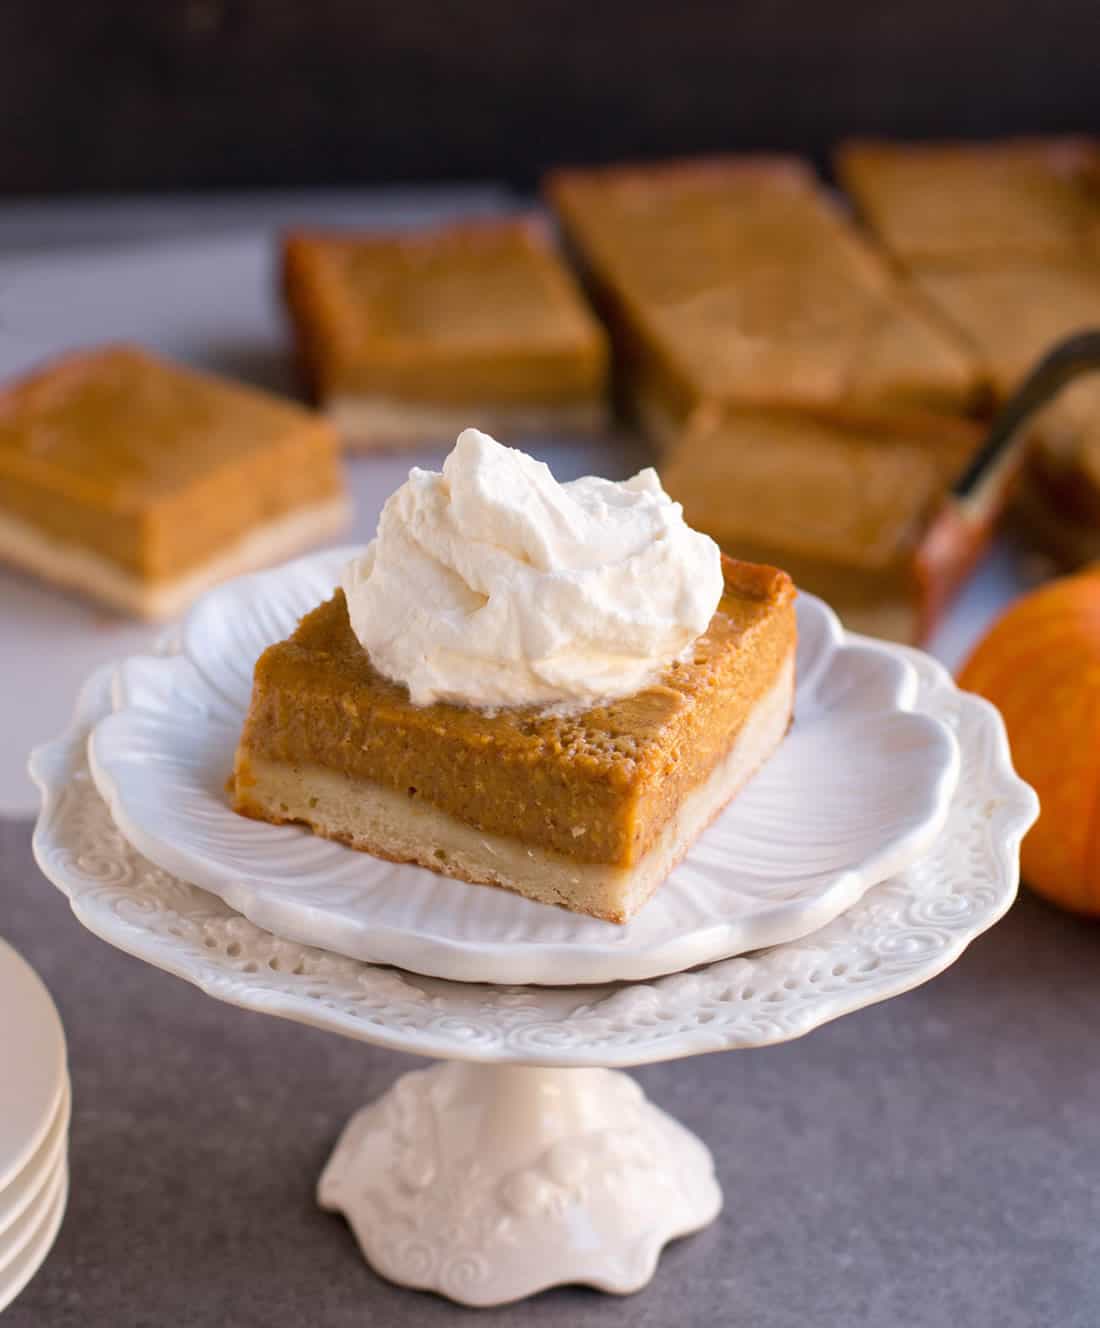
Whisking creates bubbles and they don’t go away when you bake them. You might see a few on my photos. Trust me, whisking creating a million more. So stir, don’t whisk and avoid vigorous stirring which will just pump a lot of air into your mixture.
If you do end up with some bubbles…no worries. It will still taste the same and whipped cream covers a multitude of sins…
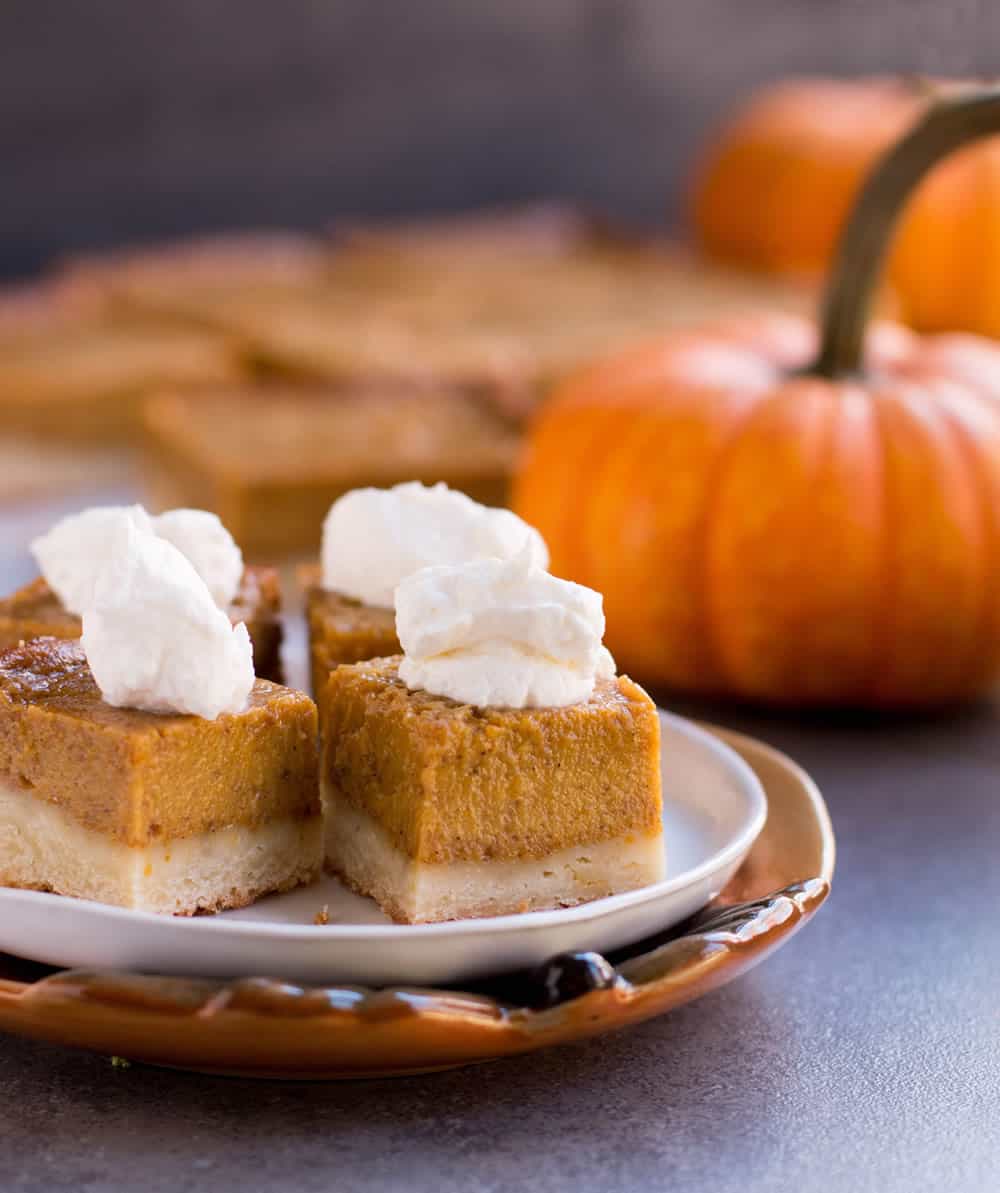
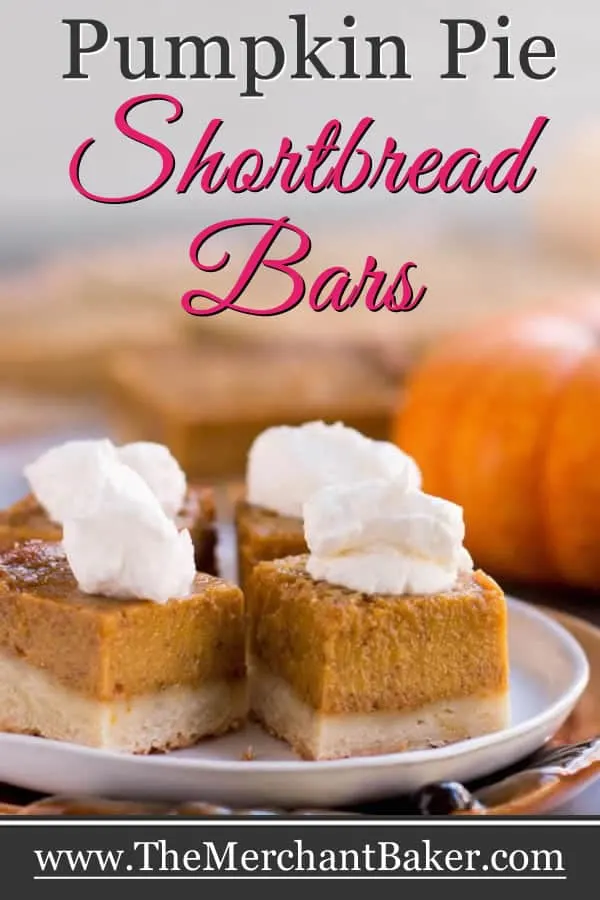
When it’s baked and cooled, you’ll have a whole square “pie” that you can cut into any size you choose. Cut into 9 large squares and top with a dollop of fresh whipped cream.
Or, I love cutting them into 36 small squares. That’s a great idea when you’re serving a lot of different desserts and you want a little of this and a little of that.
Even at 36 squares, it’s a hearty two bite dessert. Though my kids wanted to prove to me that it could be done in one bite :/ #missmannerswouldnotapprove
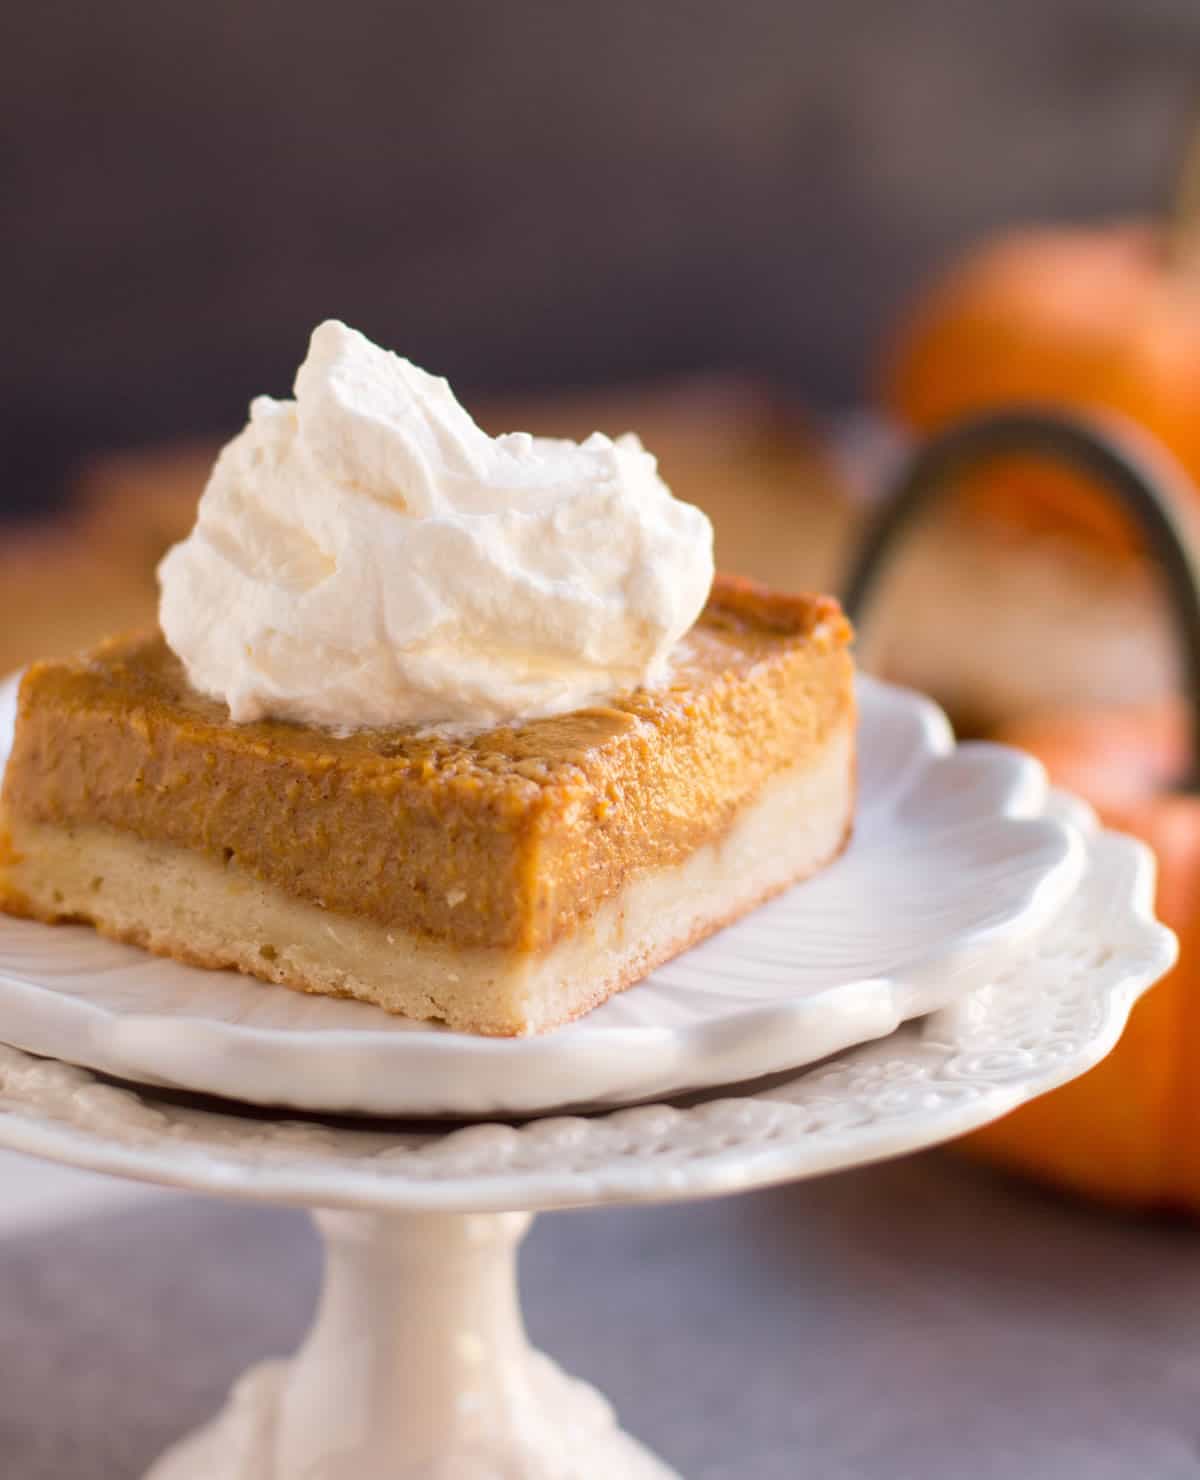
That’s the beauty of these Pumpkin Pie Shortbread Bars. They’re so much more versatile than a traditional round pie. They have all of the “pie-ness” that you’d expect from pumpkin pie but with a tender shortbread crust.
And because you can cut them into bars, I guess you could even pick them up and eat them without a fork…you know, like Amy Schumer’s “hand cake” lol! <<<ongoing joke in our house :)
Or, you could just grab a fork and dive in…
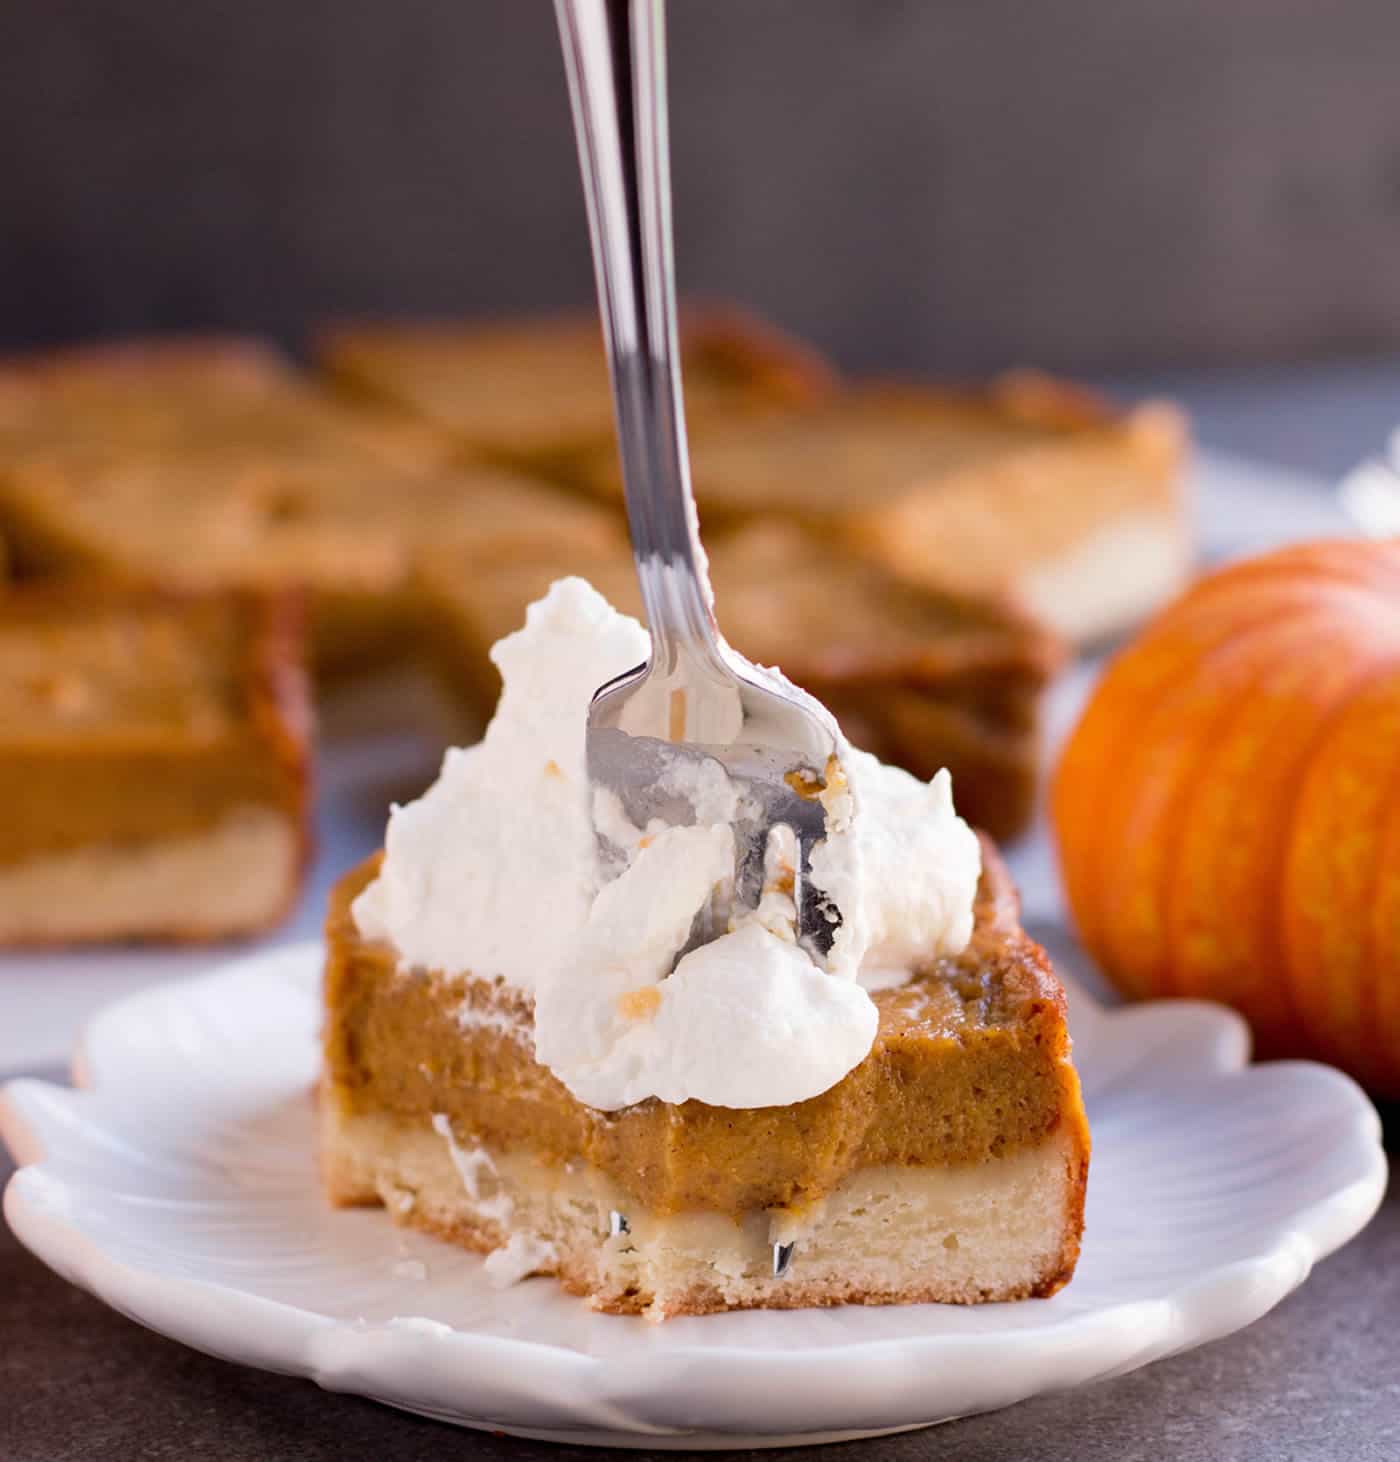
because whipped cream can get a little messy :)
Pumpkin Pie Shortbread Bars
Ingredients
For the shortbread crust:
- 1 1/2 cups all purpose flour
- 1 Tablespoon cornstarch
- 3/4 cup (1 1/2 sticks salted butter), room temperature
- 1/2 cup sugar
- 1 large egg
- 1 teaspoon vanilla
For the filling:
- 3 large eggs
- 3/4 cup brown sugar packed
- 15 ounce can pumpkin puree not pumpkin pie filling
- 1/2 teaspoon salt
- 1 1/2 teaspoons ground cinnamon
- 1 teaspoon ground ginger
- 1/2 teaspoon ground nutmeg I use freshly grated
- 1/4 teaspoon ground cloves
- 1 12 ounce can evaporated milk (I used 2%)
- Whipped cream for topping
Instructions
-
Preheat oven to 350 degrees F. Line a 9″ square pan with foil and spray with cooking spray.
-
Make the crust. In a small bowl, whisk together the flour and cornstarch. Set aside.
-
In a mixing bowl, beat butter and sugar until well combined, about 2 minutes.
-
Add the egg and vanilla, mixing until combined. Add the flour mixture in and mix until well combined. Scrape bowl and beaters as necessary and don’t over beat. You don’t want to whip too much air into the mixture as you might for a cake. Just mix until thoroughly combined.
-
Press dough evenly into the bottom of prepared pan. It will be sticky and soft. I lay a piece of plastic wrap over the dough and use that to press so that it doesn’t stick to my hands.
-
Prick dough all over with a fork and bake for 13-15 min or until set and there’s just a hint of light golden edge forming.
-
Remove from oven and prick dough again to release air if any bubbles have formed. Set aside to cool completely.
-
Make the filling. In a large bowl beat the eggs and brown sugar. Using a spoon, stir in the pumpkin and spices, then gradually stir in the milk until all is combined. We’re not using a whisk because we don’t want to create any bubbles that will collect on top of the pie when it’s baked.
-
Pour into cooled crust and bake for 45-50 minutes or just until filling looks set in the middle. If you over bake it, the filling may crack.
-
Allow to cool. Cut into squares and top with fresh whipped cream, if desired.
Recipe Notes
*I tested this using 1/2 cup heavy cream and 1/2 cup milk instead of the 12 ounces of evaporated milk. It was also really good, but I found that the evaporated milk offered a creamier texture.
*The spice ratios I used provides a nicely spiced pie. You could also use 2 teaspoons of pumpkin pie spice instead of the individual spices or change the ratios of the spices I gave to suit your desired taste.
*I tested the crust with 1/2 cup sugar and 1 cup of sugar. I thought the one cup was too sweet so I cut it in half. It now tastes like a classic, not too sweet shortbread and balances nicely with the filling. If you want a sweeter base, try 3/4 cup. At 1 cup, the crust was crispier and we thought, too sweet.
*I cut the bars two ways, in 3″ squares and in 1 1/2″ squares. The 1 1/2″ squares are a perfect (2 bite) sized portion if you’re serving a lot of different desserts.
*After the bars completely cool, store lightly covered in the refrigerator for up to 4 days. You can then serve cold, room temperature or warm up quickly in the microwave. For the cleanest cuts, I cut the bars when they are cold.
*Need more servings? Make a batch and a half and bake it in a 13 X 9″ pan, if you want a similar thickness of crust and filling. You can double it but your crust and filling will be thicker than what the recipe shows and your bake times could be longer. Just keep an eye on the oven when you’re nearing the end of recommended bake time for the smaller pan and decide when it’s done by how it looks instead of worrying about a specific time. If you have a 10X15″ jelly roll pan, that should work for doubling without too much difference in thickness. Just make sure your pan is deep enough to hold all of the filling!
The Merchant Baker Copyright © 2016



Carol
Thursday 1st of February 2024
Also I forgot, need to do small batch for only 2 Pls respond today. Thanks
Carol
Thursday 1st of February 2024
Can I add a small cream cheese layer between.
Ramona
Friday 2nd of February 2024
Hi Carol, I have not tried adding a cream cheese layer. I think it would be ok, but you'd have to experiment. I also don't know if you mean plain cream cheese or a cheesecake layer. The important thing is to make sure you do the parbake for the crust to give you a good base to work on. Good luck!
Karen
Saturday 7th of October 2023
Absolutely delicious! Will never make a pumpkin pie again. Made in a 9x13 pan. Usually I never follow a recipe exactly, but this one I did. Thank you. This is one recipe I will ways make!
Ramona
Sunday 8th of October 2023
Karen, thank you for coming back to leave such a wonderful comment! I'm thrilled to hear you enjoyed the recipe 😊
Betty diznoff
Sunday 19th of November 2017
The recipe doesn't tell you when to add the brown sugar to the filling. It's listed with the filling ingredients, but mention in the directions. My crust was not shortbread texture. It was too moist, perhaps like a dense cake...not like a shortbread. What did I do wrong?
Ramona
Sunday 19th of November 2017
Betty, I apologize for the omission in the directions. The problem has been fixed. As far as the crust is concerned, this is a soft shortbread crust, not a traditional crumbly shortbread. So it is meant to be like a thick soft cookie. I'm not sure what happened when you made it. It's possible you whipped a lot of air into the batter or maybe you could have measured the flour differently. I always use the scoop and sweep method for measuring flour, stirring it first to fluff it up, then spooning into my measuring cup and scraping the flat side of a knife across the top to level it. If you are looking for a less moist shortbread, you could try omitting the egg (only in the crust portion) and see if you like that better.
Pete
Tuesday 15th of November 2016
If you make a batch and half, is the crust changed as well as the filling? For 9x13 pan
Ramona
Wednesday 16th of November 2016
Hey Pete, I just updated the notes. If you have a 10 x 15" jelly roll pan, you can double the recipe and the thickness should be similar (just very slightly thicker) to the single batch in a 9 x 9" pan. I know some don't have that size pan, but I thought I'd add it as an option for those who do.
Ramona
Wednesday 16th of November 2016
Pete, if I understand your question correctly, the answer is yes, you would make a batch and a half of crust and a batch and a half of filling for a 9 X 13 pan if you want the thickness of both to be similar to what you get with a single batch in a 9 X 9" pan.