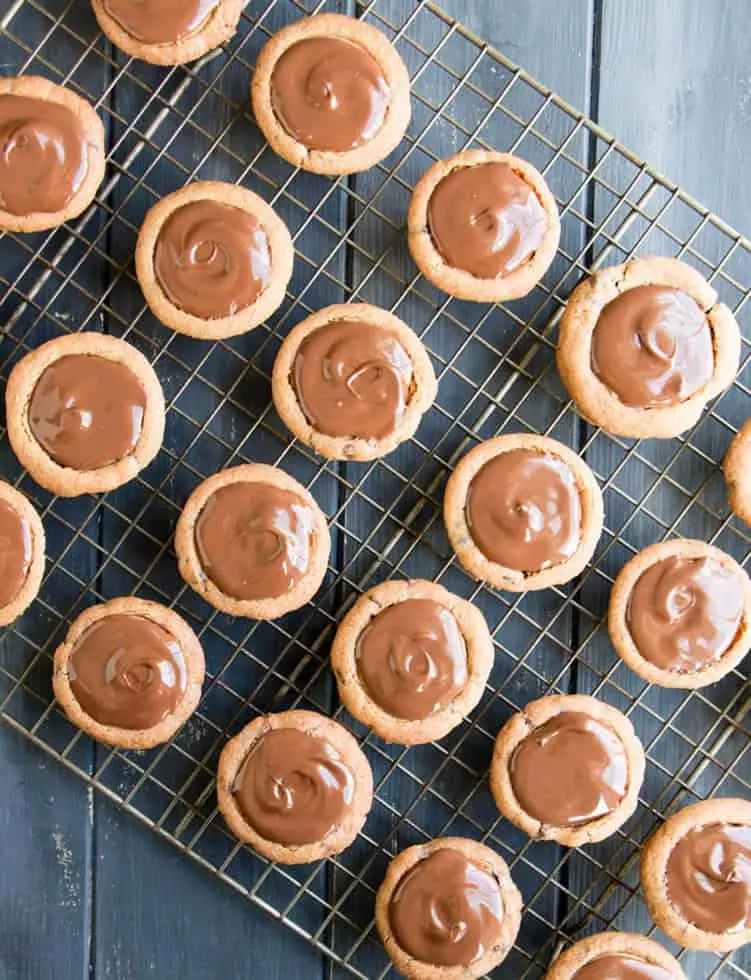
Here in the northeast, we’re facing the second major storm in less than a week. Schools are closed and we’re all stuck at home. Seems like now is as a good a time as any to make Chocolate Chip Cookie Peanut Butter Cups.

Last week’s storm was only supposed to bring my area rain. I was listening to said rain while I was working on Friday, but imagine my surprise when I had to go out and found the whole neighborhood covered in snow.
Heck, I grew up in the snow belt where snow tires and chains are a normal part of driving in the winter. No problem, right?
I remember sitting in front of the T.V. with my siblings begging for our school to show up on the school closing list.
There’s at least a couple of feet of snow out there, we thought desperately. Just think of the snow fort we’re going to make! They’ve gotta close our school today, right?
Nope, not closed. In fact, our school district hardly ever closed. Wish as we might, we had to buck up, put on our boots , clear the driveway, and head to school. The snow fort would have to wait until later.
Living in different areas of the east, I quickly found out that a few inches of snow would shut everything down.
In any case, I wasn’t much worried about driving in a few inches of snow….until it took an hour to get to my first stop. Traffic at a stand still, downed trees blocking roads and demanding detours, a school bus full of children off road and in a ditch.
Okay. Not just any ole’ storm. In any case, I wasn’t going to make a casual trip to the store to buy any special ingredients for a recipe.
We always have ingredients on hand to make cookies. We always have peanut butter. And, we always have chocolate. In fact, as I was checking out the chocolate stash, I noticed we still have chocolate bunnies from last Easter :/
I thought about what I could make. It was like Chopped, except I had a lot more ingredients to choose from and no time limit. Which, I suppose, means it was nothing like Chopped :)
I decided on these Chocolate Chip Cookie Peanut Butter Cups. Actually, I decided on cookie cups in general and was thinking about all the different variations I could make with different cookie doughs and different fillings.
I went with a chocolate chip cookie base. You’ll need mini chips for the cookie dough. There’s no room in our little cups for big chunky chips. They’ll just get in the way.
Plus, mini chips really distribute nicely through the dough, so there’s bits and bites of chocolate everywhere. Perfect.
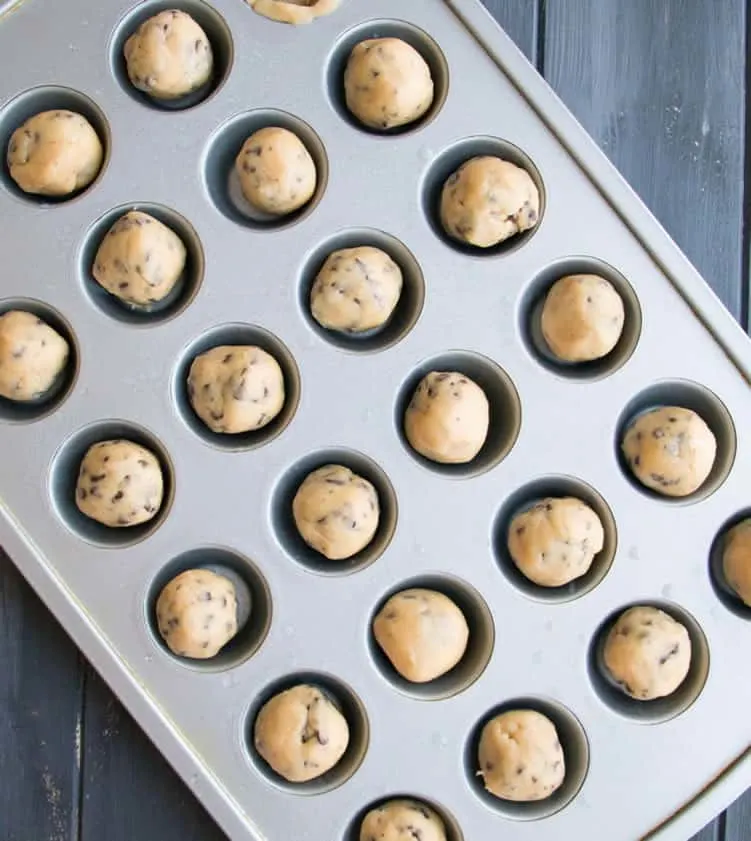
I used a tablespoon of dough for each cup and that used up every bit of the dough. Love when that happens. (Let’s just pretend I brilliantly planned it to work out that way ;)
Now about making them into cups. I wasn’t sure if I needed to form the dough into cups before baking or just press them into cups after baking.
To be safe, I formed them into cups before baking, even though I figured it might be a waste of time.
Aaaand, it was a waste of time. When I took them out of the oven, they had basically baked down and filled the cup, just as expected.
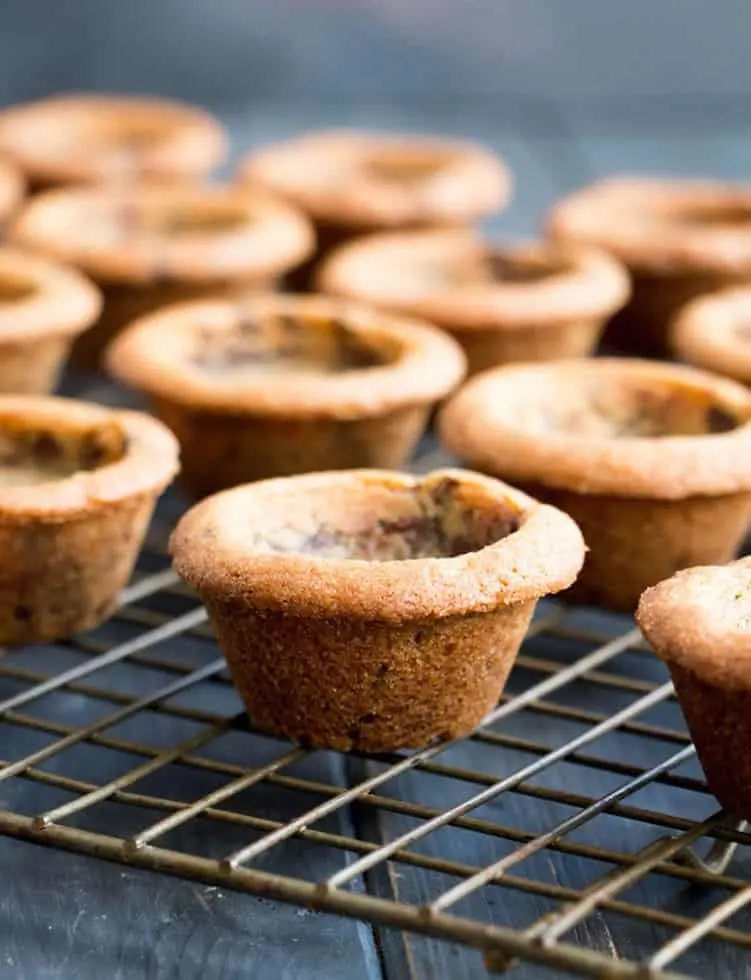
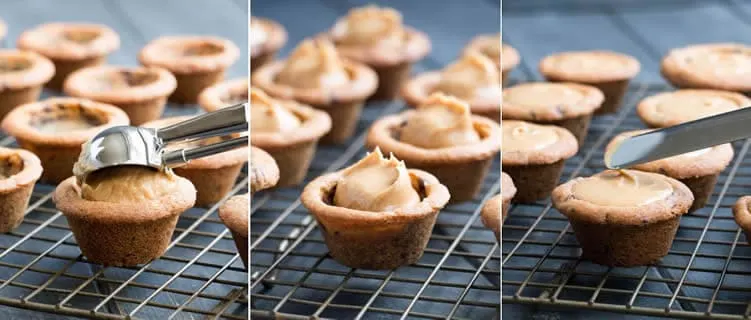
So, I proceeded with pressing them into cups after baking them. That was much easier. No need to form cups before. I took that step out of the recipe. Just roll the dough into balls, place them in the cups and bake.
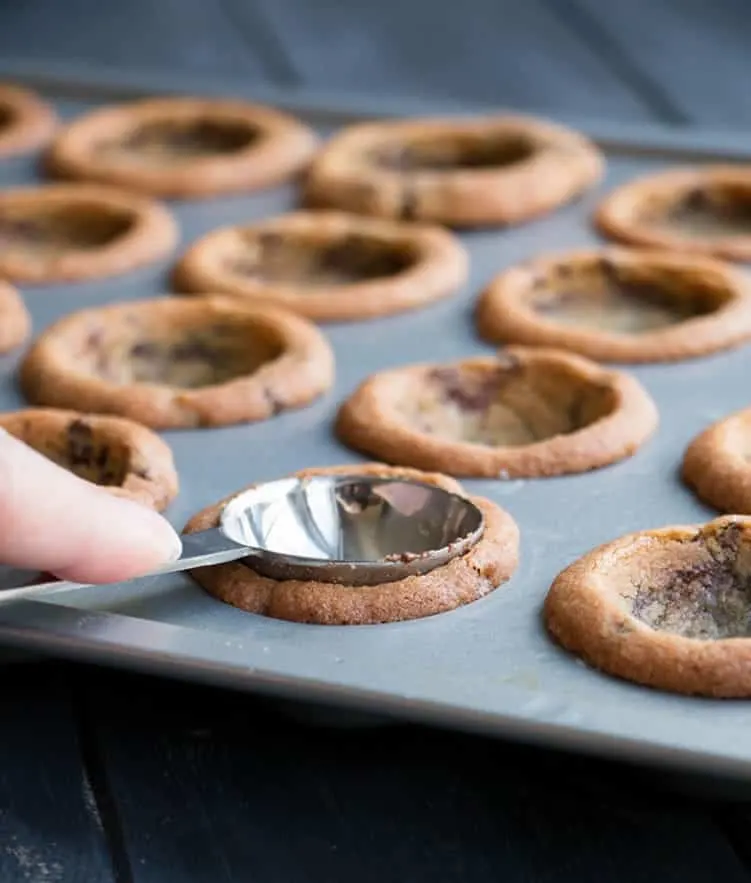
What will you use to form the cups? I tried a bunch of different things, but the tool that worked best for me was a measuring spoon.
You just need to pick something that is round and smaller in diameter than the cup. Think of shot glasses or little jars or bottles you might have. Even the top of a bottle.
Check your pantry and your fridge. You’ll be surprised at how many different sizes of round tops you might find. Cover the end with plastic wrap to get a clean pressing tool, if necessary.
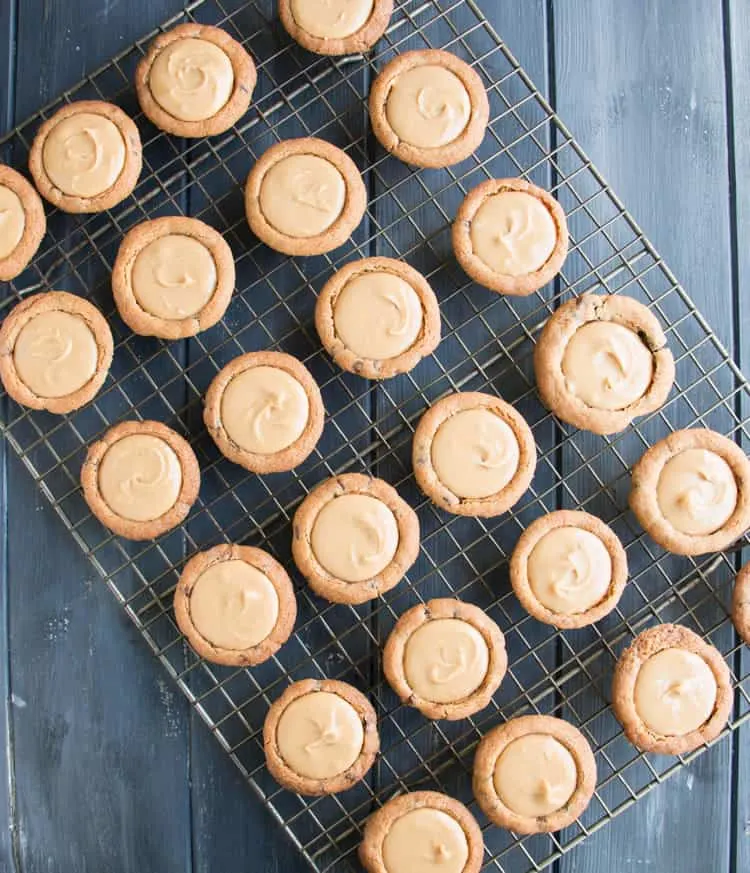
Once you make the cavity, you’re all set for filling. And, even though the cups might be completely cool by the time you fill them, you don’t need to wait for them to cool. It’s fine if they are still warm when you fill them. The filling will be warm too. No worries.
The filling is super simple to make. Just place the peanut butter, salt and butter in a bowl. Melt it in the microwave and stir in some powdered sugar. Done and done.
I used 2 teaspoons of filling for each cup. I just happened to have a scoop that was that measure, so it worked out great. It was just the right amount to fill the cups.
Because the filling was still warm, it was easy to spread it evenly in the cups. As it cools, it will firm up.
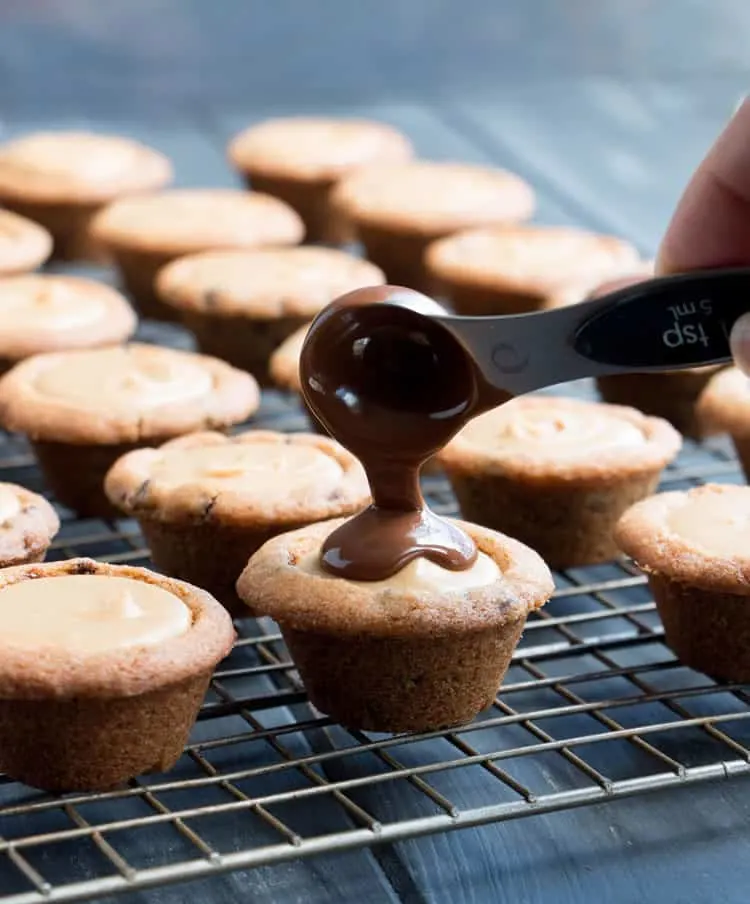
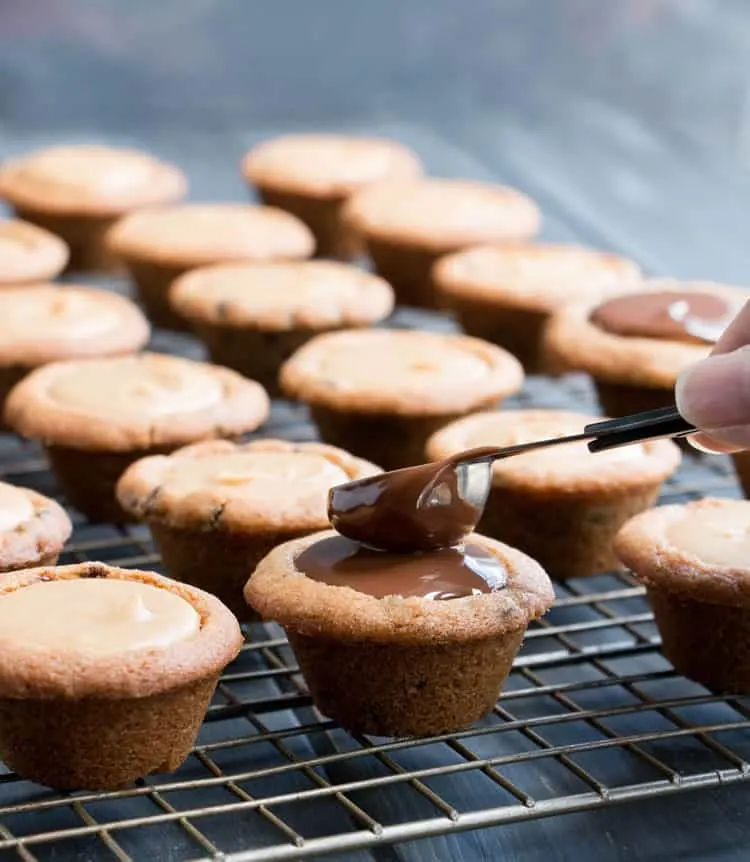
But again, you don’t have to wait for it to cool or set up. Move on to the next step and melt your chocolate. For the chocolate, I used a teaspoon to cover each cup.
I normally prefer dark chocolate, but decided to go with milk chocolate for this recipe. I did mix the milk chocolate chips with some bitter sweet chips to darken it up a little. Use whatever chocolate you desire.
Once you spoon the chocolate on top, just use the back of the spoon to tap on the surface of the chocolate coaxing it to spread to the edges.
And you’re done…unless you want additional toppings. I opted for some chopped toffee chips on some of them and a sprinkle of fleur de sel for others.
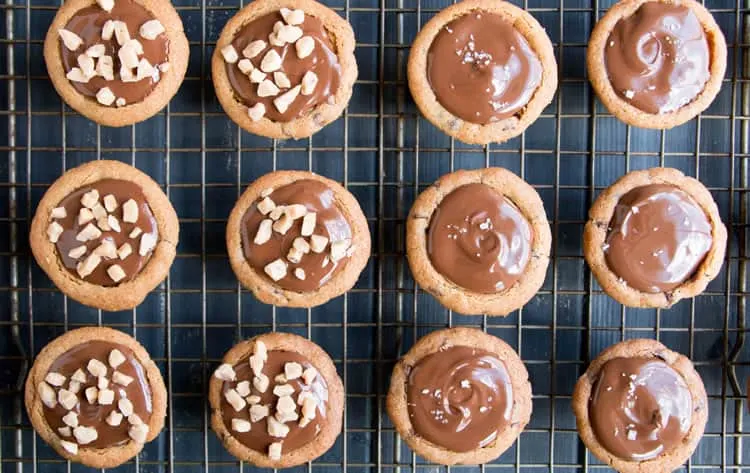
But, chopped peanuts would be great. I happen to love chopped nuts with chocolate. I made Peanut Butter Cluster Cups way back when. I love that extra texture on top.
Mini chips, sprinkles or candies are also fun ideas. Just do it before the chocolate sets so that your toppings will stick.
We tried the cookie cups at room temperature, but I preferred them after they had chilled in the refrigerator. The filling sets up to a firmer texture and is better matched to the chew resistance of the cookie. (Yep. That’s a thing. I just made it up.)
I thought one cookie cup was plenty to satisfy my sweet tooth. That’s why I made them in a mini muffin pan. I couldn’t imagine one the size of a regular muffin.
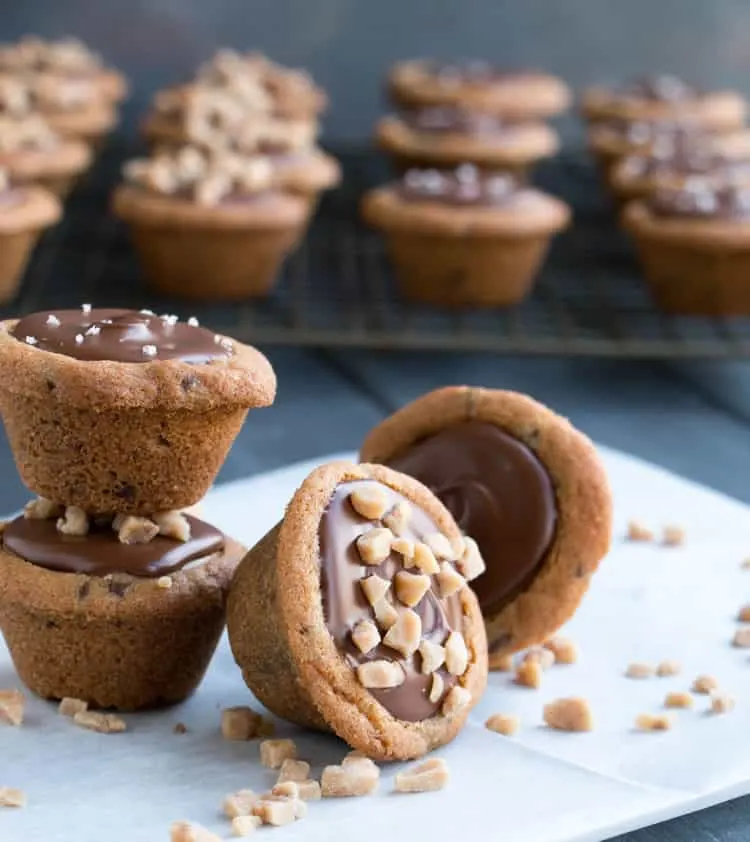
However, there are at least two people in my house that would differ with that opinion. Those two could down four of these in a shot, without another thought.
Of course, they’re also the ones out shoveling snow and burning mucho calories while I’m inside typing. I guess it all balances out.
Hopefully, none of us will lose power again with this storm. I’ve got my fingers crossed. If you do have power, this is a fun recipe to make with your kids if you’re all stuck inside looking for something to do. There are lots of fun assembly steps.
Plus, I’d rather be inside working on Chocolate Chip Cookie Peanut Butter Cups…
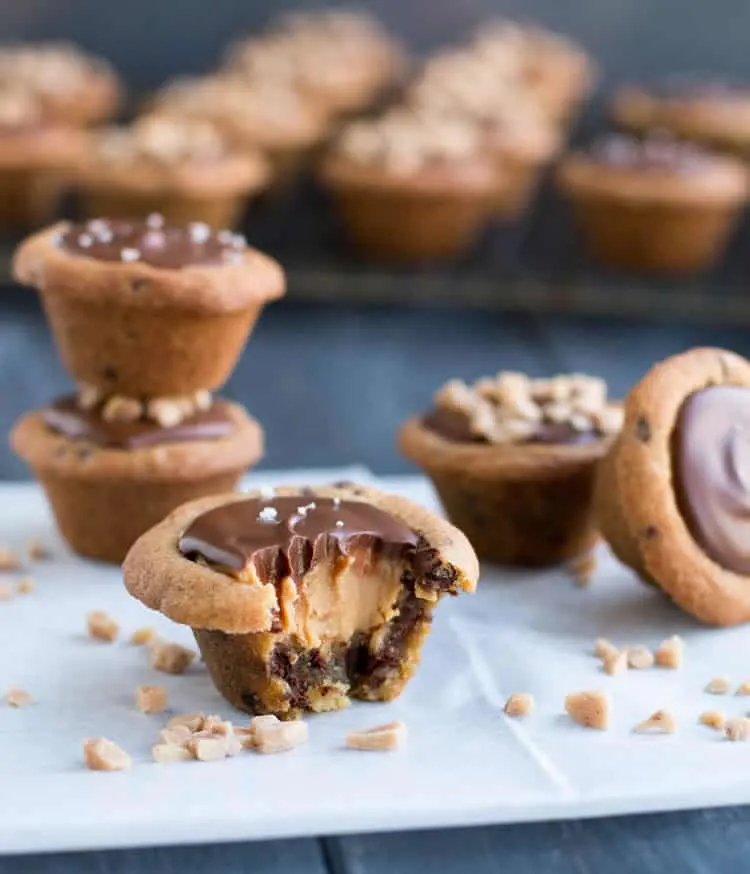
than outside shoveling more snow ;)

Chocolate Chip Cookie Peanut Butter Cups
Ingredients
For the cookie cups:
- 1 1/2 cups all purpose flour
- 1/2 teaspoon baking soda
- 1/2 teaspoon salt
- 1/2 cup unsalted butter, cool room temperature, 1 stick
- 1/2 cup brown sugar, packed
- 1/4 cup granulated sugar
- 1 teaspoon vanilla
- 1 large egg, room temperature
- 3/4 cup semi sweet mini chocolate chips
For the peanut butter filling:
- 1 cup creamy peanut butter
- 1/4 cup unsalted butter
- 1/4 teaspoon salt
- 1 cup confectioner's sugar
For the chocolate topping:
- 1/2 cup chocolate chips, use your favorite
- 1/2 teaspoon shortening or coconut oil
Optional topping ideas:
- toffee chips
- chopped peanuts
- flaked sea salt
- mini chocolate chips
Instructions
Make the cookie cups:
- Preheat oven to 350 degrees F. Spray or lightly grease mini muffin pan/s (you'll need 24 cups.) Find a measuring spoon, shot glass, bottle top, small jar or other item that you'll be able to use to create a round cavity in the baked dough. It should be smaller than the cup, but not go all the way to the edge. Set aside. Test it out on the pan now, before you start the recipe, so you'll be ready when the time comes.
- In a medium bowl, whisk together flour, baking soda and salt. Set aside.
- With an electric mixer, beat butter for 30 seconds or until creamy. Add sugars and beat until fully combined, about 1 minute. Add vanilla and egg and beat until fully combined. Gradually add flour mixture and continue mixing until fully combined. Stir in mini chocolate chips until evenly distributed.
- Using a measuring spoon, scoop out 1 Tablespoon of the cookie dough, roll it into a ball and place it into one of the cups of the prepared pan. Repeat until all 24 cups are filled with a ball of cookie dough.
- Bake for 8-10 minutes or until edges are golden brown but the center is still light. Remove from oven and immediately use your measuring spoon, shot glass etc. to press firmly in the center of each cup creating a cavity for your filling. As the cookie cups cool, they will set and it will be difficult to press so make sure you do this right when they come out of the oven. Once every cup has been pressed, allow to cool in the pan for five minutes, then remove to a rack to finish cooling.
Make peanut butter filling:
- While the cookie cups are cooling, make the filling. Place peanut butter, butter and salt in a small, microwave safe bowl. Microwave until butter has just melted. Stir until combined. Add powdered sugar and stir until fully combined.
- Spoon about two teaspoons of the filling into each cup and spread evenly. (It's not necessary to wait for the cups to be completely cool before filling.)
Finish the assembly:
- Melt the chocolate chips and shortening in the microwave, heating and stirring at 15 second intervals until fully melted. (Be careful not to burn the chocolate or it will seize up and you'll have to start over.) Spoon about 1 teaspoon of the melted chocolate over the peanut butter filling, using the back of the spoon to tap the chocolate, coaxing it to spread all the way to the inner edge of the cup. Refrigerate cups until chocolate is set. Serve chilled or at room temperature.
Notes
*Whenever I specify room temperature butter, I mean it to be soft enough to press your finger into it and leave an indentation. It shouldn't be so warm that it's lost any structure.
*Use measuring spoons to help you evenly distribute the cookie dough, peanut butter filling and melted chocolate. I ended up with just a little bit of peanut butter filling and a smattering of melted chocolate left over. I spread the excess peanut butter filling onto graham crackers and drizzled the bit of chocolate left over it. They made a nice, impromptu snack.
*Peanut butters are different and can have varied amounts of salt and sugar in them. I wouldn't change the amount of powdered sugar used because its amount is based on both sweetness and the texture for the filling. However, you may want to taste for salt. Salt can balance sweetness, so just make sure the filling tastes good to you.
*I generally prefer darker chocolates but wanted to go a bit sweeter for this recipe. I used about 3/4 milk chocolate chips and 1/4 bittersweet chips to make up my 1/2 cup. I don't think you can go wrong here. Just pick the chocolate you like best. Use just one or mix them up.
*Get creative when trying to find something to create the cavities in the cookies. I tried a bunch of different options, but the measuring spoon ended up working best for me. Remember, even if you use an empty pill bottle or other non-kitchen related item, you can cover it in a couple layers of plastic wrap so you can make "clean" cavities.
*I store these cups in the refrigerator. I always err on the side of conservative food safety/storage even though the filling ingredients supposedly can live at room temperature. I also prefer the texture of the filling when it's been chilled.
The Merchant Baker Copyright © 2018


Melissa Griffiths
Thursday 8th of March 2018
Holy cow these look incredible. Definitely adding this to my must-try list! My kids would LOVE them, and I know they'd love helping make the cups, too!
Ramona
Thursday 8th of March 2018
Definitely fun recipe to make with kids, from rolling balls of dough, to pressing the cup, to filling and topping! They were dangerously delish!