


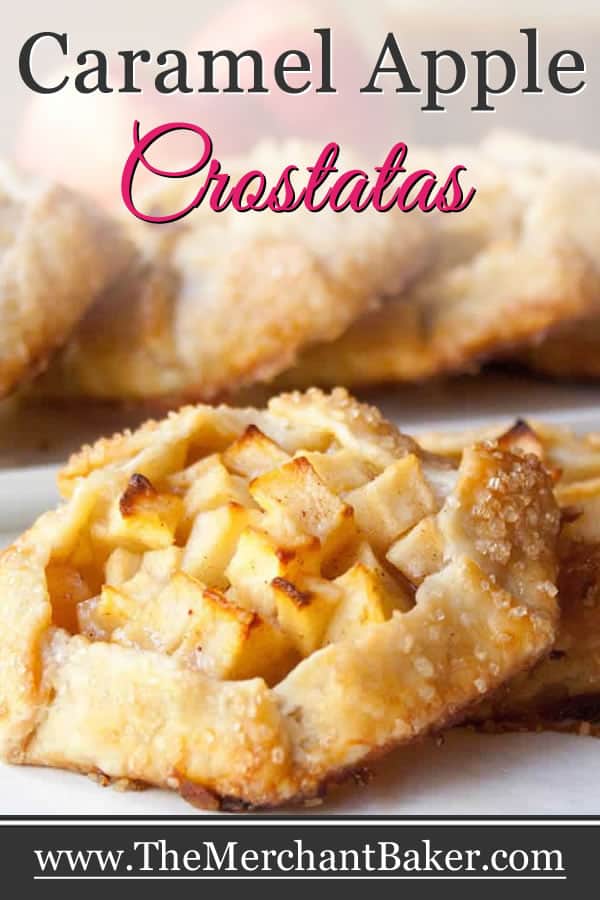

Galette, crostata, galette, crostata…

Tomato, tom-ah-toe? With my Blueberry Galette, I was channeling my French roots. I thought I’d give a nod to my Italian roots with these Caramel Apple Crostatas. Galettes and crostatas are essentially rustic free form pies. In baker speak, that means less stress to me. It doesn’t have to be perfect, just roll out your dough and top with some sweetened fruit and fold up the sides. Couldn’t be easier, right? Unless you’re going to fret over making pie dough, but there’s no need for that.
I shared my easy pie dough in my Blueberry Galette post (check it out for some extra photos of the process.) Why is it so easy? Basically, you mix up your flour sugar and salt, cut in your cold butter and then add ice cold water until your dough is moist enough to hold together. At this point, you would normally refrigerate your dough so that it can rest and hydrate.
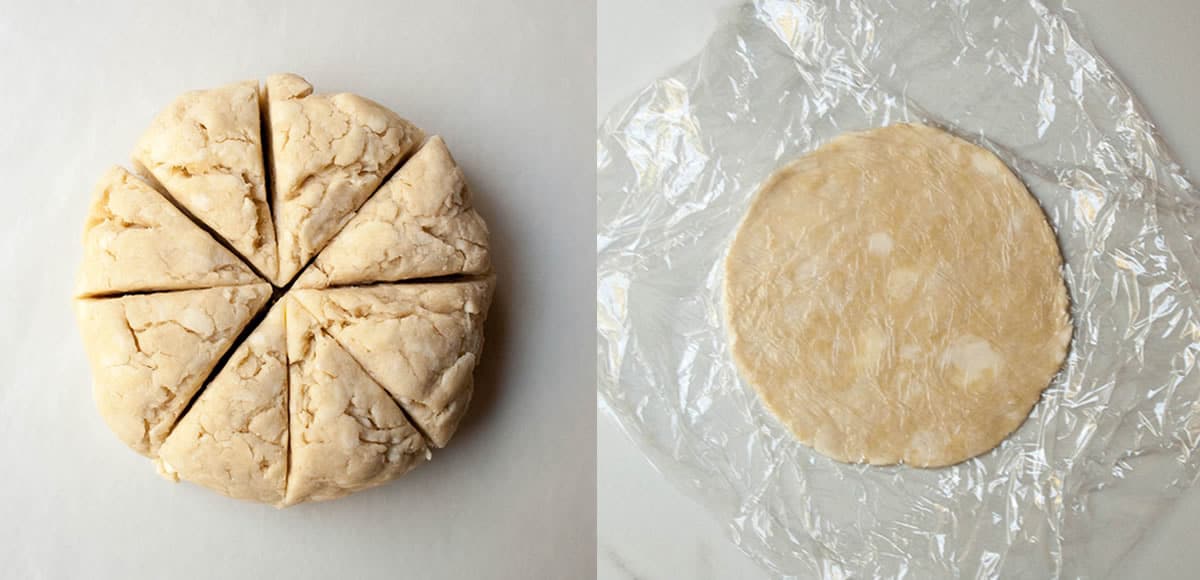
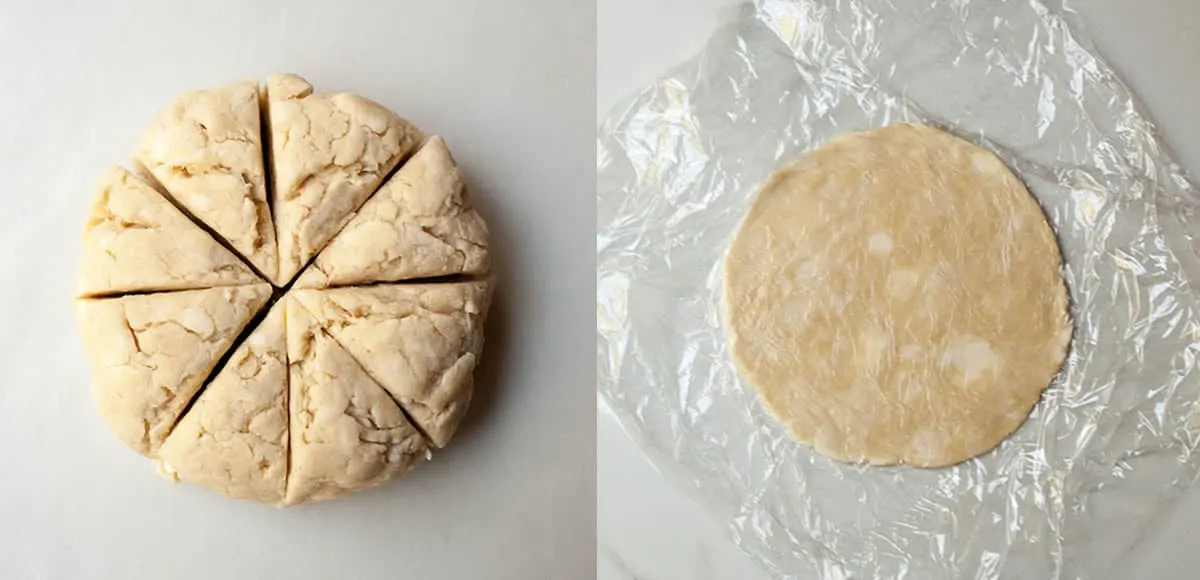
Instead, we bring the dough together into a ball, place it between two pieces of plastic wrap and roll it into our desired shape, in this case, a circle. The plastic wrap makes it a piece of cake to roll out…no additional flour, no mess, no sticking. You do need to lift up the plastic every once in a while so that the dough edges aren’t getting trapped by two pieces of plastic sticking together. But that’s it. I swear it’s almost as easy as rolling out play dough. When I’m done rolling, I just pick it up in the plastic it’s already wrapped in, making sure the edges are sealed so it doesn’t dry out, then it goes right into the refrigerator to rest until I need it. I usually leave it in for about two hours but I prefer to refrigerate it overnight for the best texture. (This give the dough time for the gluten to relax and will keep your crust from shrinking while it bakes.)

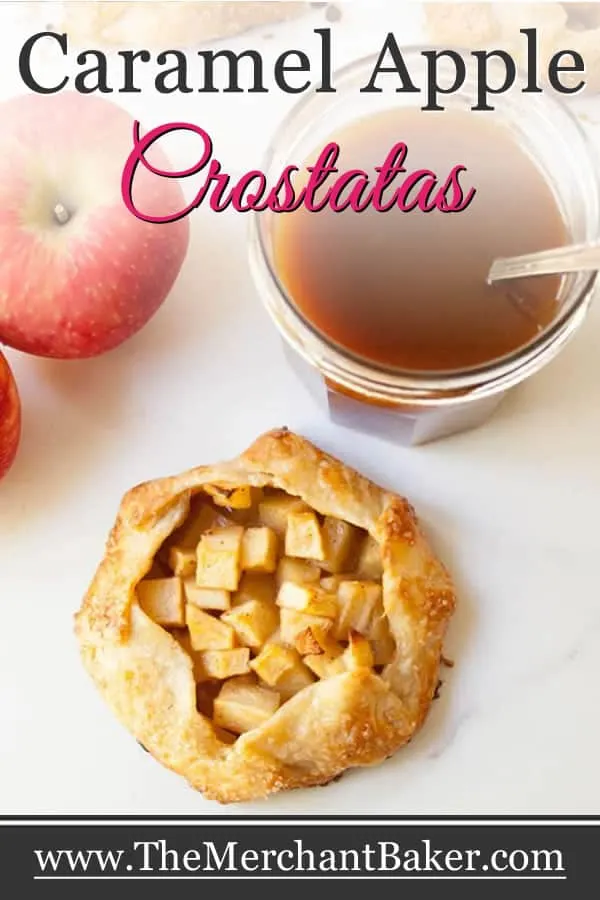
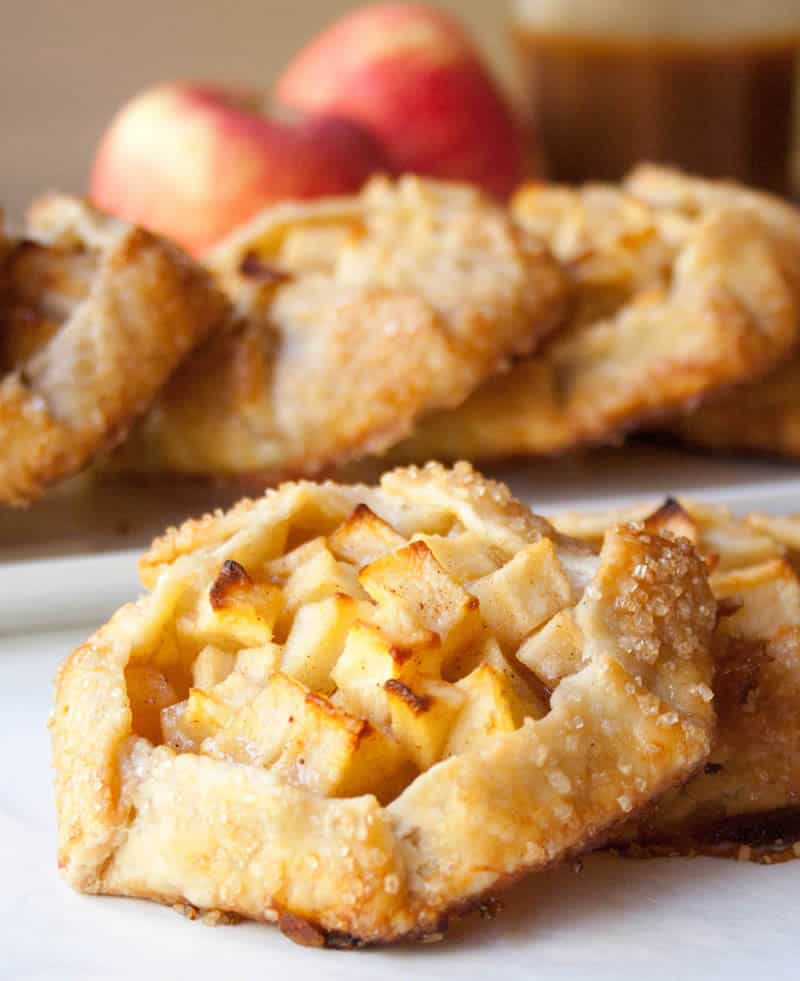
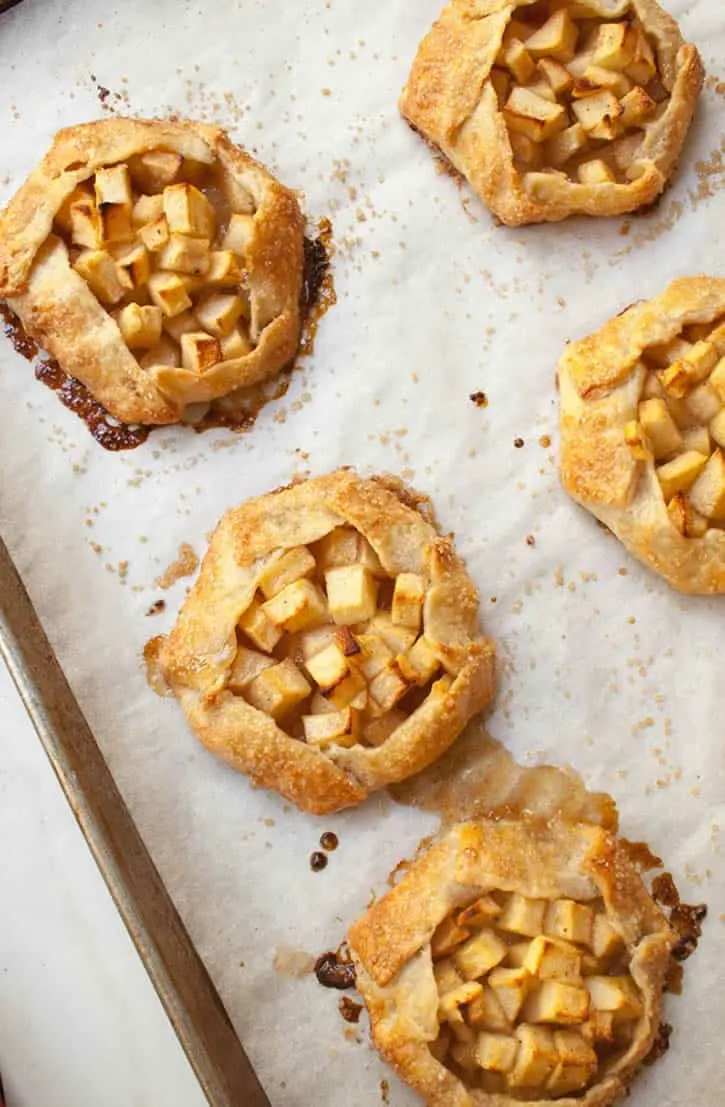
For this recipe, I decided to make individual servings, so I divided the dough into 8 equal pieces and rolled each into a 5″ circle. This size makes for a thin dough that will bake up with a nice crispy, but tender crust. When I finished rolling each circle, I stacked them up on a tray and put them into the refrigerator.

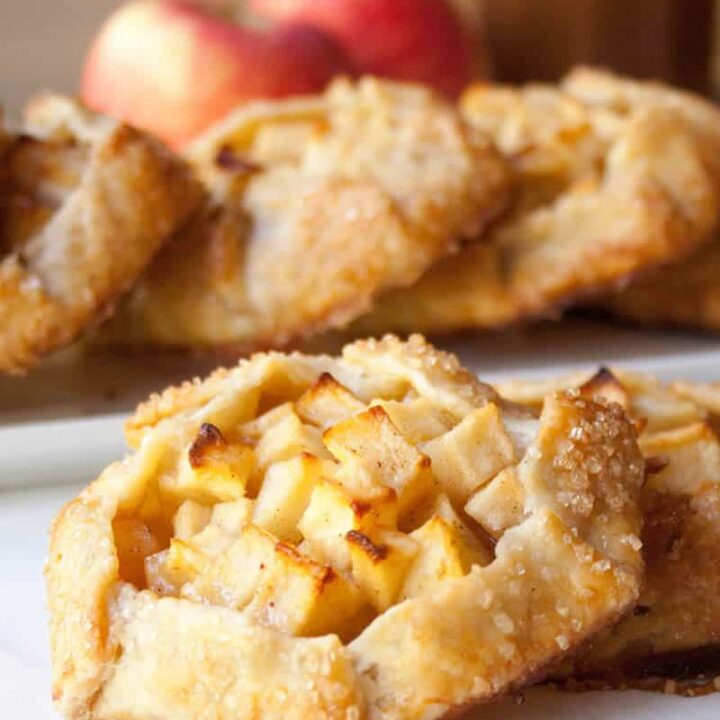
For the apples, I decided I would dice them up. If I were making a large crostata, I would have done slices or bigger chunks. The smaller cut makes for an easier bite; you won’t have a giant chunk of apple you’re trying to bite or cut through. (This is especially helpful should you decided to forgo the fork and decide to eat this like a hand pie.)

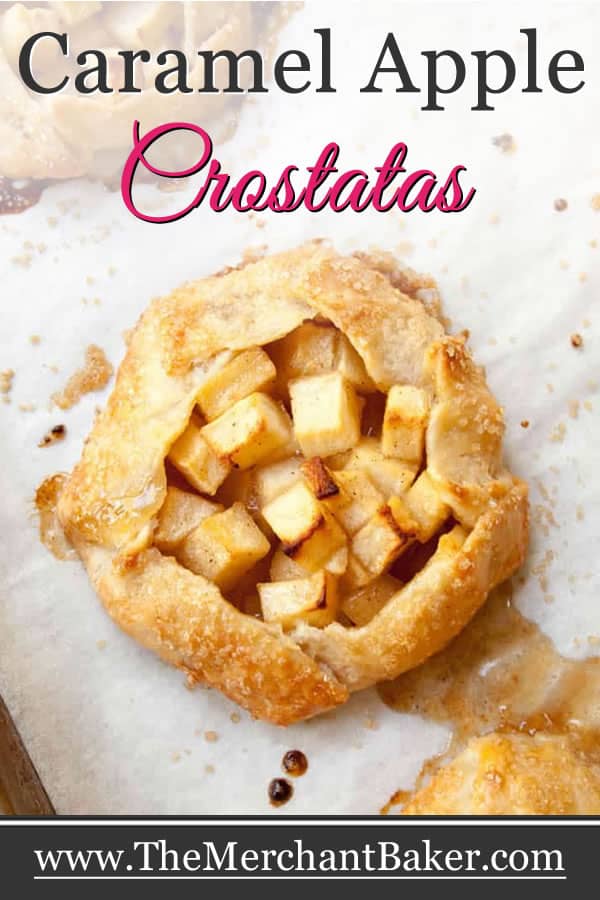
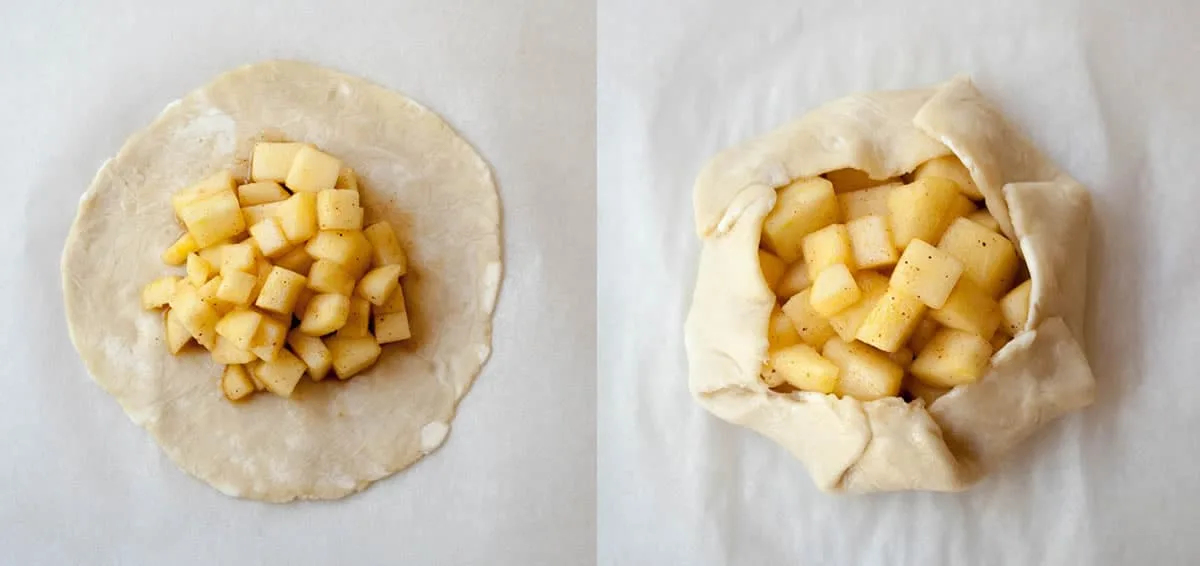
When your dough has had time to rest, peel and chop your apples. I kept it simple and tossed them with brown sugar, flour, lemon juice, salt and apple pie spice. Then, leaving the rest of the dough in the refrigerator, I took one piece out, peeled off the plastic wrap, topped it with the apple mixture and folded up the sides. I repeated the process with each piece of dough. These are small pieces of dough and they warm up quickly, so make sure you only take one piece out at a time.
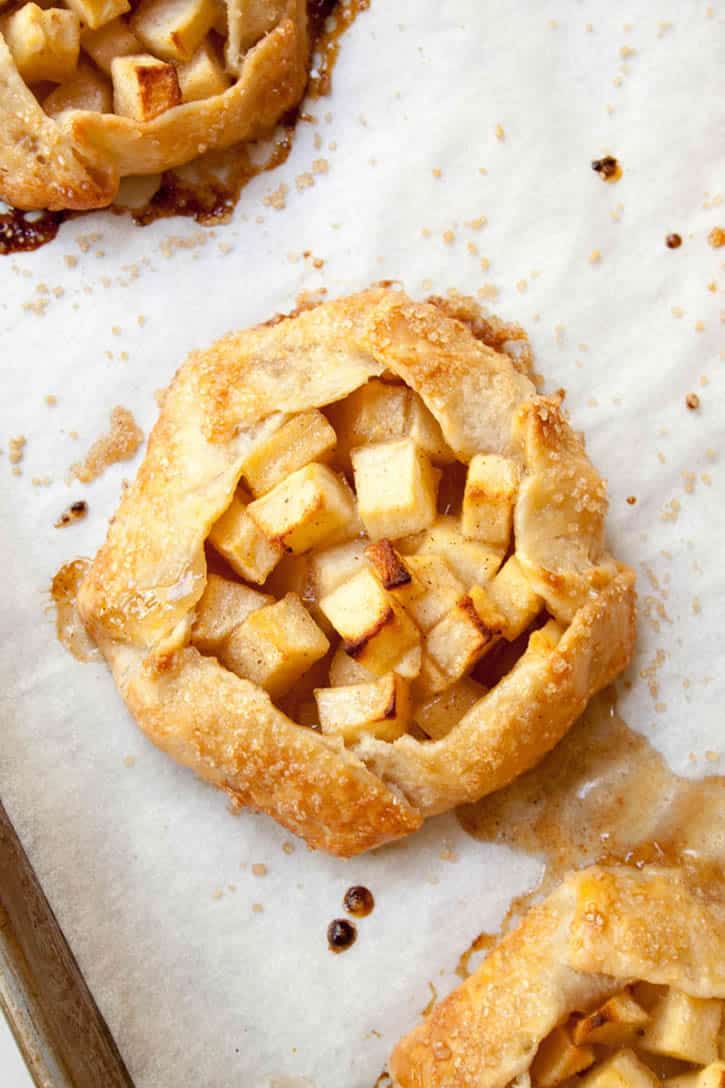

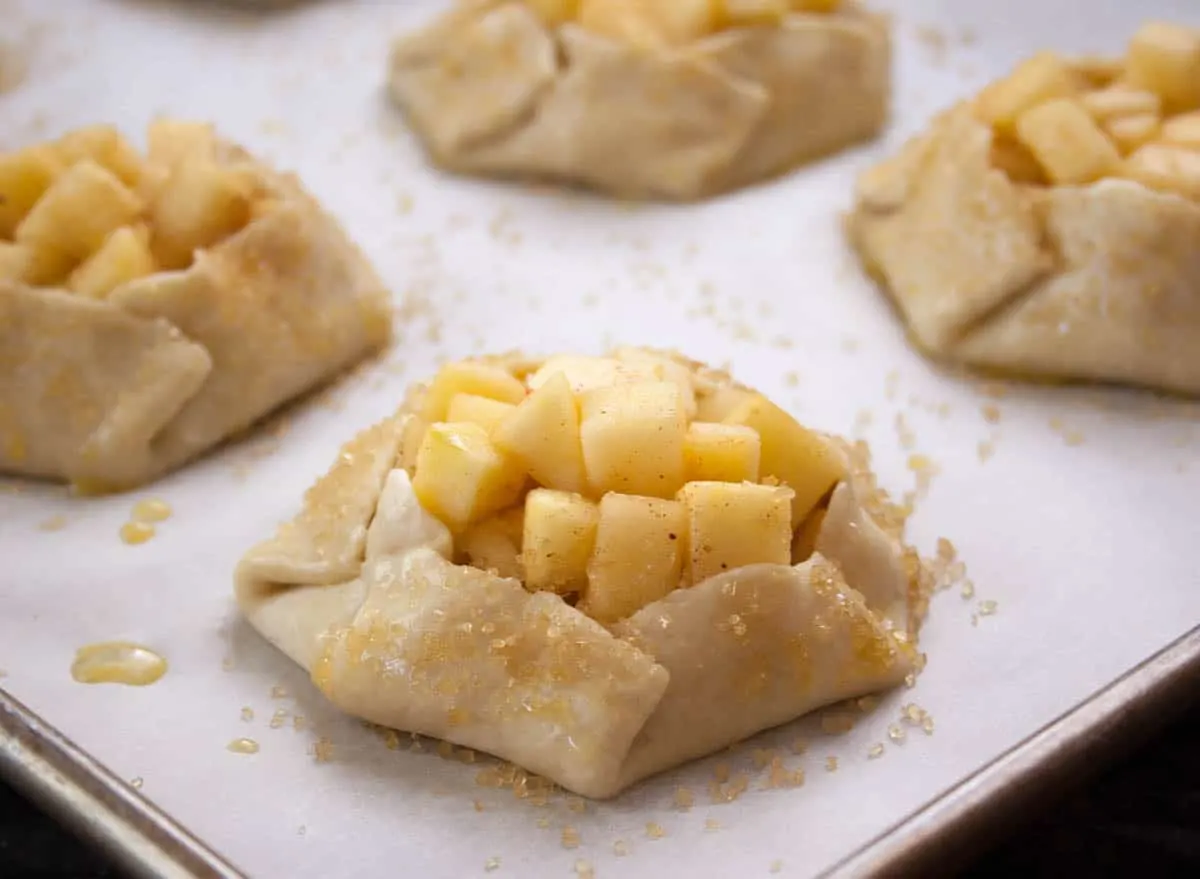
Once I finished filling all of the crostatas, I put the tray back into the refrigerator, covered with plastic wrap, to rechill until the butter in the dough was firm. Cold butter is so important to the texture of your crust. When I was ready to bake, I brushed the crusts with a beaten egg and sprinkled them generously with raw (turbinado) sugar. This adds a nice crunchy sweetness and gives the dough a little sparkle.
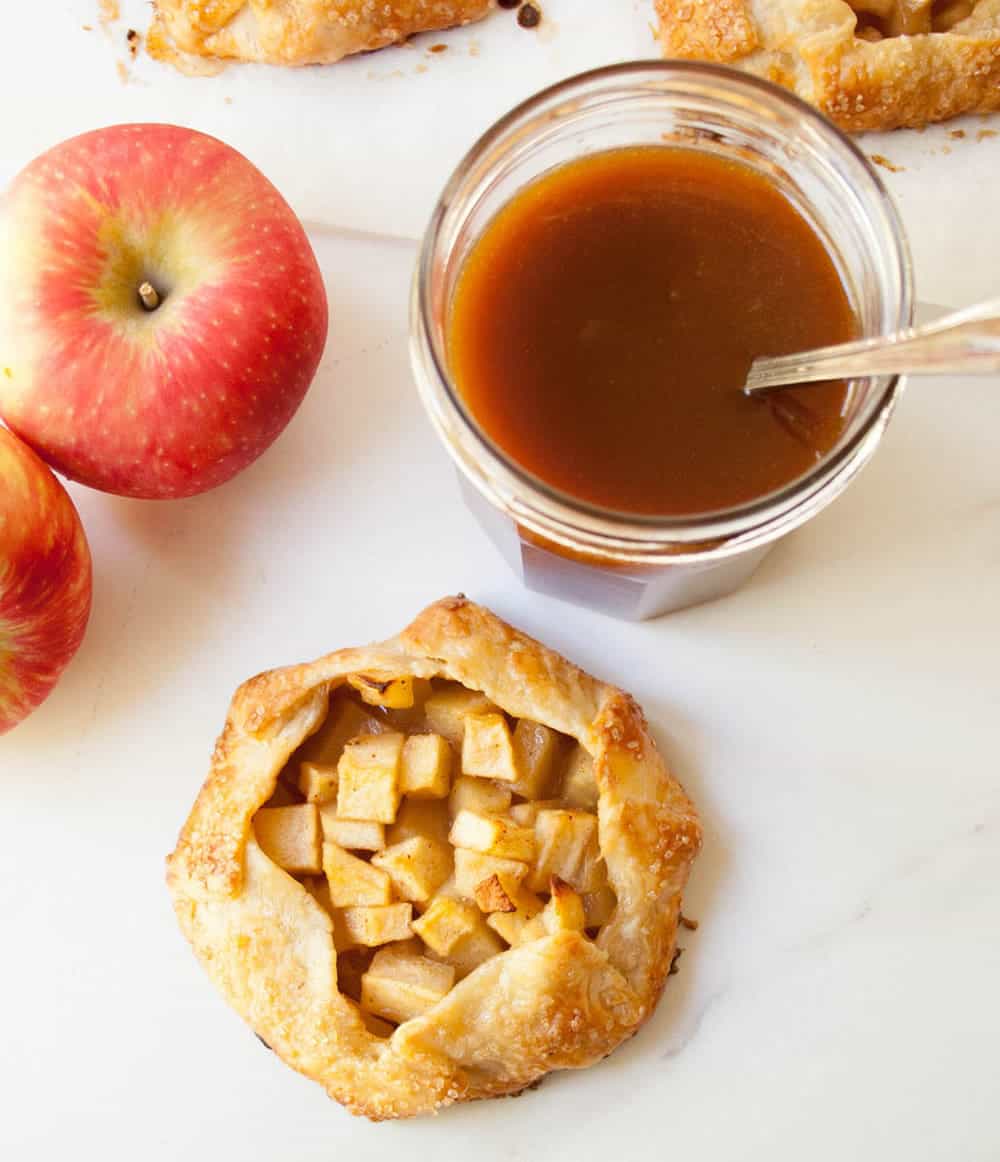
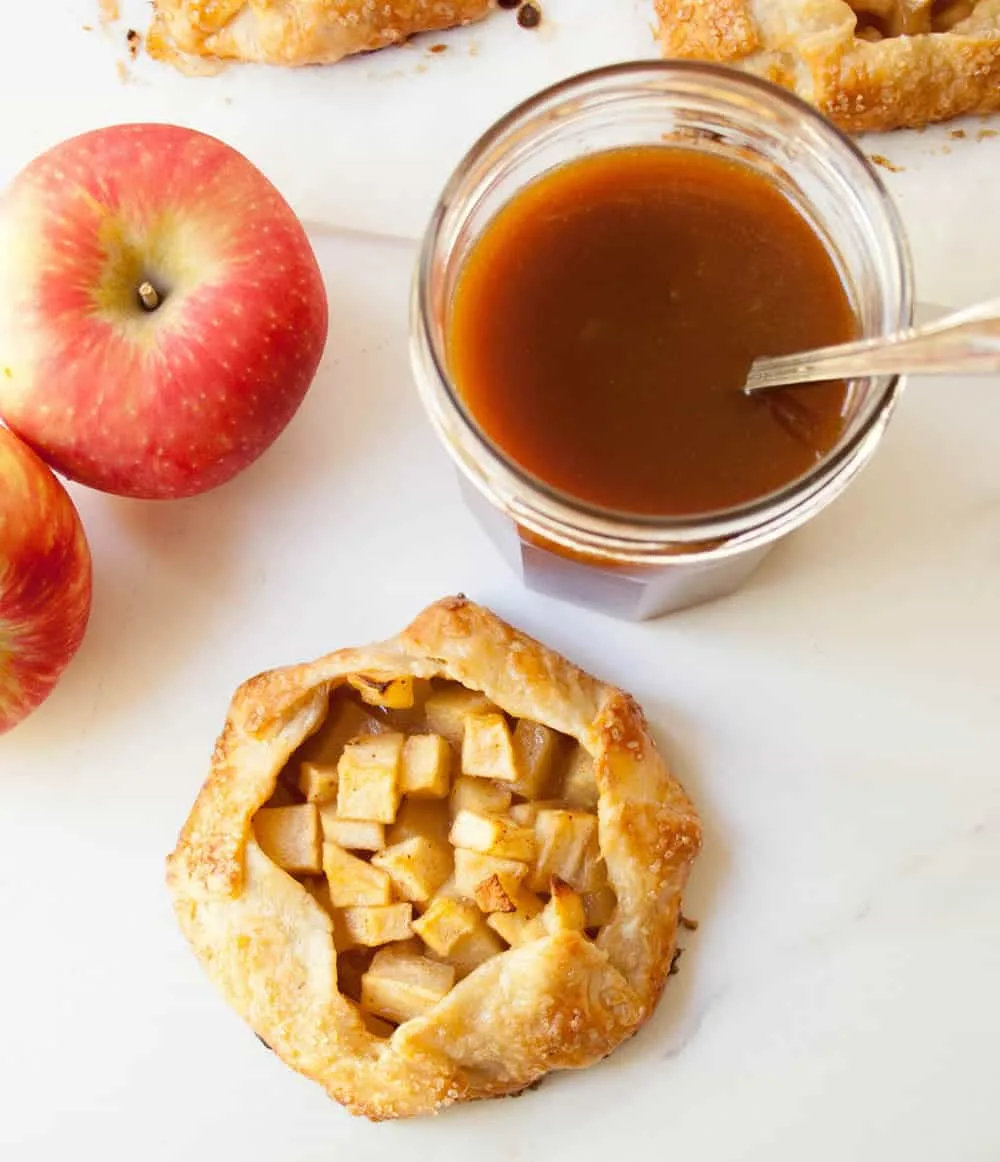
You know I love caramel, so you know I had to make some caramel sauce to top these babies. Homemade caramel is easy to make. You can make 10 Minute Buttermilk Caramel Sauce or you can make Salted Caramel Sauce (in the recipe below.) I decided to make the Salted Caramel Sauce. The 10 Minute Buttermilk Caramel Sauce is super easy, rich and buttery and it’s really delicious. It will crystallize when you store it in the refrigerator, but a couple drops of milk and a quick reheat will bring it back to it’s original creaminess.
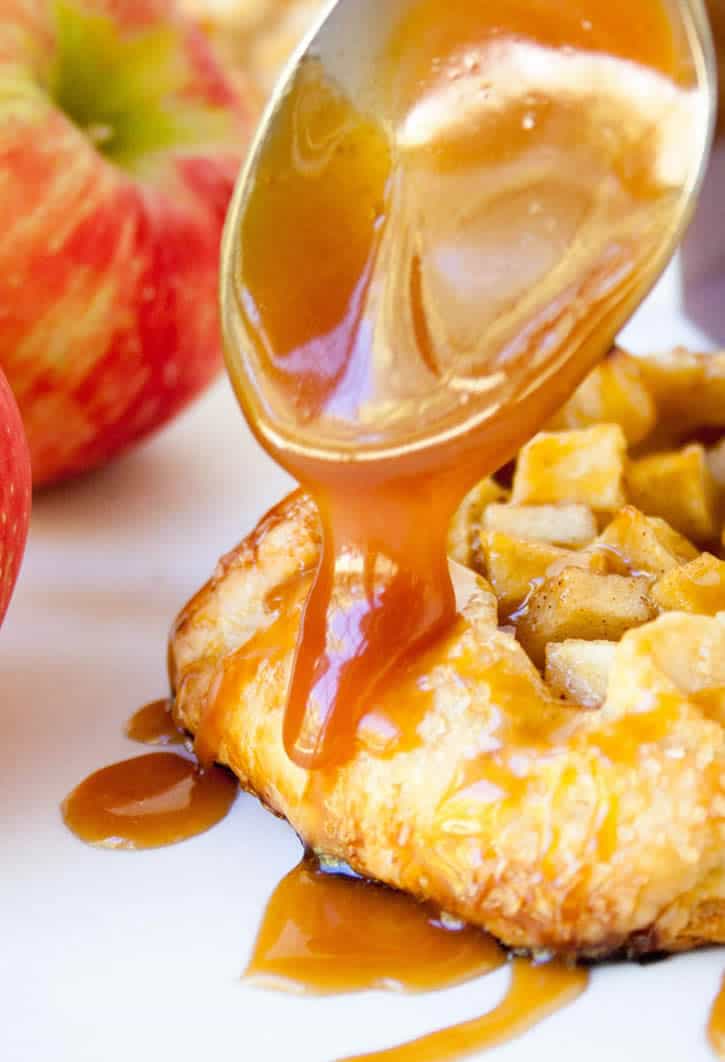

The Salted Caramel Sauce takes a bit longer and has a slightly deeper flavor (and of course the extra salt.) I’m giving you slightly different proportions for the ingredients, but you can see photos of the exact process in the Seaport Salty Swirl Ice Cream post. This sauce is also extremely delicious and so far, it’s never crystallized on me. It’s always creamy and wonderful. Or, you can use your favorite caramel sauce recipe or pick up a jar at the store. (Make your own at least once though. It’s sooooo good!)
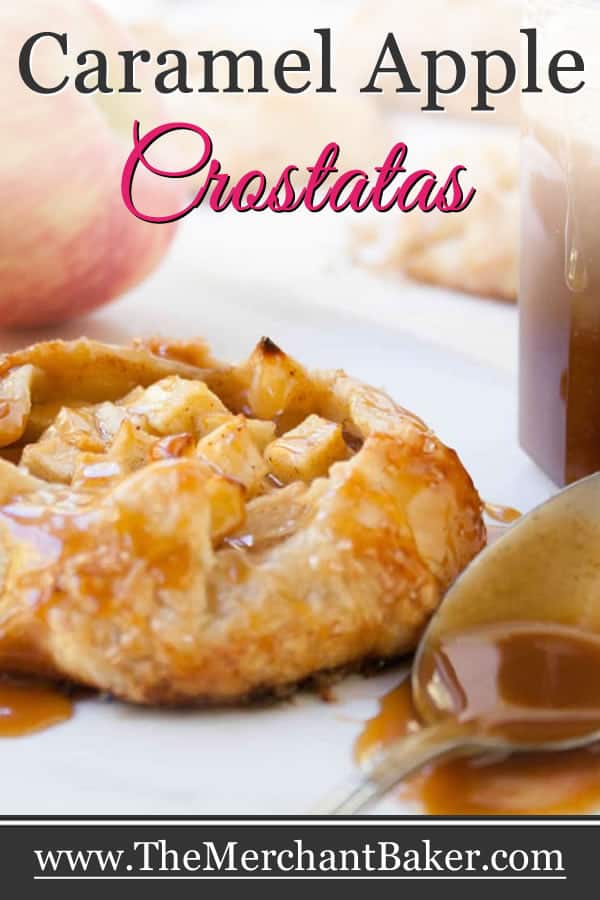
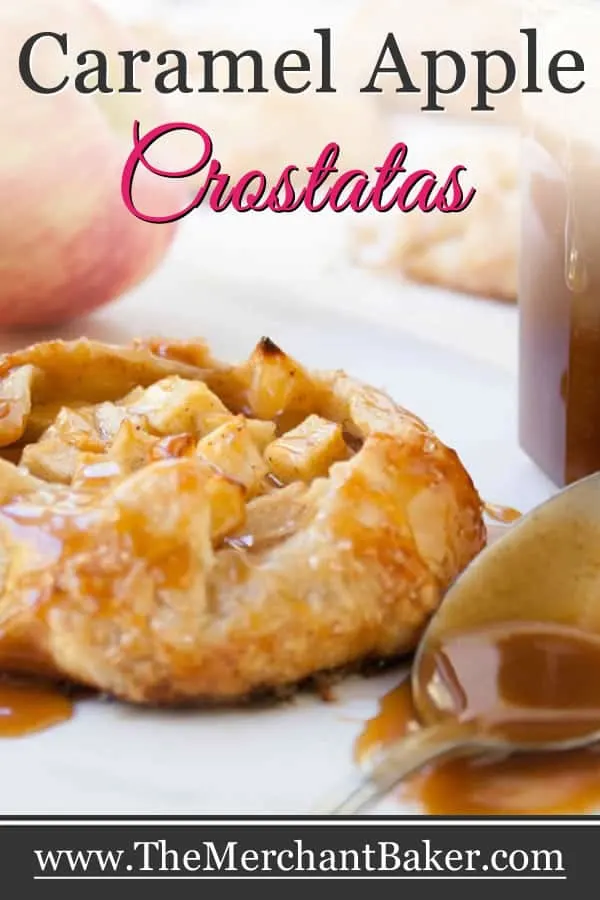
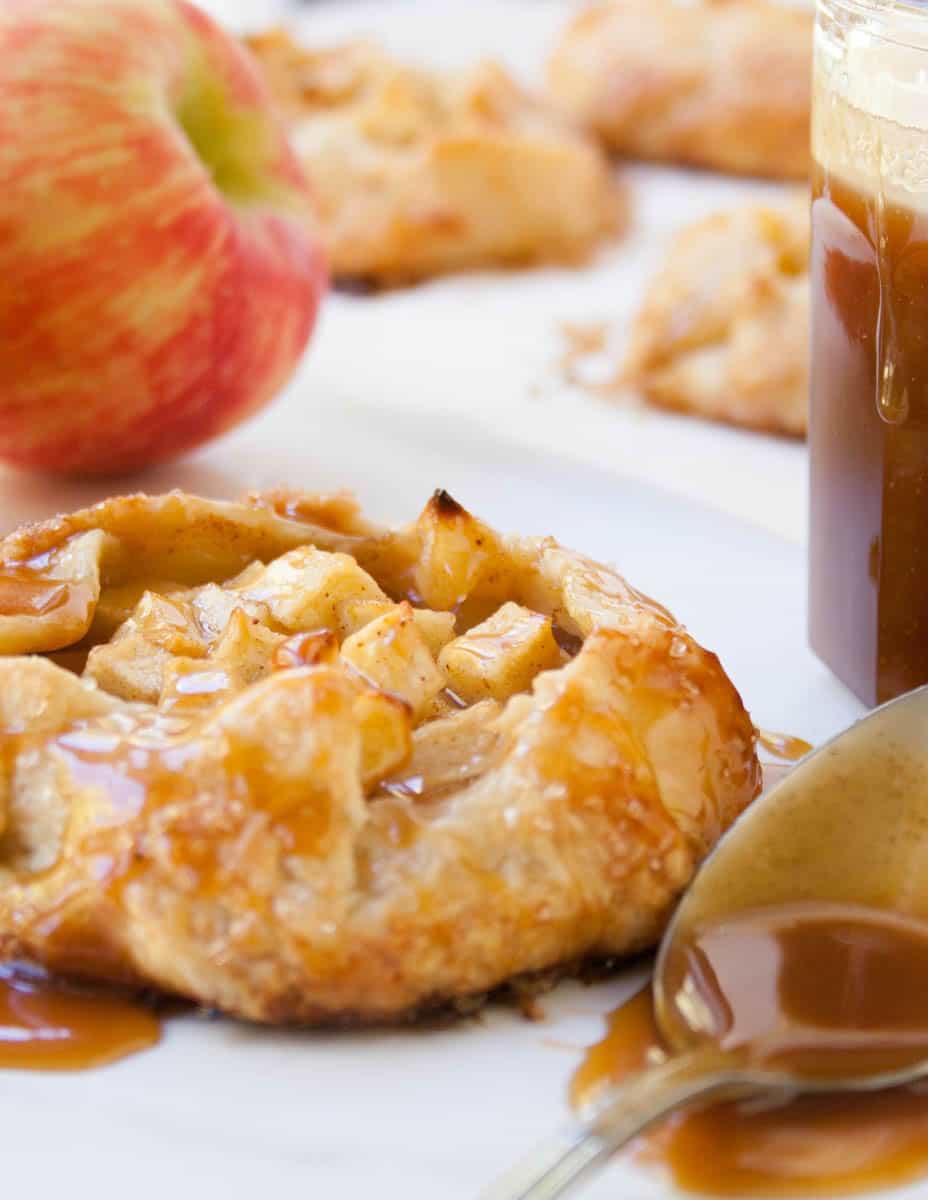
The little Caramel Apple Crostatas bake up in about 30 minutes and once they cool, you can just pick them up and eat them. Orrrrr, you can drizzle some warm caramel sauce over them and really get the whole caramel apple thing going. Even better, serve them warm with a scoop of vanilla ice cream and then drizzle warm caramel sauce over the whole darn thing! Yes. That’s definitely what you should do.
Caramel Apple Crostatas…
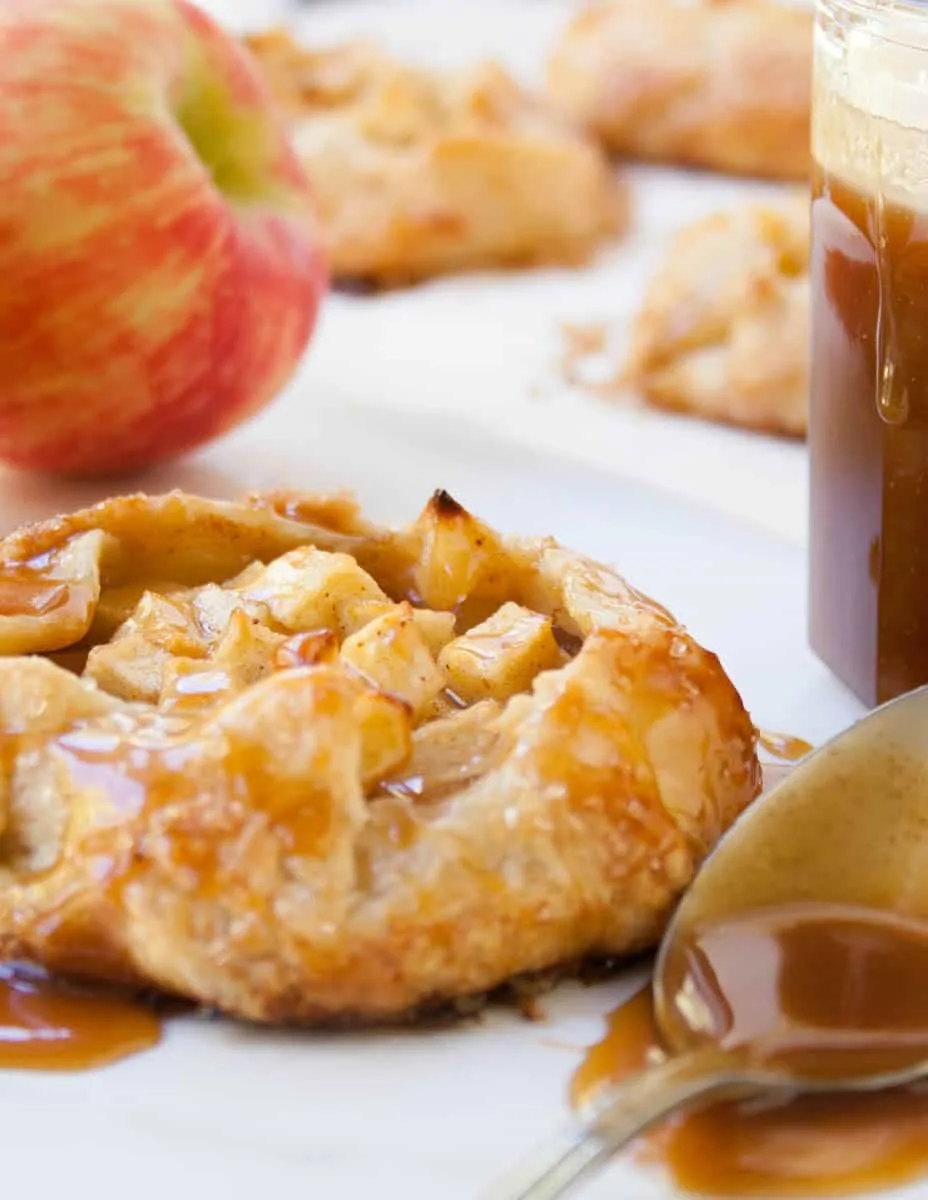
A pie by any other name would taste as sweet!

Caramel Apple Crostatas
Ingredients
For the crust:
- 1 1/2 cups all purpose flour
- 1 Tablespoon sugar
- 1/2 teaspoon salt
- 8 Tablespoons 1 stick unsalted butter, cold and cut into small pieces
- 5-8 Tablespoons ice water, more if needed (see notes)
- 1 egg, fully beaten for brushing on top of the crust
- raw sugar, turbinado for sprinkling
For the filling:
- 4 heaping cups peeled and chopped apple, (about a pound and half of whole apples)
- 3 Tablespoons brown sugar
- 1 Tablespoon flour
- 1 Tablespoon freshly squeezed lemon juice
- 1/2 teaspoon apple pie spice or cinnamon
- 1/8 teaspoon salt
For the salted caramel sauce:
- 1 cup sugar
- 1/2 cup 1 stick unsalted butter, room temperature
- 1/2 cup heavy cream, room temperature
- 1 teaspoon sea salt
- 1 teaspoon vanilla
Instructions
- Whisk together flour, sugar and salt. Add butter pieces and cut into the flour mixture using a pastry cutter or two knives until butter is in various sizes no larger than peas.
- Fill a cup with iced water and using a measuring spoon, drizzle a tablespoon of water over the flour mixture. Toss with a fork to distribute the moisture. Repeat this process adding a tablespoon of water at a time and tossing the mixture until your mixture looks shaggy and there's no dry piles of flour at the bottom of the bowl; it shouldn't look wet. (See galette post for photos) You should be able to grab a handful of the mixture and squeeze it in your hands and have it hold together. For me, this can take anywhere between 5-8 Tablespoons of water. It varies each time I make it.
- Bring the mixture together in a ball. Divide into 8 portions and cover with plastic wrap to keep it from drying out while you roll each portion.
- Tear off two sheets of plastic wrap about 10" long. (You just need it to big enough to give yourself room to roll out the dough.) Take one portion of the dough, shape it into a ball and place it in the center of one of the sheets of plastic and cover it with the other, sandwiching the dough between the two sheets. Lightly press on the ball to flatten it into a disk.
- Using a rolling pin, roll the dough into a 5" circle. Roll from the center out, easing up on the pressure as you near the edges so that you don't roll them too thin. Your rolling pin should not roll past the edge of the dough and back onto your counter. That would squeeze your dough into paper thinness. Think of the circle of dough like a clock and roll out to the 12 then pick it up and go back to center to roll down to the 6. Use the plastic wrap to pick up and rotate your dough to help you roll out to the different points on the circle. Always roll from the center out and resist the temptation to roll your pin back and forth. Lift the plastic wrap as necessary to release any places where it's stuck together and preventing the dough from rolling out. For this recipe, you don't have to worry that your dough is a perfect circle, but you do want it to be rolled out to a uniform thickness so that it bakes evenly.
- When you've achieved your 5" circle, keep it sandwiched in the plastic wrap and place on a tray or flat surface in the refrigerator. Grab more plastic wrap and roll out the remaining portions of dough. Refrigerate for about an hour or two or overnight.
- When you're ready to bake, preheat your oven to 375 degrees F. Line two large baking sheets with parchment.
- Combine all of the filling ingredients, stirring to thoroughly combine. You can adjust the sugar to taste, remembering that you're going to have a caramel topping that will also add sweetness later.
- Remove one piece of dough from the refrigerator, then peel off the plastic wrap and place the circle of dough onto your parchment lined baking sheet. (Place it wherever it's going to bake because it will be harder to move once you've filled it.)
- Pile about 1/2 cup of your apple mixture in the center of the dough leaving about a 1" border of dough.
- Fold the dough edges up and over the apples, pleating and pinching together as you go. Do not stretch the dough or press it into the filling. Just pleat it up and over the filling in whatever fashion you choose until you've completely encased the edges of your filling. Remember to press/lightly pinch the dough edges as you go to keep pleats together. Finish filling the rest of your crostatas removing just one piece of dough from the refrigerator at a time, so that the waiting pieces stay cold.
- At this point, I like to pop the trays back into the refrigerator one more time, if my dough has gotten too soft/warm, just to make sure the butter is firm, about 30 minutes. You could also use the freezer to do this in less time. (If you think you're going to need this time to firm the butter up, wait to preheat your oven until after you put the filled pies into the refrigerator.)
- Just before baking, brush the surface of the dough lightly with the beaten egg, then sprinkle the dough and top of the filling with a coarse, raw sugar.
- Bake for about 30 minutes or until crust is completely golden and filling is bubbly.
- While crostatas are baking, make caramel sauce. (Or, make it in advance and heat it up when serving.)
- In a heavy bottomed sauce pan, heat the one cup of white sugar over medium heat. Do not touch the sugar until you see all of the sides begin to melt. They may already look like they're turning a deep caramel color. Don't let this process go too far or your sugar will burn. Once you see the melted sides, use a spoon or heat proof spatula to pull the melted sides into the center. Stir it frequently until it reaches a deep amber color and becomes syrupy, lowering the heat if necessary.
- Once it becomes syrupy, remove the caramel from the heat and add the butter. Stir until it is completely melted. (See photos of this process here) You may have clumps of caramel that form. Don't worry about it. Add the cream and the salt and combine as best you can, then return to the heat, stirring frequently until the mixture completely combines. If you had any clumps of caramel, they should melt and combine with the butter and cream as you heat it. Once your sauce has come together, remove from heat. I had a few tiny clumps of caramel left, so I strained my mixture into a mason jar to remove them.
- Drizzle warm caramel sauce over crostatas and serve.
Notes
*These little crostatas are best served the same day they are baked, when the crust has a nice crispness to it. Leftovers the next day will still be delicious, but the crust will be softer. Store lightly covered at room temperature. Do not add caramel sauce until serving.
*If you'd rather make one whole crostata, tear off larger pieces of plastic wrap and roll your dough into one large 12-13" circle. Fill, pleat, brush with egg wash and sprinkle with sugar. You may need to let the crust sit for a few minutes at room temperature to soften up just a little before you begin pleating it. Bake at 350 degrees F for 50-60 minutes or until crust is completely golden and filling is bubbly. The crust will be thicker with one large crostata and it will also be delicious!
*The caramel sauce adds a lot of sweetness, so for me, the 3 Tablespoons of brown sugar in the filling was plenty.
*I almost always make the dough the day before. It doesn't take long and it's nice to be able to take some dough out of the refrigerator the next day and just fill and bake it.
*You can also freeze the dough after rolling if you're not going to use it the next day. Freeze flat or roll it up loosely into a tube like shape while it's still sandwiched in the plastic wrap, place it in a freezer bag and freeze. When you're ready to use it, let it thaw in the refrigerator, then fill and bake as usual.
*The chill time in the refrigerator is important! It relaxes the gluten and helps keep your dough from shrinking while it bakes.
The Merchant Baker Copyright © 2015
JANA JOYCE
Monday 28th of October 2019
A crostata is a jam pie
Ramona
Monday 28th of October 2019
Thank you Jana. Yes, a crostata can also be a jam pie which is equally delicious!
My Holiday Baked Favorites! | The Real State of Real Estate
Tuesday 22nd of December 2015
[…] found. Got the idea to make mini servings and drizzled with caramel syrup! Click here–> Inspired by Pinterest recipe! Also, I made a few candied caramel apples […]
Ramona
Sunday 22nd of November 2015
Oh yes...you might even ask someone if they want to split it with you, then after you take a bite...you're kind of like...um, maybe you should get your own ;)
MJ
Tuesday 3rd of November 2015
These look amazing! What a great idea for Thanksgiving - mini pies in different flavors. Can't wait to try them. Also, your pictures are gorgeous!
Ramona
Tuesday 3rd of November 2015
Thanks MJ! They are tasty little pies and I love your idea for making different flavors...something for everyone!
Jennifer C
Wednesday 21st of October 2015
Mmmmmmmmmmmm! Looks so good!
Ramona
Wednesday 21st of October 2015
Mmmmmmmmmmmmmmmmmmm....tastes so good! :)