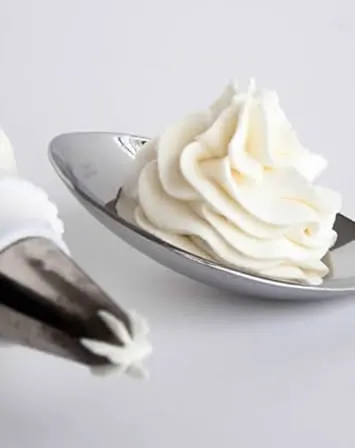
At long last, Chocolate Whipped Cream Cream Cheese Frosting is here! And yes. It is getting it’s very own post. If you’ve tried Whipped Cream Cream Cheese Frosting, you know what all the buzz it about. That wonderful, not too sweet frosting is our number one favorite frosting and is almost always requested as THE frosting everyone wants for their birthday cake.

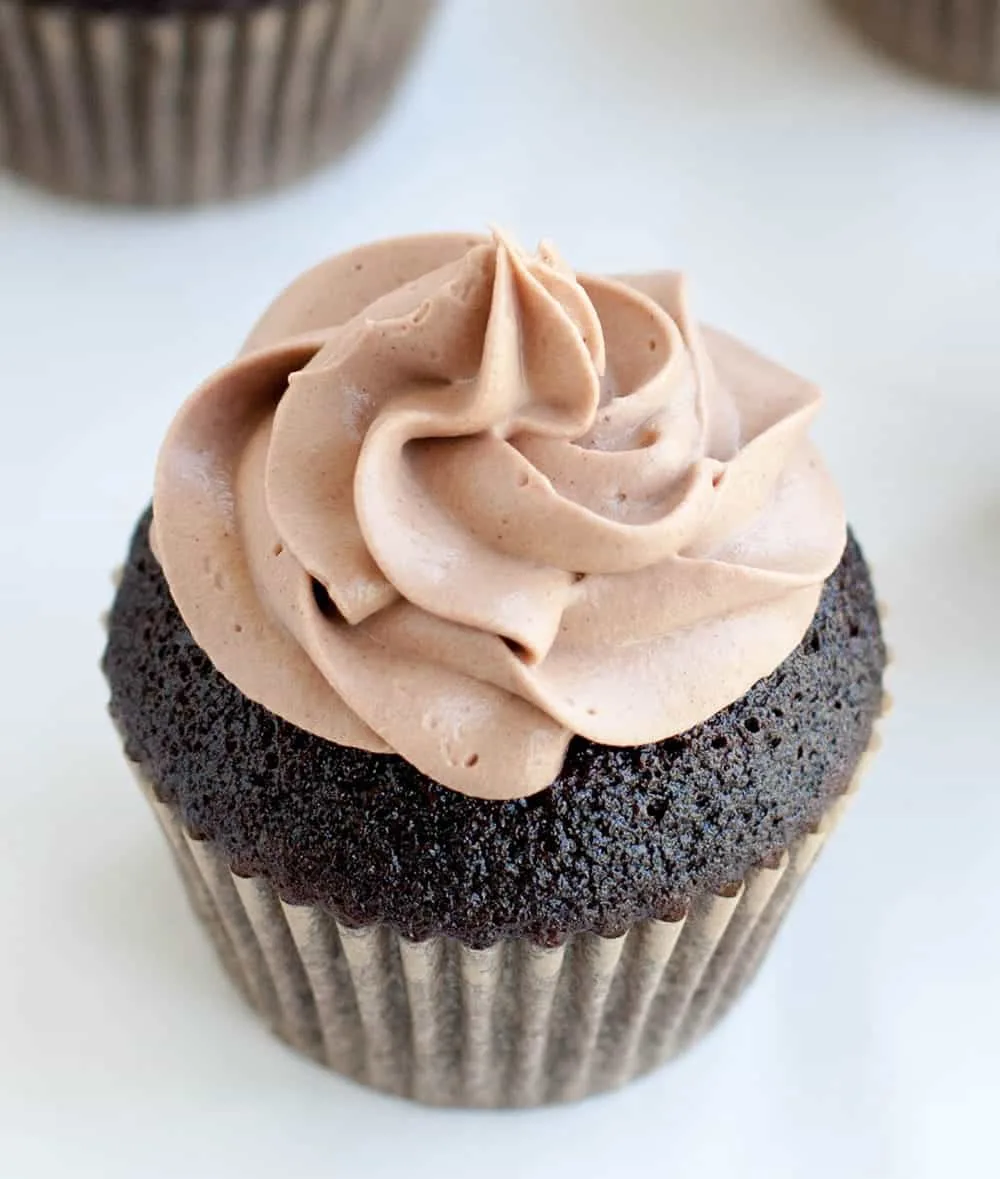
It’s the frosting that’s not too sweet. We are not fans of super sugary frosting. I, personally, just scrape it off if it’s too sweet for me. Not with this one.
This is the frosting that, when there are leftovers, promptly gets used to top fresh fruit, pancakes, oatmeal….spoons…you get the idea. It’s just that good. It’s the perfect “not too sweet” frosting. Read the post. All the details are there.
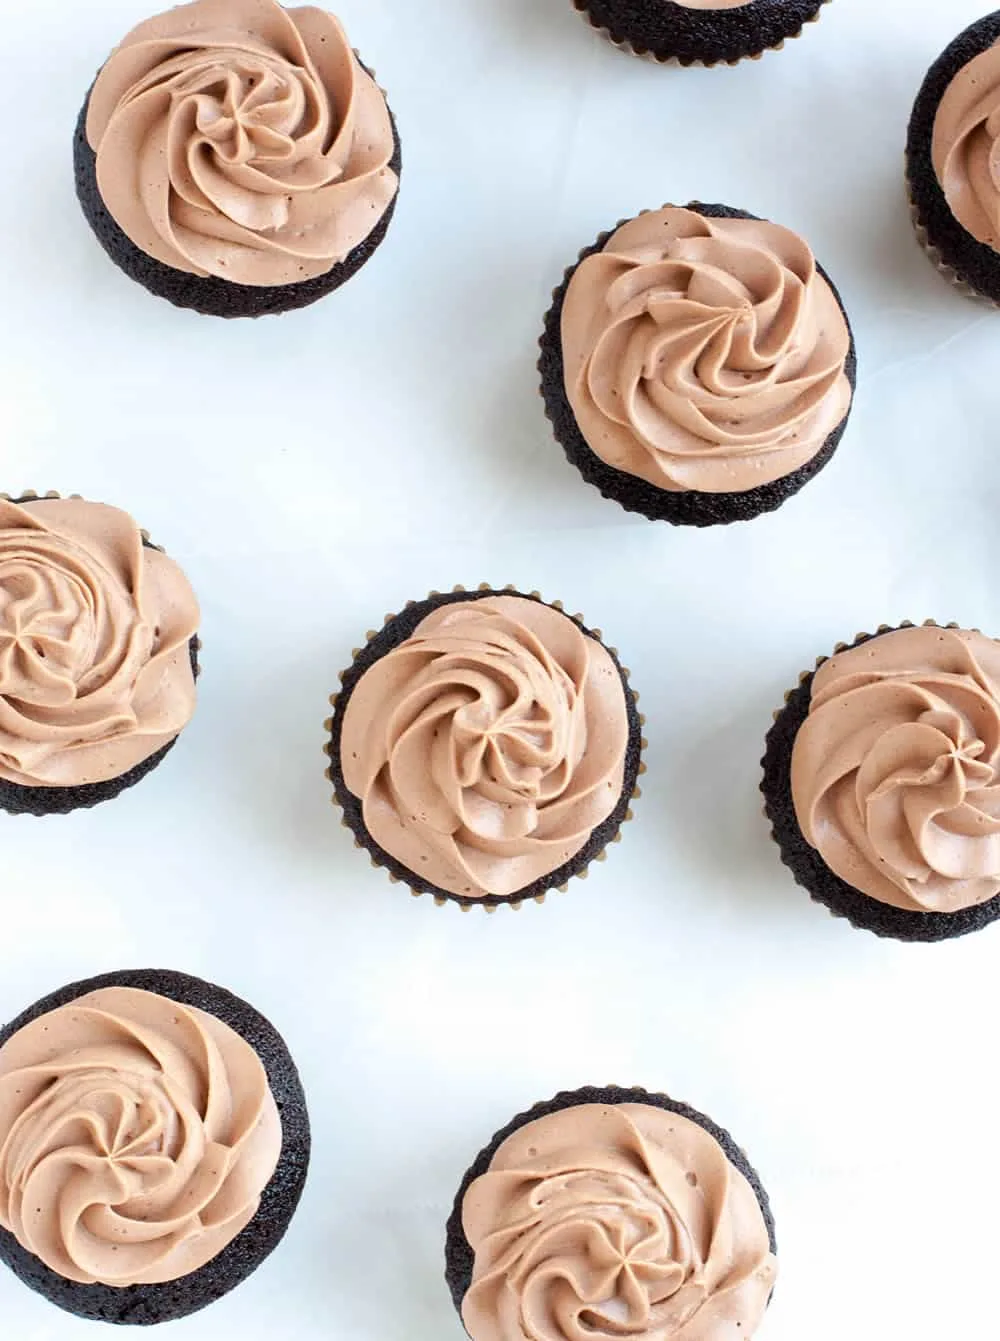
But chocolate? What about chocolate??? That’s what so many readers wanted to know. How do I make this chocolate? Well, it’s not like I haven’t made chocolate versions, but it was before the blog and I didn’t write down the exact measurements.
So I found myself coaching readers through their own process to figure it out, promising that one day I would write a post specifically for this flavor.
And today’s that day. Yes, my family has “suffered” through a couple of trials on the best way to make this favorite frosting in chocolate. It was actually three trials.
The good news is that while I didn’t think the others were the perfect “ying” to the “yang” of the original, they were so good in their own right as totally different kinds of frosting that I’m going to have to make them again someday and post them as well.
What I wanted was a mellow chocolate version of the original. This is not meant to be a super chocolatey fudgey frosting (which, of course,would also be delicious.) Instead, this is the perfect sibling to the creamy and light tasting plain vanilla version.
I decided cocoa was really the best option for achieving that. It was also the easiest. One of the beauties of the original frosting is that it can be made in one bowl. When we use cocoa to flavor it, there are no additional steps of melting chocolate and cooling it…etc.
There is a slight change in how it is prepared, though. We start with a paste. We’re just going to mix a little of the cream into the cocoa so that it can more easily incorporate into the cream cheese.
What happens if you don’t do that? Well it will still work, but you’ll have cocoa flying out of your bowl and the powdery cocoa will coat the cream cheese.
As you beat it, the cream cheese will form marble size balls, all covered in cocoa that just roll around your bowl while you beat it. It will look, um, let’s just say, unappealing.
And while it’s looking all yuck in your bowl, you’ll wonder if you’ve just ruined everything. You haven’t, it will just take a heck of a lot longer to beat it into submission. It’s not worth it.
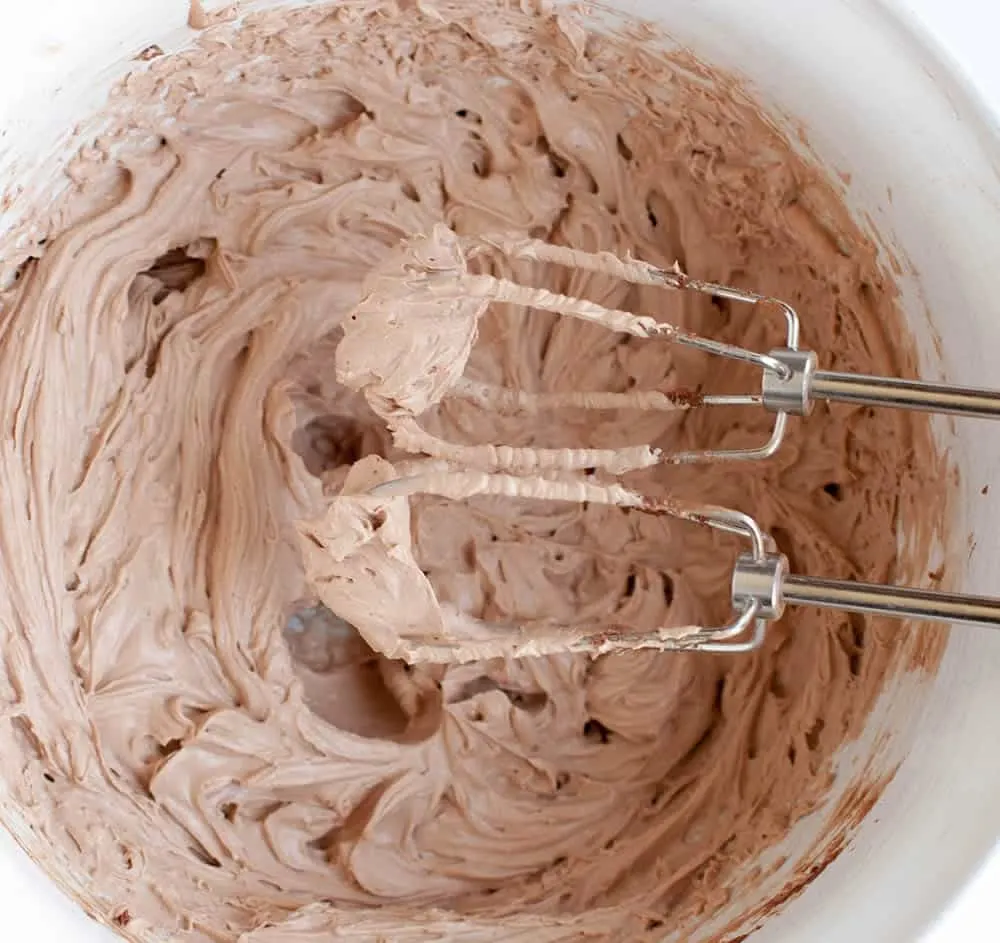
Make the paste instead. It still happens in one bowl, it will take 15 extra seconds to do it and it will save you frustration that should never be part of a recipe as delicious as this. I have no photos of the cocoa covered “marbles” debacle and I have no photos of the process that starts with paste.
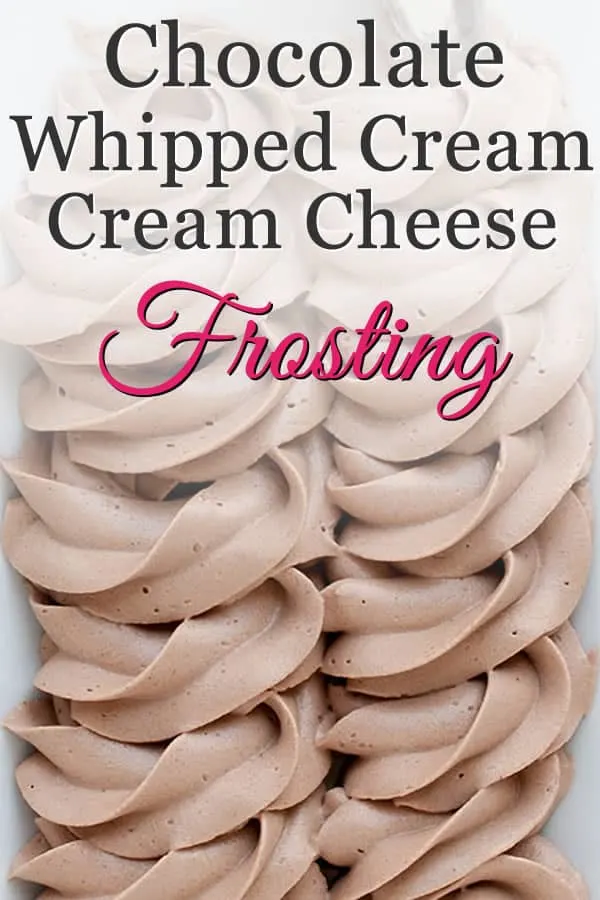
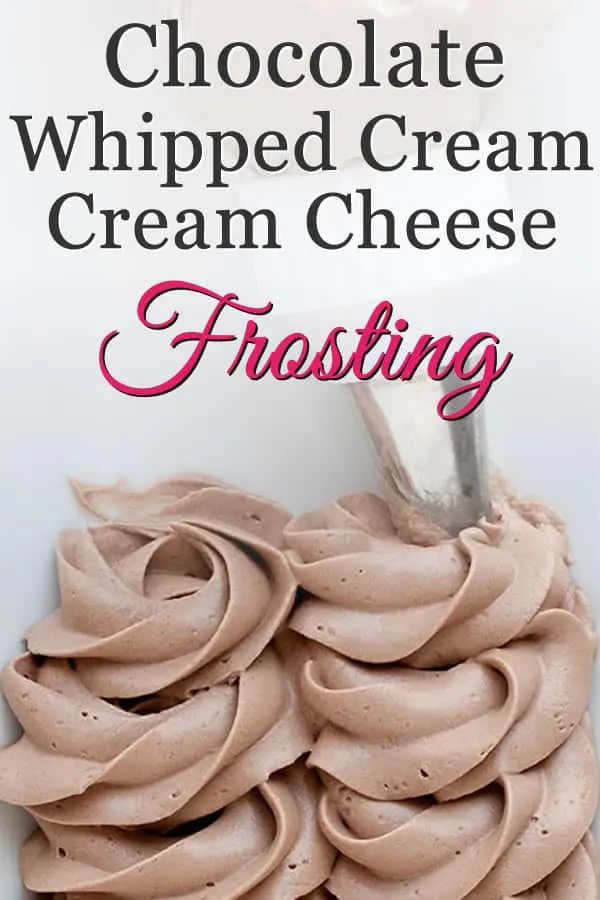
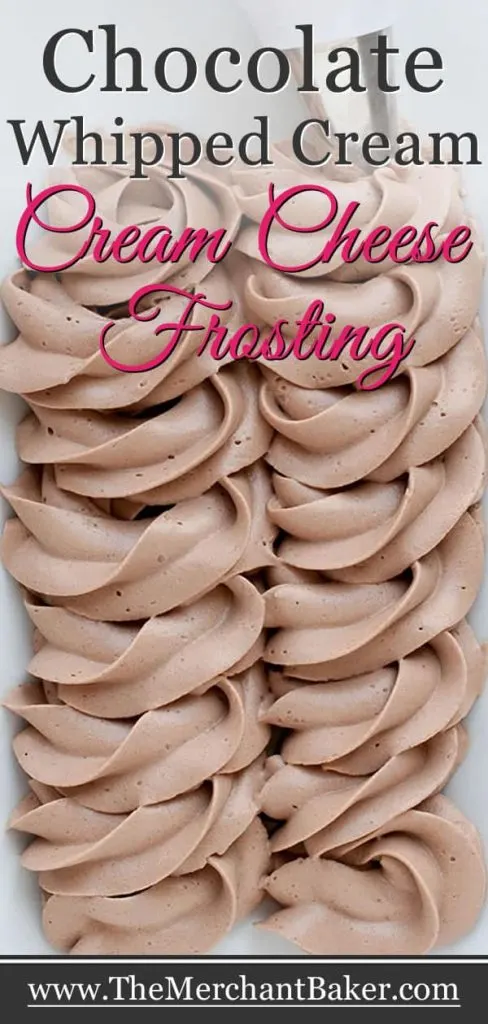
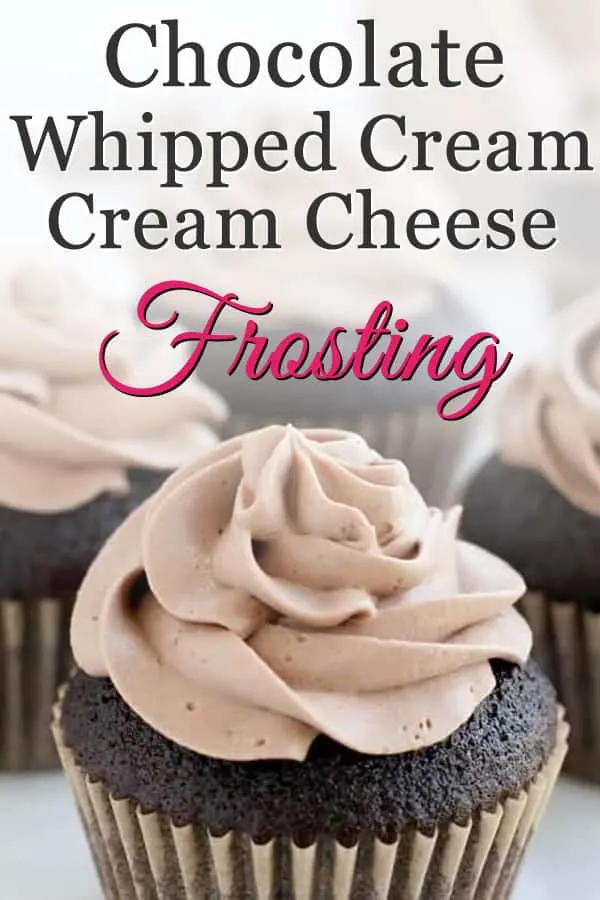
But I do have a photo of the creamy bowl of yum you’ll end up with. (The photo above is from a half recipe.)
I’ve never timed it, but I think I make this frosting in less than 10 minutes. There are not a lot of ingredients. It’s one bowl. You don’t have to wait for anything to come to room temperature.
In fact, you want everything cold. I know some will say that the cream cheese needs to come to room temperature like it would for cheesecake. But not here.
You want it cold so that it keeps it’s shape. If you let it come to room temperature, your frosting may be much too soft to pipe. I always use Philadelphia Cream Cheese and it always whips up perfectly from cold. Other brands just don’t work as well. I’ve tried them.
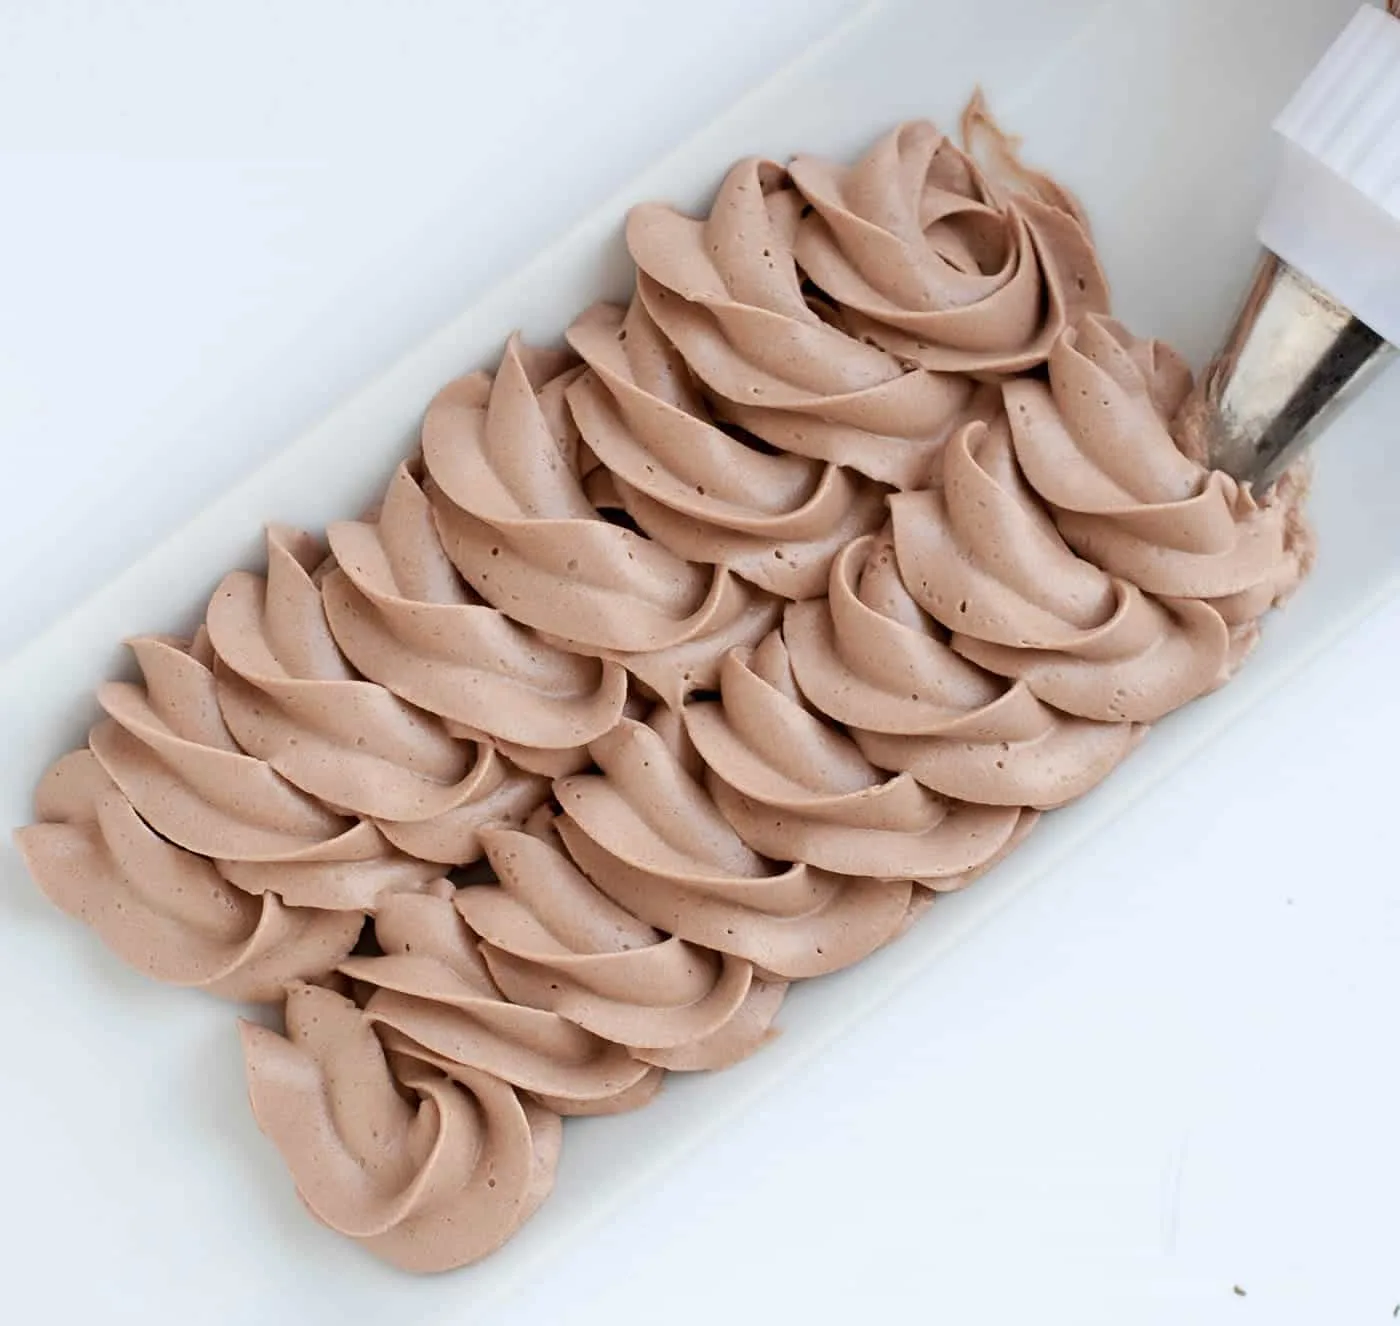
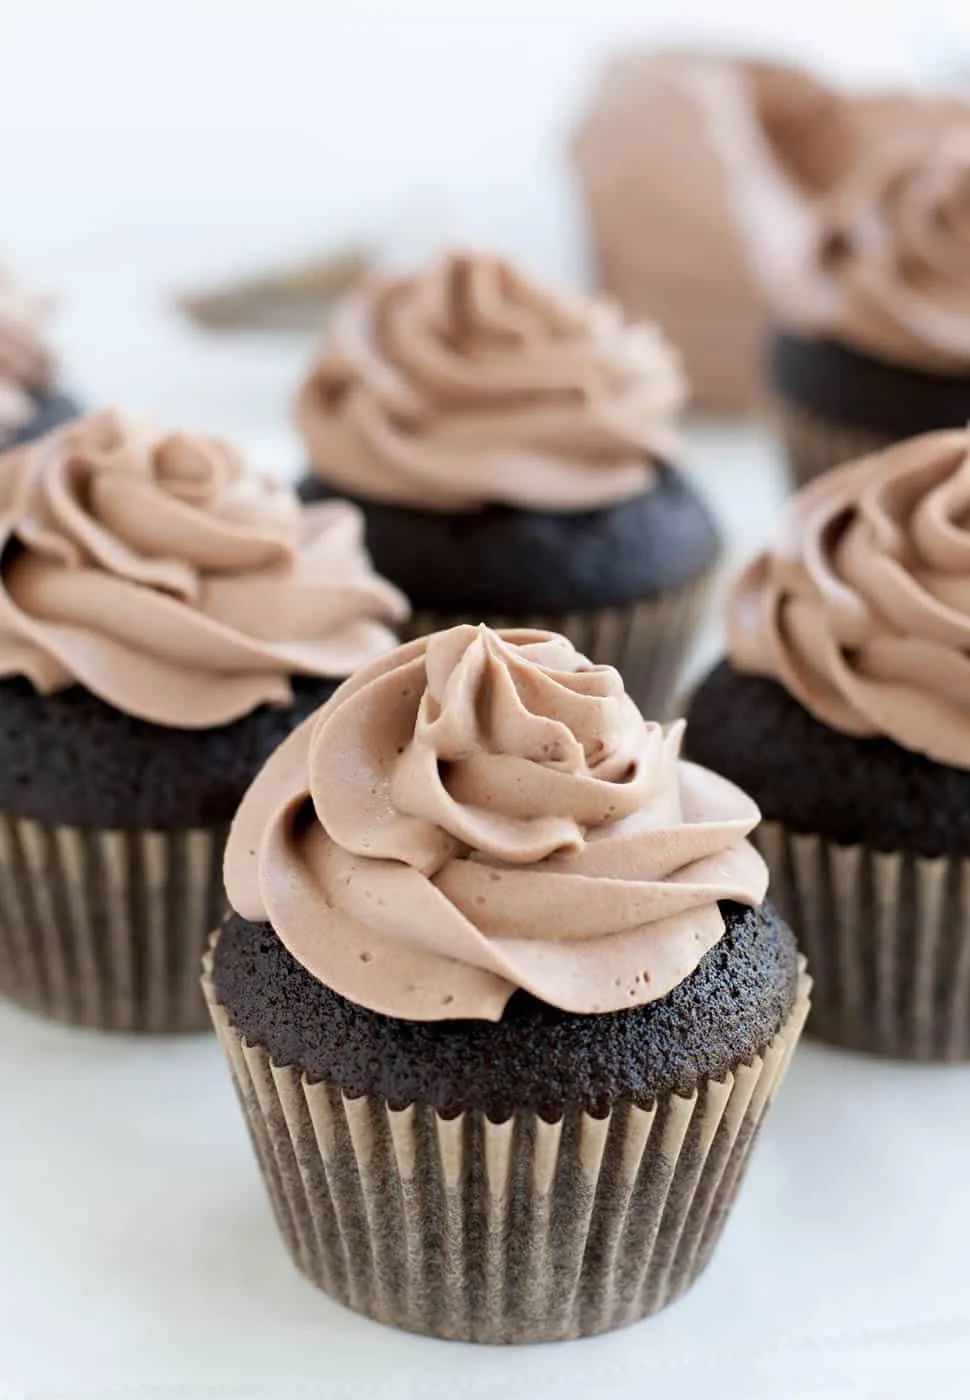
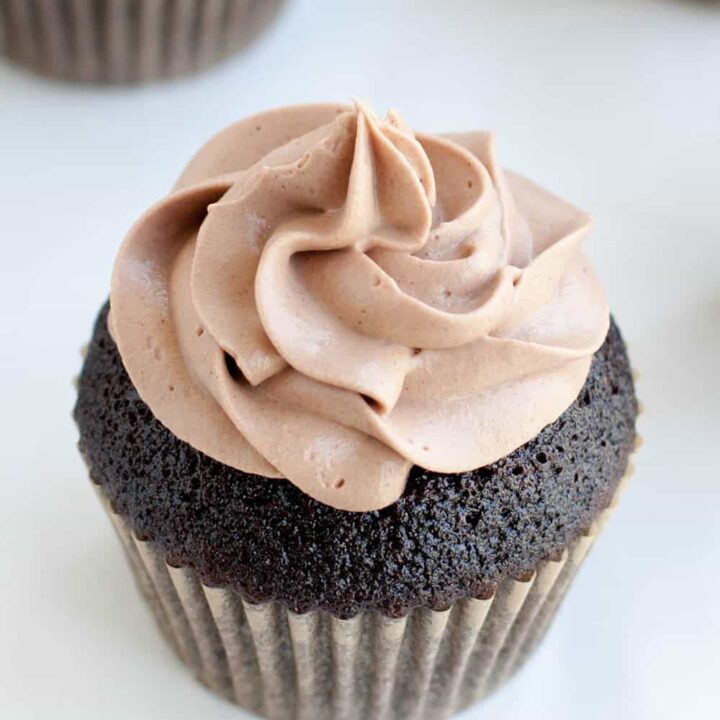
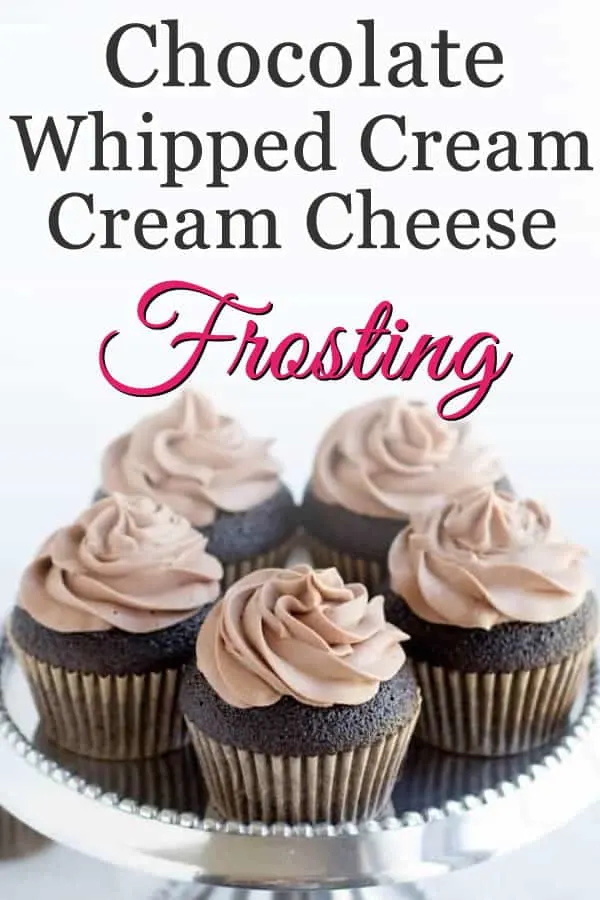
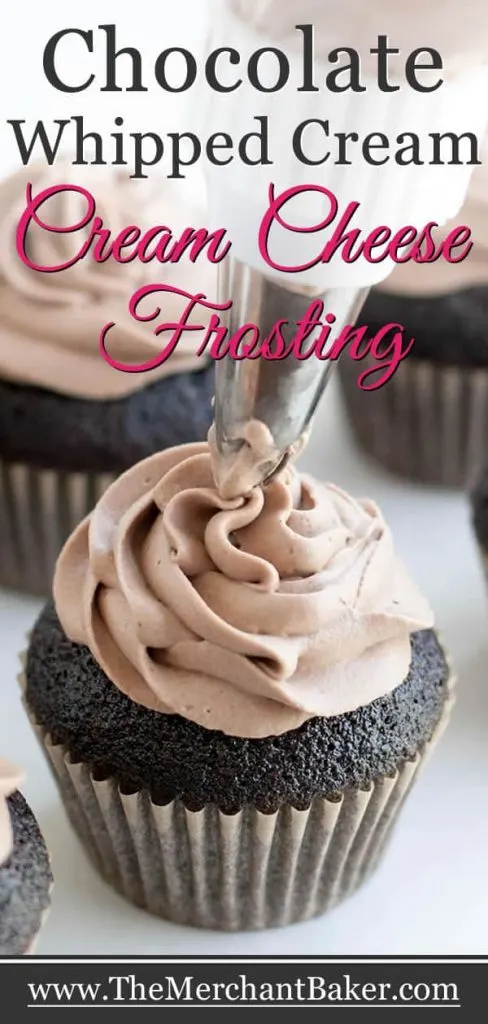
Minutes later, when you’re finished whipping the mixture to stiff peaks, you’ll have a lovely frosting. It’s creamy, it’s chocolatey and, it’s not too sweet. It’s perfect on top of the Dark Chocolate Cupcakes that I’ll be sharing in my next post. And it will be perfect, pretty much, on top of anything.
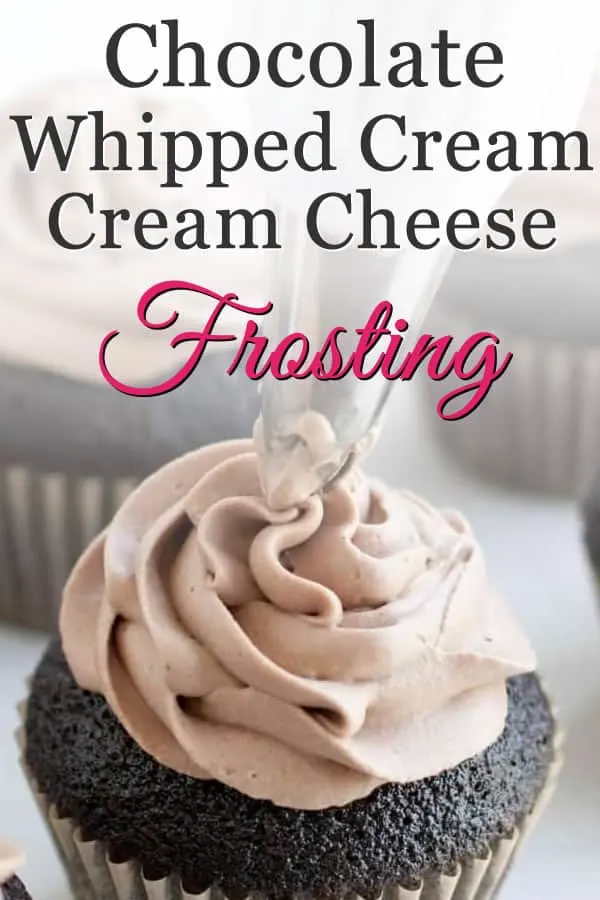
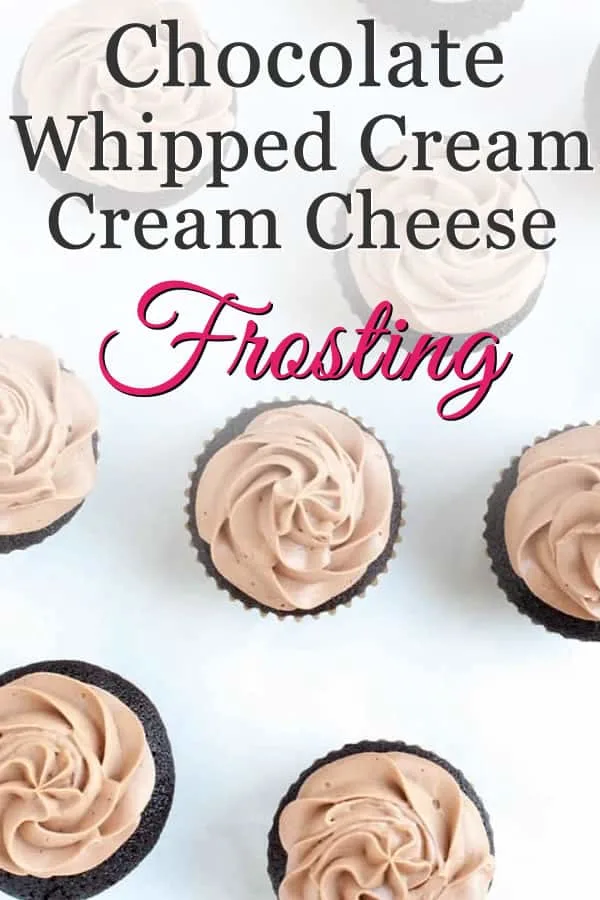
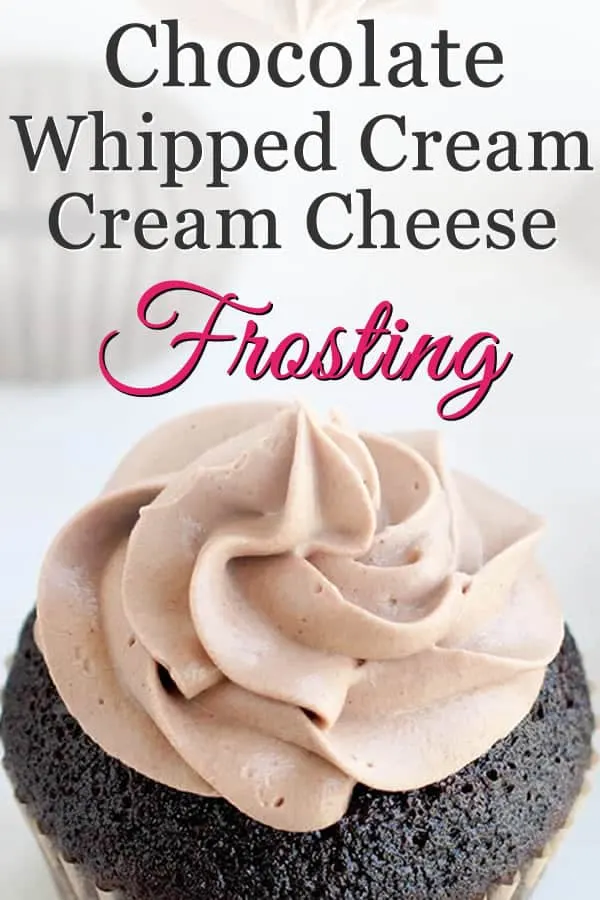
I could have just added directions for a chocolate version to the original post, but come on…look at this Chocolate Whipped Cream Cream Cheese Frosting…
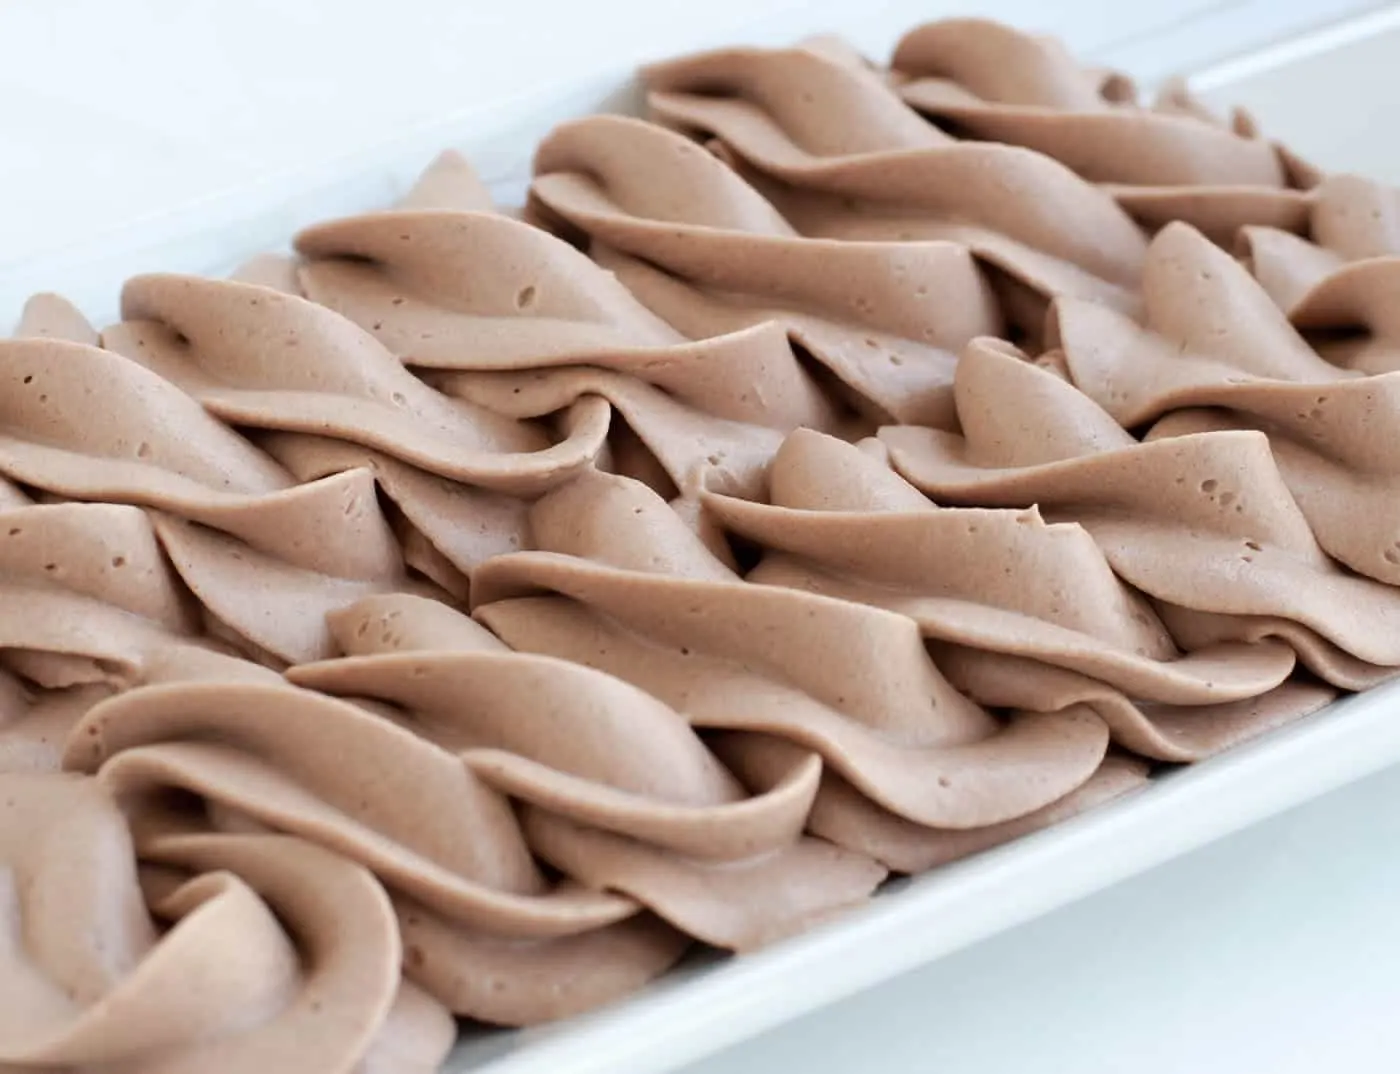
A picture really is worth a thousand words.
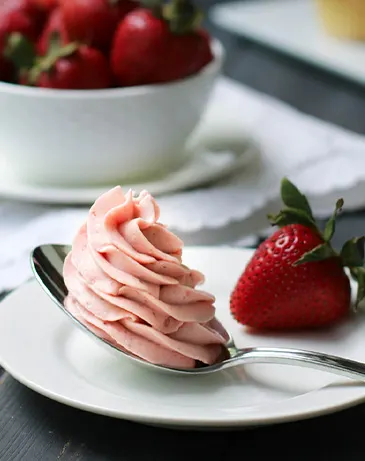
Wait! You don’t want chocolate? Here are links to the original and other flavors of this amazing frosting!
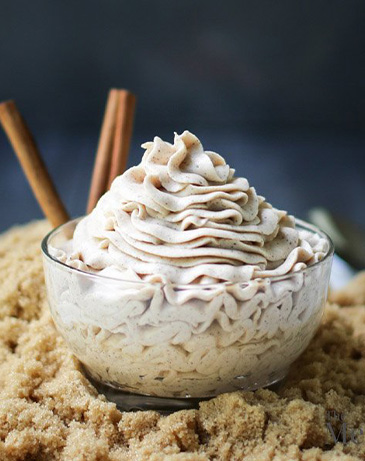
And here’s the perfect option to top your fall flavored cakes like this Pumpkin Ale Cake, Brown Sugar Cinnamon Whipped Cream Cream Cheese Frosting!
Chocolate Whipped Cream Cream Cheese Frosting
Ingredients
- 3 Tablespoons unsweetened cocoa powder
- 1 1/2 cups heavy whipping cream or heavy cream, cold
- 1 8 ounce package cream cheese, cold (I only use Philadelphia Cream Cheese for this recipe)
- 1 cup granulated white sugar, or 3/4 cup if you prefer it less sweet
- 1/8 teaspoon salt
- 1 teaspoon vanilla extract
Instructions
- In a large bowl, stir together the cocoa powder with a couple spoonfuls of the cream until it forms a creamy paste. Put the rest of the cream in the refrigerator to stay cold while you move on to the next step.
- Add the cold cream cheese to the bowl with the cocoa paste and beat it with an electric mixer to soften it up and to begin to incorporate it with the cocoa, about 30 seconds. Add the sugar, salt and vanilla and continue beating until fully combined. Check a small bit between your fingers to insure sugar crystals have "melted" into the mixture so there is no grittiness. (Update 9-9-18: Don't over beat at this step. Just mix until fully combined. If you over beat, the mixture will become too loose. Don't worry about checking for grittiness. When you add the cream, the sugar crystals will dissolve.)
- Slowly drizzle the cream down the side of the bowl while continuing to beat the mixture. This will help reduce splashing. Beat until the mixture is fully combined and has formed stiff peaks.
- Use immediately for frosting, piping or filling. Store leftovers and whatever you've frosted or filled in the refrigerator.
Notes
* I love my stand mixer, but I prefer using a hand mixer for this recipe.
*You can use the one bowl method OR the two bowl method for this recipe. See details in the updated notes section below the recipe card.
*You can use any kind of unsweetened cocoa. For today's post, I used Hershey's.
*I normally use 3/4 cup of sugar when I make the original (not chocolate) version of this frosting. For the chocolate version, it seemed to need the full cup of sugar to balance the cocoa. If you're not sure, just taste the cream cheese mixture with 3/4 cup of sugar, then add more to adjust to your level of sweetness. Do this before you add the cream.
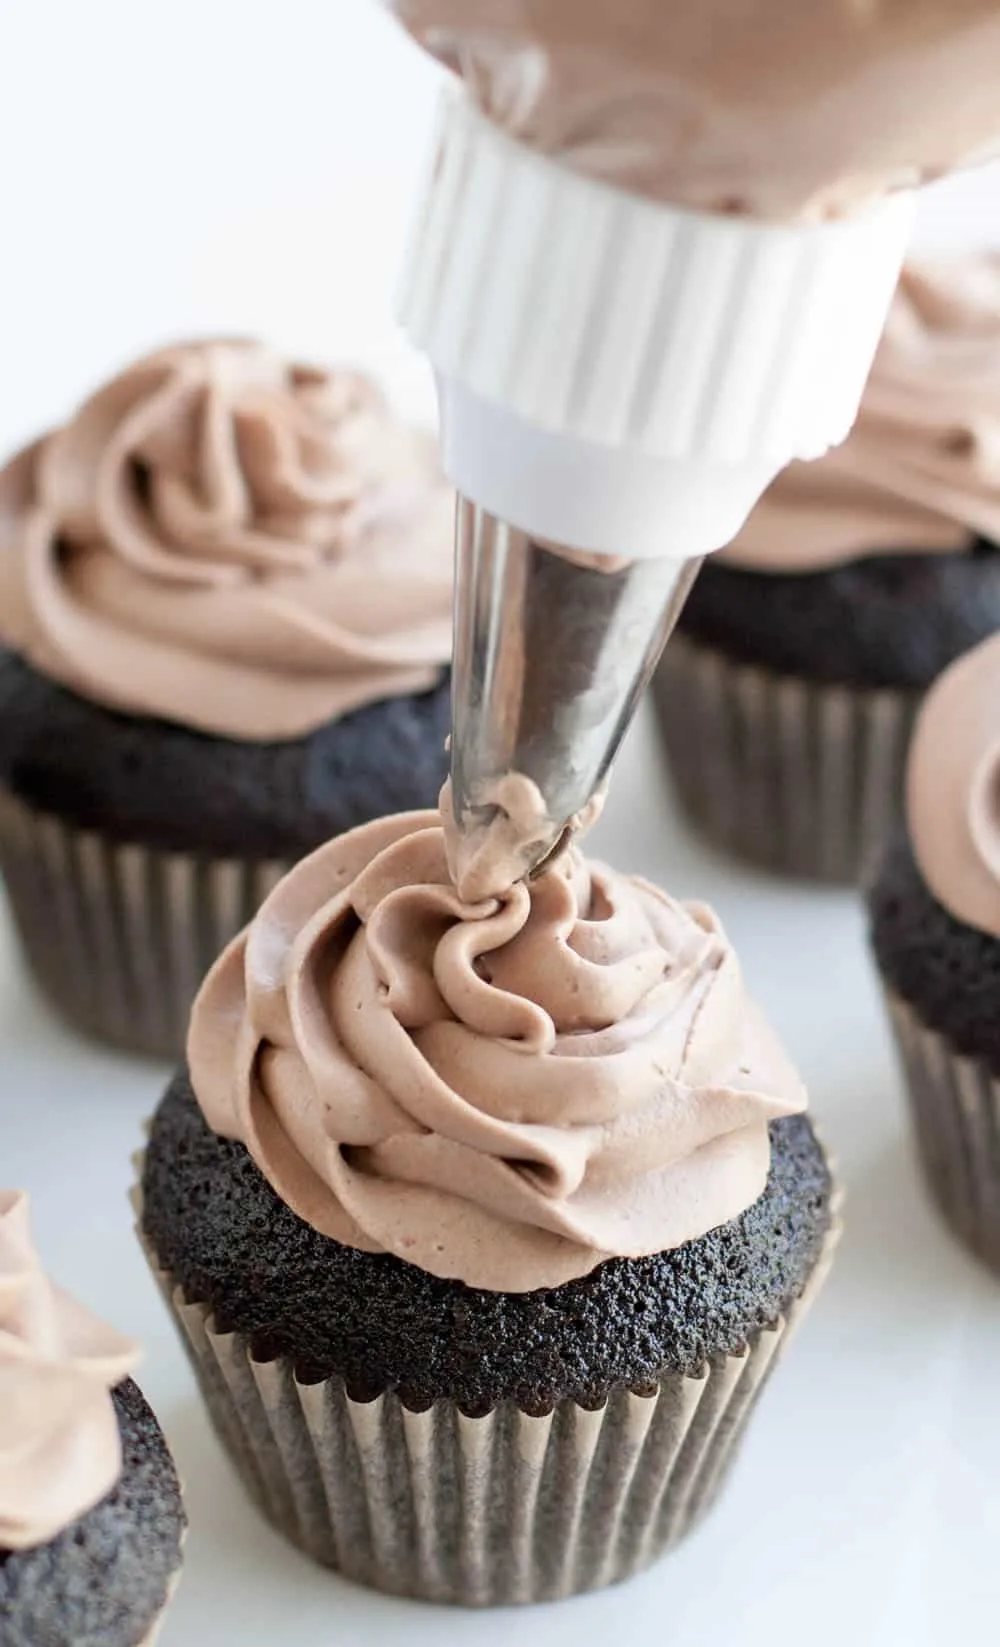
*As you can see, you can definitely pipe this frosting. I did find it just a little bit softer than the non-chocolate version, so you want to work quickly and keep everything cold for best results when piping or frosting. If I have leftovers, I usually leave them in the piping bag and place the piping bag in a Ziploc and store in the refrigerator up to 3 days. It still pipes nicely one day after storing, however, I've only used that option for leftovers that I might pipe as a quick topping. I would never plan to pipe my cupcakes or cake with made ahead frosting. I ALWAYS pipe as soon as it is mixed.
*If I have leftover cake that has this frosting on it, I slice individual pieces, wrap in wax paper and place the wrapped pieces in a freezer Ziploc bag. I either thaw in the refrigerator overnight, or allow to thaw at room temperature for about 30 minutes, or very carefully use the microwave on a 50% power setting. You want to thaw the cake without melting the frosting.
*Many readers have asked about leaving this frosting out at room temperature. Here's the response I've given...It depends on how hot it is. When I use this recipe, I always keep my frosted cake/cupcakes etc... refrigerated until I have to take them anywhere, but they’ve been out up to two hours (in air conditioning or cool weather) and held up well, though I think they’re probably best up to one hour. I don’t like to leave anything perishable out more than two hours anyway. I wouldn’t leave them out for long at a hot picnic or in very warm weather. I actually like to take my cakes out about 1/2 hour or up to an hour before serving so that they can lose the chill of the refrigerator and the cake isn't too dense from being cold. So, I try to serve the frosted baked good almost at room temperature. But this is not a recipe I would leave out for hours and hours at a party. My Whipped Chocolate Frosting recipe is perfect if you need something that can live for a longer time at room temperature.
Recipe based on Whipped Cream Cream Cheese Frosting
The Merchant Baker Copyright © 2016
Update 6-11-16:
A few readers have had issues with this not whipping up properly. I do mention in the recipe that this does mix up a little softer than the original, but as you can see in the photos, I was still able to pipe it. I stored my cupcakes in the refrigerator and the piped frosting firmed up just as it does with the original version.
Now that the weather is getting warm, I believe the culprit to the “too soft” frosting is heat. Hot kitchens, hot tools, friction. This frosting needs to be cold, cold, cold when you make it. It doesn’t work in a hot kitchen. I’ve tried it and it just melts. The fat is what keeps this firm, the sugar helps to stabilize it, but when fat gets warm, it gets soft. So here’s a few additional tips for success:
*Put your bowl and beaters in the freezer for 30 minutes before you use them.
*If you use the one bowl method, keep your cream in the refrigerator until you need to use it. (I’ve updated the recipe to reflect this tip.) If there’s any delay between whipping the cream cheese and whipping the cream, put your bowl with the cream cheese mixture back into the refrigerator to stay cold.
*If you use the two bowl method, (which is basically whipping up your cream cheese mixture in one bowl, whipping your cream to stiff peaks in another bowl, folding them together and then whipping to fully combine) whip your cream cheese mixture first. Put it in the refrigerator (or freezer for just a few mintues) to stay cold while you whip up the cream in another bowl.
*When you whip the cream, start on a lower speed until it’s starts to get thick and then slowly increase the speed until you get stiff peaks. If you whip on high from the beginning, your beaters may cause enough friction to create heat. The heat will melt or soften the fat in the cream and the cheese.


Jillian
Tuesday 17th of October 2023
I've made your original whipped cream cheese frosting several times and always get rave reviews. I love that it's not too sweet and it's light, but denser than just regular whipped cream.
I want a chocolate frosting, but I don't love the combo of tangy cream cheese and chocolate. Do you think this recipe would work if I substituted butter for cream cheese? Sort of like a whipped buttercream frosting.
Ramona
Tuesday 17th of October 2023
Hi Jillian, I've not made this frosting with only butter before so I can't tell you exactly how it would work out. You'd have to experiment to see if you liked the result for texture and flavor. You might want to check out my Whipped Chocolate Frosting recipe. That also gets great reviews!
Jennifer
Thursday 20th of July 2023
Oh my goodness!!!! I can’t believe I’ve waited so long to make this amazing frosting! Now i need to make another cake to try the plain version! The chocolate is EXACTLY what I was looking for! Light, chocolatey, not overly sweet! Thank you so much for sharing!!!
Ramona
Thursday 20th of July 2023
I'm thrilled to hear you loved this frosting, Jennifer! You're going to love the original version, too! I also have a brown sugar cinnamon version and a strawberry version. All are worth checking out!
Katie
Monday 24th of April 2023
So. If you happen to have any leftovers of this ridiculously amazing frosting….take a couple giant spoonfuls and mix it into your coffee. It’s to die for.
Ramona
Monday 24th of April 2023
Brilliant idea, Katie! Yum! I definitely need to try it!
Nicole
Tuesday 15th of November 2022
Hi! I’m a big fan of the original version, and my husband says it’s his favorite frosting ever. I haven’t tried this version yet but I plan to today and I’m sure it’s as delicious as the other two versions, but I have a quick question first. I’m planning to make marble cupcakes and the recipe says it only makes 14, so my question is do you think I could make a half batch of this and a half batch of the original to pipe together, or do you suggest sticking with just the chocolate? I’m sure they’ll be just as tasty either way, but I think they’d look so good with both. Thank you for these recipes; the original is my go-to!
Ramona
Tuesday 15th of November 2022
Hi Nicole, I think you could. The only issue might be that the chocolate is a bit softer than the original, so I'm not sure how that would work when piped together. They are both pipeable, though, so I think you have a good shot at success. I'd probably put them in separate bags and then put those bags together in a single bag to pipe. That way, if for any reason it doesn't work, you haven't mixed them up. You could still pipe them separately, but maybe in a different design as opposed to twisted swirl.
Heather M. Whipple
Saturday 9th of July 2022
Can I use powdered sugar instead of regular sugar? Powdered sugar is a frosting staple ingredient.
Ramona
Saturday 9th of July 2022
Hi Heather, yes you can substitute powdered sugar but you’ll have to adjust the amount to your taste and you’ll need more powdered sugar to achieve the same amount of sweetness. I prefer it with regular sugar, but you can sub the powdered sugar in a higher amount if that's your preference. It takes about 1 3/4 cups powdered sugar to equal 1 cup granulated.