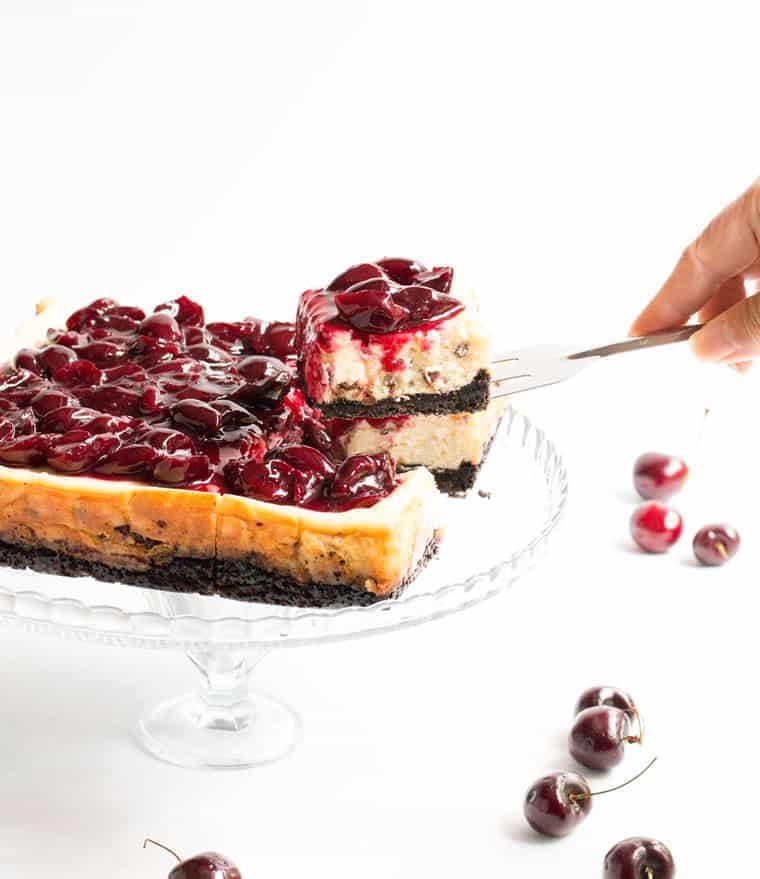
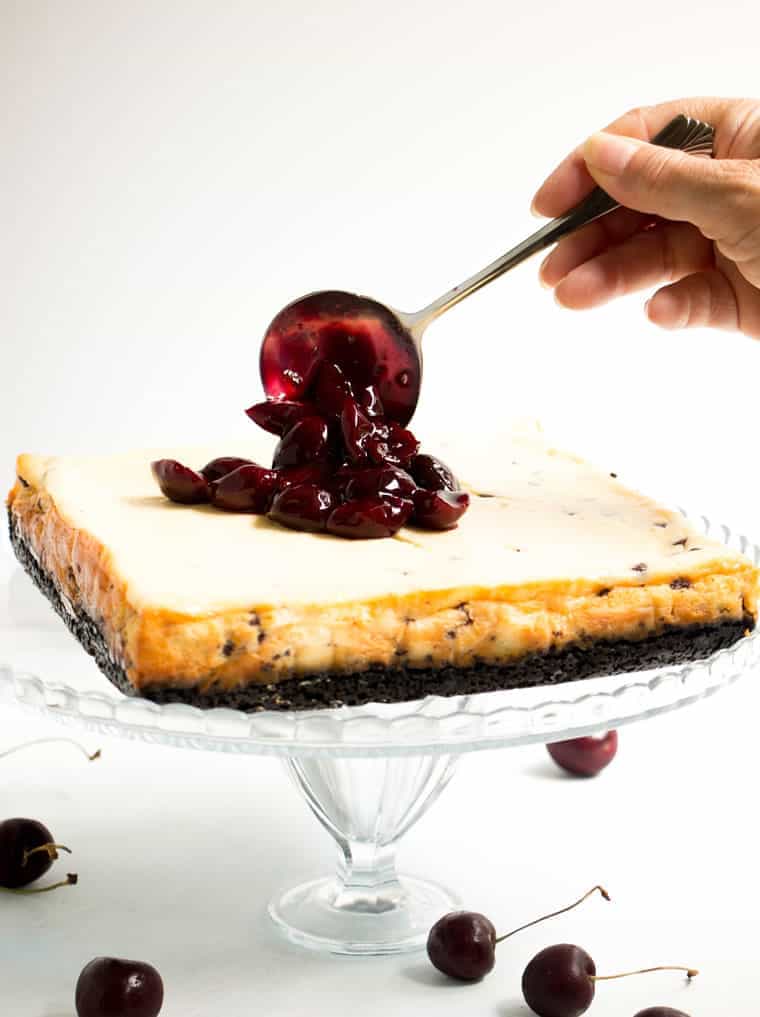
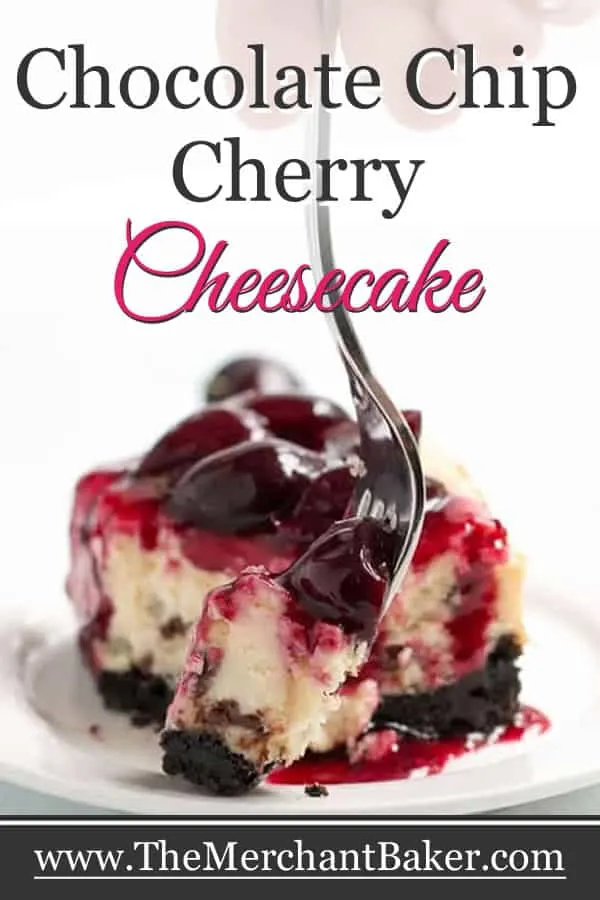
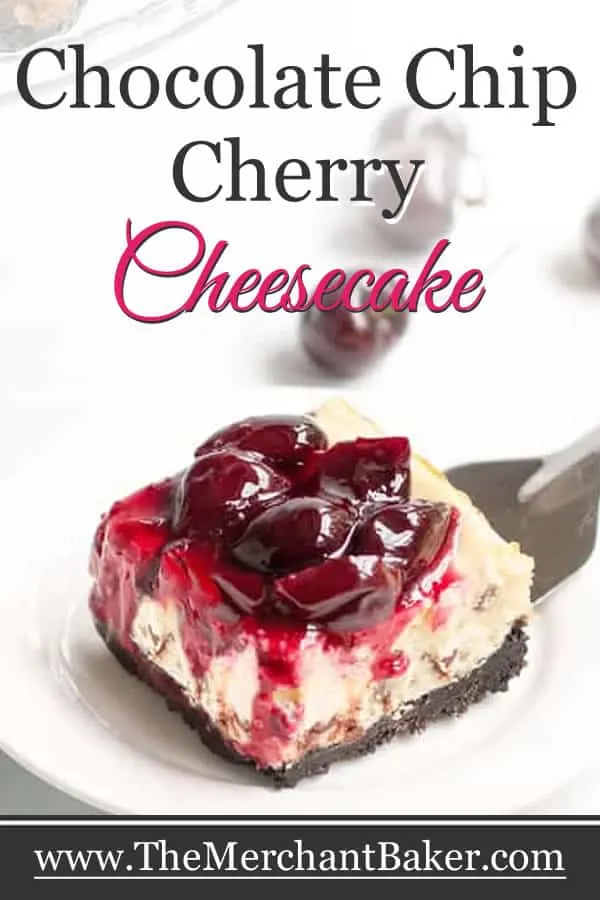
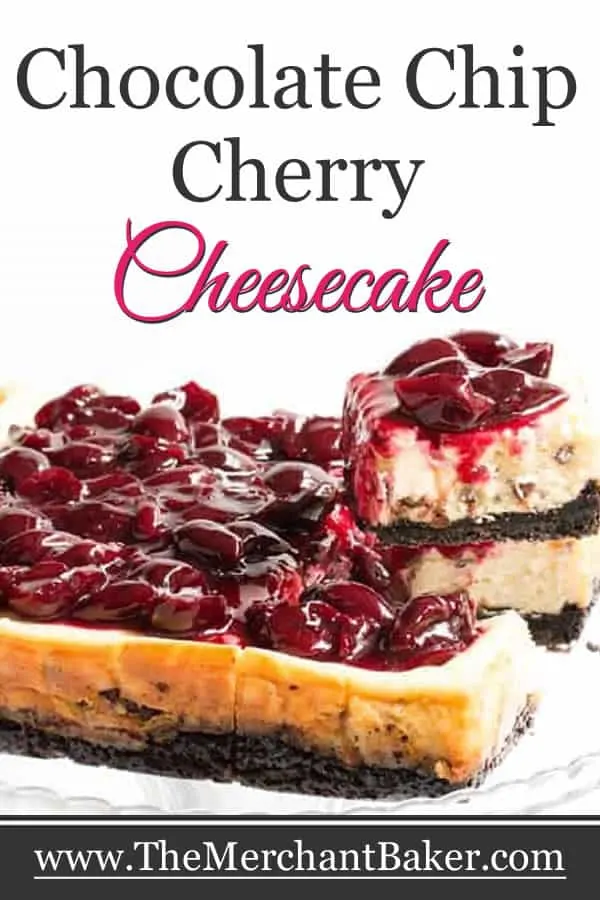
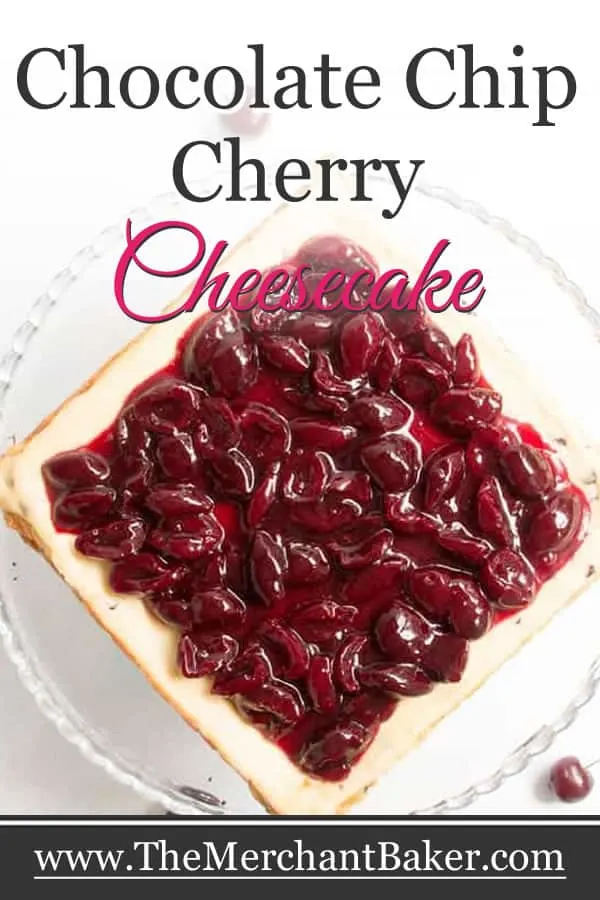
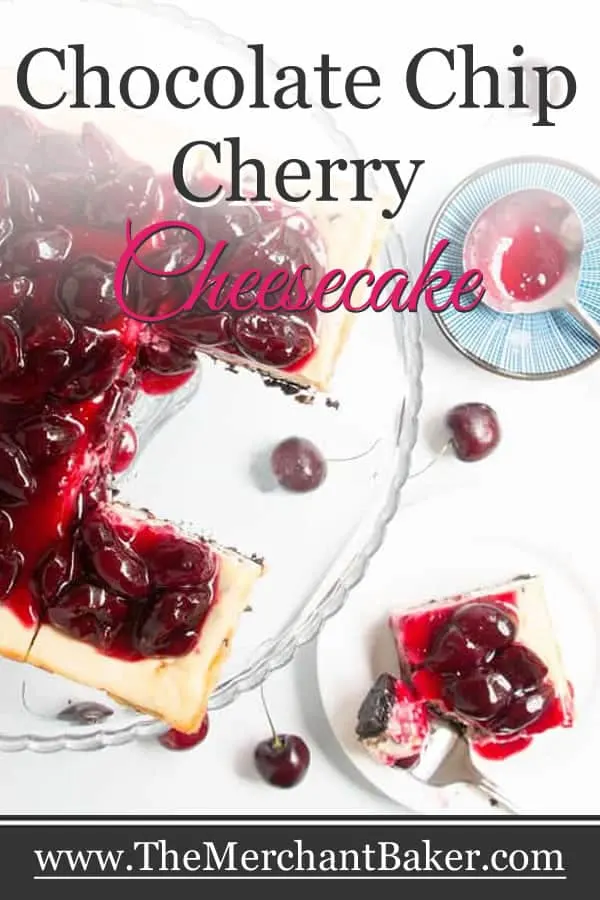
Remember that Fresh Sweet Cherry Sauce that I posted last week? You know…the one that would be great on ice cream, cake, pancakes, waffles, pork, chicken etc…? Guess how I used it? Chocolate Chip Cherry Cheesecake!
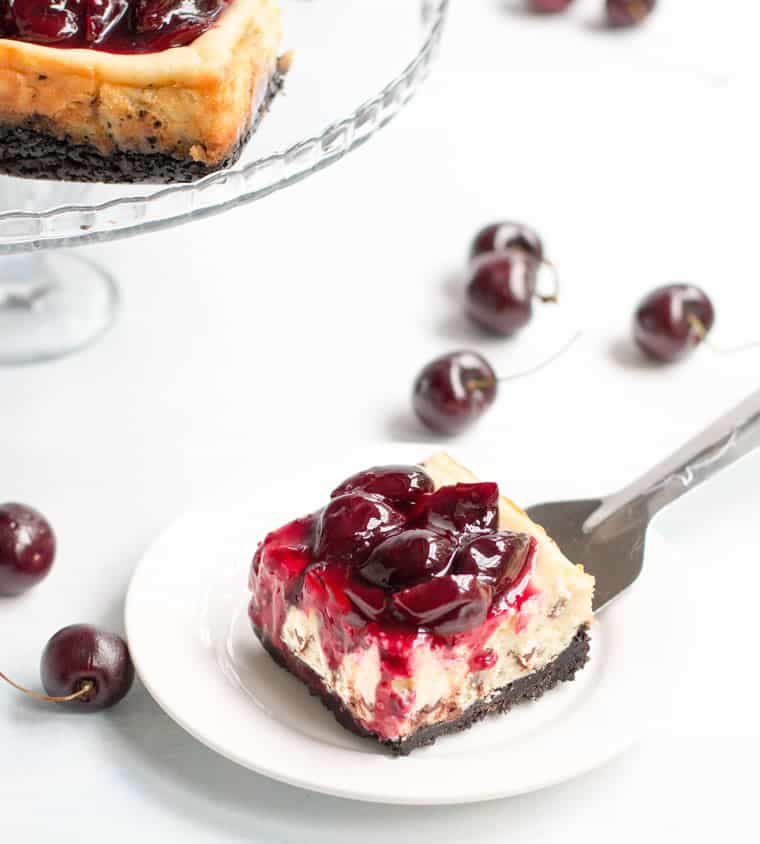
It’s full of delicious combinations…cherries and chocolate, chocolate and cheesecake, cheesecake and cherries. Really, you can’t go wrong.
I guess you can’t go wrong with cheesecake in general, though, can you? I’ve got lots of cheesecake or “friends of cheesecake” on the site like Pineapple Upside Down Cheesecake Cake, Red, White and Blue Cheesecake Dip, Cookies and Irish Cream Cheesecake Pie, or Ice Box Raspberry Chocolate Chip Cheesecake.
For this cheesecake, I decided to try a slightly different crust. I’ve done graham cracker crusts and vanilla wafer crusts and of course, chocolate sandwich cookie crusts.
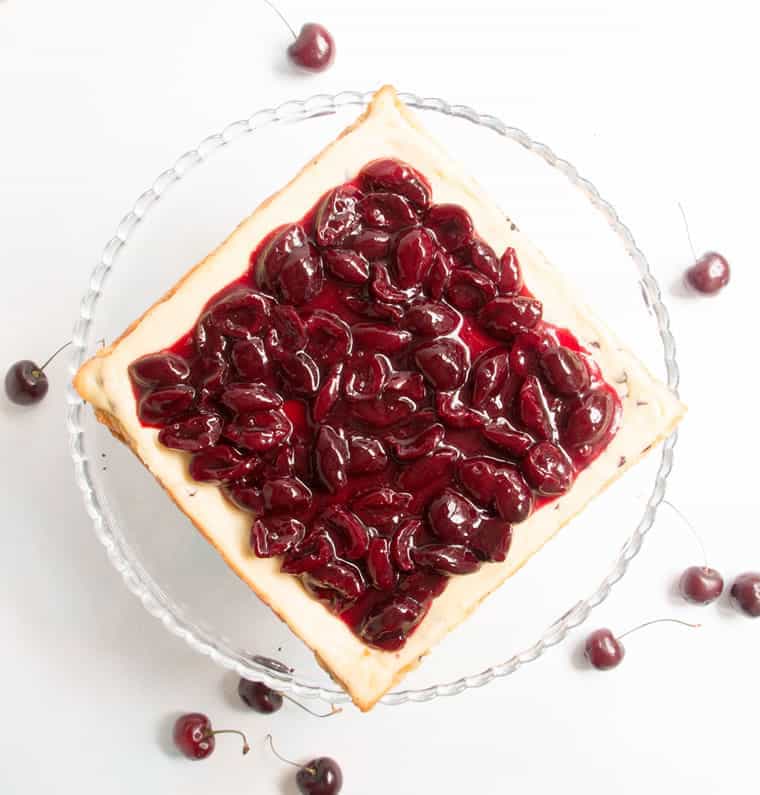
This time, I wanted to try a chocolate sandwich cookie crust but instead of the regular cream filling, I chose the cookies with chocolate fudge filling. I thought it would add a nice boost of chocolate flavor, and boy was I right!
For the cookies, I’ve used both Oreos and Trader Joe’s Jo Jo’s. I prefer the ingredients in Trader Joe’s cookies, so if they have the flavor I’m looking for, I buy those. Trader Joe’s did not have the chocolate filled variety this time, so I went with Oreos.
One of the questions people always ask is…When you crush the cookies into crumbs, do you use the filling part or just the cookie part? The answer? You use the WHOLE cookie. That’s why I took a photo of the cookies before they were processed.
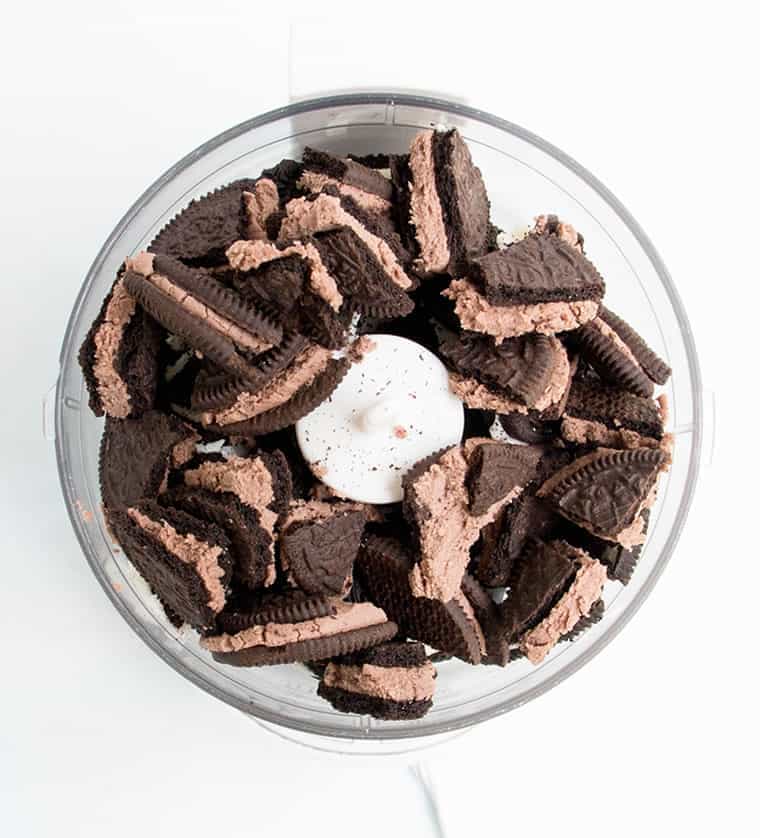
Can you see all that chocolate filling? That’s going to make our crust much fudgier than a chocolate cookie crust without that filling, and much fudgier than had we used the cookies with just the cream filling.
I have to tell you…the chocolate filled sandwich cookies made such a difference. For me, it was a completely different animal than a typical Oreo cookie crust. Super chocolatey. It was perfect for the cheesecake.
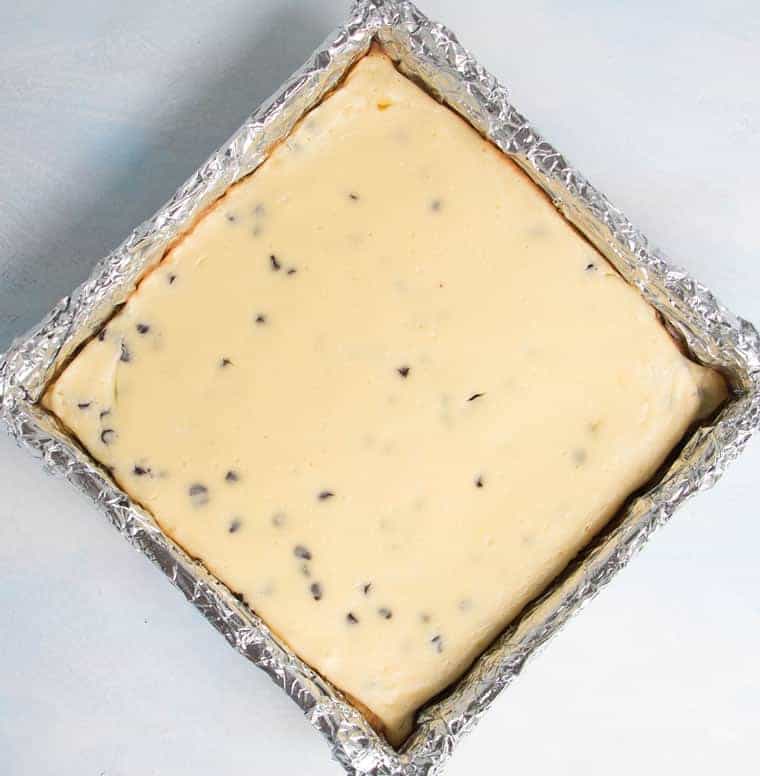
As far as the cheesecake, I knew I wanted to add chocolate chips. I didn’t go crazy with the amount. I added just enough to bring the chocolate flavor from the crust up through to the cheesecake layer.
Now let’s talk about the cheesecake. This is another one of those times where I have temporary amnesia and forget how easy it is to make cheesecake. My memory always returns as I’m mixing up the cheesecake batter all in one bowl and thinking…wait! That’s it?!? Just mix it up and bake it?
Yes. Cheesecake is as easy as mixing up a few ingredients in a bowl then baking them. But there are some tips that you should know before starting. Don’t let all the tips intimidate you. At the end of the day, you’re just mixing up a batter and baking it. The tips will simply help you to be more successful.
Tips for Making Chocolate Chip Cherry Cheesecake:
Plan Ahead
Cheesecake is really simple to make, but you do need time. You’ll need time for ingredients to come to room temperature and time to bake the cheesecake. Cooling the cheesecake also takes time and you’ll need to do this before you send it to the refrigerator. I always plan to make cheesecake the day before I intend to serve it.
Room Temperature Ingredients
You must, must, MUST have room temperature ingredients! This will make mixing so much easier and help you eliminate the threat of lumps in your batter. I’m talking about your cream cheese, eggs and sour cream. I know. Sometimes it’s a pain to have to think ahead to make a recipe.
But you know how we all complain about how fast time goes? It can be the same for getting your ingredients to room temperature. So do this…if you think you’re going to make cheesecake during the day, take all of your ingredients out in the morning when you get up. At night? Take them out as soon as you get home from work.
By the time you do all of the other life things you have to do in the morning and night, lots of time will pass. I try to leave my ingredients out for two hours. I’ve left them out up to four. Some people leave them out overnight. That freaks me out a little on the food safety side, so I usually stick to my window of two to four hours.
Making the Crust
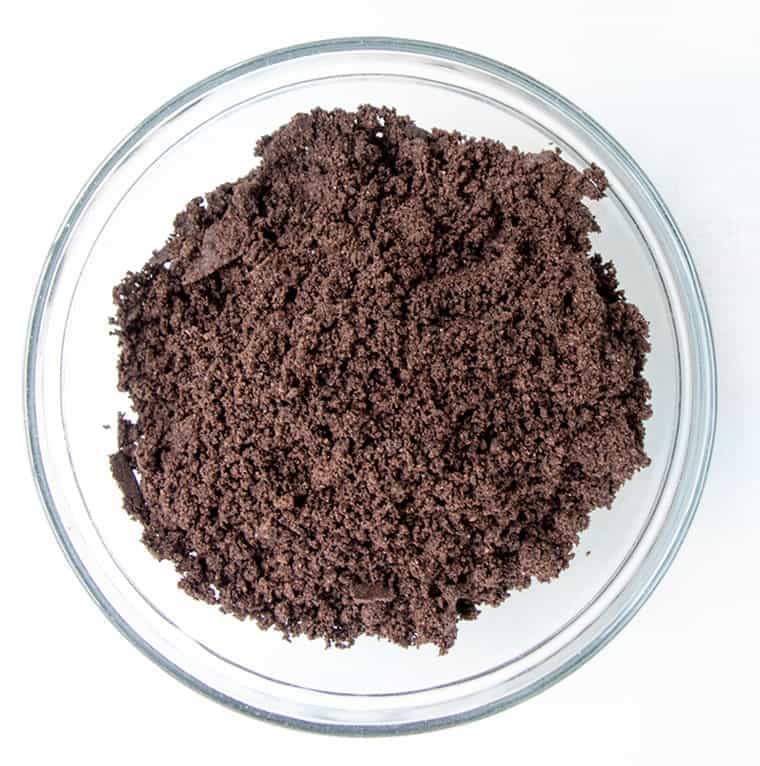
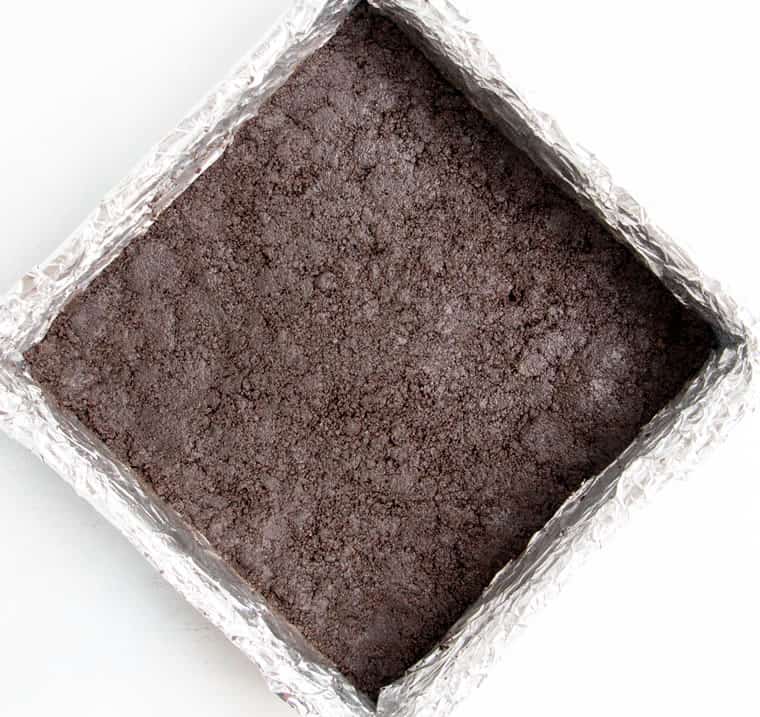
You can crush the cookies by hand using a strong zip top bag and a rolling pin. I like to use my mini food processor. It crushes up the cookies and then easily mixes in the melted butter when I’m done.
Bake the crust for 8 minutes. We only want it to set up a little. Don’t over bake it or it will get too crunchy.

Mixing the Batter
You can over mix just about any batter from cookies to cakes and even whipped cream. Always follow the guidelines for mixing a batter. Cookies and cakes can get tough from over mixing, whipped cream will turn into butter.
So use your electric mixer for this recipe, but use it to mix the batter and fully incorporate ingredients. You don’t need to be too concerned until it’s time to add the eggs. As you add the eggs, you’re just going to mix on low until fully combined.
When you whip eggs, you incorporate air. We are not looking to incorporate air into this cheesecake. All that airy whipped batter might look lovely as you pour it into the pan, but as it bakes and cools, it will likely rise, fall then crack.
Oven Temperature
If you haven’t bought an oven thermometer, there’s no better time than now to do it. Even if you’re not making today’s recipe. Order one on line or pick one up at the store. They’re inexpensive.
What will you do with it? You’ll check to see if your oven runs hot, cold or right on temperature. Let’s say you set your oven to 325 degrees F. You can check this temperature with your thermometer. If your thermometer reads 350 instead of 325? Your oven runs hot by 25 degrees. Set your oven for 300 and see if that gets you to the proper temperature. Use the same logic in reverse if your oven runs cold.
Proper Baking and Cooling
Cheesecakes generally like to come up to temperature slowly and cool down slowly. Drastic changes in temperature will cause cracking. Be gentle with your cheesecake.
First, don’t over bake it. The center of your cheesecake will still look a little wobbly when it’s done. You don’t want it to be completely firm. It will firm up as it cools.
Cool it gently. When you get to the stage where the cheesecake is done, turn off the oven. Open the door wide. Leave the cheesecake in the oven for an hour. This will help it cool down slowly.
Then, remove the cheesecake from the oven and finish cooling on a rack until it’s room temperature. At that point, it goes into the refrigerator. I like to refrigerate it overnight, a good 12 hours or more, but 6 will do, if that’s the time you have.
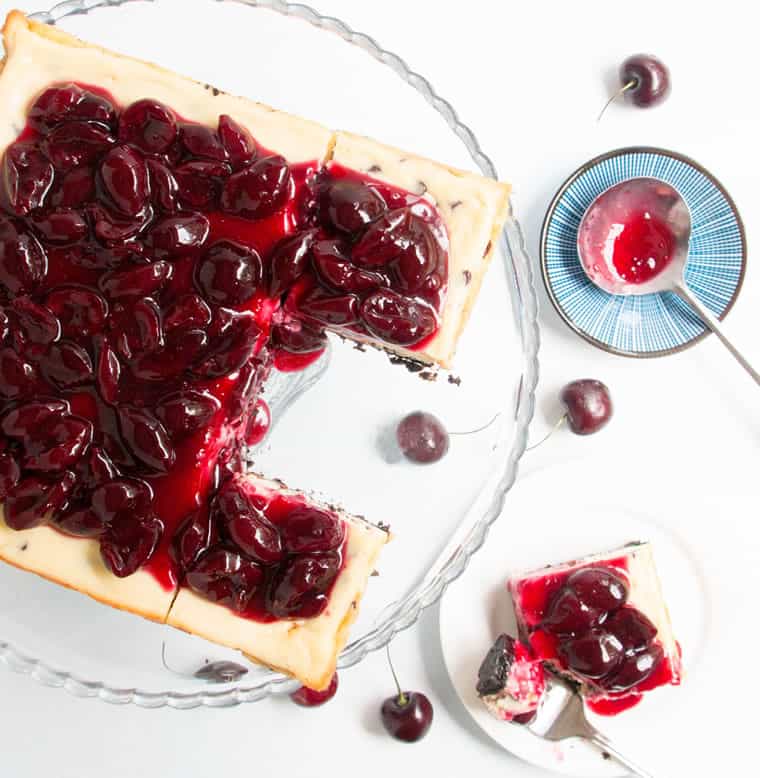
If you follow these tips, you should prevent cracks and end up with a perfectly lovely cheesecake. But don’t sweat it if you have a few cracks….because we’re topping the whole darn thing with Fresh Sweet Cherry Sauce!
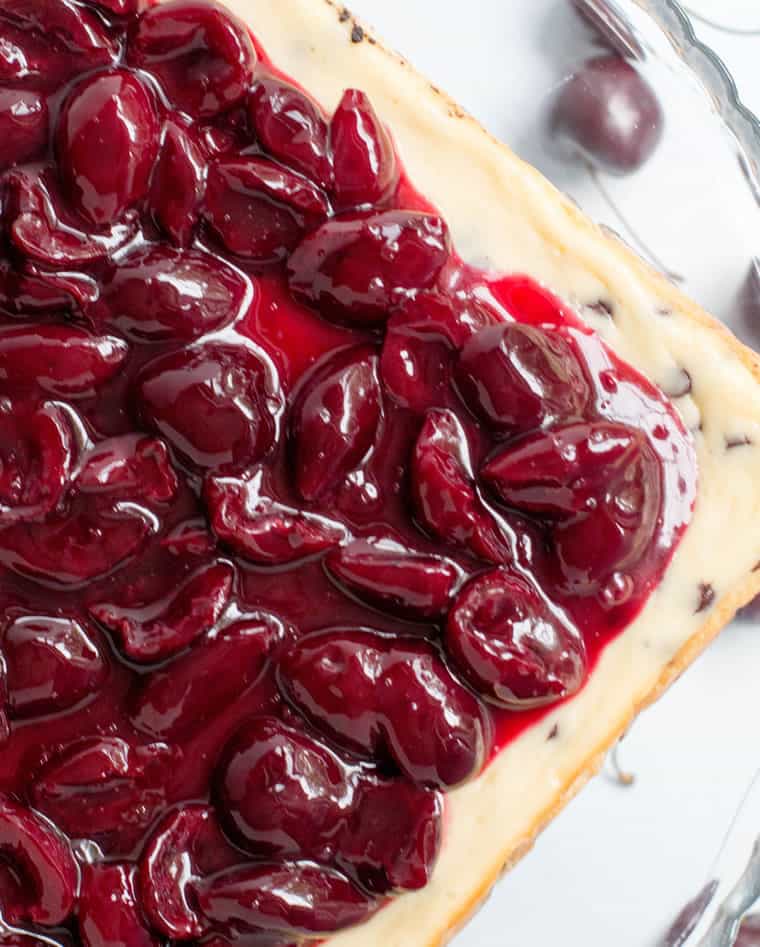
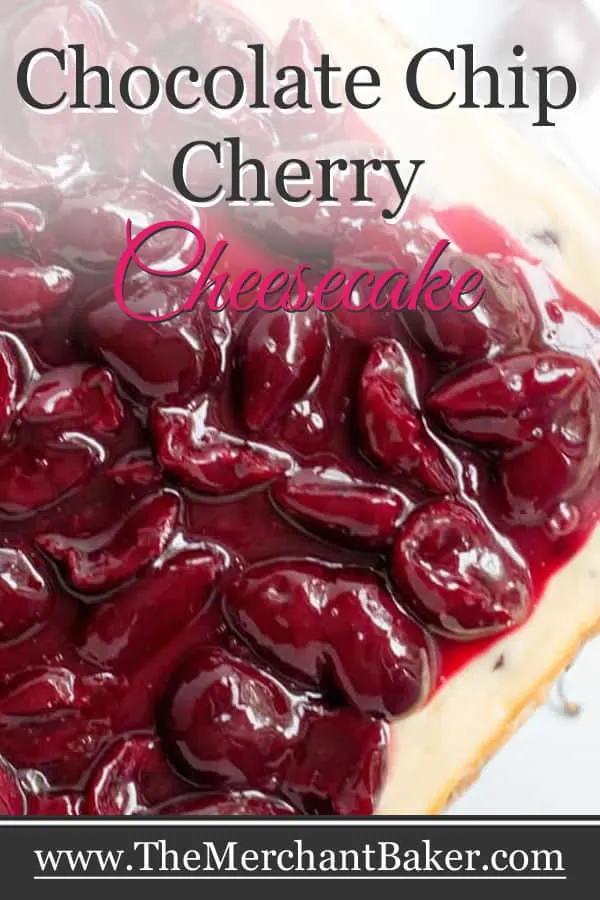
The cherry sauce is what makes this cheesecake a Chocolate Chip Cherry Cheesecake. So don’t skip ’em. The cherries make it special. And the fudgy chocolate cookie crust? Yeah, that makes it special, too.
You know how people say that any day is better with chocolate? Oh, and how everything is better with a cherry on top?
All I can say is done and DONE!
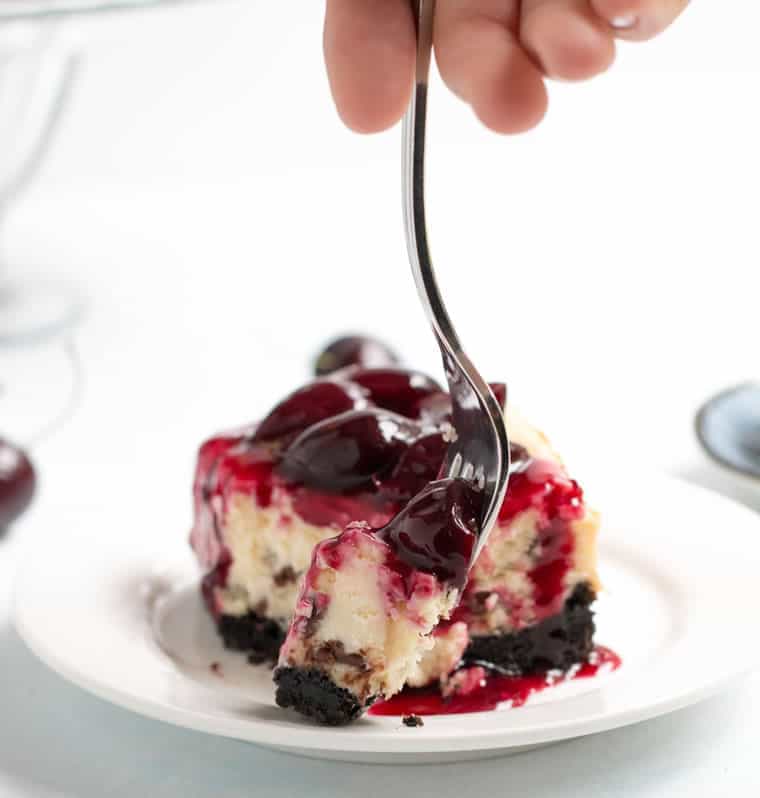
Looks like it’s going to be a very good day :)
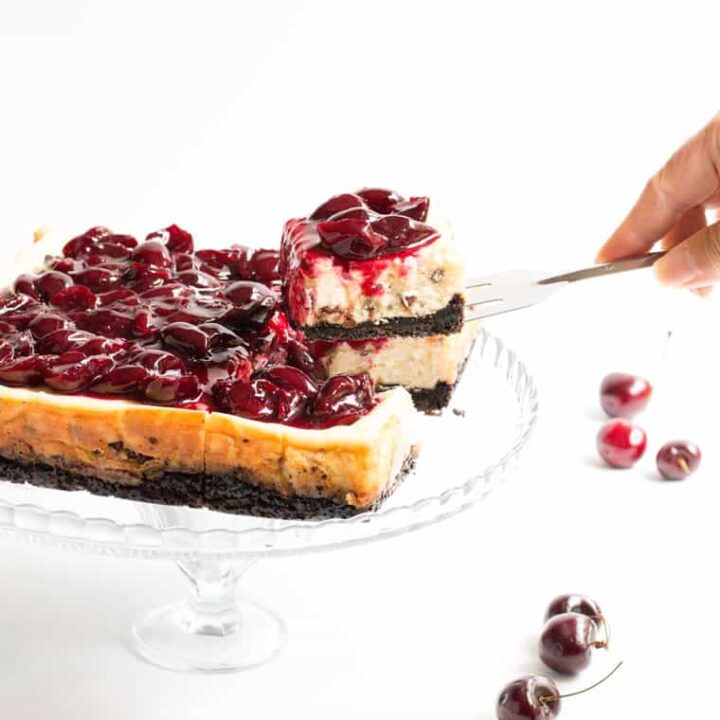
Chocolate Chip Cherry Cheesecake
Ingredients
For the crust:
- 24 chocolate filled, chocolate sandwich cookies, I used these
- 5 Tablespoons melted salted butter
For the cheesecake:
- 16 ounces 2 blocks cream cheese, room temperature
- 1/2 cup sugar
- 1/2 cup sour cream, room temperature
- 1 Tablespoon corn starch
- 2 large eggs, room temperature
- 1 teaspoon vanilla extract
- 1/2 cup mini chocolate chips
For the topping:
- One recipe Fresh Sweet Cherry Sauce, see notes for link
Instructions
- Preheat oven to 325 degrees F. Line an 8" square pan with foil and lightly coat with cooking spray. Set aside.
- Make the crust. Crush the cookies (with their filling) until they are fine crumbs. I used a food processor, but you can place them in a sturdy zip top bag and crush them with a rolling pin or the bottom of a measuring cup.
- Add the melted butter to the crumbs and pulse a few times until the butter is fully combined.(If you didn't use a processor, just mix the crumbs and butter in a bowl.)
- Press evenly into the bottom of prepared pan. Bake for 8 minutes. Remove from oven and set aside to cool.
- Make the cheesecake. In a large bowl beat cream cheese with an electric mixer for a minute, just until creamy. Add the sugar, sour cream and corn starch and beat until well blended.
- Add vanilla and eggs, one at a time and beat on low until fully combined. No need to beat excessively at this stage. We don't want to beat air into the mixture, just fully combine it.
- Fold in chocolate chips and pour batter into prepared pan, spreading evenly.
- Bake for 35-40 minutes or until the center is almost set. The top should not be shiny, but the middle should be able to jiggle just a little.
- Turn the oven off, open the door wide and leave the cheesecake in the oven for an hour.
- After an hour has passed, remove the cheesecake from the oven and allow to cool to room temperature. Chill in refrigerator for at least 6 hours or overnight. Use foil to lift cheesecake from pan, then remove foil and transfer to serving dish. Pour cherry sauce over the top.
- Serve cold or allow to come to room temperature before serving.
Notes
*Here is the recipe link for Fresh Sweet Cherry Sauce.
*Make sure you plan ahead. I usually plan to make cheesecake the day before I want to serve it.
*Check the blog post for lots of tips for success.
*Insure your cream cheese, sour cream and eggs are at room temperature before beginning the recipe. I leave them out for 2-4 hours.
*If you can't find chocolate filled sandwich cookies, substitute regular cream filled.
*You can lighten up the recipe a bit by using light cream cheese and light sour cream.
*Do not use pre-whipped cream cheese. Use cream cheese that comes in solid block form.
*Make sure to use mini chips. They'll disperse better throughout the batter than a regular sized chip would. If you only have regular sized chips, you can chop them up to make them smaller.
The Merchant Baker Copyright © 2017


Karly
Thursday 10th of August 2017
Not want, NEED this in my life. Seriously, this stuff is gonna show up in my dreams tonight!
Ramona
Friday 11th of August 2017
Dessert dreams have no calories, right? ;)