
Ah yes…cheese…

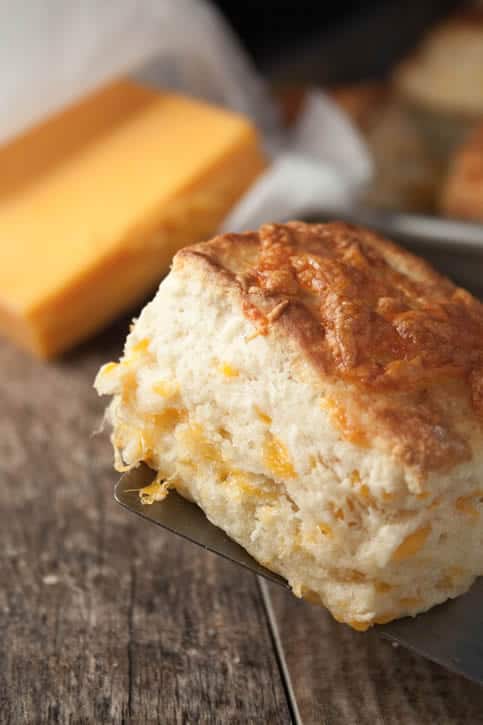
Like bacon, it does make almost everything better. And these Cheddar Buttermilk Biscuits? Well I don’t know if they are better than their sibling, Fluffy Buttermilk Biscuits, but they are certainly equally delicious and something to ooh and aah over.

One night I was making soup for dinner and I had forgotten to pick up some good crusty bread to go with it. I didn’t really have time to play around with a yeast bread, but I did have some buttermilk in the fridge, so I thought I would go with it and whip up a quick batch of biscuits.

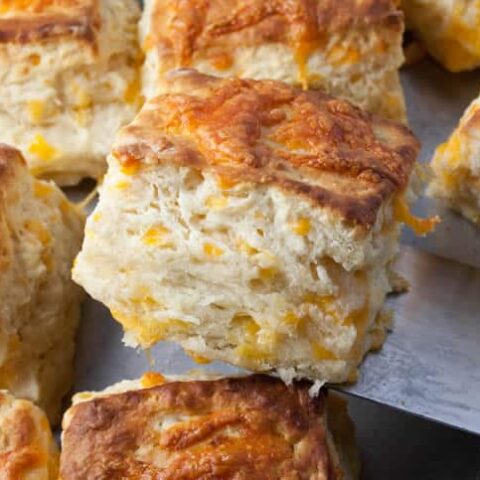
Of course, then I saw the block of sharp cheddar and it was a no brainer. I made the Fluffy Buttermilk Biscuits as I normally would, but added a handful of shredded cheddar after the butter and shortening were cut in, but before the buttermilk was added. Then, just to be fun, I sprinkled a bit of cheese on top of each biscuit to signal that these were no ordinary buttermilk biscuits…these were different.

Even though my family loves biscuits, I was worried how well they might go with the soup I was serving that night. A fluffy biscuit is pretty far off from a hot and crusty artisan bread. But necessity is the mother of invention and I needed something to round out the meal. My biscuit recipe always turns out great and biscuits plus cheese should equal delicious…as long as the cheese didn’t drastically change the texture and loft that I love in the recipe.

Some restaurants serve these in their bread basket and people love them….if you ask for the recipe, you’ll often find that they’re made with Bisquick. I don’t have anything against Bisquick. I like Bisquick. I don’t use it often, but I can’t tell you that I don’t occasionally have a box in my pantry for those days I want a head start on breakfast. It makes a quick fluffy pancake and is a great head start for pumpkin pancakes if I don’t feel like making them completely from scratch. It makes biscuits that my kids like, but those biscuits can’t compare to homemade biscuits. The texture and flavor is so much better with a biscuit from scratch. It’s really worth the extra time.
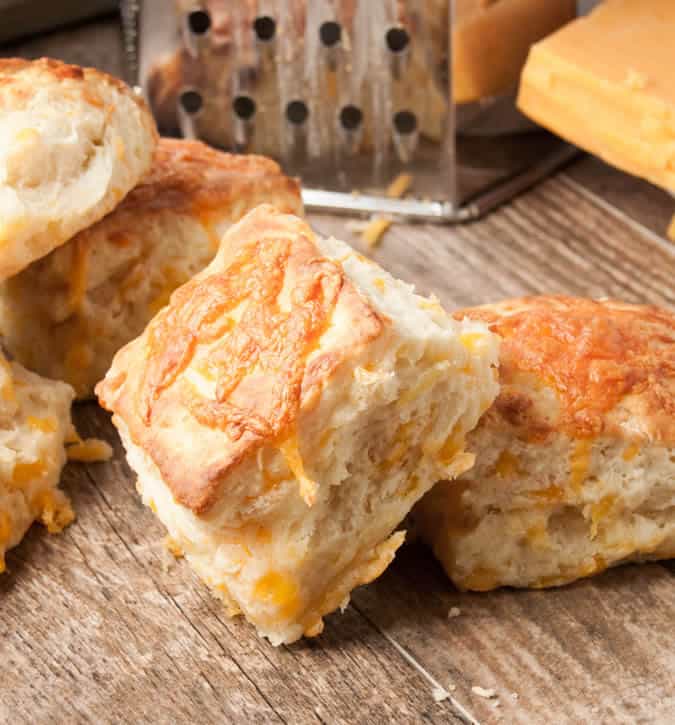

I’ve given you all my tips and tricks on how to make perfect Fluffy Buttermilk Biscuits. You can check out that post for lots of information and video tutorials. Once you’ve gotten them down, you’re good to go ahead and make these Cheddar Buttermilk Biscuits. It’s only one more step of shredding up some cheese. Oh, and definitely shred your own cheese. The pre-shredded cheese in a bag has a coating on it to keep the shreds separate and freshly shredded will simply work better here. (Alright, you can use the stuff in a bag if you must, but trust me when I tell you that shredding your own is better.)


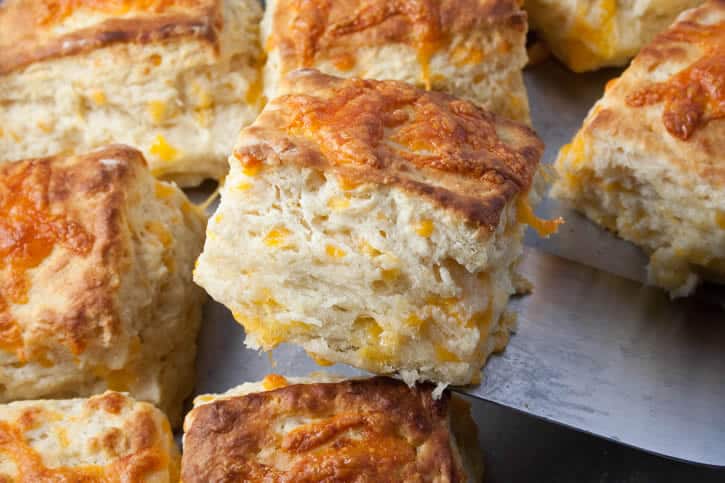
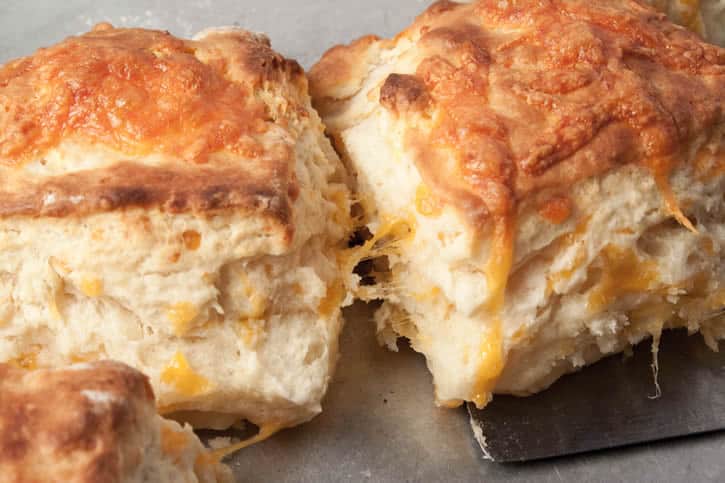
So what happened when I served these biscuits? Well, they were hot and fluffy and cheesy and everyone ooh’d and aah’d and oh my gosh’d and asked for seconds. I wondered if my family would think these biscuits would go with the soup as well as the hot crusty bread I had promised…but honestly…it was almost like,

What soup?

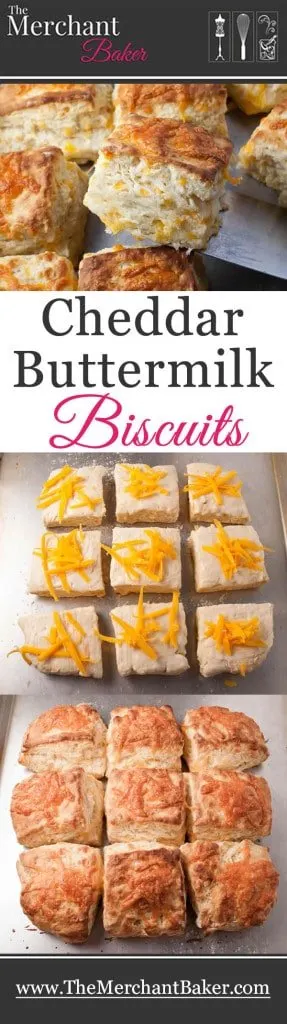
Cheddar Buttermilk Biscuits
Ingredients
- 2 cups all purpose flour
- 4 teaspoons baking powder
- 1/4 teaspoon baking soda
- 3/4 teaspoon kosher salt, see note
- 2 Tablespoon unsalted butter, (cold and cut into cubes)
- 2 Tablespoons shortening, I use non-hydrogenated
- 1 cup shredded sharp cheddar cheese
- 1 cup cold buttermilk
- extra buttermilk for brushing tops
- extra shredded sharp cheddar cheese for topping
Instructions
- Preheat oven to 450 degrees F.
- In a large mixing bowl, whisk together flour, baking powder, baking soda and salt.
- Using a pastry blender or your finger tips, quickly cut shortening into flour mixture until combined.
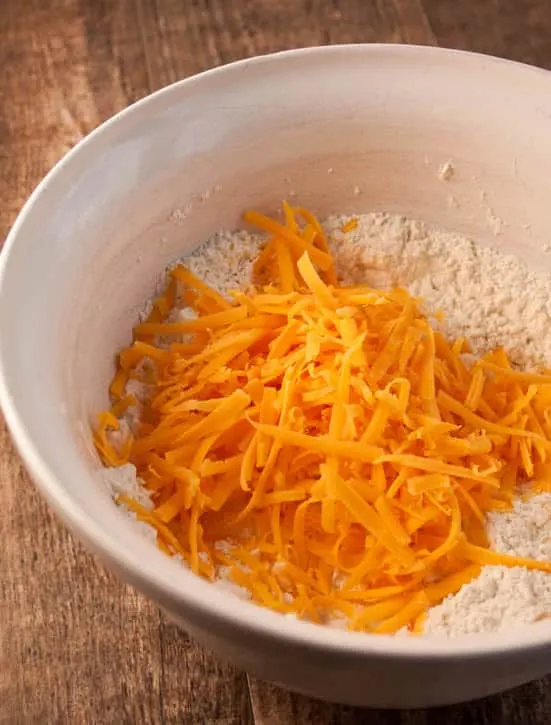
- After you've cut in the shortening, cut cold butter into the flour mixture until you have various sizes no larger than peas.This should also take less than a minute. You want your butter to stay cold so work quickly. Add the shredded cheese and toss with the flour mixture until evenly distributed.
- Make a well in the center of the flour and pour in the buttermilk.
- Working from the outside in, bring the flour into the center with a large spoon, scooping and turning bowl until the buttermilk is incorporated into the flour. Use a light hand here. We're not vigorously stirring, but simply gently tossing the flour together with the buttermilk until it's combined.
- Turn the wet sticky dough out onto a well floured surface. Keep a small pile of extra flour on hand to add to your surface or your hands as needed. You'll see in the video that I'm pretty liberal about using the flour in this step.
- Flour your hands and bring dough together, then lightly fold it in half in a gentle kneading motion.
- Do this about 10-11 times until your dough comes together and is beginning to feel smooth.
- Pat dough into a rectangle or square just under an inch thick.
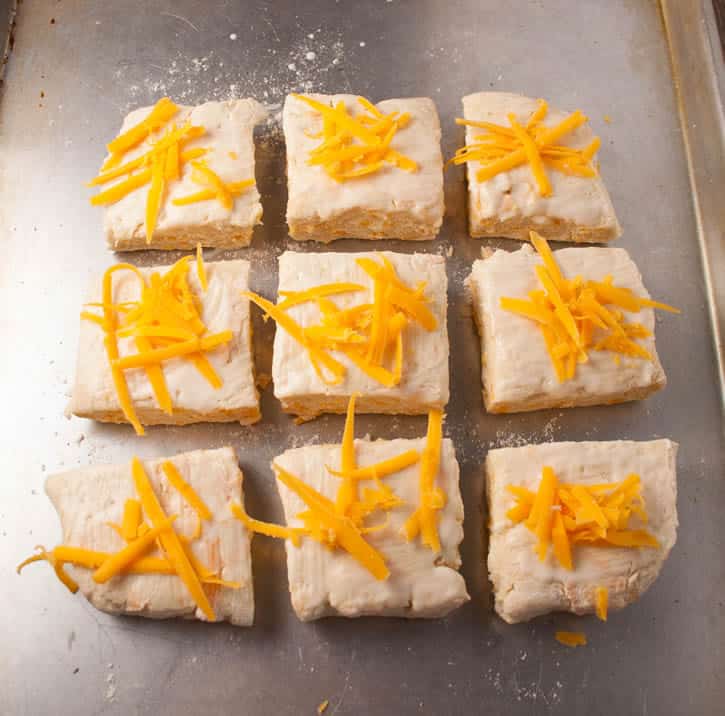
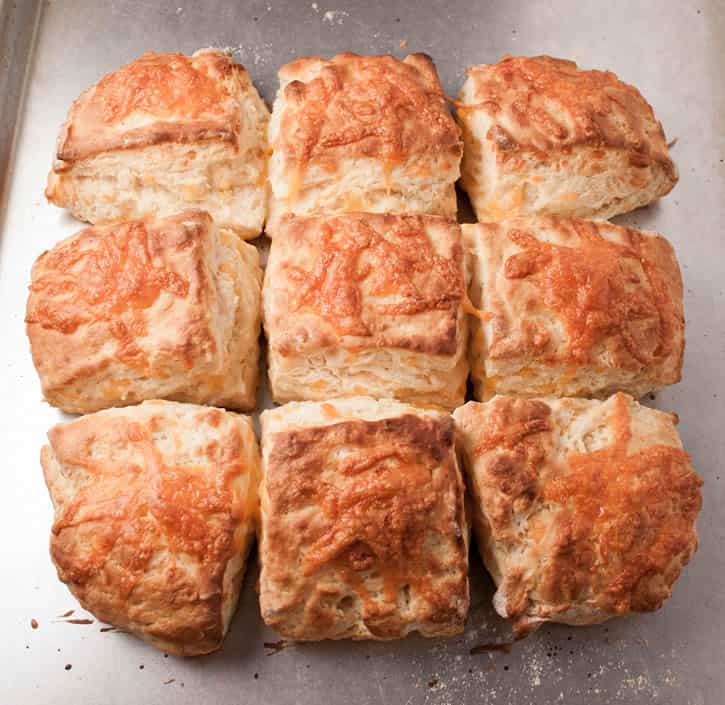
- Using a floured knife or something long enough to make one cut across the dough, cut the dough into desired sizes. I usually make big biscuits and cut mine into 9 pieces.
- Turn biscuits upside down and place onto an ungreased baking sheet, close together but not touching.
- Brush tops with a little bit of buttermilk and add a sprinkling of cheese. Bake until they have risen nice and tall and are golden brown on top, about 15 minutes. Serve warm.
Notes
*Because of the extra salt you get from the cheese, I used unsalted butter here and kosher salt. If you don't have kosher salt, you could use table salt and only use 1/2 teaspoon. If you don't mind the extra saltiness, you can keep the recipe as is.
*Biscuits can be stored overnight at room temperature, wrapped lightly in foil. Even though they are best the first day, they reheat nicely in a toaster oven.
*If you like your biscuits crusty on all sides, place them far enough apart on the baking sheet so that they don't touch another biscuit when they bake. They may also bake in less time, so keep an eye on them.
*If you cut smaller biscuits, you may need to reduce baking time, especially if you don't place them close together. Always go by how they look visually. I would check at 10 minutes.
*If you prefer cutting your biscuits into shapes, roll or pat the dough and cut with a floured cutter. Push straight down with the cutter and do not twist to release it as you may seal the edges of the dough, making it more difficult for them to rise. Re-roll the scraps and cut again. (This is not my preferred method)
Recipe slightly adapted from Alton Brown's Southern Biscuits
The Merchant Baker © 2015
19 Foods To Shut Yourself In With This Winter | PintVerse
Tuesday 13th of October 2015
[…] here […]
Brielle @ Breezy Bakes
Monday 23rd of February 2015
I am sooooo wanting these right now! This is not a good post to read as my tummy is grumbling for dinner. Haha!
Shelby @ Go Eat and Repeat
Thursday 19th of February 2015
Cheese is one of the best things that can happen to a biscuit. This look so light and airy, they could practically float!
Kathy @ Beyond the Chicken Coop
Wednesday 18th of February 2015
I really like the cheese mixed throughout these biscuits.