I don’t know if you’ve noticed…
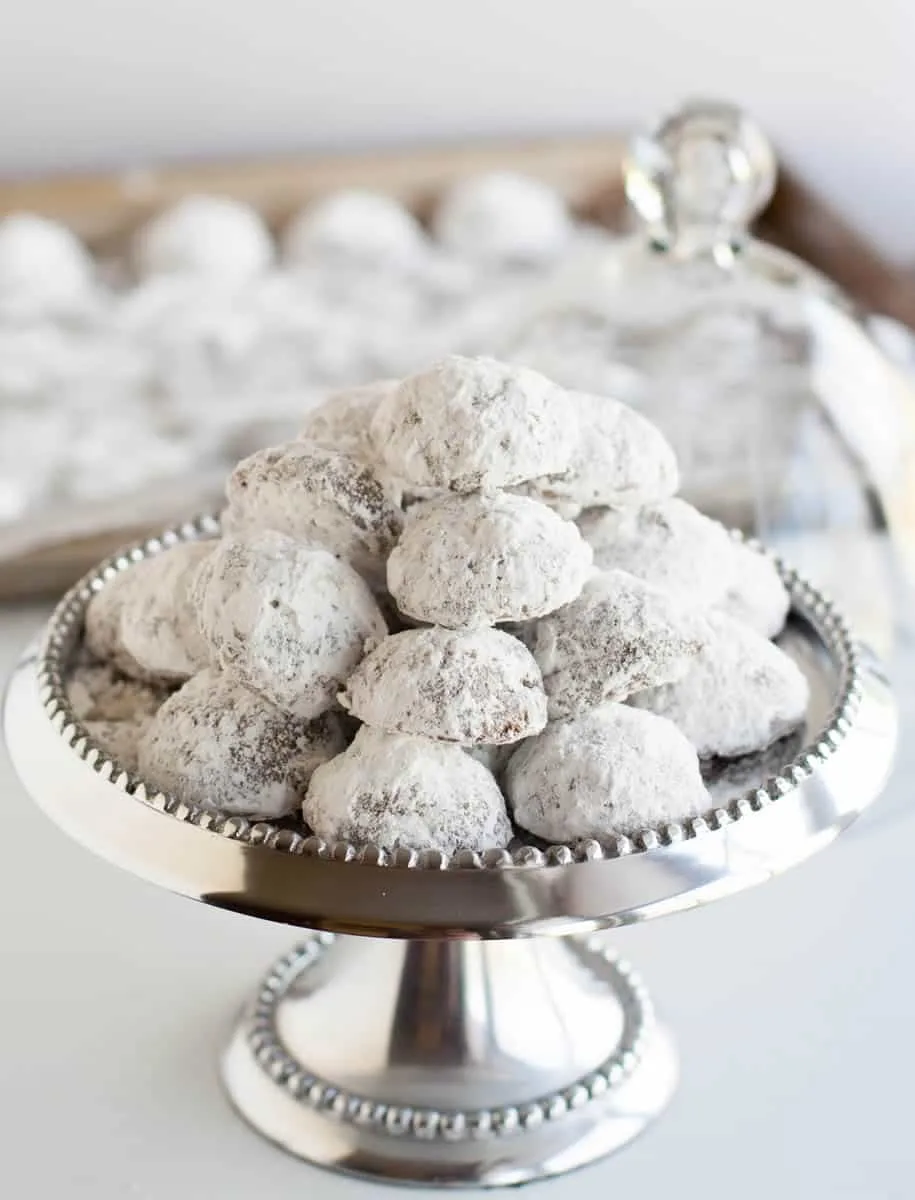
but there’s been a lot of confectioner’s sugar action going on in my last couple of posts. First there was the Shortcut Stollen, then the Eggnog Kringla. Today, we’re going back for another dip in the fluffy white stuff with these Minty Cocoa Snowballs. It’s the only fluffy white stuff for miles because it’s been downright spring like here in Philly.
As I’ve mentioned before, I normally make an insane amount cookies/candies during the holidays, and I mean insane, like over 1400. Usually there’s about 16 different kinds and I’m making double and triple batches of each. Last year, I started paring back and this year, I pared back a bit more….which meant I had to exercise some control over continuing to add to that pared down list. It’s hard though, because I want to bake everything I’ve ever baked and loved and add about 10 more new recipes that I’d like to try.
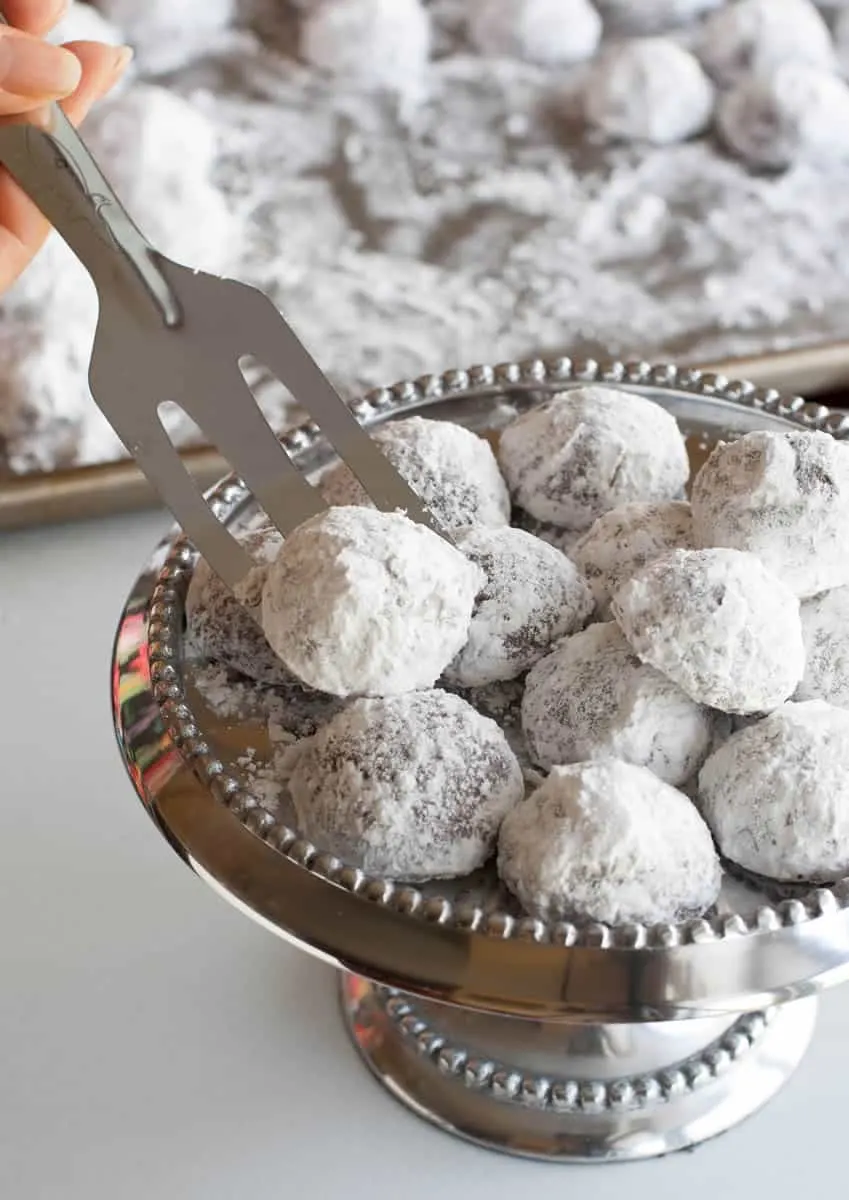
I had a lot less time this year, so I asked everyone what three cookies were their must haves from our normal list and I made sure I covered all of those. Most of them are on my 25 Sweet Holiday Treats list. And then, because I’m me, I added a couple more and then a couple more and before I knew it, I was up to 12 cookies/candies. But I did hold back from doubling, tripling and quadrupling; I’m gonna tell myself I did just fine (just as soon as I stop baking ;)
Andes Mint Chocolate Chip Cookies are one of my favorite minty chocolate cookies; my husband loves Minty Cocoa Fudge Sandwich Cookies. They both fell off the list this year (gasp!) but I still wanted that chocolate mint flavor as part of our assortment, so I created Minty Cocoa Snowballs.

Russian tea cakes were a childhood favorite, but they haven’t made the list in many years. I thought I’d bring them back with new flavors, chocolate and mint. I took the classic recipe and tried it two ways, one with nuts and one without.
I’ll tell you what…I liked them both. The batch with the nuts was chocolatey and minty but had a little of that classic nutty texture and flavor. The ones without, were a little more minty but still had some texture from the mint chips and, overall, tasted more minty. My husband and kids liked the first batch a lot, but picked the second batch as their favorite. Normally I would just pick the one I like best and post that, but I’m going to give you options to make both variations so you can decided for yourself.
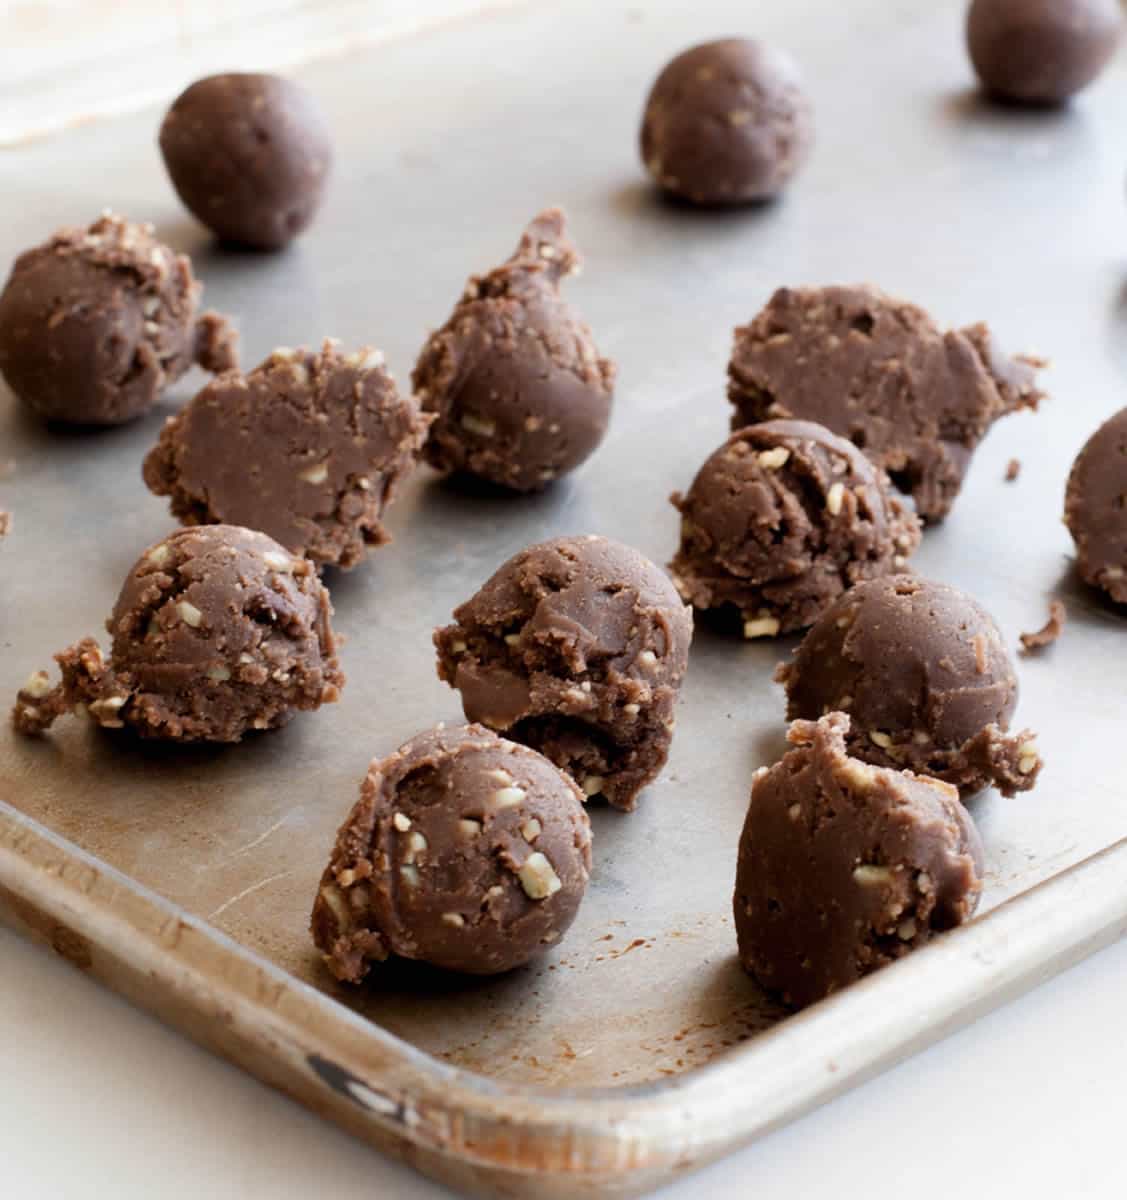

Just mix up the dough then refrigerate until it’s easy to work with. Then roll it into 1″ balls. I like to do it in steps. First I scoop out all of the dough and just drop it onto a sheet pan. Then, I go back and roll all of the scooped dough into balls and place them in organized rows. I find it’s much faster than scooping and rolling, then scooping and rolling. Even better, if you have a little helper, one person can scoop and the other can roll.

Then they go right into the oven. Because it’s a chocolate cookie, it’s kind of hard to see if they are light brown around the edges. I played around a little with temperatures and time and found I preferred a lower temperature for these. If you over bake them, they can get dry. They are already a crumbly kind of cookie, no need to bake them into oblivion. I checked to make sure they looked fully set and I detected just the slightest browning around the bottom. This took about 13-14 minutes. A lot of recipes cook on a much higher temperature for a longer time. For me, that was too hot for too long.
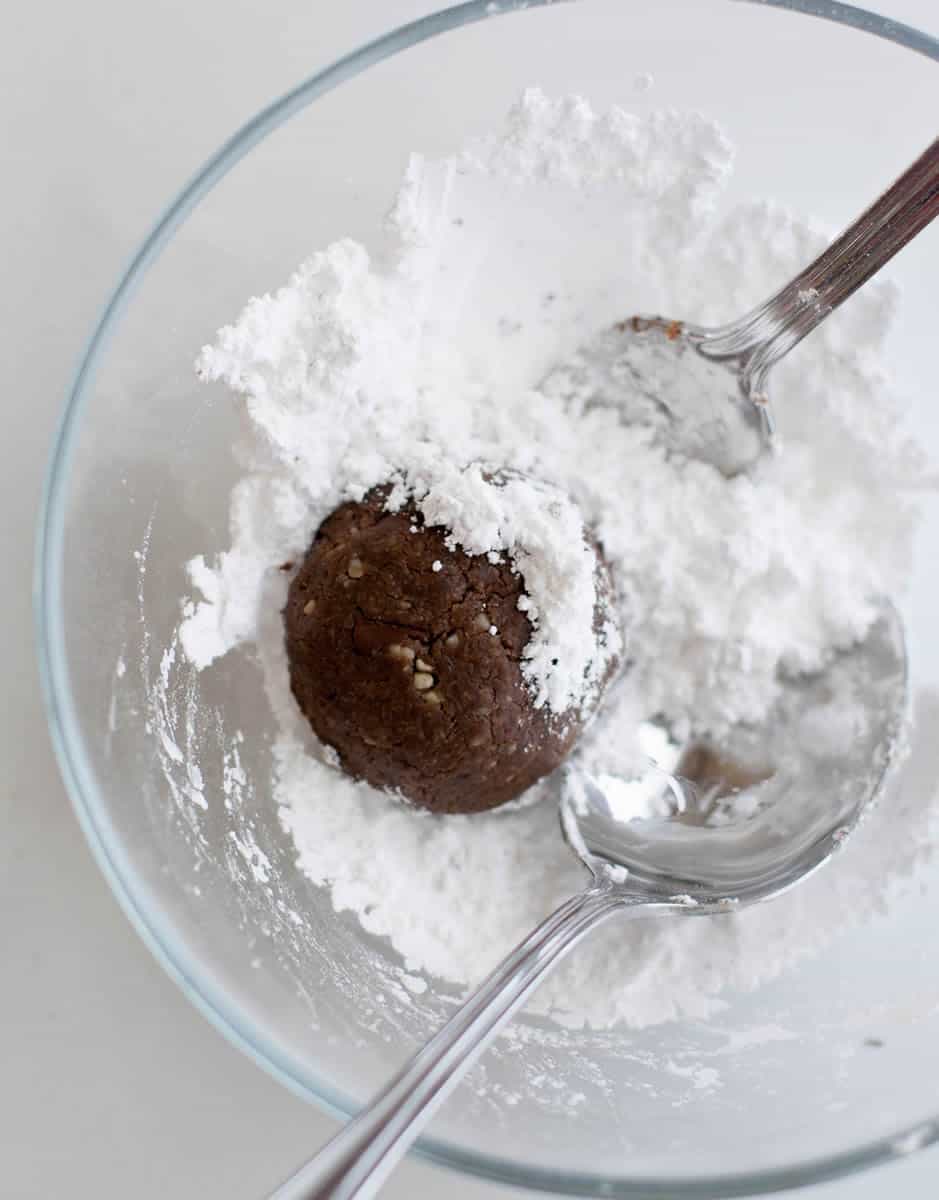
Once they’re baked, they are rolled in confectioner’s sugar. I like to use a fork and a spoon to toss them around. This first rolling will not fully cover the cookie and much of it will melt on the hot cookie. This is exactly what is supposed to happen.
Once they’re cool, they go back for a second rolling. This should give them a nice opaque coating. You’ll see the difference on the tray below; some of them have been coated twice (on the left) and the right side is still waiting for its second coating.

That’s it. Take a bite and let that crumbly chocolatey, minty, buttery cookie melt in your mouth. Our forecast says it’s going to be a record breaking 73 on Thursday! That means there’s no chance we’re going to have a white Christmas this year…so I suppose we’ll just have to break out our shorts and flip flops, grab a bag of confectioner’s sugar…
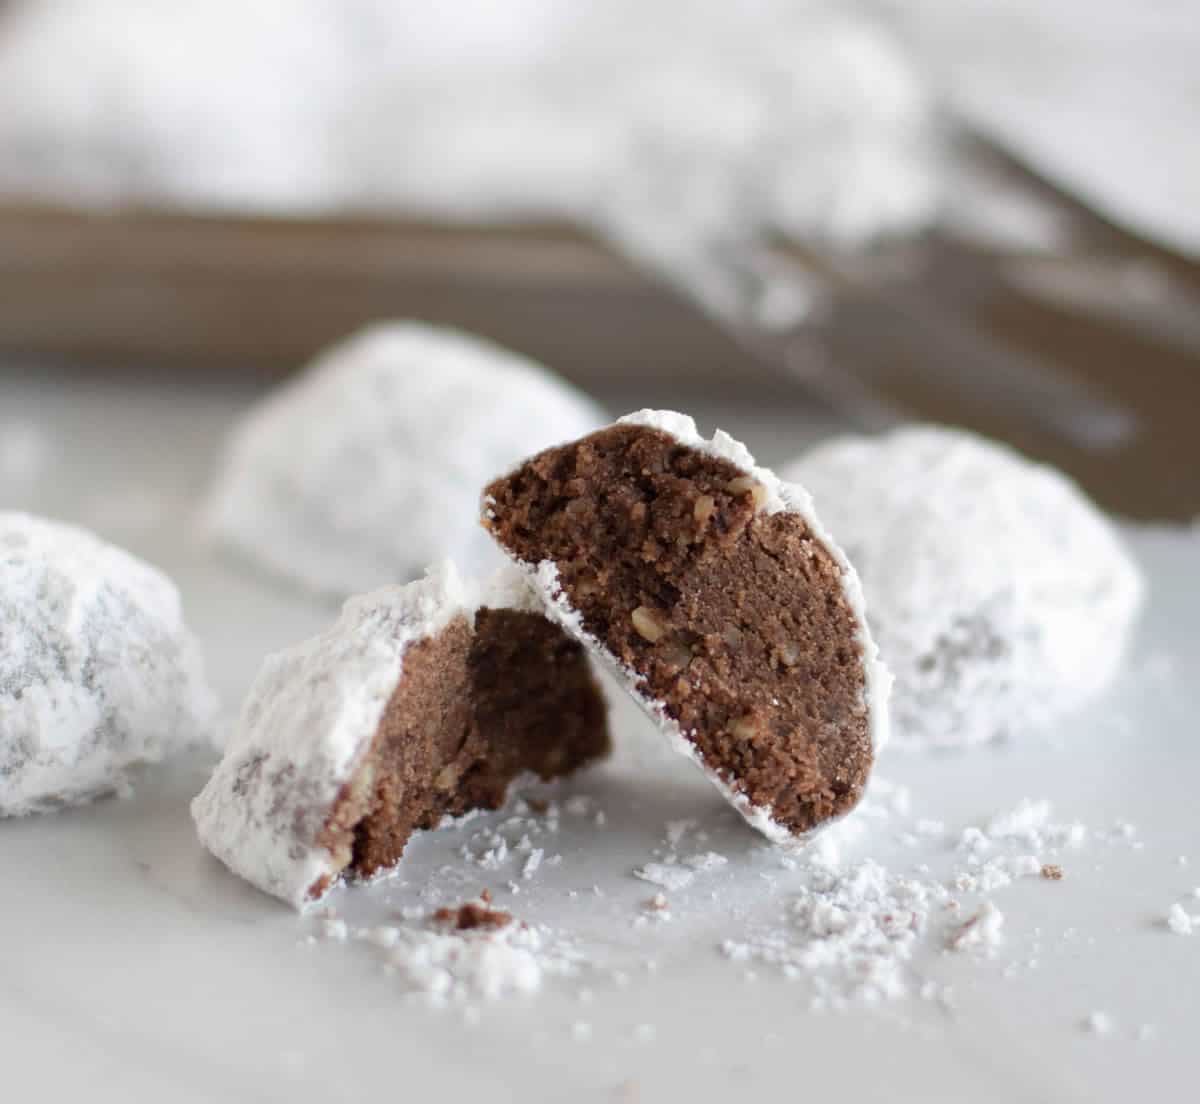
and make a few Minty Cocoa Snowballs of our own :)

Minty Cocoa Snowballs
Ingredients
- 2 cups all purpose flour
- 3 Tablespoons dark unsweetened cocoa, I used Double Dutch Dark Cocoa
- 1/4 teaspoon salt
- 1 cup salted butter, 2 sticks
- 1/2 cup confectioner's sugar
- 1 teaspoon vanilla
- 1 Tablespoon water
- 1/2 teaspoon peppermint extract
- 1 cup Andes Creme de Menthe Baking Chips or 1/2 cup Andes Creme de Menthe Baking Chips and 1/2 cup finely chopped pecans
- 1 1/2 cups confectioner's sugar for rolling
Instructions
- Whisk together flour, cocoa, and salt. Set aside.
- Beat butter in a large mixing bowl with an electric mixer until softened. Add confectioner's sugar, vanilla, the Tablespoon of water and peppermint extract and beat until well combined.
- Gradually add flour mixture and beat until there are no dry streaks and it looks creamy. This may take a couple of minutes. It may seem like it's too dry, but the butter will eventually combine with the dry ingredients and form a stiff but creamy looking mixture.
- Stir in 1 cup of mint baking chips. (Or, 1/2 cup mint chips and 1/2 cup finely ground pecans.)
- Refrigerate for 30 minutes to an hour or until dough is easy to handle.
- Preheat oven to 325 degrees F.
- Roll into one inch balls and place on ungreased cookie sheets.
- Bake for 12-15 minutes or until cookies are set and bottoms are lightly browned. (This is difficult to tell in a chocolate cookie depending on how dark your cocoa is. I baked mine for about 14 minutes and could see just a hint of browning around the bottoms.
- Place about 1/2 cup of confectioner's sugar in a bowl. Roll warm cookies in sugar and place on a rack to cool. (I used a fork and spoon to toss them around in the sugar.) Add more sugar to bowl as needed. The first coating of sugar will melt onto the hot cookie.
- Once cookies are completely cool, roll them for a second time in confectioner's sugar. Serve.
Notes
* I made these with and without the nuts and I think I like them equally. When I used the 1/2 cup finely ground nuts and 1/2 cup mint chips, I also added 1 Tablespoon of water to the nut version when I added the extracts. As you might expect, the version with the nuts is has the ground nut texture, while the one without seems mintier but there's still texture from the chips.
*For yield, when I made them with the nuts, I got about 35 cookies. When I made it with only the mint chips, I got about 44 cookies. The chips are bulkier than the nuts and therefore add a little more volume.
Adapted from Russian Teacakes, Better Homes and Gardens Magazine, Christmas Cookies Edition 1992
The Merchant Baker Copyright © 2015




Jake3_14
Friday 5th of February 2016
I had to modify the ingredients to fit what I had on hand: light cocoa powder, Guittard mint chips, slivered almonds, an extremely concentrated peppermint tincture, and a high-fat cultured butter. I reduced the amount of cocoa powder to 2.333 T, because I was worried that there would be cocoa grit in the cookies, given that they're dry to begin with. I pulverized the almonds in a spice mill for a more even taste of nuttiness. I used only 2 drops of the peppermint extract, and due to the hardness of the butter (75 minutes of softening time from the 'fridge), I had to manually mix in the chips and ground nuts. I guess I made the cookies too big, because my yield was only 33 cookies.
I had to bake the cookies 20 minutes and then let them cool for 2 minutes, so that I could handle them.
They turned out nicely, though: light and crumbly,
With cleanup, the cooking time was 2.75 hrs.
Ramona
Friday 5th of February 2016
Wow, Jake...you really committed to these cookies! Thanks for sharing all of your substitutions. I love hearing about all the details! You must have a killer arm to mix hard butter into a cookie dough by hand:) When you mention cooking time, I assume you mean from start to finish including any refrigeration time and the 75 minutes of softening butter time? I hope so, because this recipe isn't meant to be a long, arduous process. Sounds like they worked out for you, though. And it sounds like you got some nice sized cookies out of it!