So, I have a wonderful butternut squash recipe coming your way next…

But, as much as I love butternut squash in recipes like this Roasted Butternut Squash Bacon Pasta or these Butternut Squash Pancakes, cutting up a squash was never something I looked forward to. I would often buy the already peeled and cut up squash that was ready to use.
I still do that sometimes, but I hate the thought that I’m paying four or more times the cost per pound of just cutting it up myself (last time it was the difference between $1.69/lb for whole and $7.99/lb for pre-cut.) And, I know if I cut it up, it’s fresher. So, I had to figure out how to really cut these things in a way that doesn’t make me dread the process or fear losing a limb while I’m doing it. That brings me to today’s post, “How to Cut Butternut Squash.” It’s just a little tutorial for those of you who look at a whole squash in the store and think, “What the heck I’m I supposed to do with that?”
First things first. Wash and dry your squash. It doesn’t matter that we’re going to peel it. You don’t want any dirt/germs etc. from the outside of the squash getting on the inside when you cut into it. So, once you’ve washed and dried the squash, your first step will be to cut off the bottom so that you have a flat base. This is an easy cut because you have the whole squash to hold onto. Do not cut off the top (stem end) just yet. You’ll use that to hold onto later.
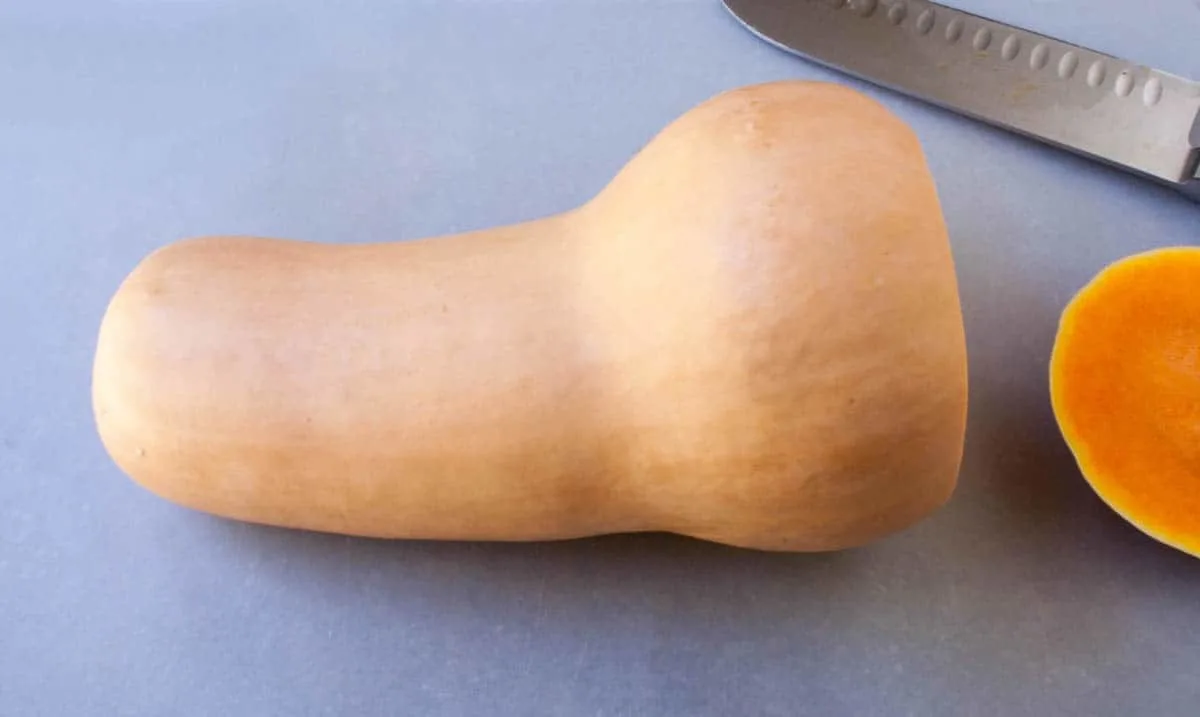
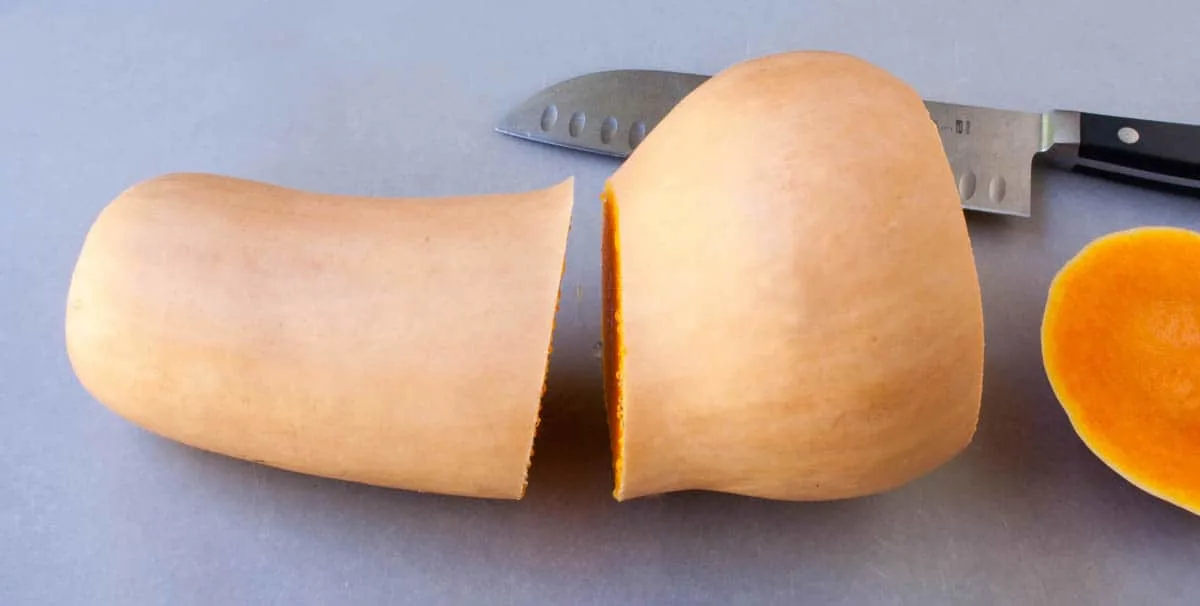
Once you have your flat base, you’ll make your next cut. For this cut, you’re not looking to cut it in half, but you want to separate the top of the squash from the round base, so you’ll cut it just above the full part of the bottom just before it begins to narrow again. Now you have a two pieces, a top and a bottom.
Take the top piece and set it on it’s flat base, hold onto the top of it (stem end that you still haven’t cut) and use a chef’s knife to peel it, cutting from top to bottom. I absolutely recommend using a knife to peel it. I believe it is faster and safer and more efficient than using a peeler. When I’ve used a peeler in the past, I have to go through layer after layer to get past the thick skin. It’s also an awkward shape to peel, so you also risk peeling your hand in the process. Keep your cuts shallow, so that you don’t lose a lot of the flesh of the squash. You can always shave off more if you need to. I peel past the lighter color flesh and the green stripes that you might see just underneath the skin. My goal is to get as close as possible to the bright orange flesh.
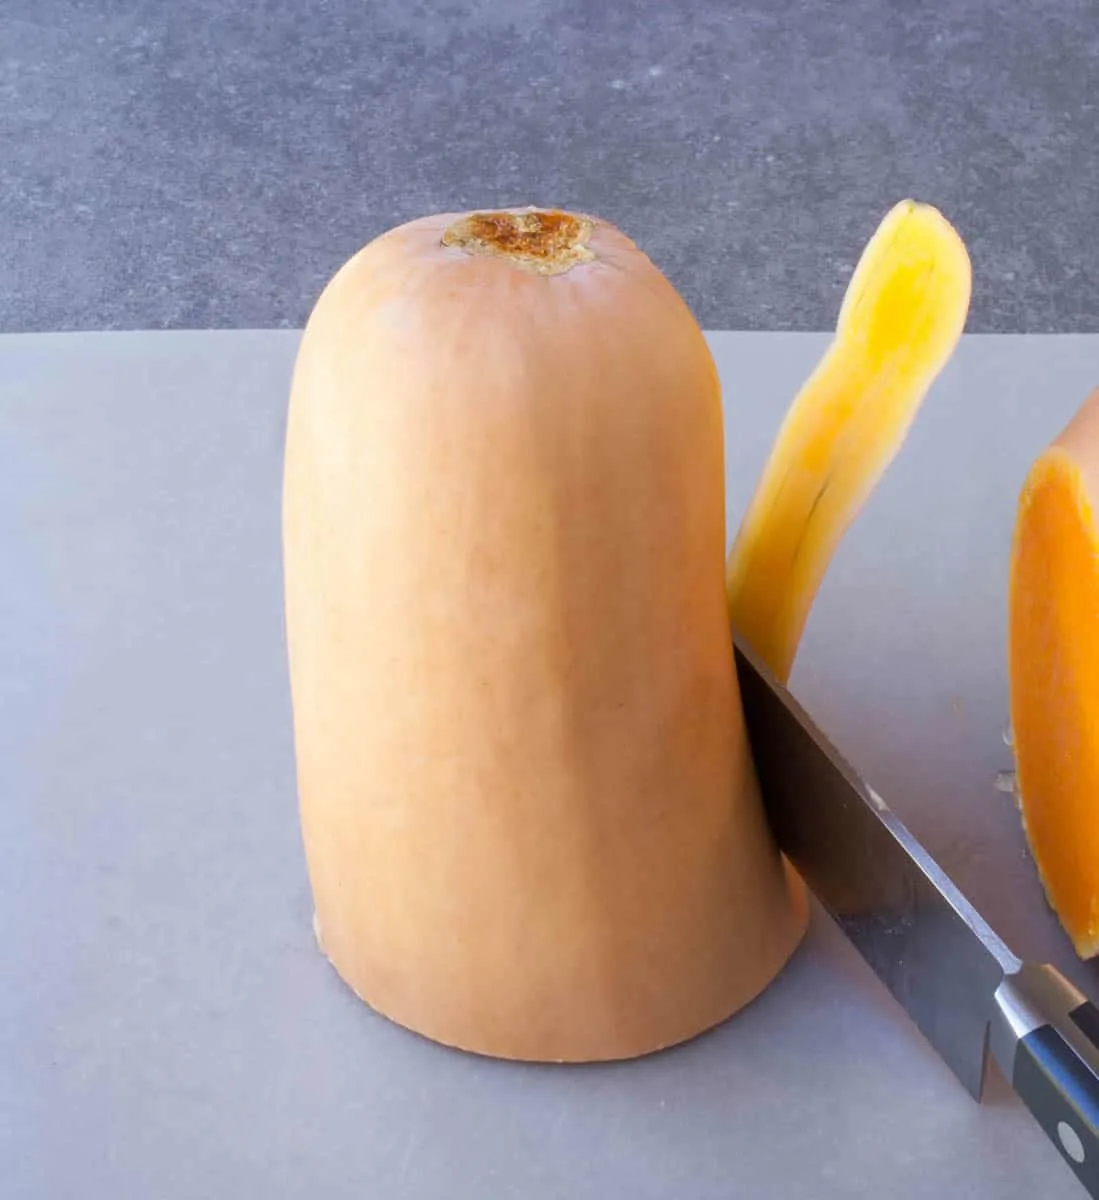
When you’ve finished cutting off the skin, go ahead and lay it on it’s side and cut off the top, trimming any residual skin. The photo below still has the top on; you’ll see it cut off in subsequent photos.
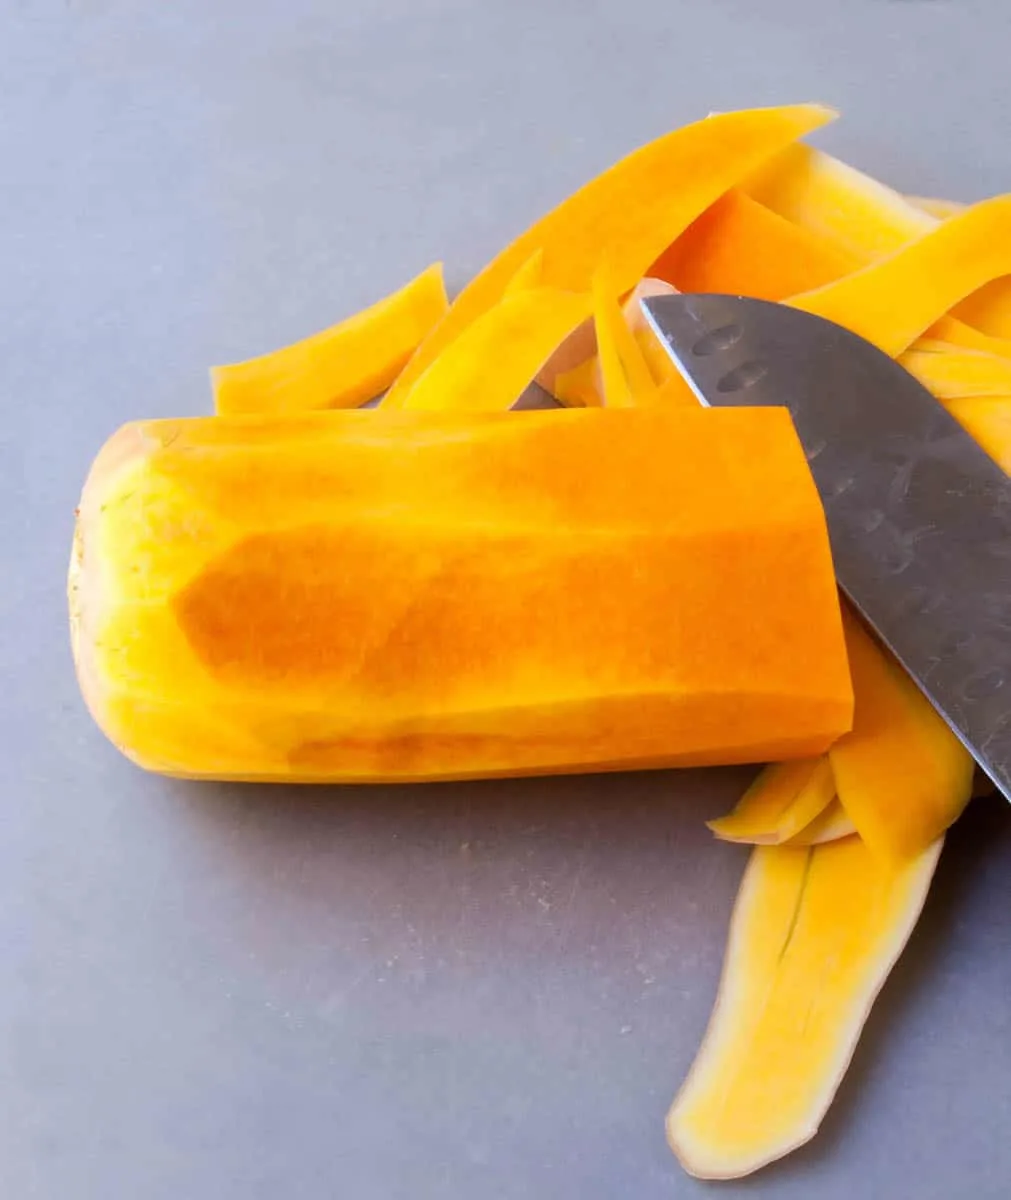
Time to peel the bottom part of the squash. Set it on it’s flat bottom end and proceed to use your knife again, cutting from top to bottom in the same fashion as you did the top. Depending upon the shape of your squash, your knife cuts might leave some skin on the very bottom, where it’s harder to reach because of the curve. Once you’ve peeled what you can working from top to bottom, just lay the piece on it’s side to shave off any residual pieces that might have gotten missed on the bottom edge.
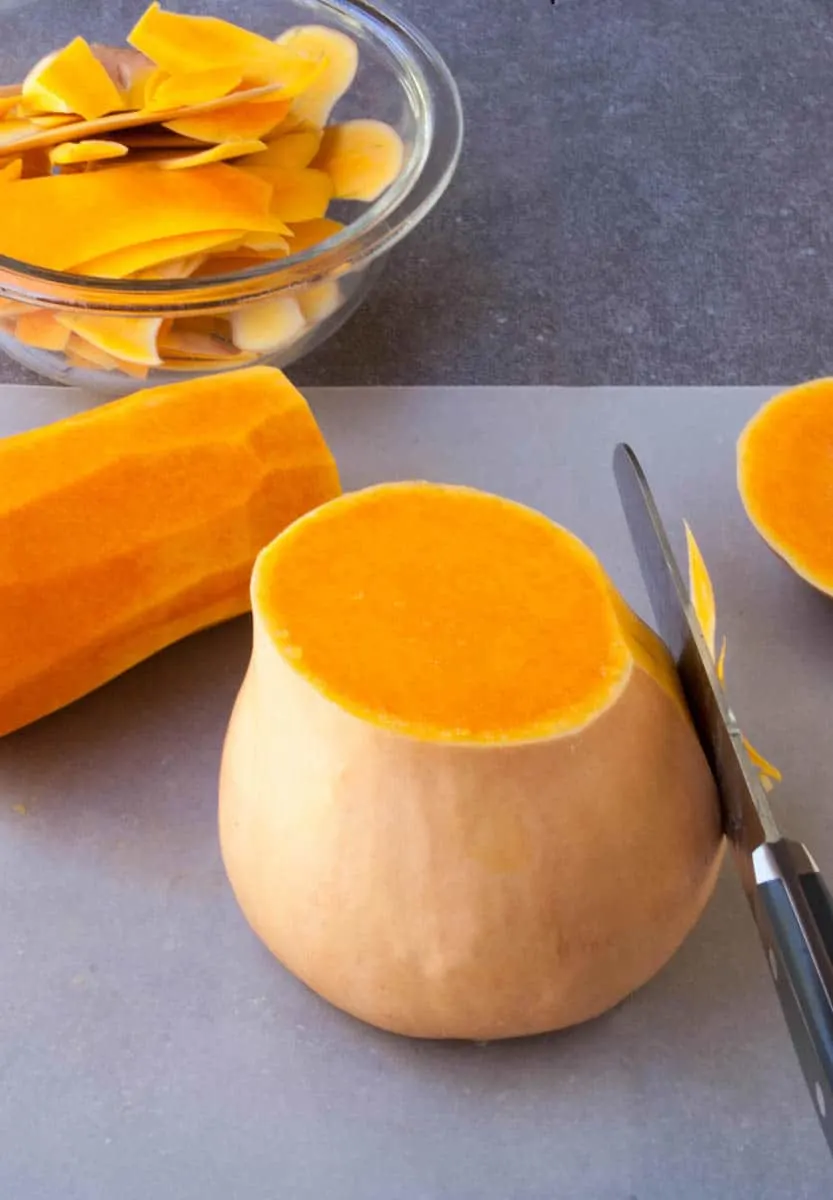
Now we have a fully peeled squash. (You’ll see that the top has now been cut off in this photo.)
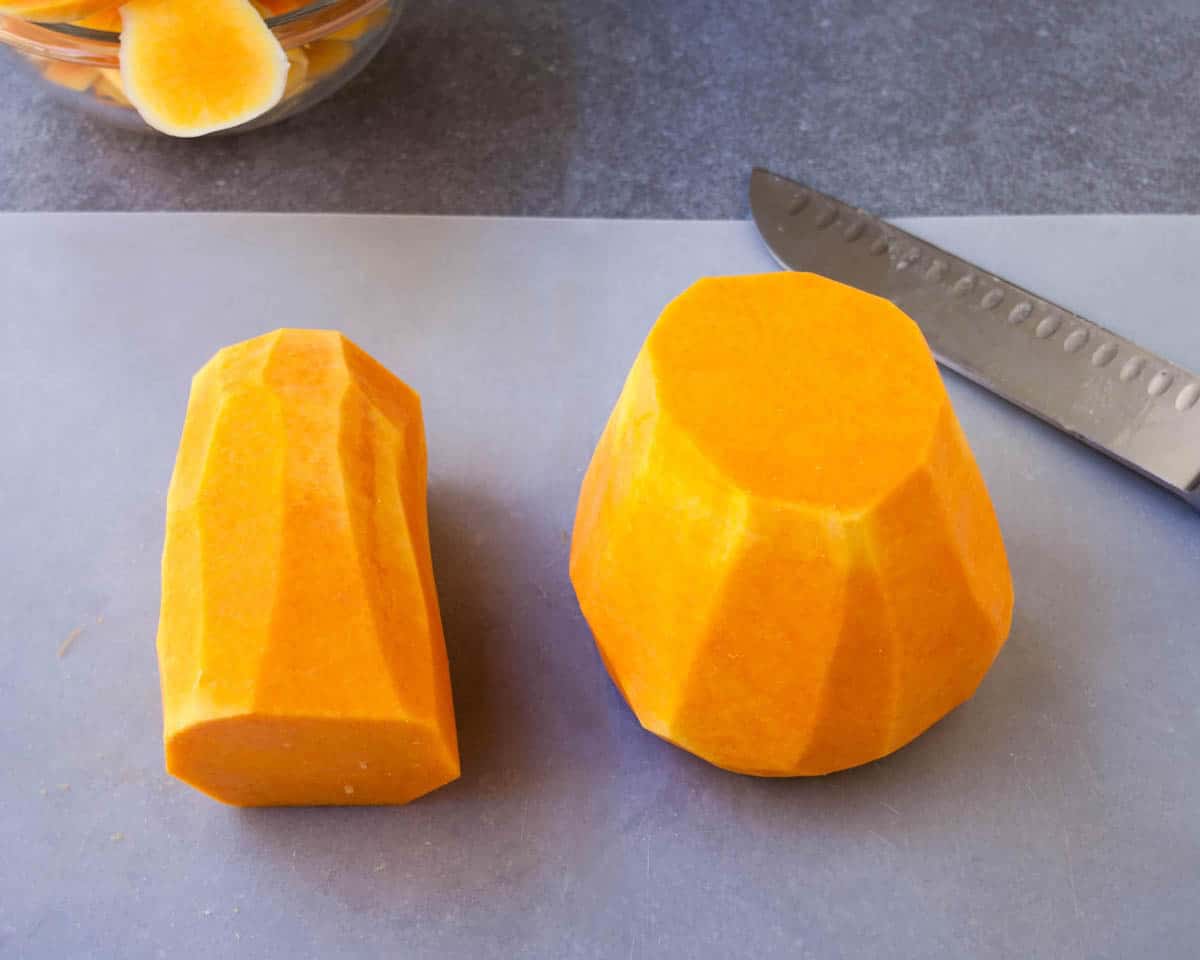
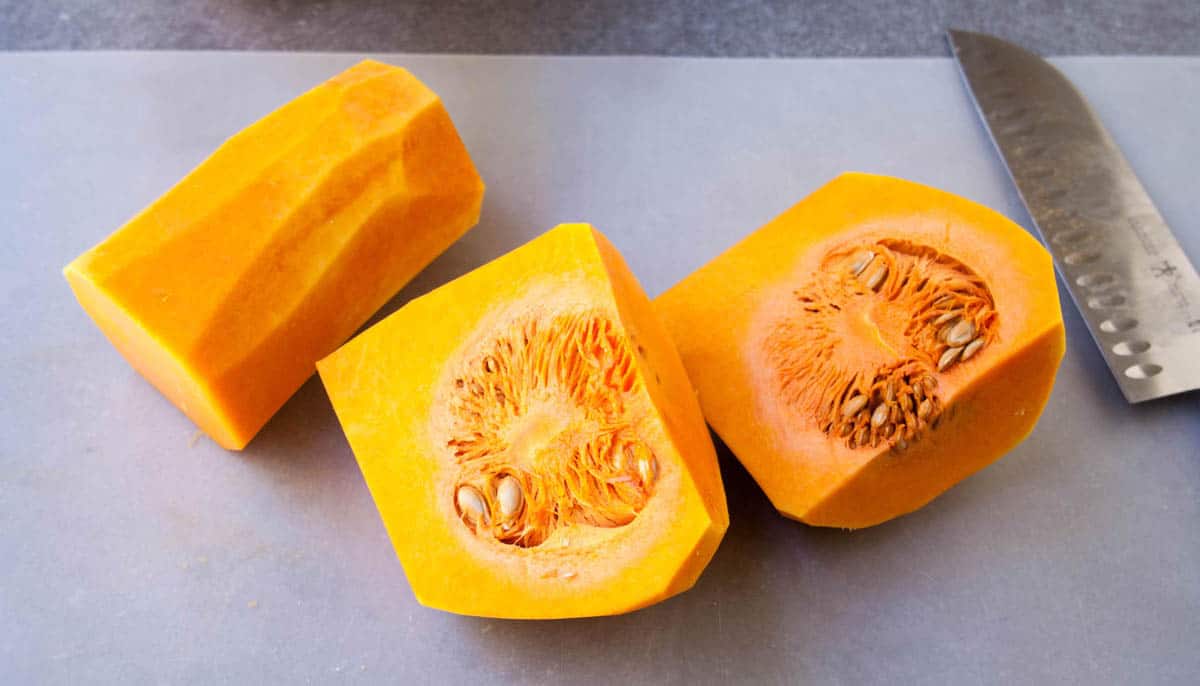
The bottom part holds the seeds. Cut the bottom in half, and scrape out the seeds and stringy parts.
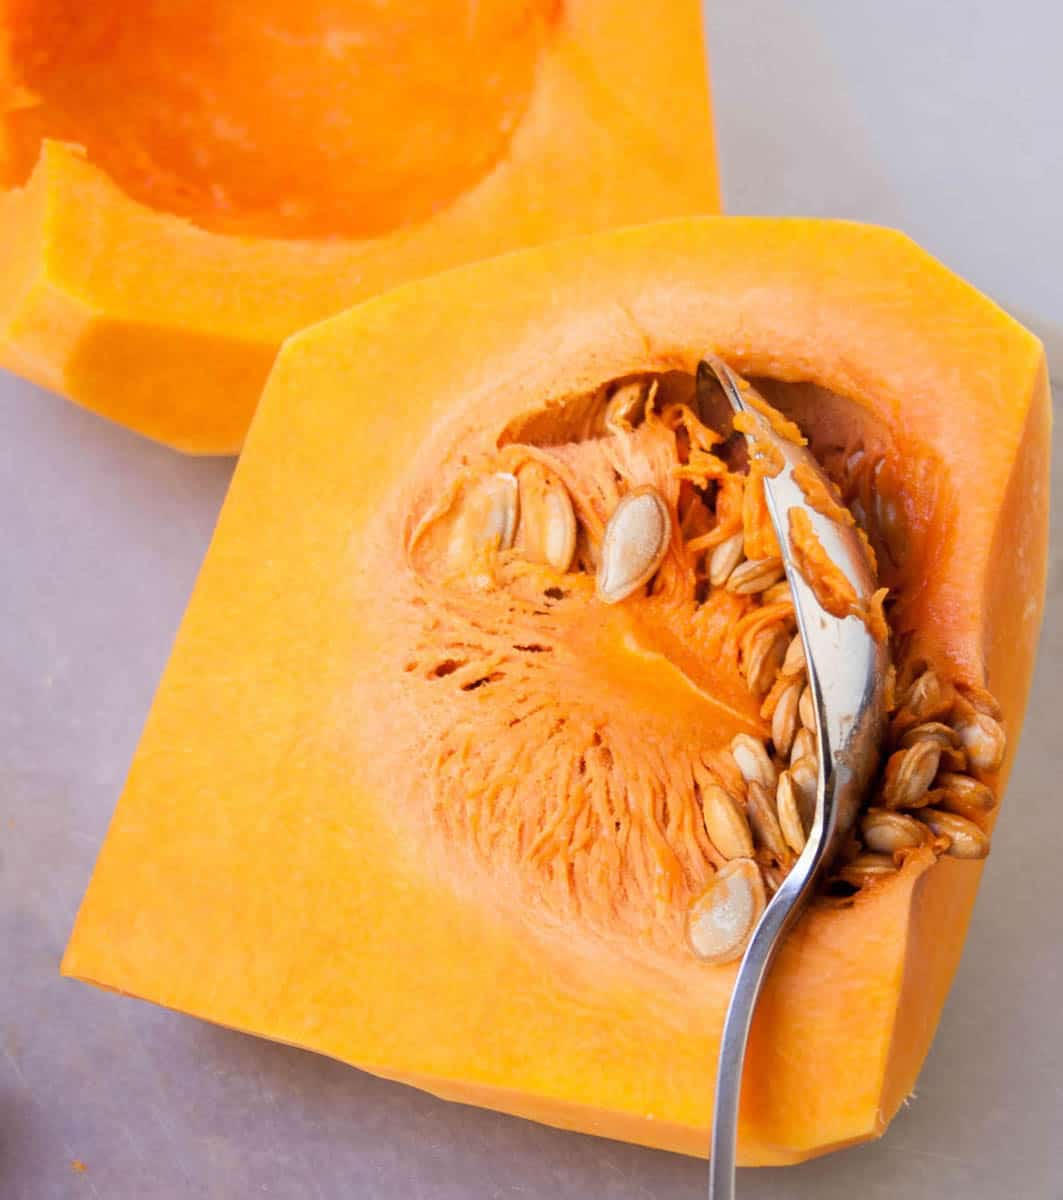
I usually use a spoon, but I’ve also used an ice cream scoop with great success. It will be easiest if whatever tool you’re using has a good edge for scraping.
That’s it! Your squash is ready to be cut into whatever size you need for your recipe. I usually cut it into 1/2″-1″ cubes which work well for most of my recipes.
When you’re trying to figure out how much squash you’ll need for a recipe, usually a 1 1/2 pound- 2 pound squash will yield you about 4 cups of cubed squash, depending on how big you cut your cubes. I like to err on the higher side and just roast up whatever I might have left over for a side dish or to mash and add to pancake batter.
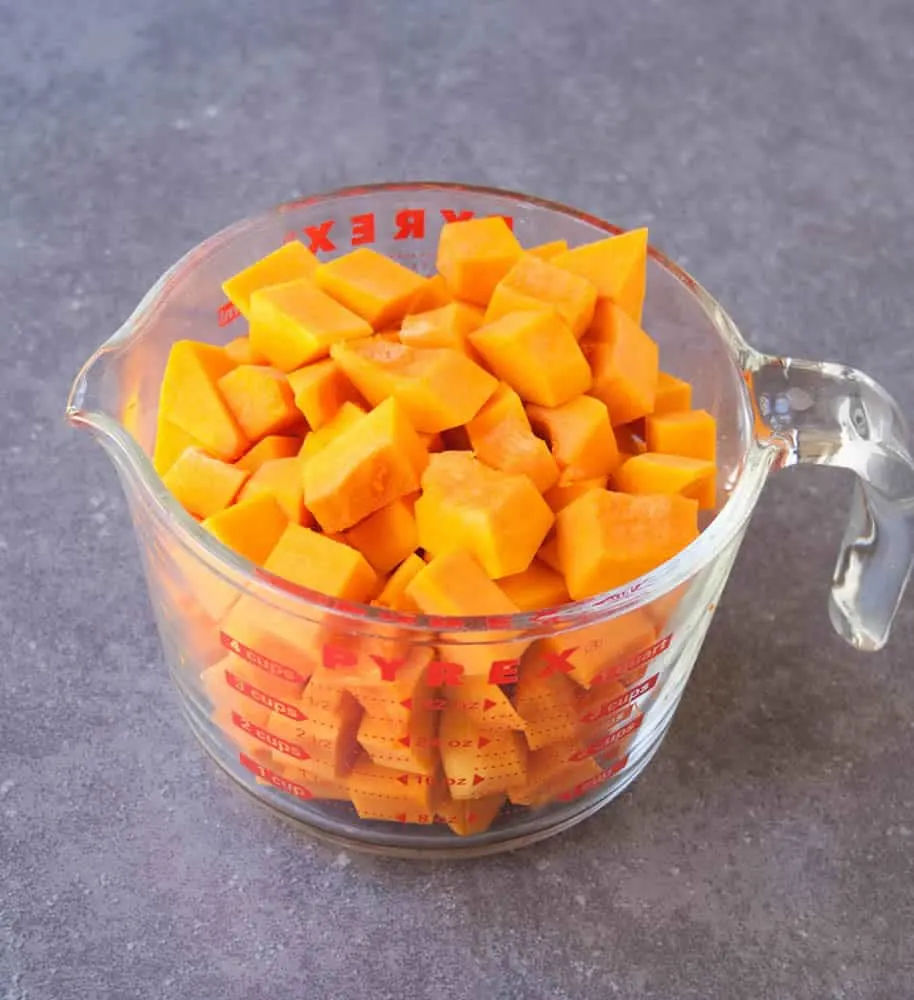
For tomorrow’s recipe, I’ve cut it into my standard 1/2″- 1″ cubes. Trust me, you’re going to want to make what’s coming tomorrow. And hey, now that you know how to cut a butternut squash, you’re already one step ahead. Or, go ahead and buy it pre-cut. Either way, it’s going to be delicious!

